
Style cozy layers with this Crochet Cardigan Pattern featuring a relaxed drape soft and versatile look suited to casual outfits and gifting.
Soft layering and timeless style define a cardigan that fits effortlessly into everyday wardrobes. Designed to provide gentle warmth without feeling bulky, it works well for casual outings, office wear, or relaxed evenings at home. The open-front structure allows easy layering over tops and dresses, creating a polished yet comfortable look. One of the key advantages of using a Crochet Cardigan Pattern is the freedom to adjust length, sleeve style, and stitch texture to suit personal preferences and seasonal needs.
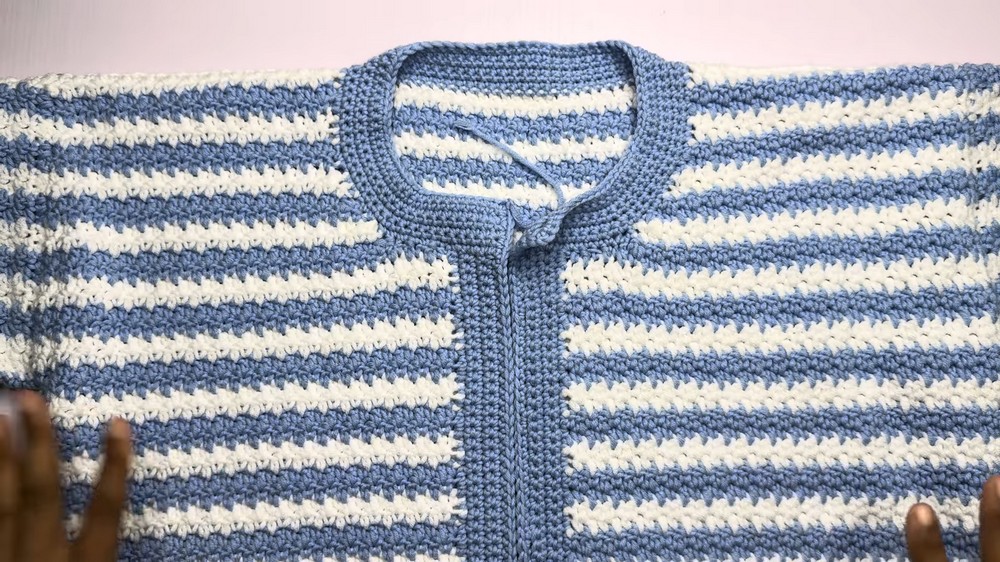
Oversized Crochet Cardigan Pattern Made for Ultimate Comfort
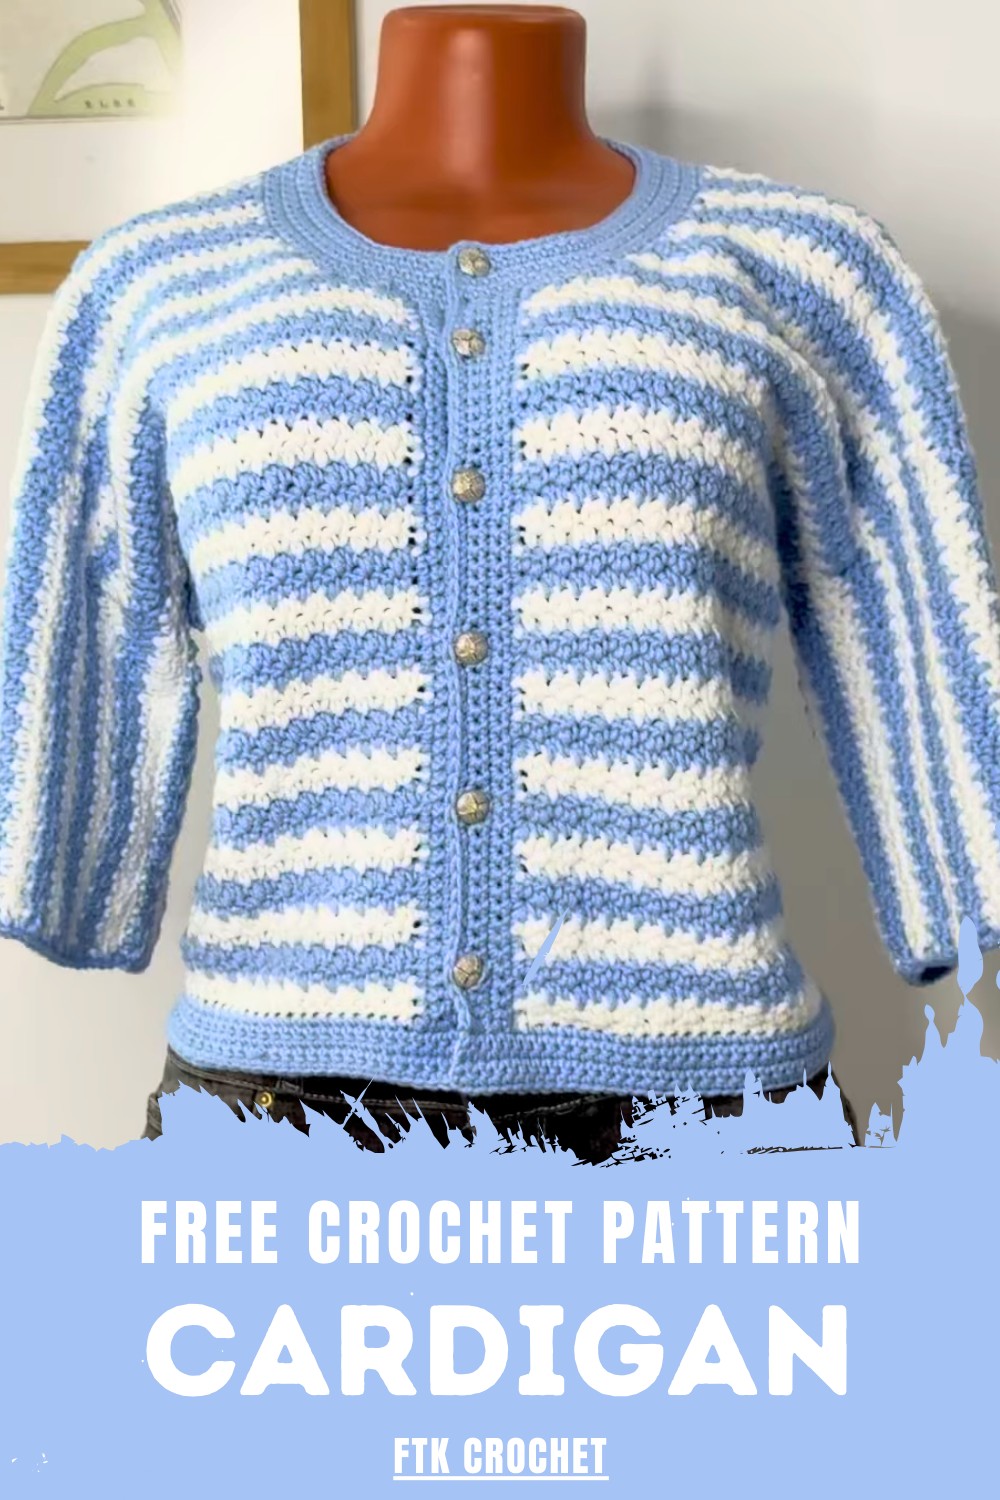
The textured fabric adds depth and visual interest while maintaining a lightweight, breathable feel. Its versatile design transitions smoothly between seasons, making it a reliable choice year-round.

Overall, it delivers a refined balance of comfort and elegance, offering a flattering silhouette and adaptable style that enhances outfits while remaining practical, cozy, and effortlessly fashionable for everyday use.
Step-by-Step Details
Materials Needed
- Yarn:
- MILK Cotton yarn (white)
- Zara Plus yarn (blue for contrast)
- You can use any yarn you’re comfortable with, as long as it works with a 4.5 mm hook.
- Hook: 4.5 mm crochet hook.
- Tools: Stitch markers, tapestry needle, measuring tape, scissors.
- Optional Add-on: Buttons for closure (if you choose to add a buttonhole).
Step 1: Take Core Measurements
You’ll need 3 basic measurements:
- Bust Measurement (to divide for front and back panels).
- Desired Length of the cardigan.
- Around-the-arm Measurement (used for sleeves).
For T’s example, her bust measures 38 inches, so:
- Back panel: 19 inches.
- Front panels: 9.5 inches each (half of the back panel).
Step 2: Crochet the First Front Panel
- Foundation Chain: Create a chain long enough to measure 9.5 inches (40 chains in the video example).
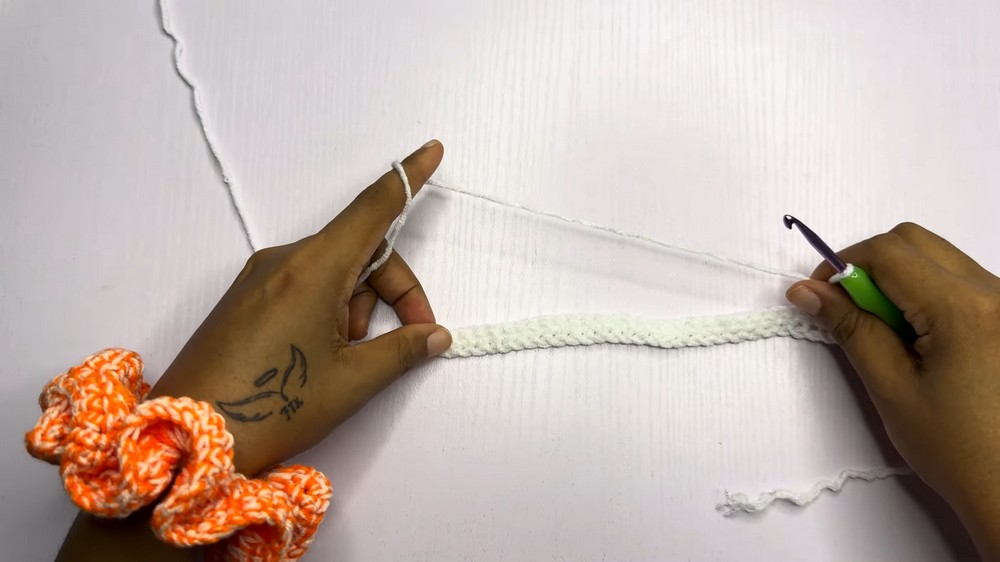
- Row 1:
- Chain 1 for turning, then crochet 1 single crochet (SC) into every chain stitch across.
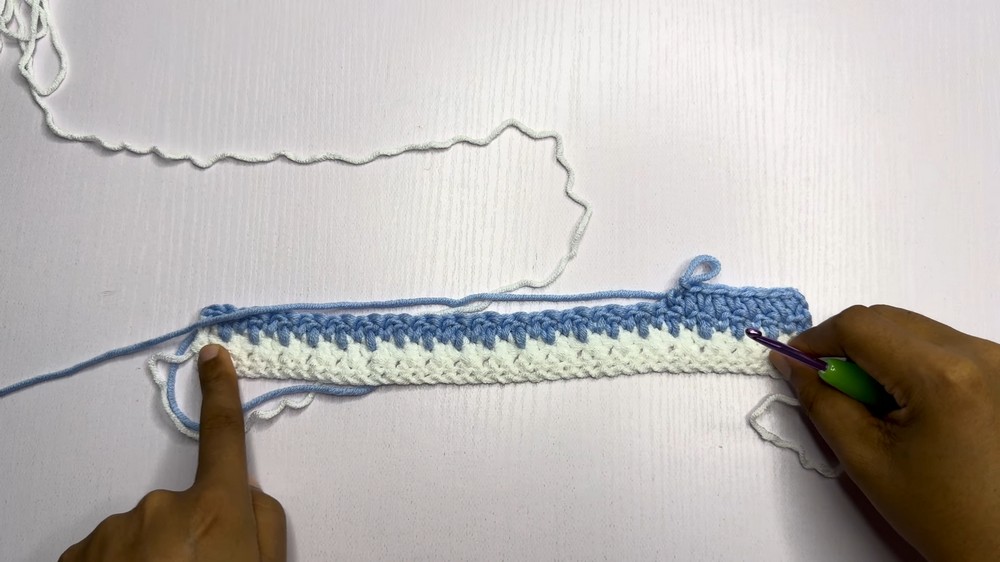
- Row 2 & Onwards (Lemon Peel Stitch):
- Begin alternating single crochet (SC) and double crochet (DC).
- Important: Always start each row with an SC and end the row with a DC to maintain a consistent pattern.
- Change your yarn color as you create rows to add contrast (e.g., white and blue). Switch colors seamlessly by leaving previous yarn attached to reduce cuts and knots.
- Continue Building Rows: Alternate colors every 2 rows until completing 39 rows for the first panel. Leave 15 rows unworked for shaping the round neckline.
Step 3: Shape the Front Panel Neckline (Decreases)
- Begin decreases from row 40 onwards to shape the neckline.
- Skip the first 5 stitches, reattach yarn, and start decreasing at the neckline edge.
- Alternate SC and DC as usual for the remaining stitches in the row.
- After 8 rows of decreases, stop shaping the neck and crochet normally until the end. T’s example used 54 total rows, which equaled 19 inches in height.
4: Crochet the Second Front Panel
Repeat all the steps from Step 2 and 3 to create the second identical front panel, ensuring symmetry.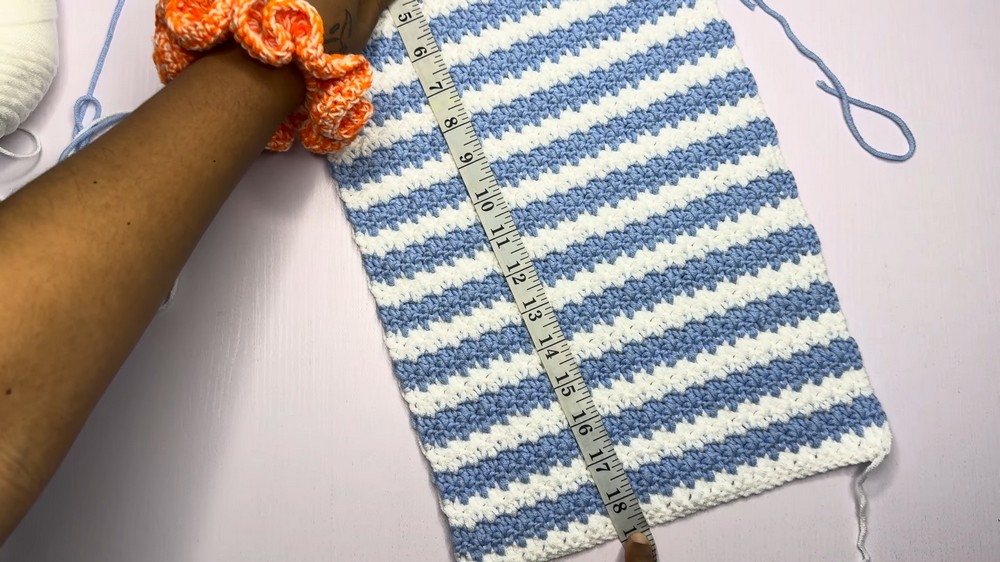
5: Create the Back Panel
- Work the same way as the front panels, but without the neckline decreases to produce a rectangular shape.
- Double the foundation chain length used for a single front panel (80 chains in the example).
- Continue crocheting using the lemon peel stitch until the back panel equals the same height as the front panels.
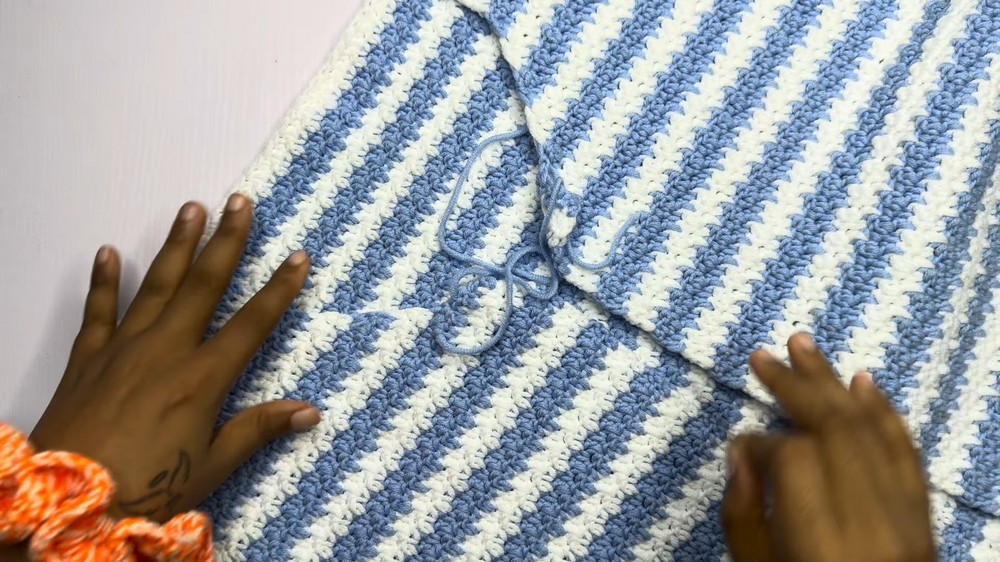
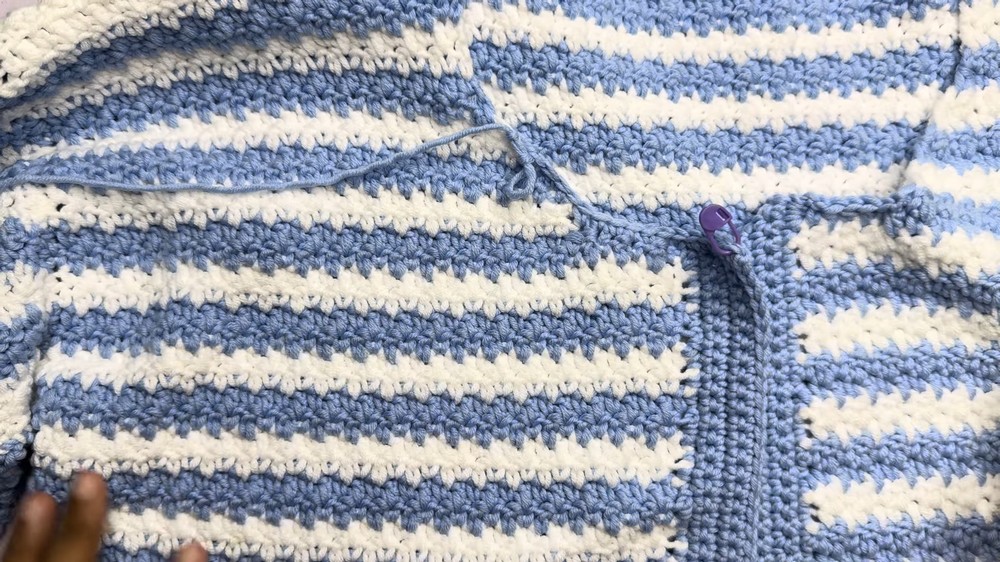
6: Assemble the Cardigan
- Join the Shoulders:
- Align front panels to the back and sew the shoulders together using a tapestry needle.
- Use stitch markers to ensure even alignment.
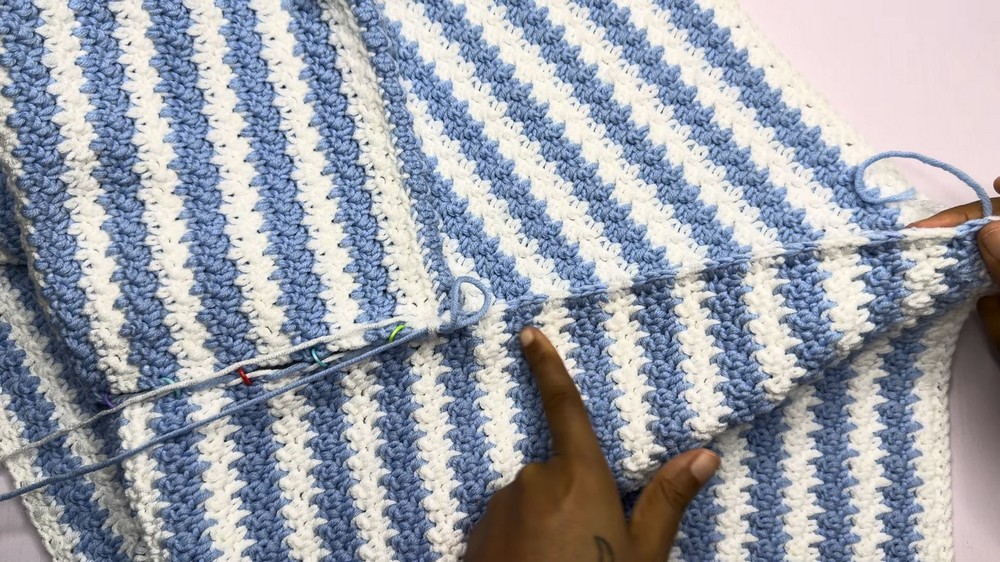
- Join Side Seams:
- Leave 8 inches open (based on your armhole measurement) for the sleeve opening.
- Sew the remaining sides of the front and back panels together.
7: Create Separate Sleeve Panels
- Measure the desired sleeve length (7 inches for a short sleeve in the example).
- Create a small rectangular panel using lemon peel stitch, alternating colors every 2 rows.
- Fold the panel and sew it into a sleeve shape.
- Attach the finished sleeves to the cardigan’s armholes using either a tapestry needle or single crochet method.
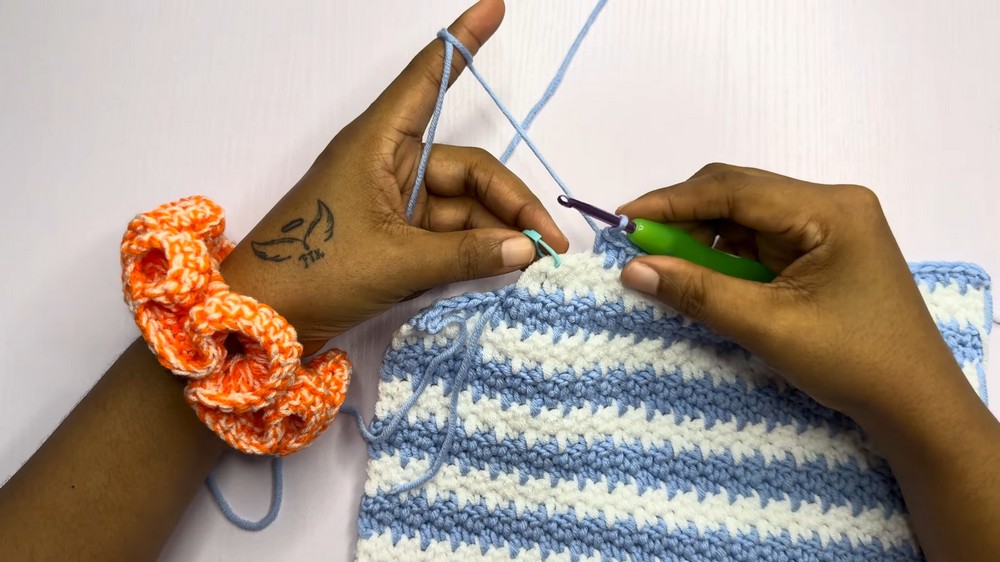
8: Add Single Crochet Edges
- Around the Neckline: Crochet 5–7 rows of single crochet (SC) to create a smooth neckline.
- Add decreases at four points around the neckline for a snug fit.
- Around the Bottom Edge: Optional, but you can mirror the neckline edge by adding blue single crochet rows at the bottom of the cardigan.
- Around the Sleeve Edges:
- Use fewer SC rows for short sleeves, depending on your preferred sleeve length.
- T reduced her sleeve edge to 1 SC row for a neat finish.
Optional: Add Buttonholes
- Crochet buttonholes along one front edge by skipping 2 stitches and chaining 5 to accommodate buttons.
- Attach buttons based on the placement of the holes.
Special Features
- Beginner-Friendly Lemon Peel Stitch: This easy stitch adds a subtle but elegant texture.
- Color Coordination: Alternating yarn colors create a beautiful, eye-catching design.
- Customizable Fit: With detailed measurements, this cardigan can be tailored to fit any body size and length preferences.
- Easy Assembly: Minimal sewing and clear alignment techniques make garment construction a breeze.
Level of Difficulty
This cardigan is beginner-friendly, suitable for anyone familiar with basic stitches like single crochet and double crochet. The repeated pattern of alternating stitches (lemon peel stitch) ensures easy progress, while the clear instructions for decreases and assembly keep the process simple for new crocheters.
Tutor’s Suggestions
- Choose Your Own Yarn: While T prefers MILK Cotton for softness, you can use any comfortable yarn that suits your style and climate.
- Use Stitch Markers for Precision: Mark important points like armholes, neckline decreases, and joining seams for a clean finish.
- Don’t Rush the Color Changes: Follow the color transitions carefully for a seamless blend.
- Make It Your Own: Adjust the sleeve length, cardigan length, and neckline depth to match your personal style.
Uses
- Everyday Fashion: Lightweight and soft, this cardigan is a stylish addition to casual outfits.
- Gift Idea: Handmade with love, this cardigan makes a thoughtful, personalized gift.
- Business Opportunity: This straightforward design can become a popular product for crochet stores or businesses.
Tip
Double-Check Your Measurements: Ensure that your foundation chains match your exact measurements to avoid a cardigan that’s too tight or too loose. Use a measuring tape often during the process!
Conclusion
This cardigan pattern is designed to empower crocheters of all skill levels to create a garment that’s both functional and fashionable. With clear instructions and versatile design options, you’ll enjoy crocheting a custom piece that’s uniquely yours. Whether you’re a beginner or an experienced crocheter, this cardigan is a project you’ll feel proud to wear or share.