
Easy Crochet Shoulder Bag Pattern Free for Beginners
Make a practical and trendy crochet shoulder bag with this step by step free pattern, perfect for adding a personal touch to your daily accessories.
A crochet shoulder bag is a practical and stylish project that combines functionality with a handmade touch. This bag features a simple rectangular body that provides plenty of storage space, making it perfect for daily use. The compact yet roomy design is complemented by a neat, uniform texture created with single crochet stitches, which give the bag a sturdy structure while maintaining a soft and lightweight feel.
Featured By Mv Crochets
The construction of this bag is straightforward, with panels, side strips, and a long strap that are seamlessly joined together using single crochets. The attention to detail in the assembly ensures that the edges are smooth, resulting in a polished finish. Using two strands of lightweight acrylic yarn not only enhances durability but also emphasizes the crisp texture of the stitches, helping the bag maintain its shape. Adding an optional zipper closure is a functional feature for added security, making this accessory both versatile and practical.
Free Crochet Shoulder Bag Pattern for Handmade Lovers

This project is inspired by a love for handmade accessories that are both functional and fashionable. Designed with simplicity in mind, it’s accessible for beginners while still yielding a professional looking result. It’s versatile enough to complement a variety of outfits and can be customized with different yarn colors and textures to match your personal style.
Crocheting this shoulder bag is about more than just making something to carry your essentials. It's an opportunity to create an item that feels both personal and useful, perfect as a thoughtful gift or a trusty companion for your own everyday adventures.

Crochet Shoulder Bag Pattern
Using simple stitches, you’ll learn how to make a highly functional and stylish crochet shoulder bag. This step by step tutorial walks you through the process of creating the bag panels, crafting a sturdy strap, and assembling it all together for a beautiful finished product.
Materials Needed
- Hook Size: 3.0 mm crochet hook
- Yarn: Lightweight acrylic yarn (worked with two strands together)
- Other Supplies:
- Stitch markers
- Scissors
- Tape measure
- Darning needle
Bag Overview
Structure:
- Main Bag Body Panels (Make 2)
- Strap
- Assembly
Key Features:
- Base measures approximately 6 inches wide.
- Strap length approximately 36–38 inches (adjustable).
Construction
1. Main Bag Body Panels (Make 2)
Foundation
- Chain 32.
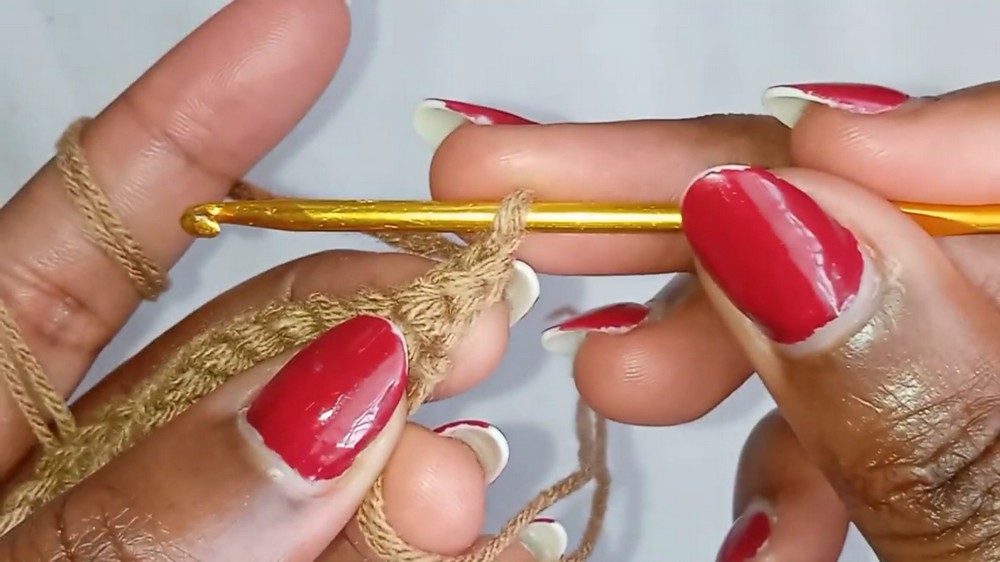
Row 1:
- Skip the first chain from the hook.
- Single crochet (sc) in the second chain.
- In the same chain, make an increase (2 sc).
- Work 1 sc in each of the next 30 chains.
- In the last chain, make another increase (2 sc).
- Total stitches: 34.
Rows 2 to 10:
- Row 2:
- Chain 1, turn your work.
- Skip the first stitch and work 1 sc in every stitch across, with no increases in this row.
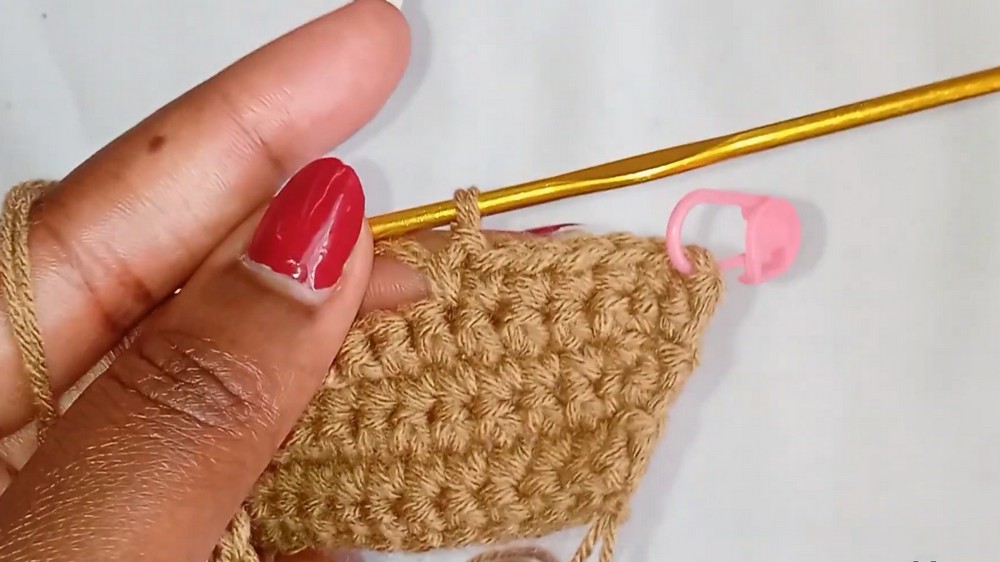
- Row 3:
- Chain 1, turn.
- In the first stitch, make an increase (2 sc).
- Work 1 sc in each stitch across until the last stitch.
- In the last stitch, make another increase (2 sc).
- Alternate between rows with increases (in the first and last stitch) and rows without increases until you complete 10 rows.
Rows 11 to 30 (No Increases):
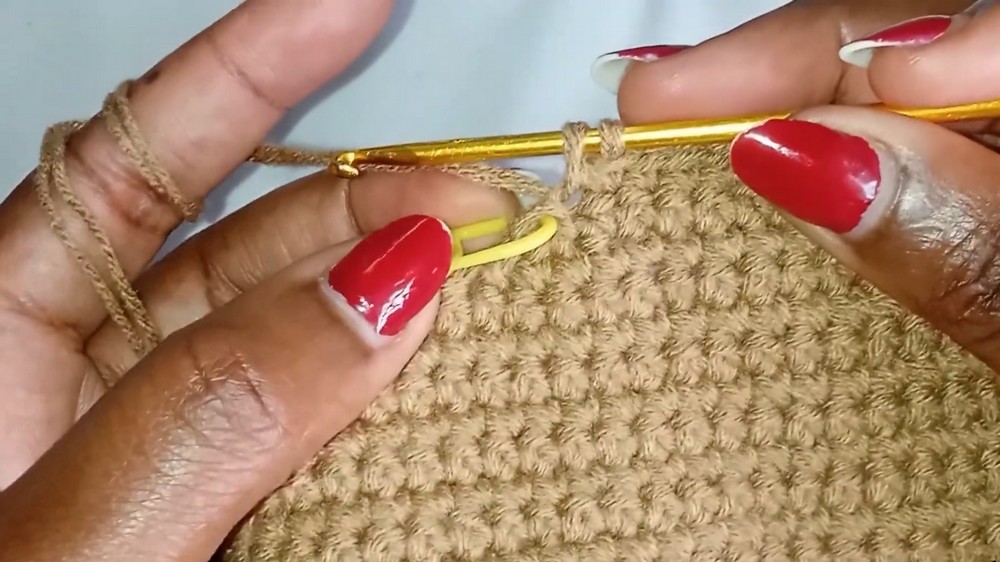
- Chain 1, turn.
- Work 1 sc in every stitch across, with no added stitches.
- Continue for 19 rows to complete the flat top section.
Shaping the Sides:
- Mark the Decrease Sections:
- Identify and mark 15 stitches from each edge.
- Leave 11 stitches in the middle for the flat section.
- Decrease Rows:
- Chain 1, turn your work.
- Skip the first stitch.
- Make a sc dec in the next two stitches.
- Work 1 sc in each stitch across until two stitches remain.
- Make another sc dec with the last two stitches.
- Alternating Rows:
- Chain 1, turn.
- Work 1 sc across, without decreases, for smooth shaping.
- Continue alternating decreased rows and regular rows until the side curves are shaped.

2. The Strap
Foundation:
- Start with a slip knot on your hook.
- Chain 7 stitches.
Row 1:
- In the second chain from the hook, work 1 sc.
- Continue sc across.
- Total stitches: 6.
Rows 2 and Beyond:
- Chain 1, turn your work.
- Work 1 sc in each stitch across.
Strap Length:
- Repeat rows until the strap measures between 36–38 inches (or your desired length).
3. Assembly
Joining the Strap to One Panel:
- Position the Strap:
- Align the strap ends with the top corners of one body panel.
- Row by Row Joining:
- Insert the hook into the first row of the panel and corresponding row of the strap.
- Make 1 sc to join the two rows.
- Continue joining by working row by row.
- Ensure stitches are tight.
Joining the Two Panels Together:
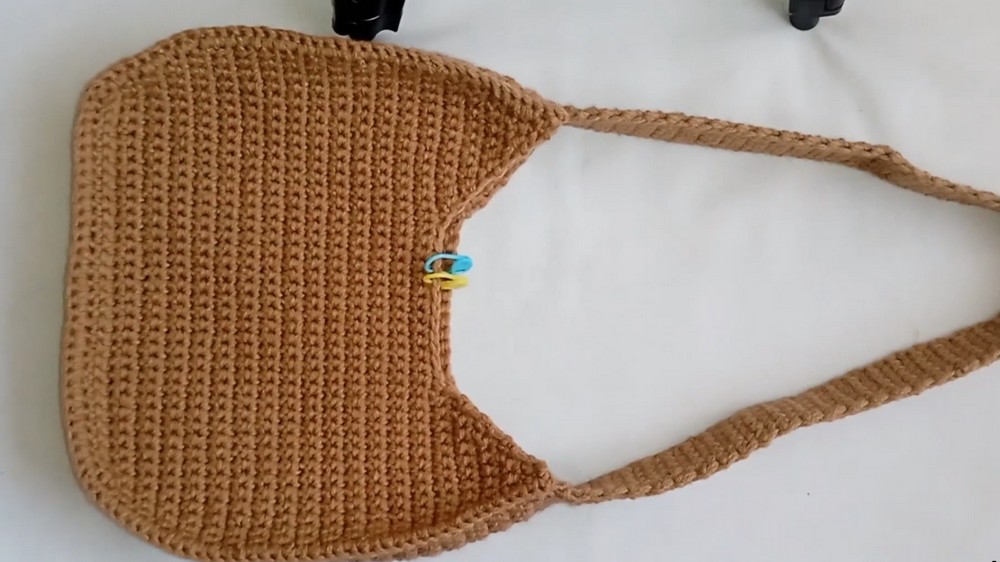
- Create the Bag Shape:
- Align the two completed body panels so that their wrong sides are touching.
- Begin joining at the bottom of the bag, where stitches from the base row attach to rows of the opposing panel.
- Attach Row by Row on the Sides:
- Use stitch markers to position the panels correctly.
- Use single crochet stitches to connect rows on the sides.
Final Joining:
- Once the panels and strap are joined, ensure all sections are securely stitched.
Weaving Loose Ends:
- Use a darning needle to weave all loose ends neatly into the bag for a polished finish.
Note:
Attaching a zipper to the top opening of the bag will complete the project. This process will be demonstrated separately in Part 2 of the tutorial.
Conclusion
Congratulations, Your crochet shoulder bag is ready for use. This chic and thoughtfully detailed bag offers practicality and style, perfect for your daily adventures or gifting. Once you’ve added your zipper in Part 2, your handmade masterpiece will be completed. Enjoy showing off your creative work, and keep practicing to perfect your crochet skills.