
Chic Free Crochet Tote Bag Pattern For Book Or Tablet
Start your next crochet project with this free and easy tote bag pattern, a perfect way to create a handmade bag for your daily needs.
If you’re looking to crochet a stylish yet practical bag for your day to day activities, you’re going to love the easy and adorable creation shared by HanhhanhTV. Hanh generously shares a step by step guide on crocheting a cozy and functional crochet tote bag perfect for school, casual outings, or simply carrying a few daily essentials. Her detailed instructions and tips make it easy for anyone, even beginners, to create something they can truly be proud of.
Functional Free Crochet Tote Bag You’ll Treasure
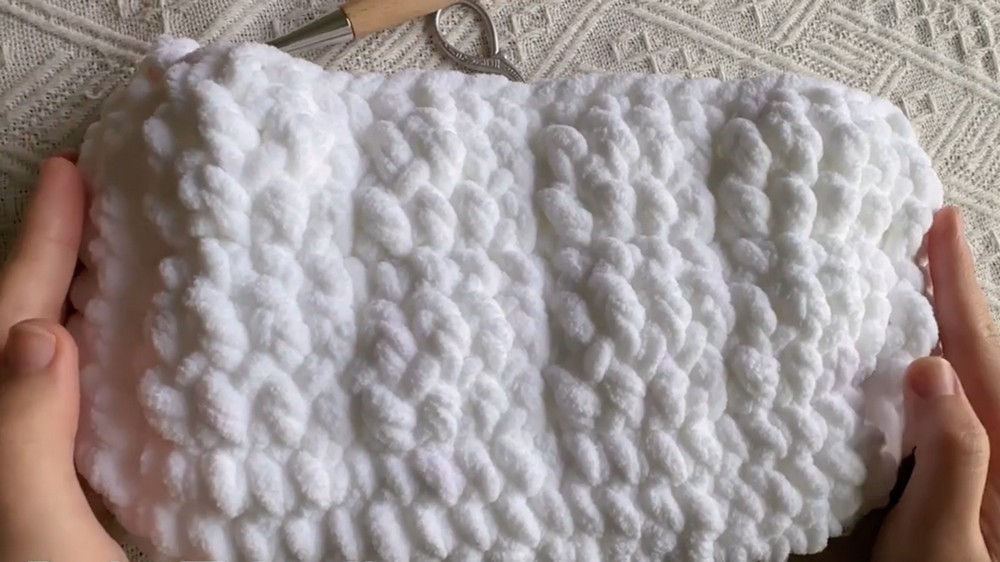
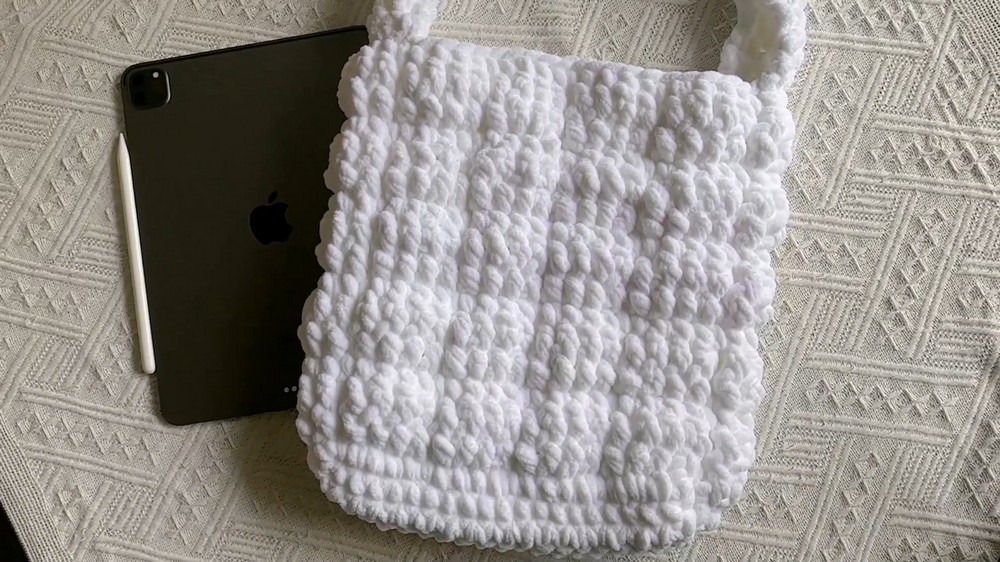
This tote bag stands out for its subtle quilted texture, created using a simple stitch pattern that mimics the elegance of classic quilted designs. Thanks to the use of soft yet sturdy corduroy yarn, the bag carries a unique plush texture that’s beautiful to look at and gentle to the touch. The structured rectangular shape makes it the perfect size to fit a large lesson planner or a couple of notebooks, along with smaller accessories like pens and your phone. However, as Hanh reminds us, it's best not to overload the bag since yarn can stretch under heavy weight.

One of the bag’s most attractive features is its strap, which also carries the quilted texture, adding a charming detail to the overall design. The strap is about 60 cm long, making it a snug underarm fit, but it can be customized for a crossbody style if desired.
This crochet project is perfect for those wanting to create something that is both practical and stylish. Whether you’re a beginner or looking for an easy project, the step by step guidance from HanhhanhTV ensures you’ll have a functional and beautiful tote bag to use or gift.
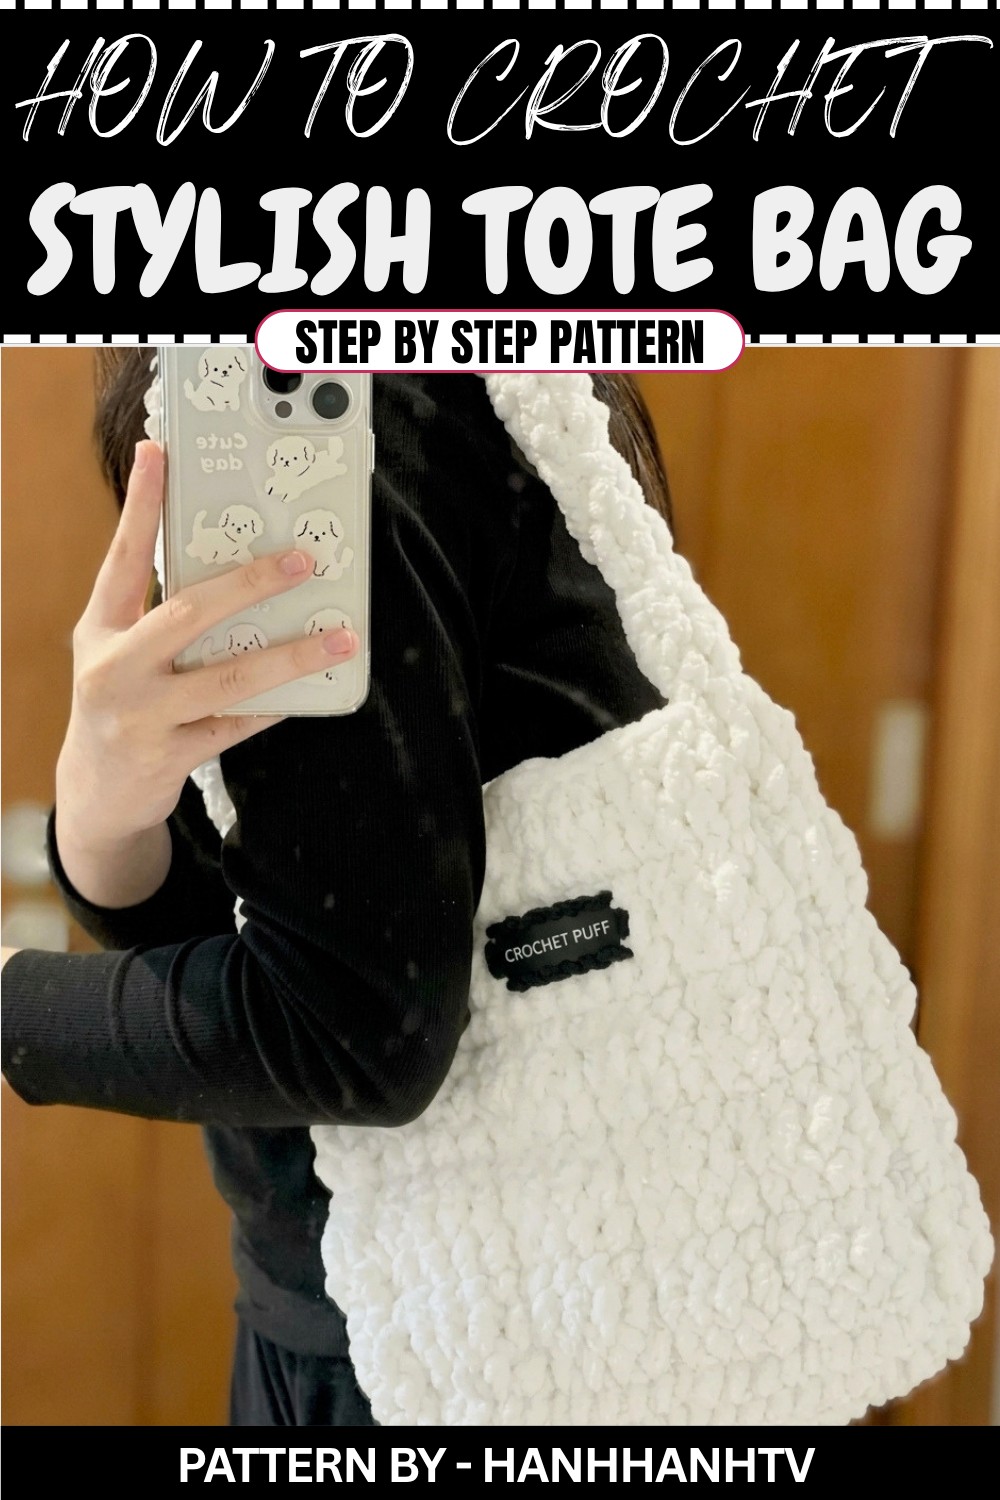
Crochet Tote Bag (Step by Step Pattern)
This crochet quilted tote bag is a beautiful and functional project inspired by quilted textures. It uses velvet yarn for a cozy and elegant finish, and its puff stitch pattern adds a unique touch. Ideal for carrying light items, this bag is perfect for school or casual use.
Quick Overview of Pattern
- Project Type: Crochet tote bag
- Main Feature: Textured puff stitch resembling a quilt
- Key Steps: Create a firm base, follow with a puff textured body, and add a sturdy strap
- Customization: Adjustable strap length for either shoulder or crossbody style
Notes
- Velvet yarn can be tricky, so crochet gently to avoid splitting fibers.
- Keep the bag lightweight to prevent yarn stretching.
- If going for a crossbody style, reduce the height of the bag for better proportions.
- Use stitch markers to make tracking easier, especially for joining parts.
Skill Level
Intermediate – Familiarity with basic stitches, puff textures, and the ability to join rows in the round.
Materials
- Yarn: 4 skeins of velvet yarn (medium thick)
- Hook Size: 7.0 mm crochet hook (can use 6.5 mm–8.0 mm for preference)
- Other Tools:
- Scissors
- Stitch markers
- Tapestry needle
Optional: Buttons and decorative tags if desired.
Measurements / Sizing
- Dimensions:
- Height (with base): Approximately 30 cm
- Height (without base): Approximately 26 cm
- Width: 28 cm
- Strap Length:
- Shoulder Style: 60 cm
- Adjustable for Crossbody
Gauge and Stitch Pattern
Although gauge is not critical, test for consistency in puff stitch spacing to ensure a neat quilt like appearance.
Stitch Abbreviations
- ch: Chain
- sc: Single crochet
- tr: Treble crochet
- sl st: Slip stitch
- BLO: Back loop only
Special Stitches
Puff Stitch (Treble Crochet - Front/Back Loop):
- Yarn over twice.
- Insert hook into the designated stitch loop (front or back).
- Yarn over, pull through two loops, yarn over again, pull through two loops, leaving the last loop on the hook.
- Yarn over and repeat Step 2 through the same loop, leaving another loop on the hook.
- Continue until the desired puff is made, then yarn over and pull through all loops on the hook.
The Crochet Pattern
Base
- Foundation Row:
- Make a slip knot and chain 21 stitches (multiple of 5).
- Row 1:
- Skip 1st ch from hook.
- Work sc into each chain across (total: 20 sc).
- Row 2–5:
- Chain 1, turn.
- Work 1 sc into each st across (total: 20 sc for each row).
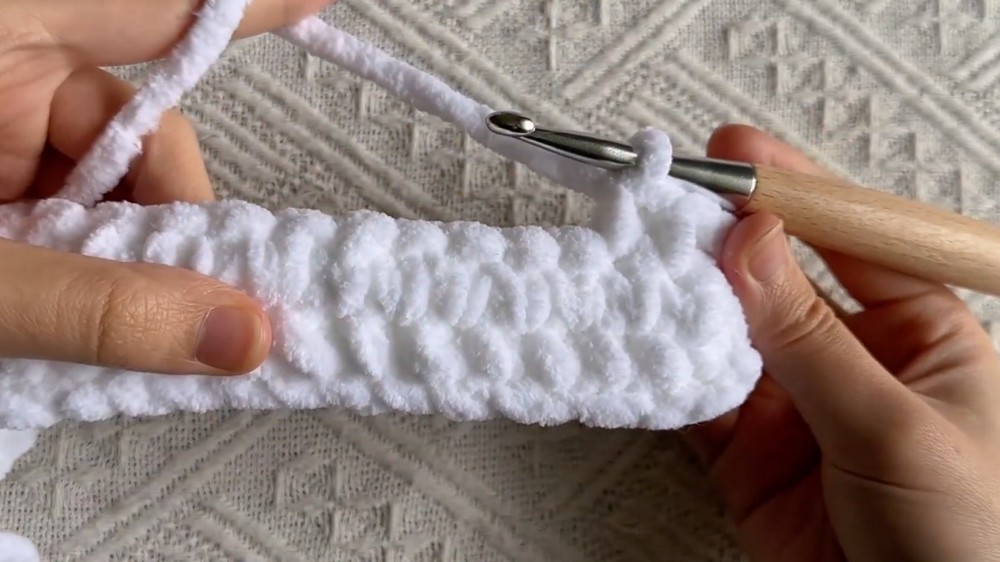
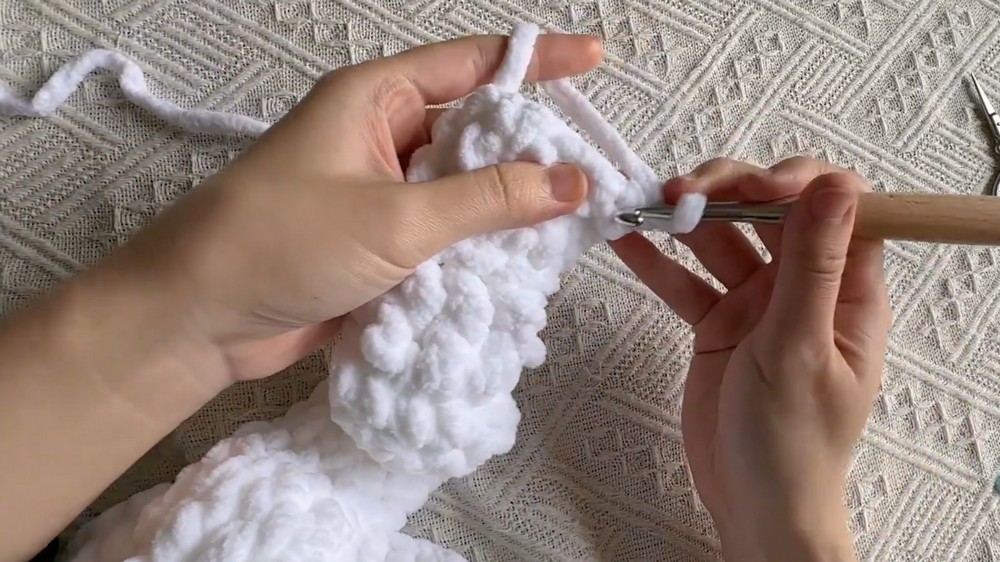
- Edging:
- Chain 1, turn.
- Work 5 sc along the short edge (1 sc into each row of previous rows).
- Work 20 sc along the long side over the stitches made in Row 5.
- Work 5 sc along the opposite short edge.
- Finish by working “back across” the starting 20 stitches of the foundation (another 20 sc).
Total = 5 + 20 + 5 + 20 = 50 sc.
- Sl st to the first sc to close the round.
Body
Preparation: Chain 2 at the start of every puff stitch row.
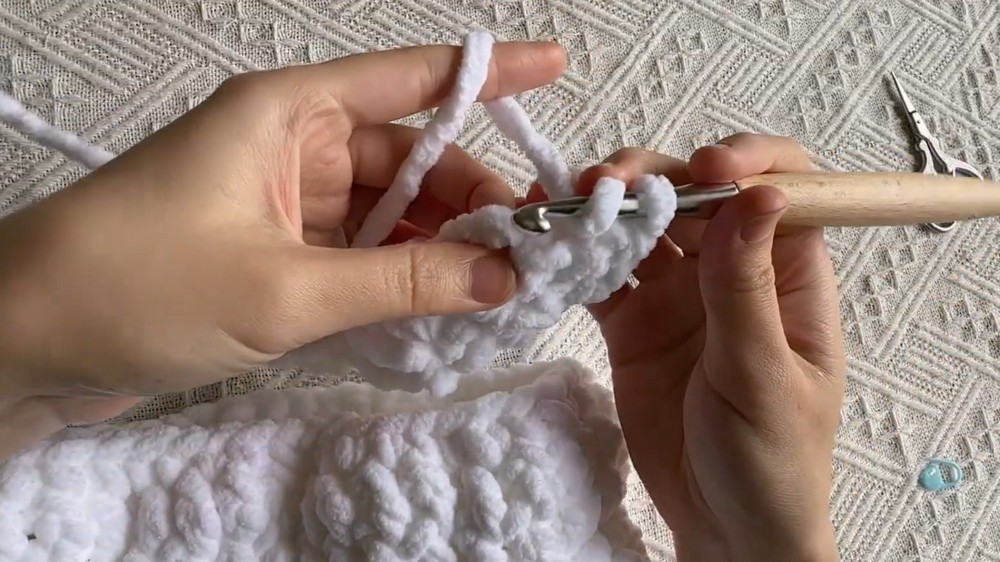
Round 1 – Puff Stitches
- For each block of 5 stitches:
- Work 4 Puff Stitches (Front Loop) into 4 sts.
- Work 1 sc into 1 st.
Repeat the above sequence for the entire 50 stitches.
- Close the round with a sl st into the starting ch 2.
Round 2 – Puff Stitch Continuation
- Chain 2.
- For this round, alternate similar to Round 1:
- Repeat the sequence: 4 Puff Stitches (Front Loop) + 1 sc.
- Sl st to close the row.
Round 3 – Solid sc Row
- Chain 1.
- Work sc into each st across all 50 stitches.
- Sl st to complete the round.
Repeat Pattern
- Continue working 2 rounds of puff stitches (as Rounds 1 & 2) followed by 1 row of sc (as Round 3) for a total of 15 rounds.
- The puff stitch pattern should create a quilted look with raised and flat sections.
Strap
Attach Strap to Bag:
- Mark 5 stitches along one side of the bag’s opening for strap attachment.
Row 1 – Strap Base
- Attach yarn with a sl st to the marked spot.
- Chain 2.
- Work 4 puff stitches (Front Loop) across first 4 stitches (leave the last stitch unworked).
Rows 2 & 3 – Strap Continuation
- Row 2 (Back Side):
- Chain 2, turn.
- Work 4 puff stitches in Back Loop Only (ensures texture continues on both sides).
- Row 3 (Flat Row):
- Chain 1, turn.
- Work sc into each st (total: 4 sc).
Repeat Pattern for Strap
- Repeat Row 1 to 3 until the strap reaches your desired length. For a shoulder strap, work for approximately 60 cm.
Assembly
- Align the finished strap with the opposite side, ensuring both ends are evenly aligned.
- Use the tapestry needle to whipstitch the strap securely onto the corresponding marked points.
- Repeat the process to ensure the strap is attached securely.
Conclusion
Your crochet quilted tote bag is now complete. The puff texture and velvet yarn work perfectly together to provide a gorgeous and sturdy finish. Add decorative buttons, bows, or name tags to personalize your bag, and enjoy using it or gifting it to someone special.