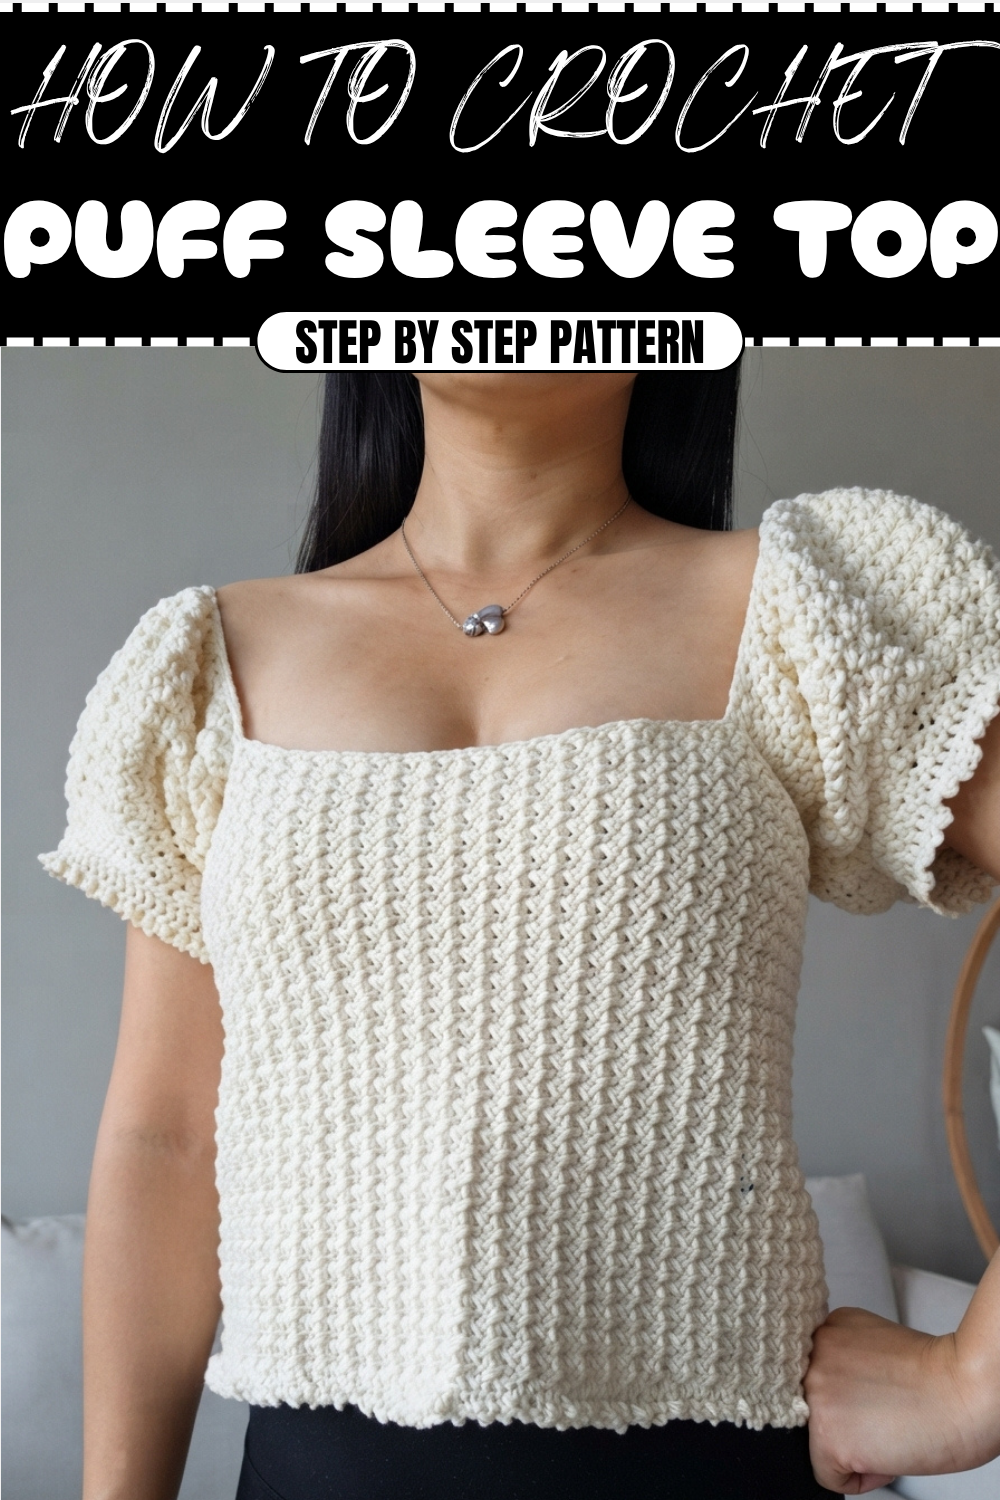
Cute Crochet Puff Sleeve Top Pattern With Flowy Summer Look
Upgrade your wardrobe with the Crochet Puff Sleeve Top Pattern, a trendy handmade piece perfect for cozy wear, gifts, and stylish flair.
Effortlessly blending style and comfort, this top stands out for its flattering design and timeless appeal. The gentle puff sleeves add volume and elegance, making it perfect for enhancing any outfit. Crafted with crochet, it offers a soft, breathable texture that feels light on the skin while showcasing intricate handiwork.
FREE Crochet Puff Sleeve Top Pattern Perfect for Casual Outfits
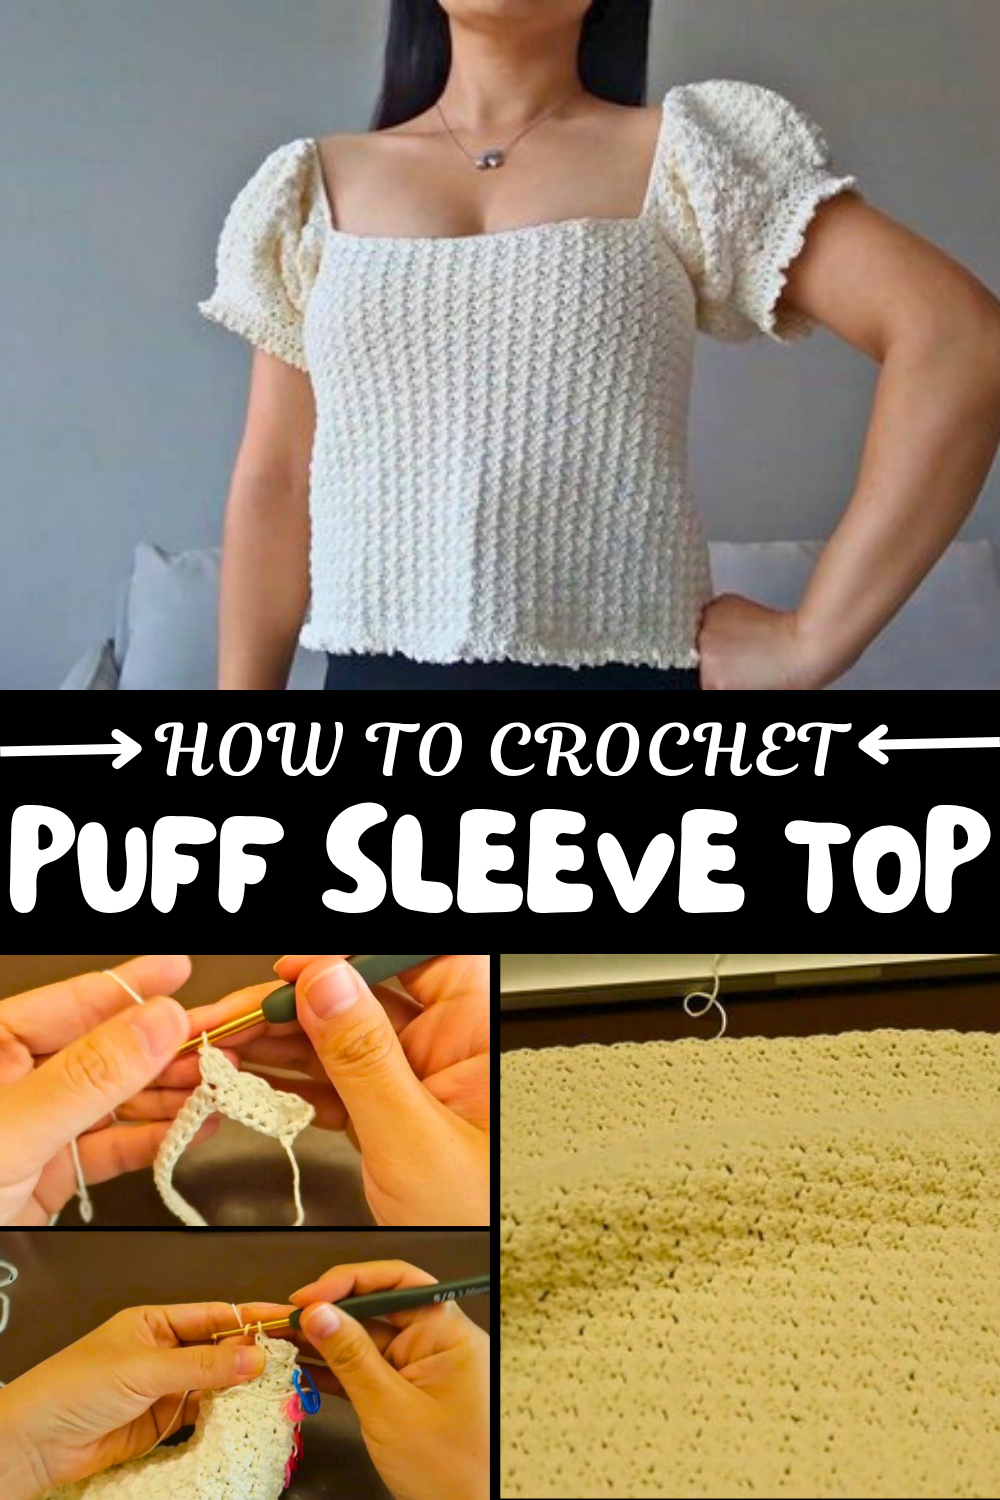
The Crochet Puff Sleeve Top Pattern is versatile and customizable, letting you experiment with colors, yarn types, and sleeve lengths to match your personal style.The top design works beautifully for casual outings, brunches, garden parties, or even as a chic indoor ensemble.
Beyond aesthetics, the pattern is practical and beginner-friendly, allowing crocheters to improve skills while creating a wearable piece. Combining comfort, elegance, and adaptability, it’s an ideal choice for anyone seeking a stylish yet functional addition to their wardrobe.
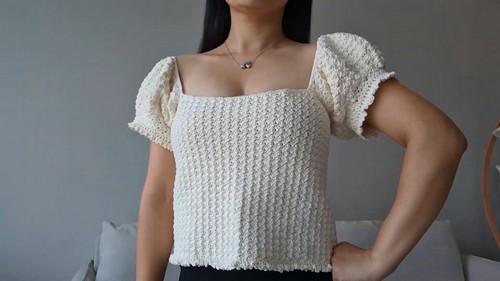
Crochet Bubble Sleeve Top
Materials Needed
- Yarn: Pure cotton yarn in off-white (or your preferred color).
- Crochet Hook: Appropriate size for the yarn, as demonstrated in the video (adjust if needed).
- Stitch Markers: For keeping track of key locations.
- Scissors: To cut the yarn at the ends.
- Needle: For sewing and weaving in ends.
- Elastic (optional): To secure the sleeves or the chest area, if needed.
Step-by-Step Instructions
Step 1: Start with the Body
Crochet the Foundation Chain
- Begin by crocheting a chain. The number of starting chains should be a multiple of 3 + 2.
- Example: 135 base chains + 2 = 137 chains total.
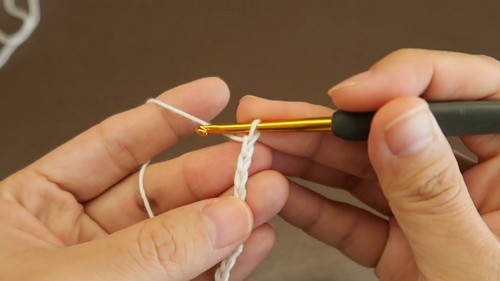
Tips for the Foundation Chain
Since the top will stretch after being crocheted, take this stretch into account when determining the number of chains. Adjust the chain count to fit your chest size.
Step 2: Work the First Two Rows
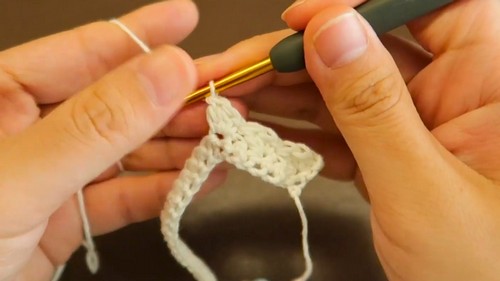
Row 1:
- Insert the hook into the second chain from the hook.
- Crochet a row of single crochets until the end.
Row 2:
- Place a stitch marker in the last stitch of Row 1.
- Start Row 2 by creating clusters:
- Chain 2, and into the marked stitch, work 1 single crochet, 1 half double crochet, and 1 double crochet (all in the same stitch).
- Skip two chains, and repeat this cluster pattern across the row.
- Slip stitch to finish the row.
Step 3: Build the Body Pattern
Repeat Pattern Until Desired Length
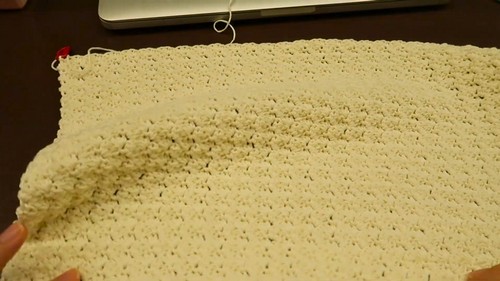
- For Row 3 onward, repeat the cluster pattern (single crochet, half double crochet, double crochet in the same stitch, skip two stitches, and repeat).
- Continue crocheting rows until the body piece fits securely around your chest.
- Check the fit regularly by wrapping the piece around yourself.
Edge Design on the Ends
- Work single crochets across the edge of the top.
- Add additional rows of double crochets to reinforce the ends.
- Repeat this on the opposite edge of the body piece.
Step 4: Create the Sleeves
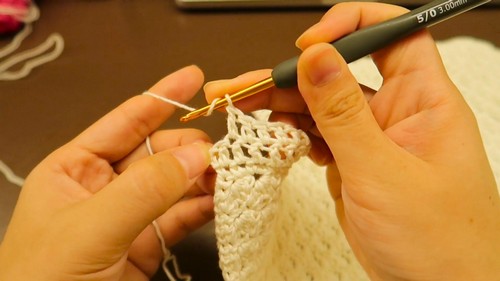
- Foundation Chains for the Sleeves:
- Start with 62 chains (or adjust based on measurements).
- Chains should also follow the formula of a multiple of 3 + 2.
- Work the Sleeve Pattern:
- Begin with a row of single crochets.
- Follow the cluster pattern as used in the body piece.
- Increase Stitches for Puffiness:
- In some rows, perform increases:
- Work a cluster in one stitch, then create an additional cluster in the next stitch without skipping.
- Alternate rows with increases and regular rows, depending on how puffy you want the sleeves.
- In some rows, perform increases:
- Continue Building the Sleeve:
- For puffier bubble sleeves, adjust the row sequence (e.g., include more increases).
- For Rows 10-19, work the regular pattern without increases or decreases to extend the sleeve.
- Decrease at the Cuffs:
- From Row 20 onwards, start decreasing stitches:
- Skip fewer stitches between clusters.
- Work single crochet decreases followed by clusters in certain rows.
- For the last few rows near the cuff, use rows of half double crochets and finish with a row of single crochets for a polished look.
- From Row 20 onwards, start decreasing stitches:
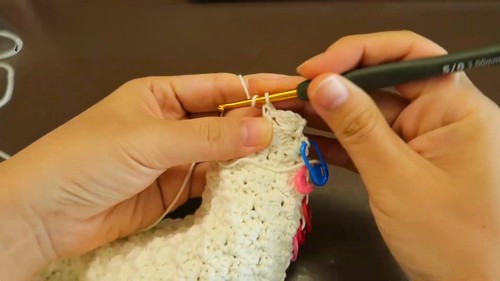
- Lace Edging (Optional):
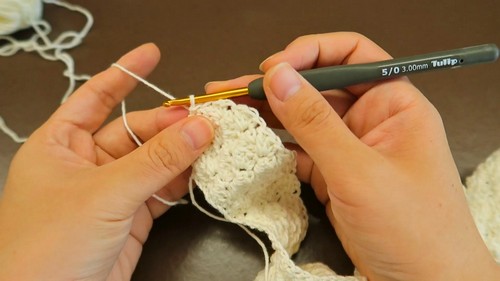
- Add a decorative lace border at the ends of the sleeves using this pattern:
- Chain 4, skip one stitch, single crochet into the next stitch.
- Repeat around the edge.
- Add a decorative lace border at the ends of the sleeves using this pattern:
Step 5: Assemble the Top
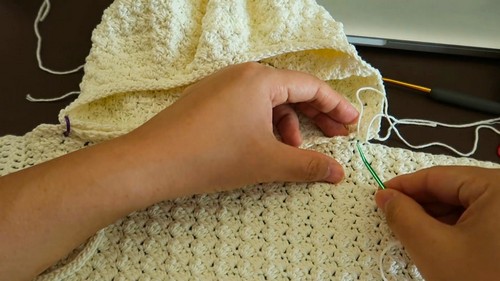
- Attach the Sleeves to the Body:
- Use stitch markers to align the sleeves with the body of the top.
- Start sewing along the edges, ensuring a clean and seamless attachment.
- Sew the Sleeves Closed:
- Turn the sleeves inside out and stitch the seams together for neatness.
- Optional Adjustments:
- If the sleeves or chest are loose, sew elastic bands on the inner edges for added security.
- Add Straps/Bows (Optional):
- Crochet chain strings (around 60–65 chains) and attach them to the chest ends of the top to tie bows for an extra decorative and secure fit.
Special Features
- Highlight: Bubble Sleeves create a trendy and dramatic puffed sleeve effect.
- Customizable Fit: Measurements and patterns can be adjusted according to your body type.
- Versatile Design: Works for casual or formal looks with pants or skirts.
- Decorative Touches: Lace edging and optional bow or strap attachments elevate the elegance of the top.
Level of Difficulty
- Intermediate Level: The project involves a mix of basic and advanced techniques such as increases, decreases, and assembly.
- Beginners can attempt this with practice, especially mastering the cluster stitch and assembling parts carefully.
Tutor’s Suggestions
- Mind the Stretch: Pure cotton yarn stretches slightly after crocheting, so account for this when deciding the size.
- Measure as You Go: Try on the top frequently to ensure the body and sleeve parts fit perfectly.
- Practice Cluster Stitching: The foundation of this project is the single crochet, half double crochet, double crochet cluster, so practice this pattern beforehand.
Uses of the Bubble Sleeve Top
- Casual or Formal Wear: Pair with skirts, jeans, or trousers for various occasions.
- Customizable Clothing: Use different yarn types and colors for endless possibilities.
- Thoughtful Gift: A handmade gift that’s both practical and stylish.
Pro Tip
To ensure that your sleeves don’t slip off the shoulders, sew elastic along the edge of the chest and sleeves. This gives the top a snug fit and prevents it from moving.
Conclusion
The Bubble Sleeve Crochet Top is a visually stunning, customizable wardrobe piece that allows you to enhance your crochet skills while crafting a trendy outfit. Though it requires patience, the final product is well worth the time spent. Experiment with colors, patterns, and adjustments to make it uniquely yours. Follow this guide faithfully, and you’ll have a handmade statement piece that combines comfort and style.