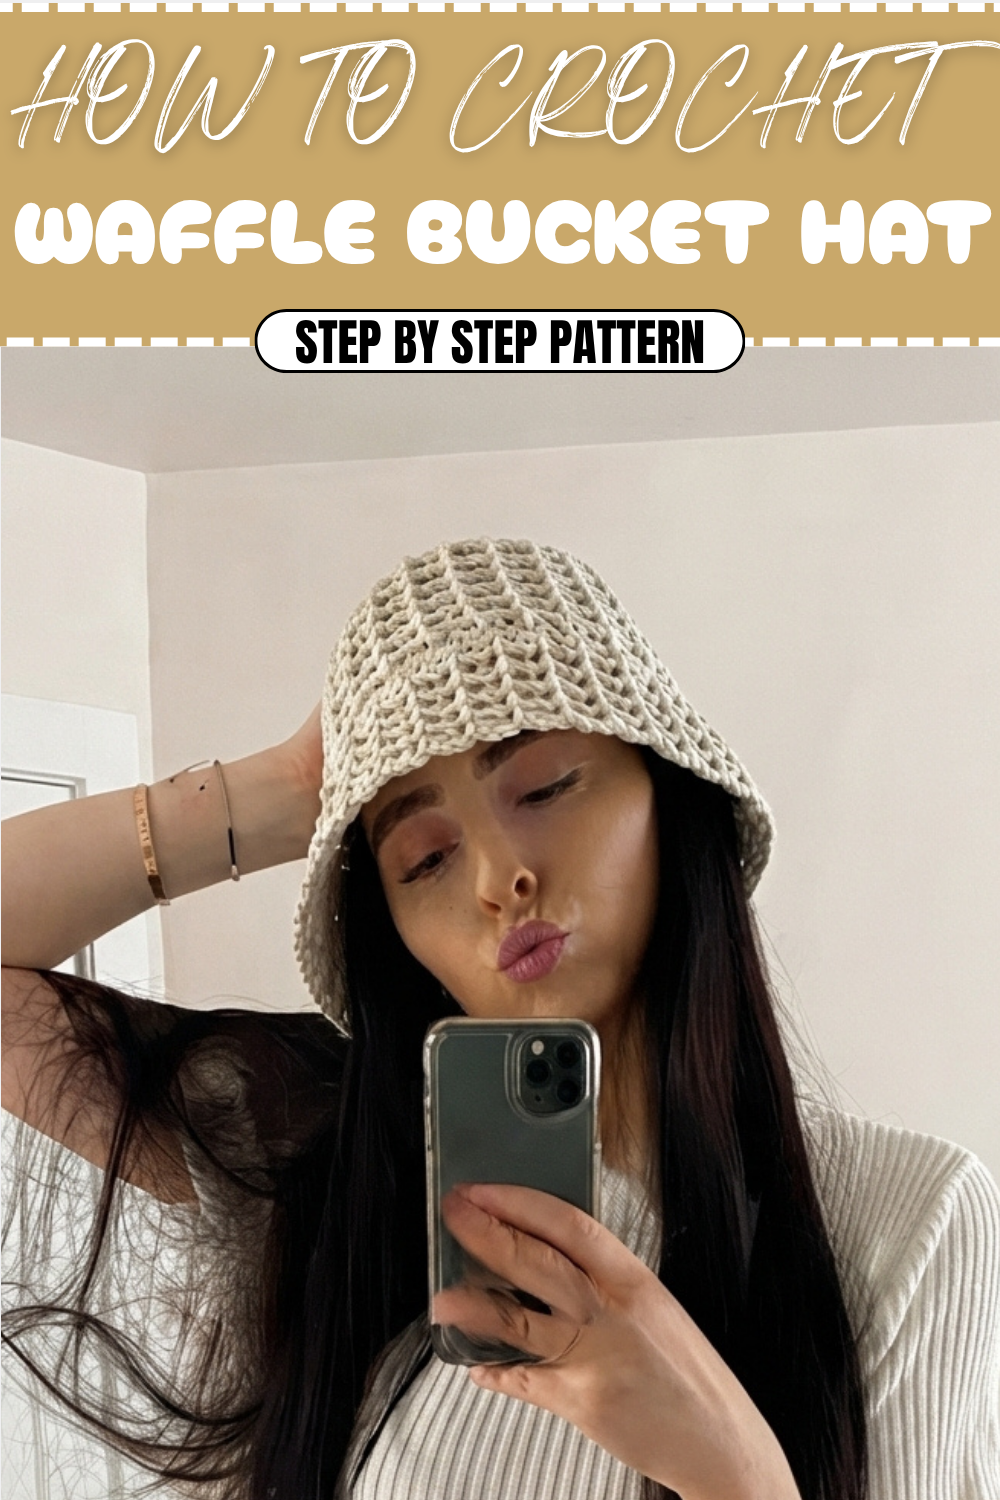
Brighten Crochet Waffle Bucket Hat Pattern With Handmade Style
Top off your style with the Crochet Waffle Bucket Hat Pattern, a cozy and trendy accessory that adds texture, charm, and fun to any look.
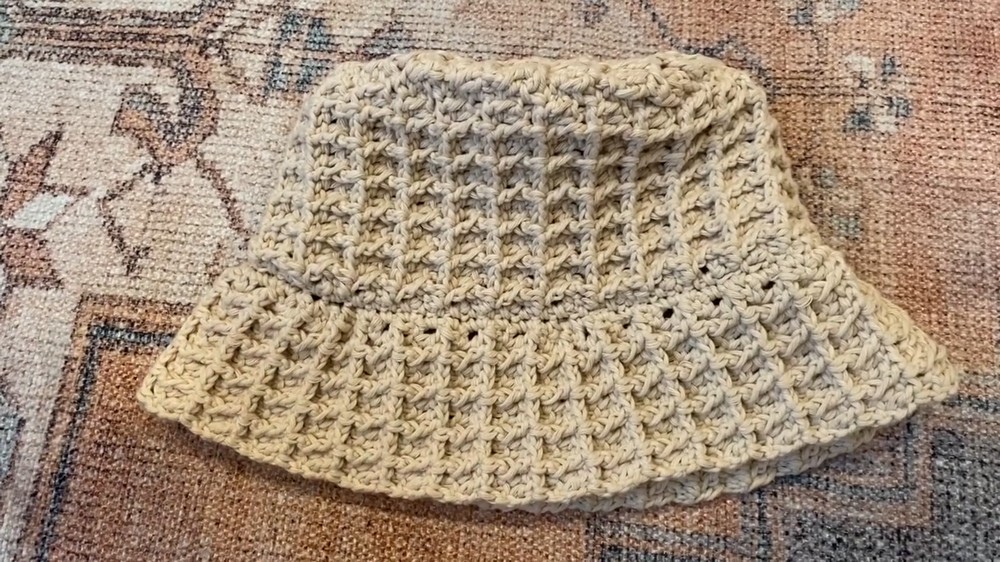
Add a cozy and stylish touch to any outfit with a hat that blends comfort and modern flair. Its soft, lightweight structure, crafted using the Crochet Waffle Bucket Hat Pattern, creates a unique textured look that stands out while ensuring a comfortable fit for all head sizes. The waffle-like design adds both visual interest and durability, making it a practical accessory for everyday wear.
Treat Crochet Waffle Bucket Hat Pattern That Feels Fresh
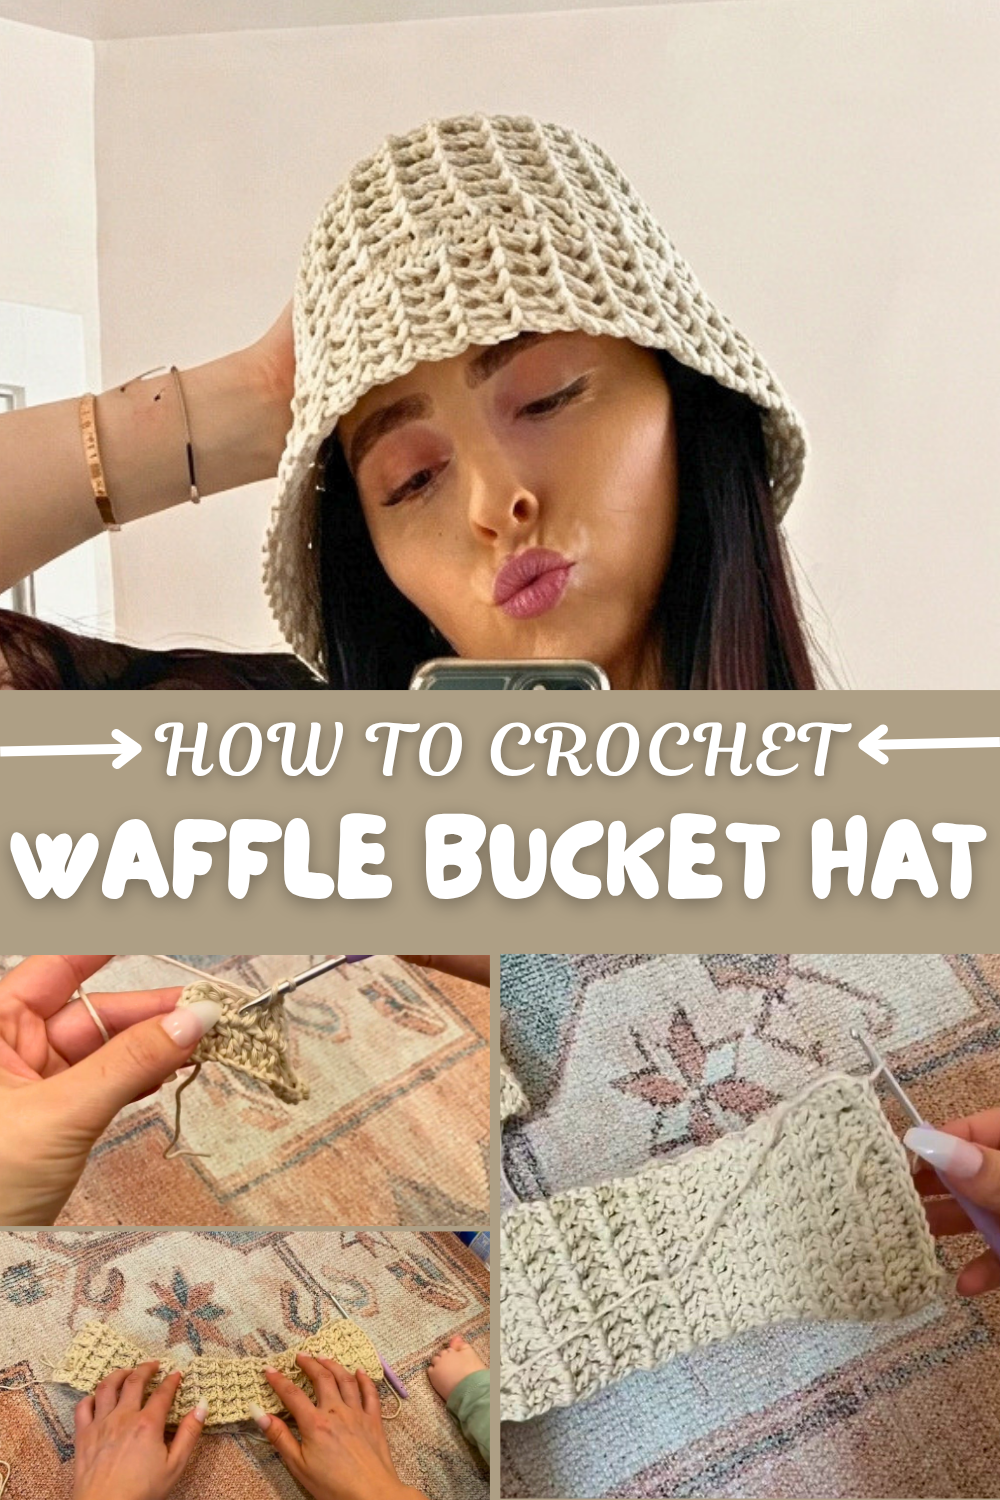
This pattern is versatile, letting crocheters experiment with yarn colors, thicknesses, and brim lengths to match personal style or seasonal trends. Perfect for casual outings, beach days, city strolls, or as a thoughtful handmade gift, it combines creativity with function. Beginner-friendly yet satisfying, the project strengthens crochet skills while producing a stylish, wearable piece. With its combination of charm, comfort, and adaptability, this hat is a must-have addition to any wardrobe.
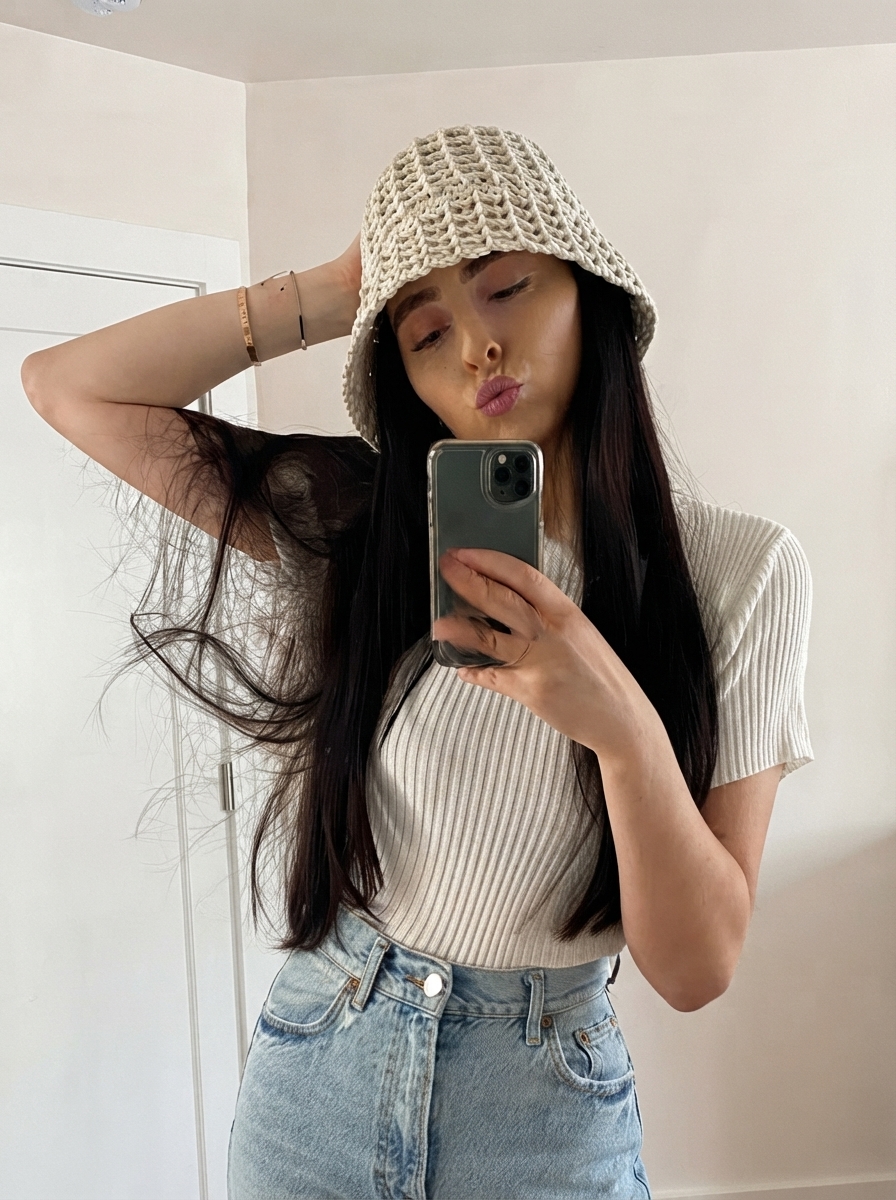
Waffle Pattern Bucket Hat Crochet
Special Features
- Waffle Pattern Texturing: The waffle stitch adds a unique, grid-like 3D texture, making the hat visually appealing.
- Three-Part Construction: The hat is built in three sections (brim, middle, and top), which ensures structure and a polished finish.
- Customizable: The pattern size can be adjusted by altering the number of rows or stitches, allowing you to scale it up or down.
- Durable & Comfortable: Made using 100% cotton yarn, the hat feels comfortable and is suitable for outdoor wear, especially in warm weather.
Level of Difficulty
- Skill Level: Intermediate
- While the waffle stitch itself is beginner-friendly, integrating the stitch into the functional hat design and assembling the hat components can be slightly challenging for new crocheters.
- Challenges:
- Achieving consistent waffle stitch pattern alignment.
- Properly decreasing and increasing stitches while maintaining the waffle pattern.
- Connecting the individual sections seamlessly.
Tutor’s Suggestions
- Follow a Consistent Pattern: Always double-check stitch alignment when alternating between rows with regular double crochets and back post double crochets.
- Pay Attention to Sizing: The recommended number of rows (e.g., 66 rows for the brim, 51 rows for the middle, and an 8-row circle at the top) ensures proper proportions. Adjust as needed for a personalized fit.
- Experiment with Yarn Colors: Try using different yarn colors for a more dynamic look, while maintaining cotton yarn for comfort and structure.
- Practice the Waffle Stitch: If the stitch is unfamiliar, practice on a swatch to master alternating double crochets and back post double crochets.
Materials You’ll Need
- 100% Cotton Yarn: Weight 4 (The video uses Paintbox Yarn). Cotton is preferred for durability and structure.
- Crochet Hook: 3.75 mm (US size F).
- Scissors: For trimming yarn.
- Tapestry Needle: For weaving in ends and securing final connections.
Step-by-Step Instructions
1. Brim of the Hat
- Begin by chaining 14 stitches.
- Use the waffle stitch throughout the brim. This involves:
- Placing one double crochet in each chain for the first row.
- Alternating between regular double crochets and back post double crochets in the next rows to form the pattern.
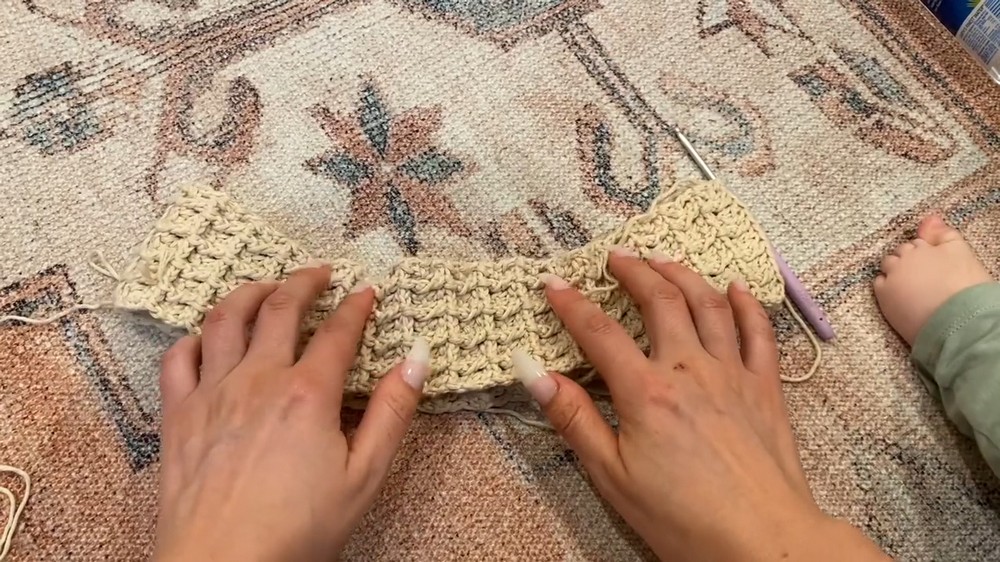
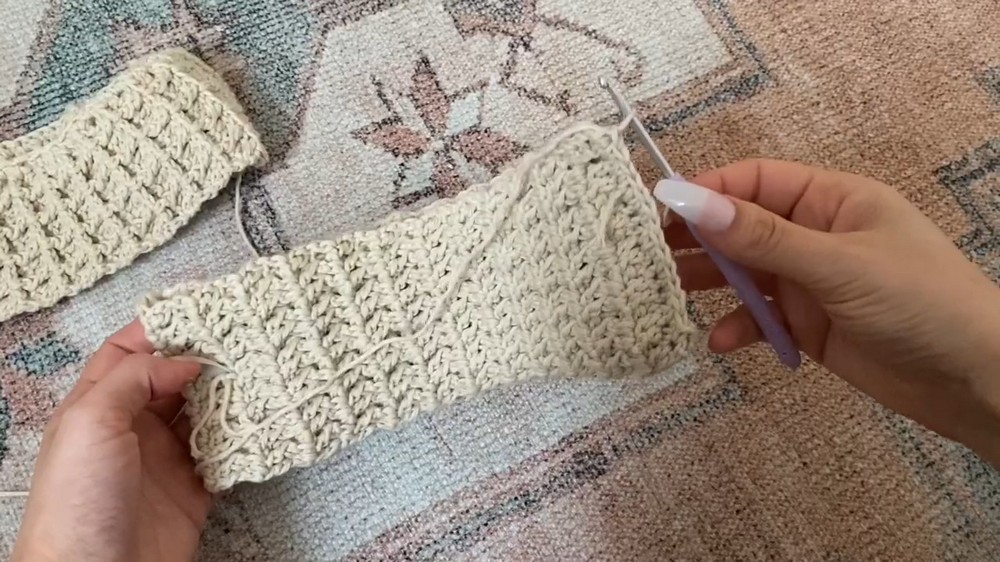
- Repeat for 66 rows to form a long strip.
- Curve the brim slightly for a bucket-style look by placing single crochets along one side of the brim.
- Decrease at 4 specific points evenly spaced across the brim by skipping chains.
- Curve the edges of the brim by decreasing every fifth row.
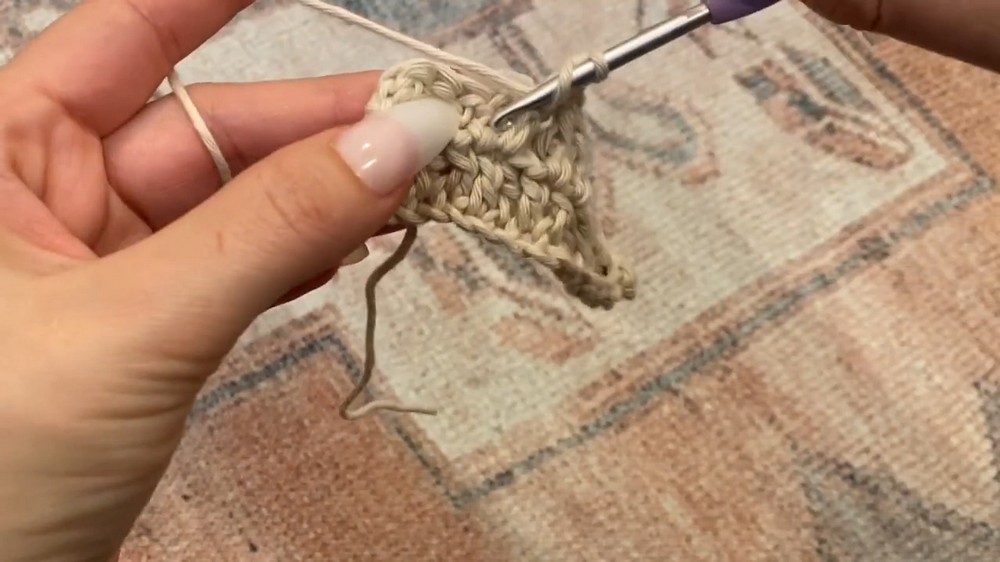
2. Join the Brim
- With the waffle pattern facing inward (wrong side facing you), fold the brim in half.
- Use single crochet stitches to connect the two short edges, forming a ring.
3. Create the Middle Band
- Chain 20 stitches to start and repeat the waffle stitch pattern as done with the brim.
- Crochet for 51 rows to create the slightly taller middle section of the hat.
- Attach the ends using single crochet to form a loop, ensuring the waffle side is facing outward.
4. Attach Brim and Middle Band
- With both the brim and middle band flipped so the waffle side is on the inside:
- Align the edges of their seams.
- Use single crochet stitches to attach the middle band to the brim, working all the way around.
5. Create the Top Circle
- Start by chaining 15 stitches and repeating the waffle stitch pattern.
- To form a circular shape:
- Increase stitches at the beginning and end of each row by adding two double crochets to the first and last chain.
- After completing 8 rows, start decreasing to mirror the curve.
- Decrease stitches at the beginning and end of each row by combining two adjacent stitches into one.
- The result is a rounded top piece that fits perfectly on the hat.
6. Attach the Top Circle
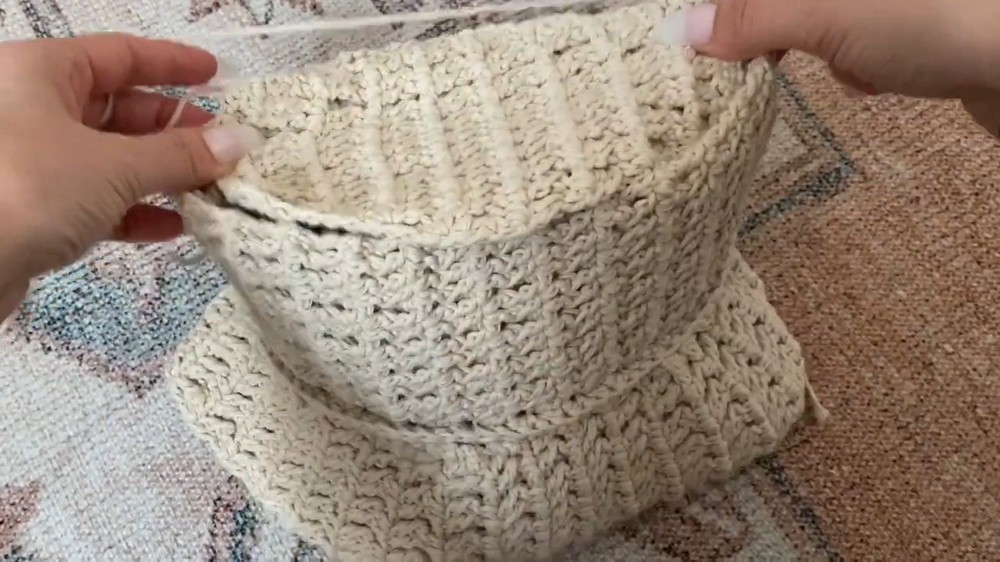
- Flip the hat inside out (wrong side facing outward).
- Line up the top circular piece with the open top of the middle band.
- Use single crochet stitches to attach the top piece, molding it to the shape of the middle section as you go.
Uses of the Crochet Bucket Hat
- Fashion Statement: A stylish accessory perfect for summer outings, picnics, or casual wear.
- Gifting: Makes a heartfelt handmade gift for friends or family.
- Outdoor Use: Protects from the sun while adding a trendy touch to your outfit.
Tip for Success
When working on the waffle stitch, always keep track of which side you are on (right side vs. wrong side) as this determines the stitch pattern. Alternating rows correctly ensures a consistent and neat waffle texture throughout the hat.
Conclusion
The Waffle Pattern Bucket Hat is a creative and versatile crochet project that results in a stylish, textured piece suitable for various uses. Although slightly challenging for beginners, the video breaks the process into manageable steps that intermediate crocheters can master with practice.