
Free Crochet Flower Bucket Hat Pattern for Fun Summer Trips
Try this free crochet flower bucket hat pattern and enjoy making a handmade accessory that’s light, pretty, and stylish.
On a bright, sunny afternoon, you might find yourself wishing for the perfect accessory to add charm to your summer outfit while keeping you shaded and cool. That's where the gorgeous flower bucket hat comes into play. With its soft, feminine look and flowy structure, this hat stands out as both practical and beautiful. Whether it’s for a picnic, a casual day at the beach, or simply a morning walk in the park, this hat is a must have for adding a touch of comfort and style.
Free Crochet Flower Bucket Hat Pattern to Match Your Style
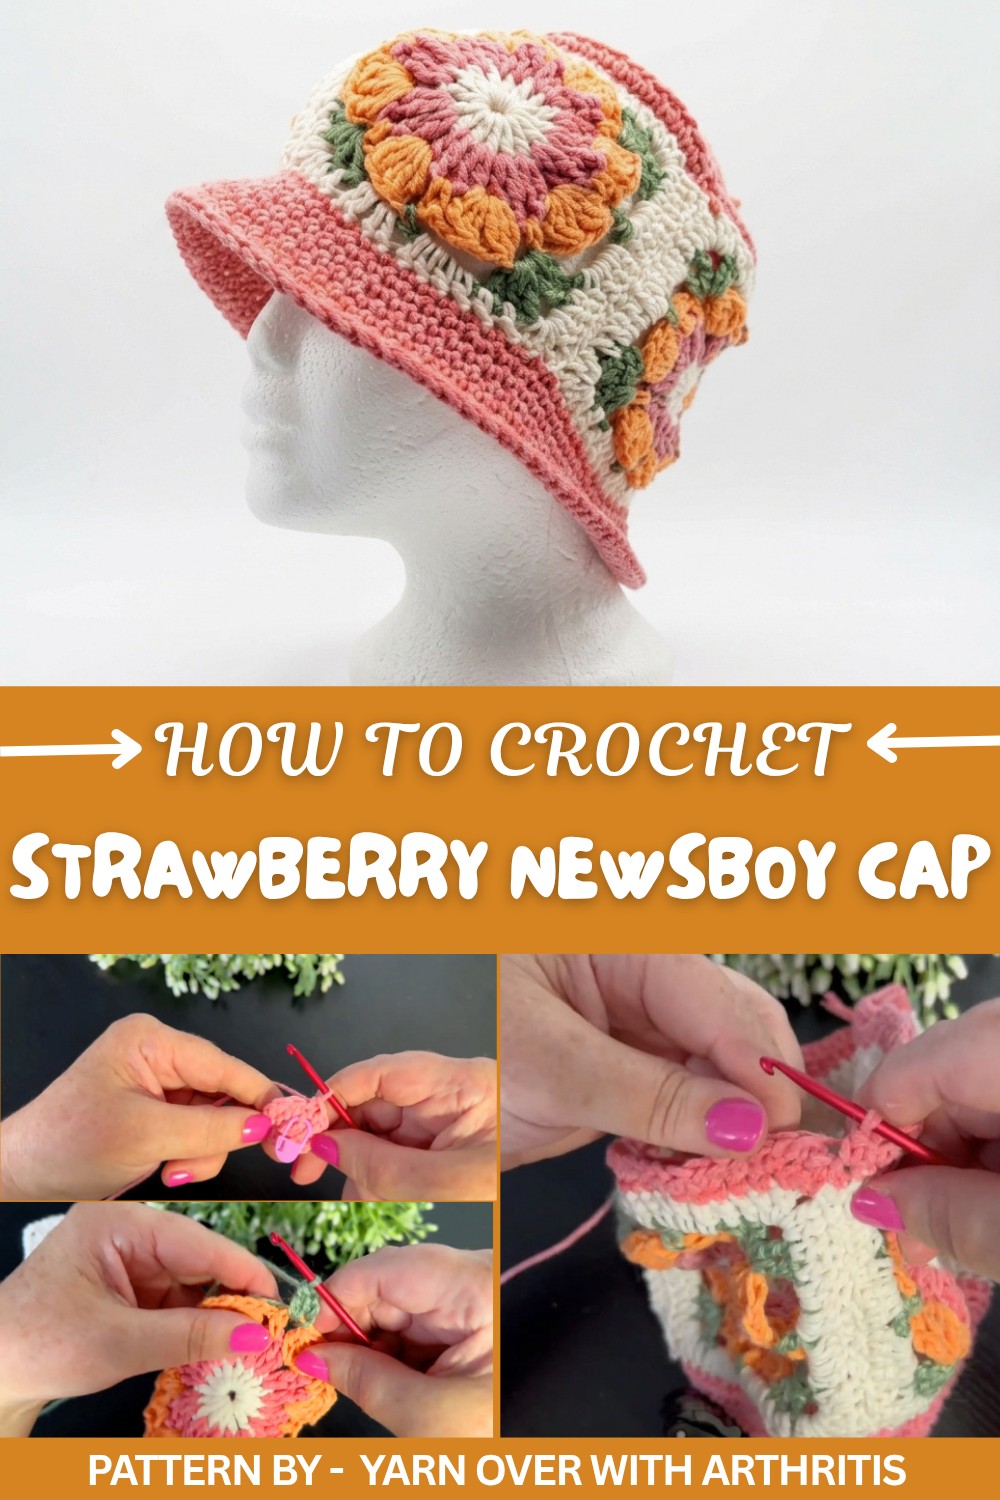
The hat’s standout feature is its floral inspired granny squares, which form an elegant band around the crown. These squares bring texture and visual interest, creating a vibrant focal point. Paired with a wide, soft brim, it offers not only a fashionable look but also much needed shade during those sunny days. The 10 ply cotton yarn used gives it a lightweight, breathable finish, making it comfortable for outdoor wear. Plus, with a variety of colors to choose from, it’s easy to customize this hat to match your wardrobe or mood.
Patterned By Yarn Over With Arthritis
This stunning flower bucket hat is taught by Rachel, the talented mind behind the popular YouTube channel Yarn Over With Arthritis. What sets Rachel apart is her thoughtful teaching style, designed to make crocheting enjoyable for everyone, including those with physical challenges like arthritis. Her channel is a wonderful resource full of step by step guides and gentle tips for making amazing crochet projects, one stitch at a time.
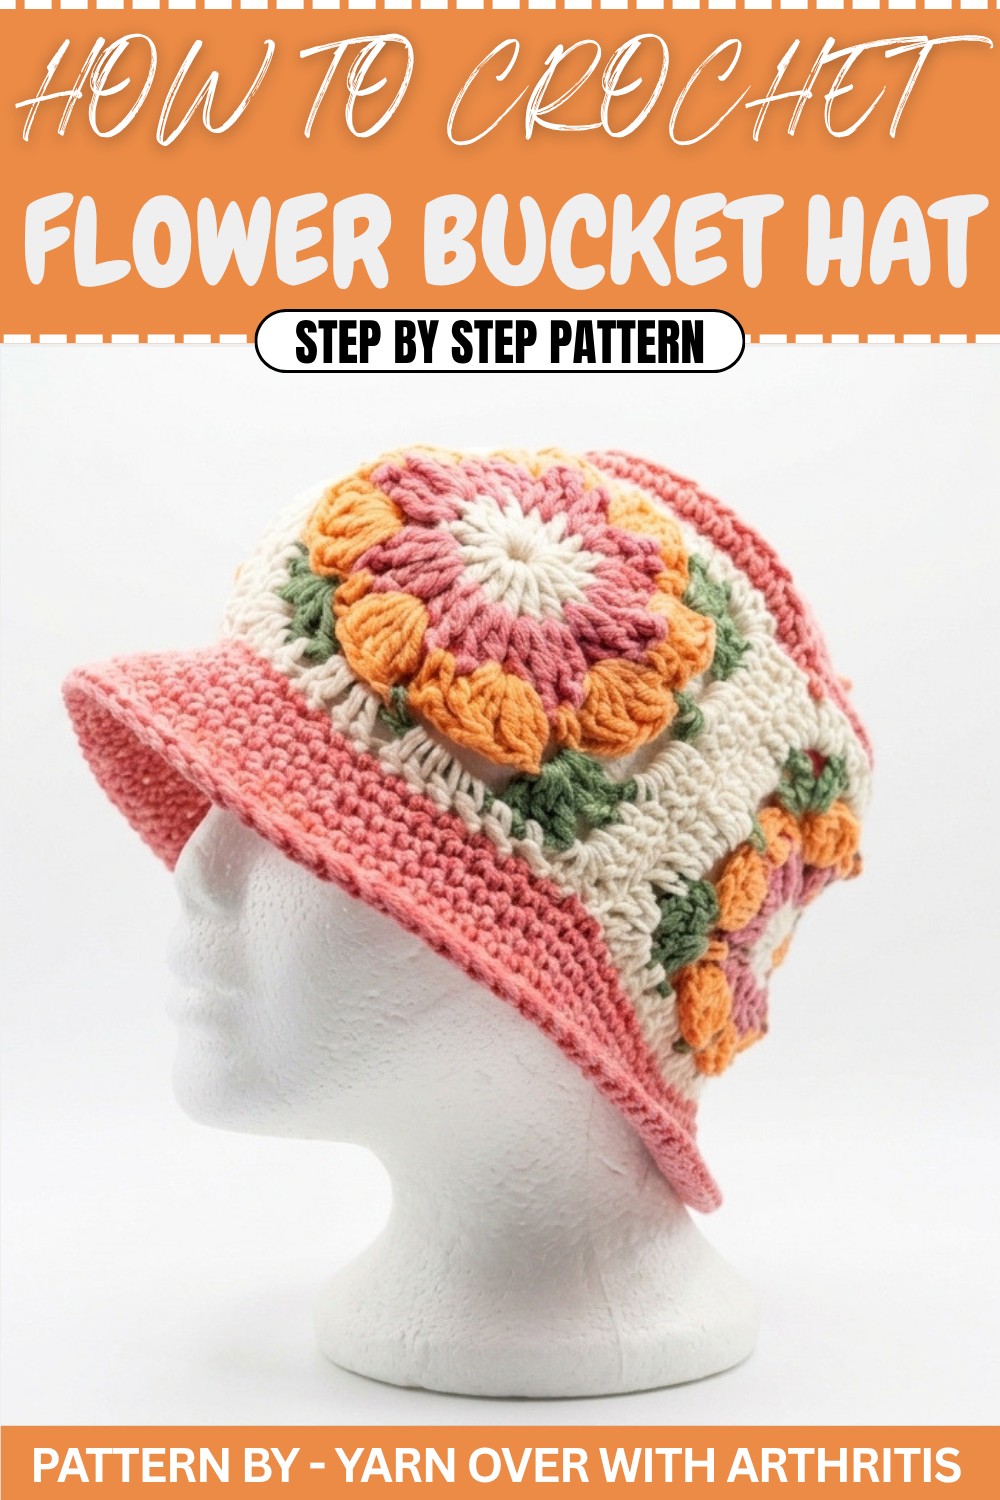
In this specific tutorial, Rachel shares every detail of shaping the crown, joining the granny squares, and forming the wide brim. Her approach is straightforward, ensuring no one is left behind. It’s a great opportunity to try something new, follow along, and create something you’ll be proud to wear.
Crochet Pattern: Summer Flower Bucket Hat
This crochet summer flower bucket hat is designed to fit children aged 7–11 years and features a charming floral motif around the crown. It combines elements of classic bucket hat style with colorful granny square details, making it ideal for sunny days. Created with 10 ply cotton yarn and a 3.5mm hook, this step by step pattern ensures a fun and creative project.
Quick Overview of the Pattern
- Project Type: Summer bucket hat with sunflower inspired granny squares
- Main Features:
- Rounded crown with gradual increases
- Floral granny square band
- Flowy brim with detailed edging
- Techniques Used:
- Single crochet, double crochet, and triple crochet
- Cluster stitches for floral details
- Working in the round and assembling pieces
Notes
- The instructions below provide details for the hat as described, but you may adjust the size by adding or reducing rounds during the increase section or altering the brim width.
- Keep stitch markers handy to mark your starting points, particularly when working in the round.
- Use sturdy cotton yarn to maintain the hat's structure and shape.
Skill Level
Intermediate. This project involves simple stitching and intermediate techniques, such as cluster stitches and granny square assembly.
Materials
- Yarn:
- 10 ply cotton yarn in three colors: White, Pink, and Green.
- Crochet Hook:
- 3.5mm for the main hat and brim.
- Additional Tools:
- Scissors
- Tapestry needle
- Stitch markers (optional but recommended)
Measurements / Sizing
- Hat circumference: ~22 inches (56 cm)
- Brim width: ~3 inches (7.5 cm)
Gauge
- 10 single crochets (sc) x 10 rows = 4 inches with a 3.5mm hook.
Stitch Abbreviations
- ch: Chain
- sl st: Slip Stitch
- sc: Single Crochet
- dc: Double Crochet
- tr: Treble Crochet
- cl: Cluster Stitch (explained in “Special Stitches”)
- st(s): Stitch(es)
Special Stitches
- Cluster Stitch (cl):
- Yarn over, insert hook into the stitch, yarn over, and pull up a loop (3 loops on hook).
- Yarn over and pull through 2 loops on the hook.
- Repeat for a total of 3 incomplete double crochets in the same stitch. You should have 4 loops on the hook.
- Yarn over, pull through all loops, and secure the cluster with a chain 1.
- Back Loop Only (BLO):
- Insert the hook into the back loop of the stitch only, instead of under both loops, to create a ribbed or textured effect.
The Crochet Pattern
1. Top of the Hat (Crown)
- Start the Base:
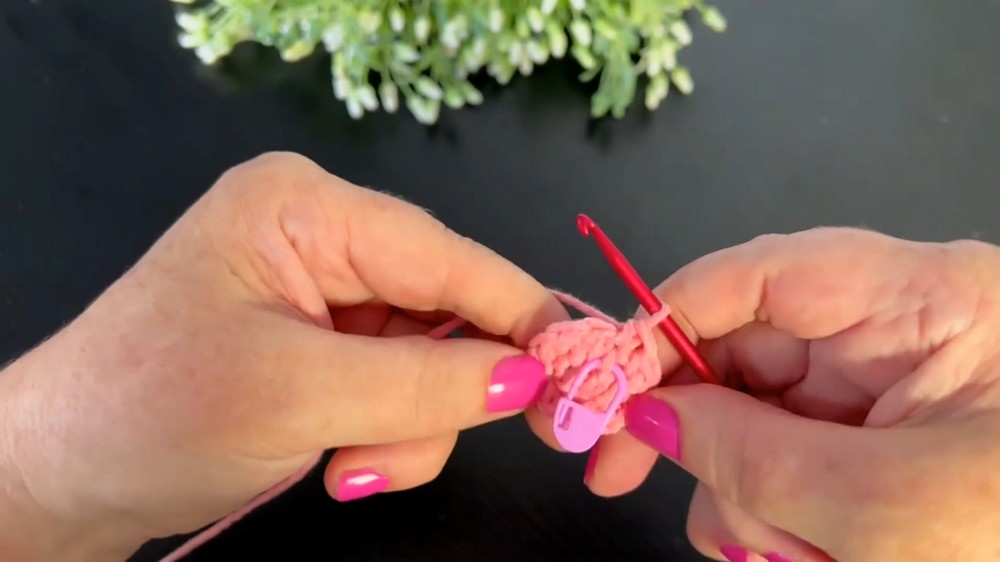
- Make a slip knot, chain 4, and slip stitch into the first chain to form a circle (0:42–0:58).
- Round 1:
- Work 8 single crochets (sc) into the circle. (8 sts)
- Round 2:
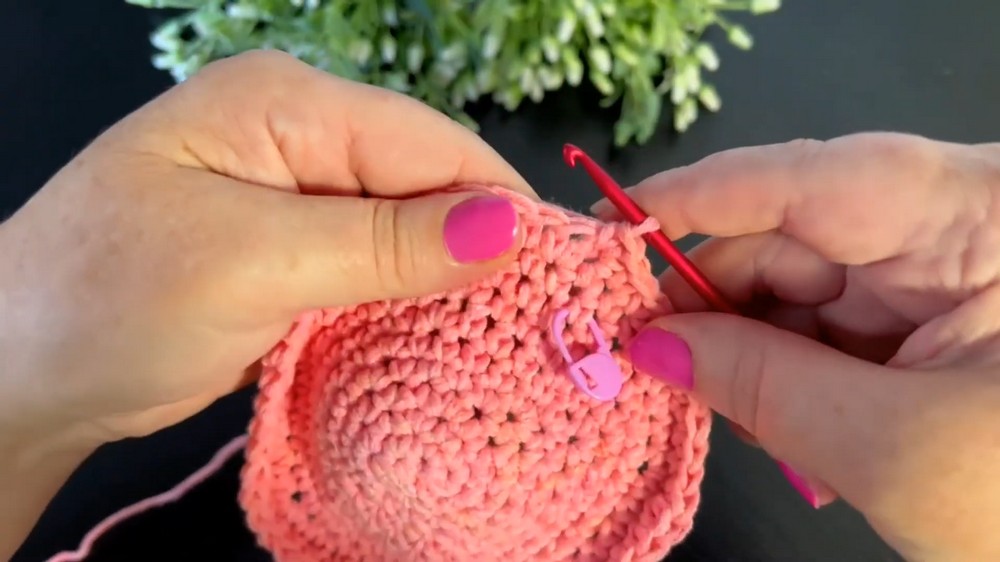
- Place a stitch marker to mark the start of the round.
- Work 2 sc in each stitch around. (16 sts)
- Rounds 3–10 (Increase Rounds):
- Continue increasing by working 2 sc into the first stitch of each sequence, with one additional stitch between increases each round:
- Round 3: (2 sc in first stitch, 1 sc in next stitch) – Repeat around. (24 sts)
- Round 4: (2 sc in first stitch, 2 sc in next two stitches) – Repeat around. (32 sts)
- Round 5: (2 sc in first stitch, 3 sc in next three stitches) – Repeat around. (40 sts)
- Continue this pattern until Round 10, where the sequence becomes (2 sc in first stitch, 10 sc in next ten stitches).
- Continue increasing by working 2 sc into the first stitch of each sequence, with one additional stitch between increases each round:
- Round 11:
- Work 1 sc into the back loop only (BLO) of each stitch around to create a defined edge for the top of the hat (11:29).
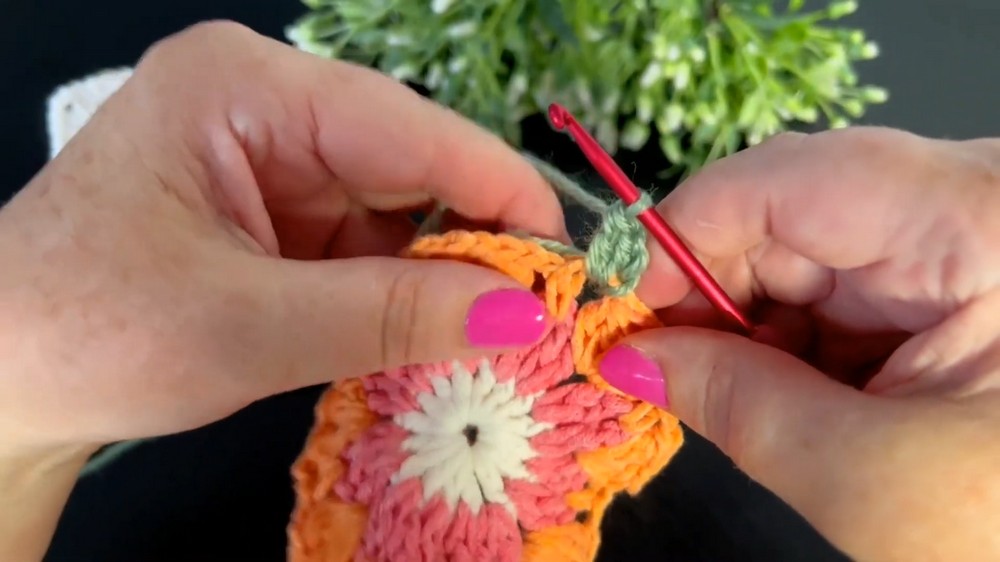
2. Granny Squares (Make 4)
- Center Circle:
- With white yarn, make a slip knot and chain 5. Slip stitch into the first chain to form a circle.
- Work 16 double crochets (dc) into the center of the circle (13:34–13:57).
- Round 2:
- Attach the pink yarn to any gap between double crochets.
- In each gap, work (2 dc, ch 2, 2 dc) to form clusters. Chain 1 between each cluster (16:32–17:49).
- Round 3 (Cluster Stitch):
- In the next round, work a cluster stitch (cl) with the pink yarn:
- (1 cl, ch 1, 1 cl) in the same gap.
- Chain 2, single crochet into the next gap, and repeat until the round is complete.
- In the next round, work a cluster stitch (cl) with the pink yarn:
- Round 4 (Corner Formation):
- Attach green yarn to any single crochet from the previous round.
- In corner gaps, work: (1 dc, 1 tr, ch 2, 1 tr, 1 dc).
- Chain 4, skip a gap, work 1 half double crochet (hdc) in the next gap. Repeat for all sides (23:59–28:26).
- Round 5 (Fill with White):
- Reattach white yarn.
- Work dc stitches into stitches and spaces:
- In corners: (2 dc, ch 2, 2 dc).
- Work 4 dc into each chain-4 gap. Continue around and fasten off.
3. Assembly and Brim
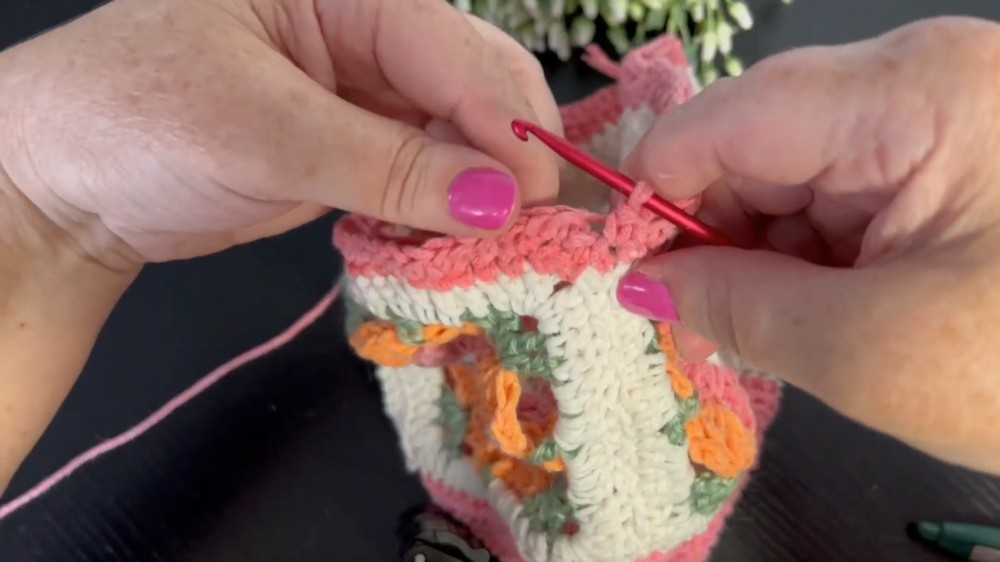
- Assembling Granny Squares:
- Sew the four squares together, forming a continuous band.
- Attach to Hat:
- With the right sides facing, attach the granny square band to the bottom edge of the top circular piece.
- Use slip stitches or single crochets to join, working evenly around the edges (32:20–33:00).
- Brim:
- Attach pink yarn to the bottom edge of the granny square band.
- Round 1: Work 1 sc into every stitch around (34:31–34:40).
- Increase Rounds:
- Perform alternating increase and plain rounds:
- Increase Rounds: (2 sc in the first stitch, 1 sc in the next 5 stitches) – Repeat around.
- Plain Rounds: Work 1 sc into each stitch around.
- Alternate these rounds until the brim reaches your desired width (~3 inches) .
- Perform alternating increase and plain rounds:
Assembly & Finished Size
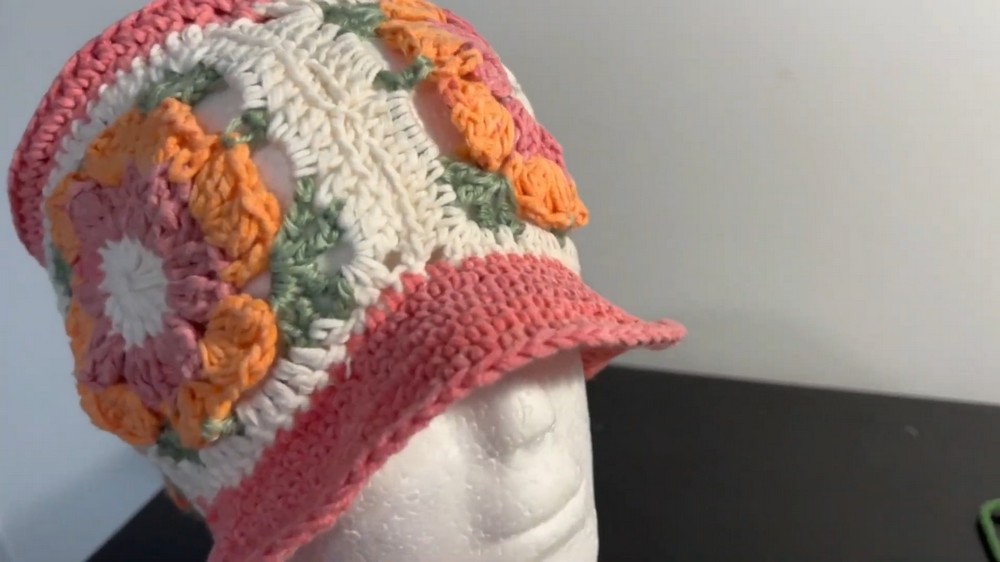
- Weave in all loose ends with a tapestry needle for a neat finish.
- The hat should have a snug, comfortable fit for children aged 7–11 years, with a soft flowy brim.
Conclusion
Your summer flower bucket hat is now finished. This project combines the beauty of granny squares with a practical bucket hat design. The floral motif adds charm and makes it an excellent accessory for warm weather. Wear it for sunny outings or gift it to a loved one—you’ll surely bring smiles with this handmade treasure.