
Simple Steps to Crochet an Adorable Flower Top Free Pattern
Float through peaceful afternoon beach walks using an Easy Crochet Flower Top Pattern because a soft breathable floral shirt keeps you feeling cool.
Nothing beats the charm of a stylish summer outfit that captures the spirit of the season. The Cutest Crochet Flower Top Free Pattern brings a perfect mix of playful elegance and breezy comfort, making it a must have for warm days. Whether you're headed to a picnic, a beach trip, or a music festival, this delightful top is sure to turn heads. Versatile and functional, it pairs effortlessly with denim shorts, flowy skirts, or layered over a casual dress.
Cutest Crochet Flower Top Free Pattern for a Handmade Wardrobe
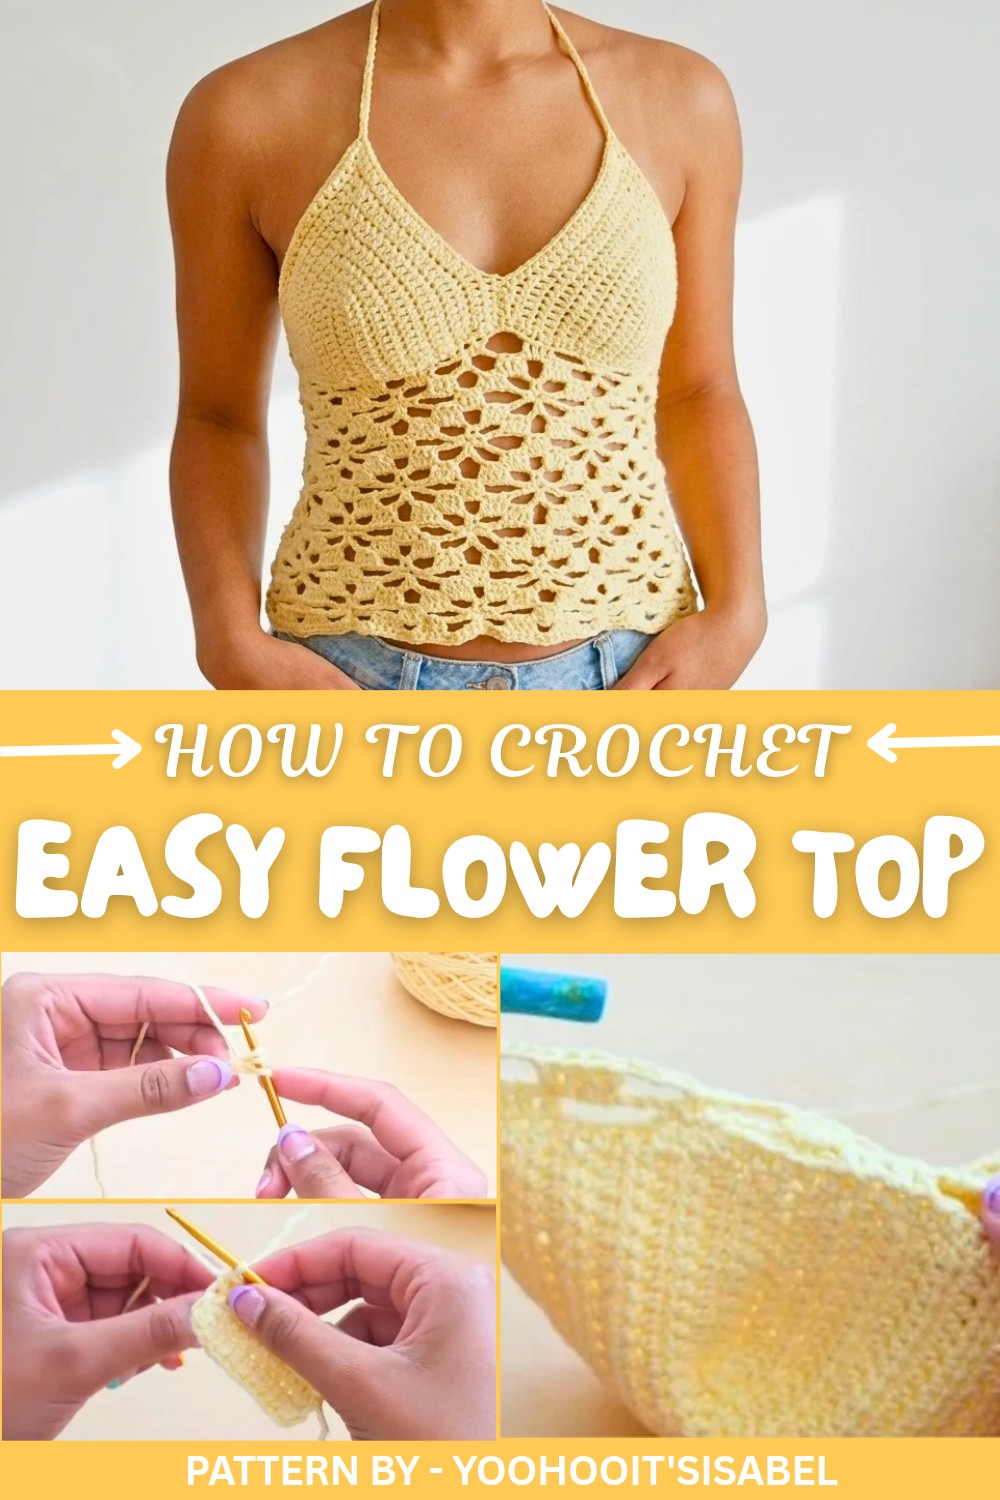
The top’s design radiates with delicate floral touches and a breathable lace texture that feels as good as it looks. With its fitted cups and soft ties, it offers a flattering fit while ensuring you stay comfortable all day long. The airy body of the top allows for a graceful drape, while the floral accents lend it an aura of charm and uniqueness. Perfectly suited to spring and summer, this piece is designed with both style and practicality in mind.
Pattern By yoohooit'sisabel
What truly makes this top stand out is the combination of its exquisite details and its adaptability for different sizes and styles. You can even personalize it using your favorite color palette to make it truly one of a kind. Ready to elevate your wardrobe with something effortlessly chic?
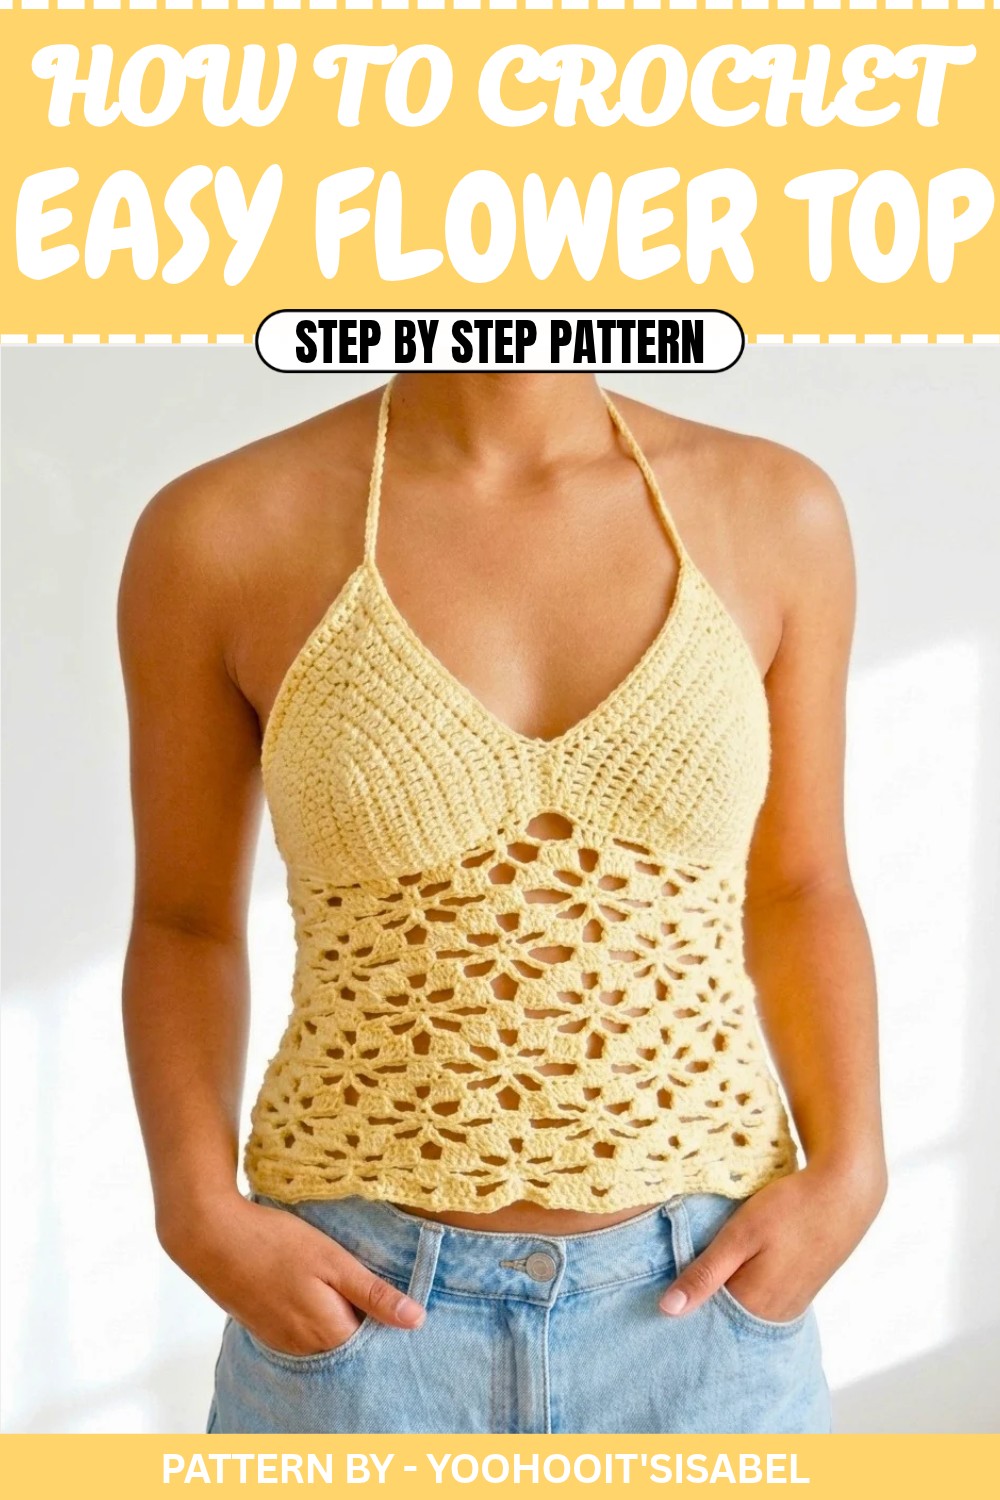
Crochet Summer Top Pattern
Create a lightweight, flattering crochet summer top with this simple yet stunning pattern. Whether you're looking for a fun project or a wardrobe update, this pattern combines practical design with elegance. Perfect for beginners and intermediate crocheters, the instructions ensure you can make a top you'll love to wear.
Quick Overview of Pattern
- Project: Crochet Summer Top with Cups and Straps
- Skill Level: Beginner to Intermediate
- Time to Complete: Approximately 5–7 hours
- Highlight: Uses foundation stitches and simple shaping for a comfortable fit
- Customizable Fit: Easily tailored to your measurements for a perfect summer top
Notes
- The top is constructed in parts: cups first, then the body, and finished with straps and ties.
- Use cotton DK weight yarn for breathability and a soft finish.
- You’ll need to work multiple repeats to shape the cups evenly.
Skill Level
Beginner to Intermediate – Ideal for those familiar with foundation stitches like chains, half double crochet (hdc), double crochet (dc), and slip stitches.
Materials
- Yarn: Approximately 130 g of DK weight cotton yarn (adjust based on your preferred size).
- Hooks:
- 4.0 mm for the cups
- 4.25 mm to 4.5 mm (depending on preferred tension) for the body
- Scissors
- Tapestry Needle
- Stitch Marker (optional)
Measurements/Sizing
This top is easily adjustable:
- Cups: Follow the underbust to mid bust measurement for chains.
- Body and Straps: Adjust the strap length and body width for your desired dimensions.
Gauge
- Cups: Approx. 9–12 rows per cup for medium coverage.
- Body: Work in multiples of 17 stitches for uniformity.
Stitch Abbreviations
- ch: Chain
- sc: Single Crochet
- hdc: Half Double Crochet
- dc: Double Crochet
- sl st: Slip Stitch
Special Stitches
Half Double Crochet (HDC):
- Yarn over, insert hook into stitch, and pull up a loop (3 loops on hook).
- Yarn over, pull through all 3 loops on the hook.
Double Crochet (DC):
- Yarn over, insert hook into stitch, and pull up a loop (3 loops on hook).
- Yarn over, pull through 2 loops.
- Yarn over, pull through the final 2 loops.
The Crochet Pattern
Cups
Step 1: Create the Initial Chain
- Using 4.0 mm Hook:
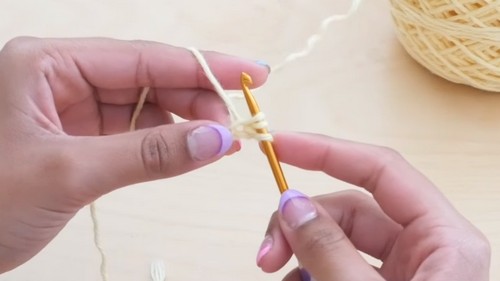
- Form a slip knot by wrapping yarn around fingers twice, pulling the second loop, and tightening.
- Chain enough to reach from your underbust to the middle of your bust. (Example: 12 chains).
Step 2: First Row of HDCs
- Work into the Chains:
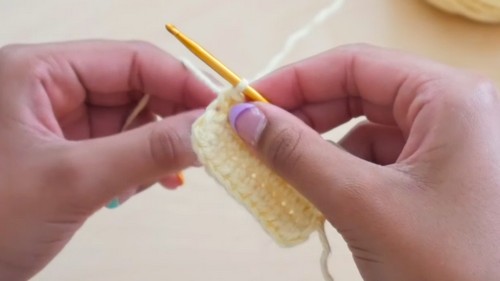
- Starting in the second chain from the hook, work hdc into every chain across.
Step 3: Shape the Cups
- Turn and Work on the Underside:
- At the last chain, flip your work to the underside.
- Work 3 hdc in the first underside stitch to create a rounded edge.
- Continue working hdc down the underside of the chains to match the stitch count from the top.
Step 4: Build the Cup Rows
- Repeat Rows for Shaping:
- At the end of the row, ch 1 and turn.
- Hdc in every stitch across, stopping at the 3 hdc cluster from the previous row.
- Work 3 hdc in the middle stitch of each cluster for shaping.
- Repeat this process until the cup reaches your desired size (approx. 12 rows).
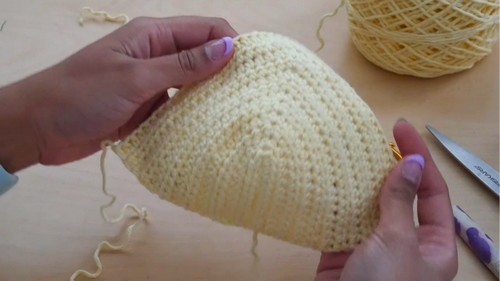
Step 5: Finish the Cups
- Once the cups are shaped, yarn over, pull through, and cut your yarn.
- Leave a long tail on one cup only for sewing.
- Repeat the above steps to make the second cup.
Cup Assembly
- Sew the Cups Together:
- With a darning needle, sew the cups together at the center.
- Adjust the connection depth to match your desired fit (e.g., stitch together 3–4 stitches).
- Weave in the extra tail when complete.
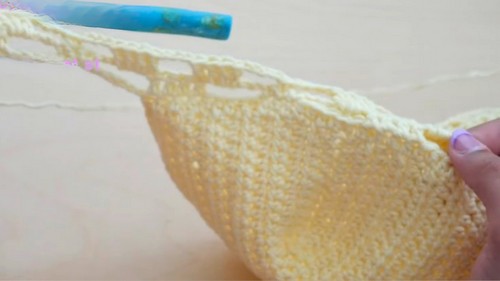
Body of the Top
Step 1: Align the Cups and Begin Chains
- Determine Chains:
- Begin with ch 17 for the first side of the body.
- Attach to the Cups:
- Use hdc to attach to the side edge of a cup.
- Work hdc across the cup edge, ensuring stitch count is in multiples of 17.
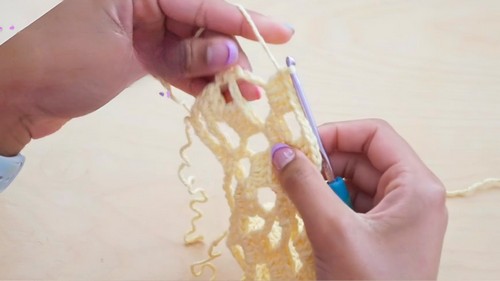
Step 2: Complete the Back Chains
- At the end of the row across the cup, ch 17 (length should match the initial chain).
Pattern Stitches for the Body
Row 1: Foundation Row
- Chain 3 and Turn:
- Skip the first 3 chains, then work 4 dc into the fourth chain.
- Chain 5 and Skip Stitches:
- Skip 5 chains and work sc into the sixth chain.
- Work 3 sc into the next three stitches.
- Chain 5: Skip stitches and repeat until the end of the row.
- End the row with 3 sc and a final dc into the last stitch.
Row 2: Developing the Clusters
- Chain 3 and Turn:
- In the first space, work 3 dc, chain 4, sc in middle sc, chain 4, 3 dc cluster in next space.
- Repeat across the row. End with dc in last stitch of the row.
Row 3: Row Repeats Begin
- Continue alternating row patterns across the top as established.
Repeat Rows
- Work Rows 1–6 in a repeating sequence until the top reaches your desired length.
Edging and Finishing the Body
- Single Crochet Border:
- Work sc across the top edge, ensuring to fill chain spaces evenly.
- Fasten Off:
- Cut yarn and secure with a slip knot at the end.
Straps and Back Ties
Step 1: Add Shoulder Straps
- Find Center Stitch:
- Attach yarn at the middle stitch of the 3-hdc cluster on the cup.
- Chain: Work 100 chains for the strap length.
- Work sl st back across the chains to strengthen the strap.
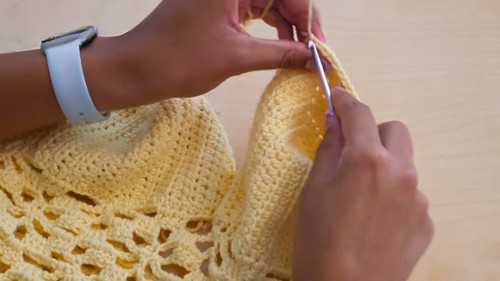
Step 2: Add Back Ties
- Side Chains:
- Attach yarn to the foundation edge of the top's side.
- Chain 70 for ties, then work sl st back down the chains.
- Repeat on the opposite side for symmetrical ties.
Assembly & Finished Size
- Join All Parts: Ensure all edges are sewn neatly.
- Weave in Ends: Use your tapestry needle to hide all loose ends.
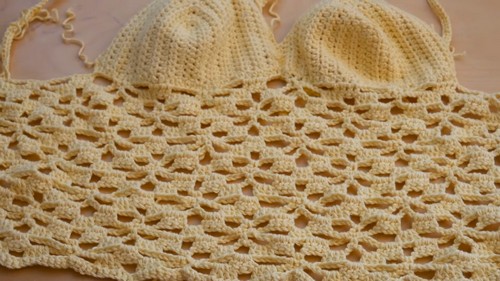
Conclusion and Final Words
Congratulations! You’ve created your very own crochet summer top. This breezy and stylish piece is perfect for warm weather, festivals, or pairing with skirts and shorts for the ultimate summer vibe. Experiment with colors and yarn to make every top unique.