
Stay cool and stylish with Crochet Straw Bucket Hat Pattern that makes a trendy, sun-ready hat perfect for beach days, outings, or casual vibes.
A handmade hat that feels both classic and laid-back can instantly lift a simple outfit, and this straw-style bucket hat has that relaxed vibe with a breezy look you’ll enjoy wearing. The soft, textured stitches give it a warm, natural feel that goes well with casual outfits and sunny days out.
Cozy Crochet Straw Bucket Hat Pattern for Cool Look
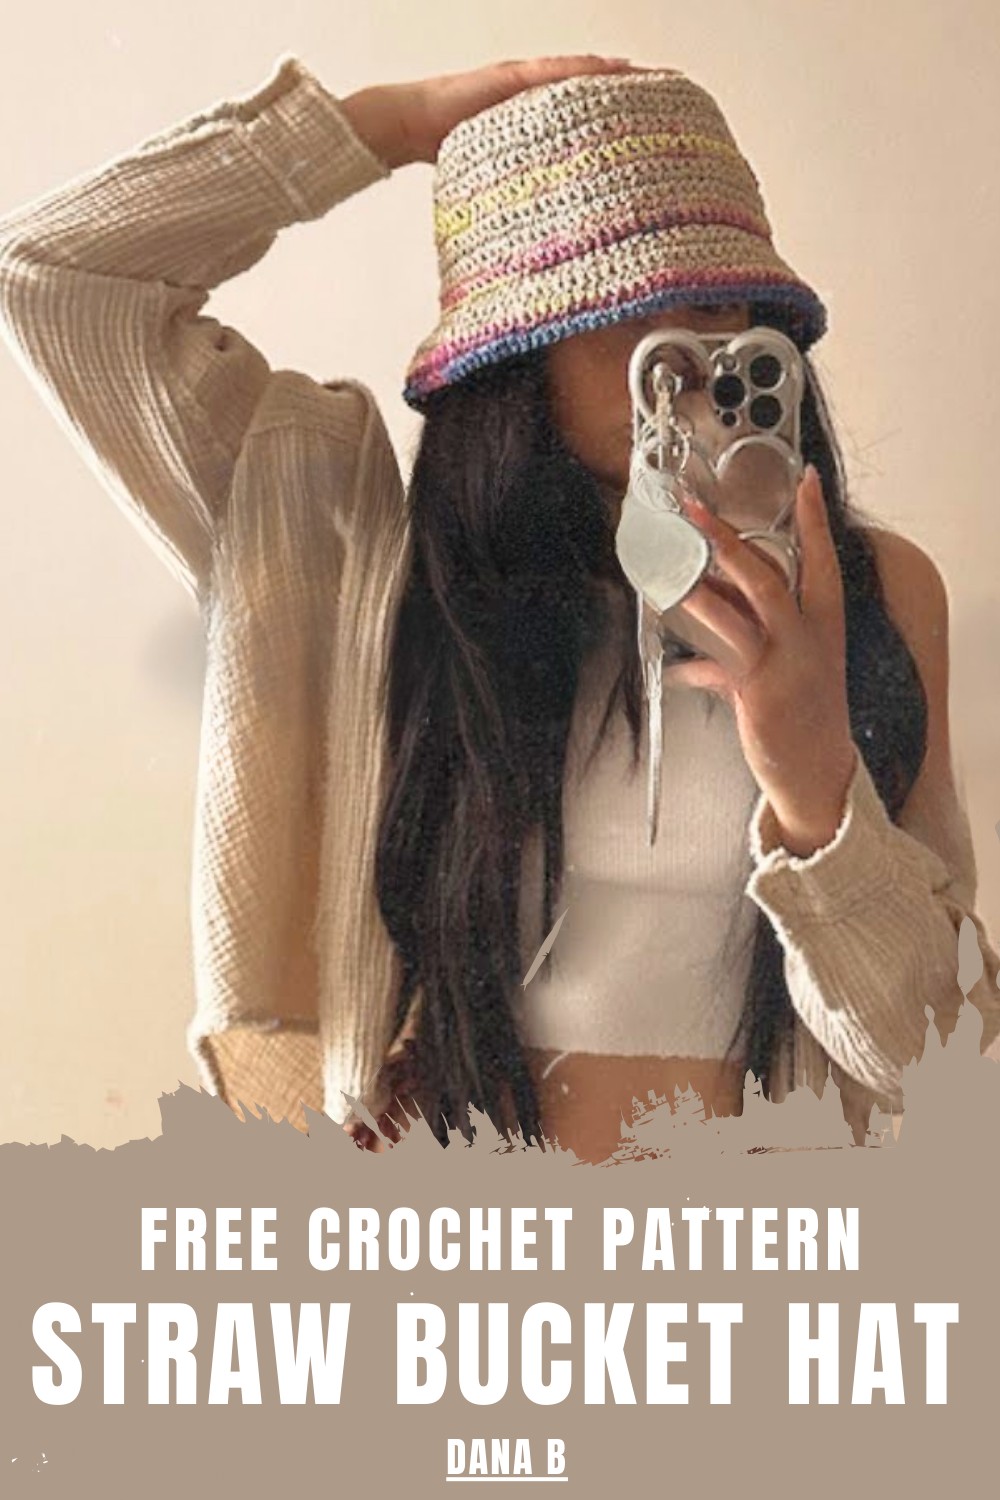
Its rounded shape hugs the head comfortably, while the brim keeps the sun off your face in a friendly, no-fuss way. You can choose neutral yarn or brighter tones to match your wardrobe, and its overall look feels like a blend of handmade charm and everyday practicality.
The design is built from the top down, starting with a small circular section that gradually grows until it reaches the right width for your head.
As you add each round, the hat shape expands gently and keeps its form without becoming too stiff or too floppy — perfect for regular use.
When you reach the brim area, a few extra rounds help give it that bucket hat curve that sits nicely around your head.
Because this style uses basic stitches and simple increases, people who are new to crocheting often find it approachable without feeling rushed or complicated.
You don’t need fancy materials, and the finished hat feels light yet sturdy enough to wear on warm days or to casual outings.

Everyday looks get an easy upgrade with a piece you made yourself, blending fashion with comfort in a friendly way.
Introduction
In this tutorial, Dana B explains how to crochet a stylish Straw Bucket Hat, a lightweight and breathable accessory ideal for the summer season. The design features a classic bucket silhouette with a customizable brim and optional color-blocked stripes. By using specific techniques like alternating the direction of rows, the hat achieves a unique textured appearance that sets it apart from standard crochet patterns.
Materials
-
Yarn: Paper yarn (straw yarn), which is lightweight and stiff, providing a "straw" look. [02:27]
-
Hook: 4.5 mm crochet hook. [01:00]
-
Tools: Stitch markers (optional, for tracking rounds), scissors, and a darning needle to weave in ends. [02:14]
-
Substitute: 100% cotton yarn can be used as an alternative if paper yarn is unavailable. [00:47]
Special Features
-
Reversible Texture: After the crown is finished, the tutor switches from working in continuous rounds to alternating the work (turning the hat over) after every row. This creates a distinct visual pattern for the middle section. [08:53]
-
Customizable Brim: The brim begins with a "Front Loop Only" (FLO) row, which helps it flare out naturally from the body of the hat. [16:02]
-
Color Blocking: The tutorial demonstrates how to seamlessly switch colors to create stripes or a multi-colored look using a simple slip-stitch method. [11:01]
Level of Difficulty
Easy to Intermediate. The pattern uses basic single crochet stitches and simple increases. However, the technique of alternating row directions and working in specific loops (FLO) adds a slight layer of complexity for absolute beginners.
Step-by-Step Instructions
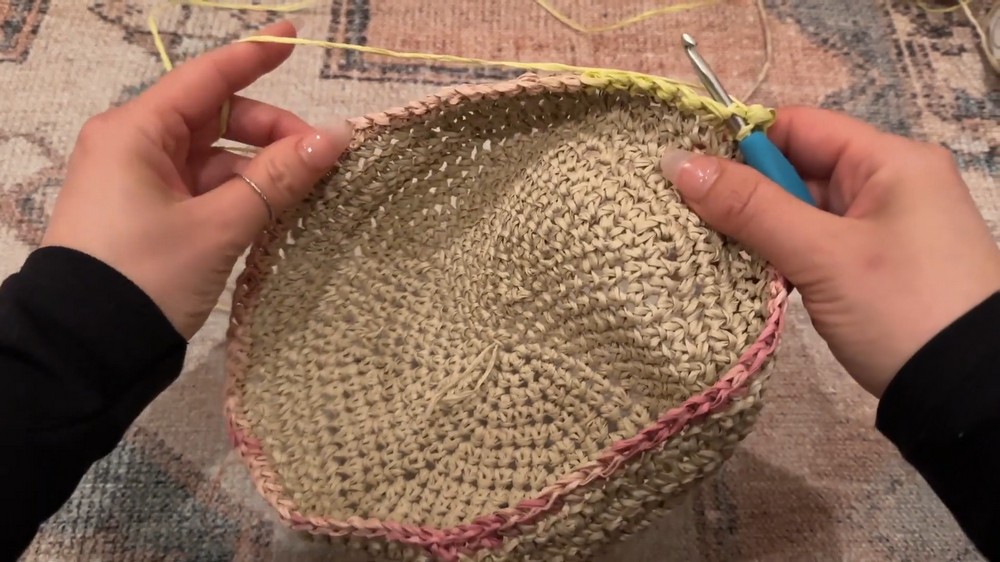
1. The Crown (Top of the Hat)
-
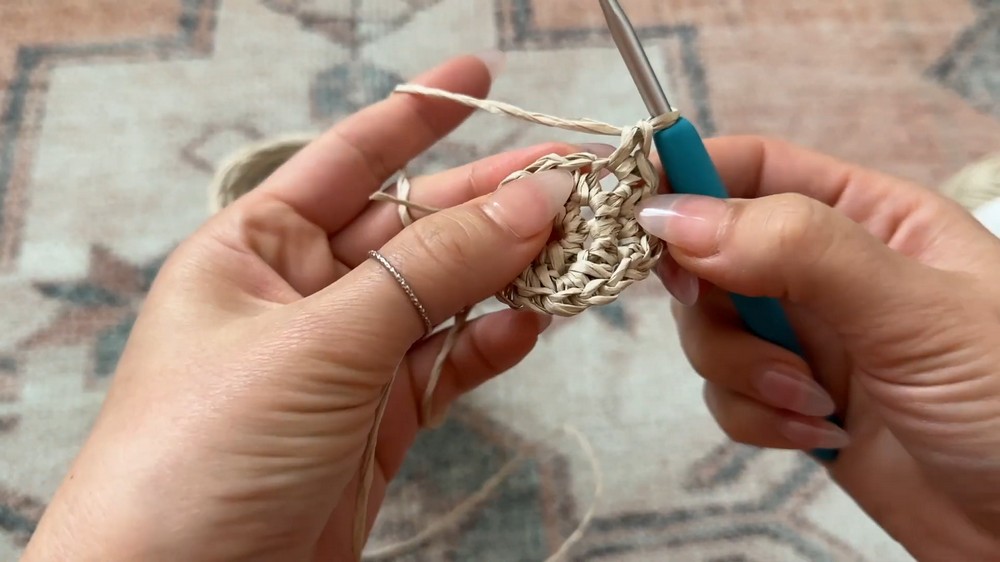
Foundation: Start with a magic ring or chain 3 and work 6 single crochets into the first chain to form a circle. [01:08]
-
Round 2-11: Gradually increase the number of stitches in each round to expand the circle.
-
Increase every stitch in Round 2, every other stitch in Round 3, every 2 stitches in Round 4, and so on. [02:26]
-
-
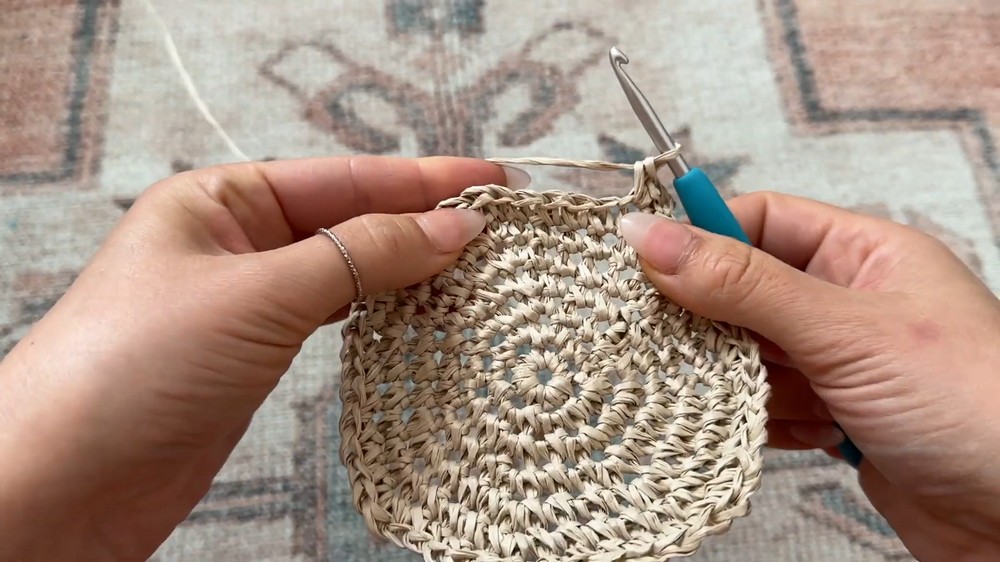
Goal: Continue increasing until the diameter of the flat circle reaches approximately 6.5 inches. [08:36]
2. The Body (Middle Section)
-
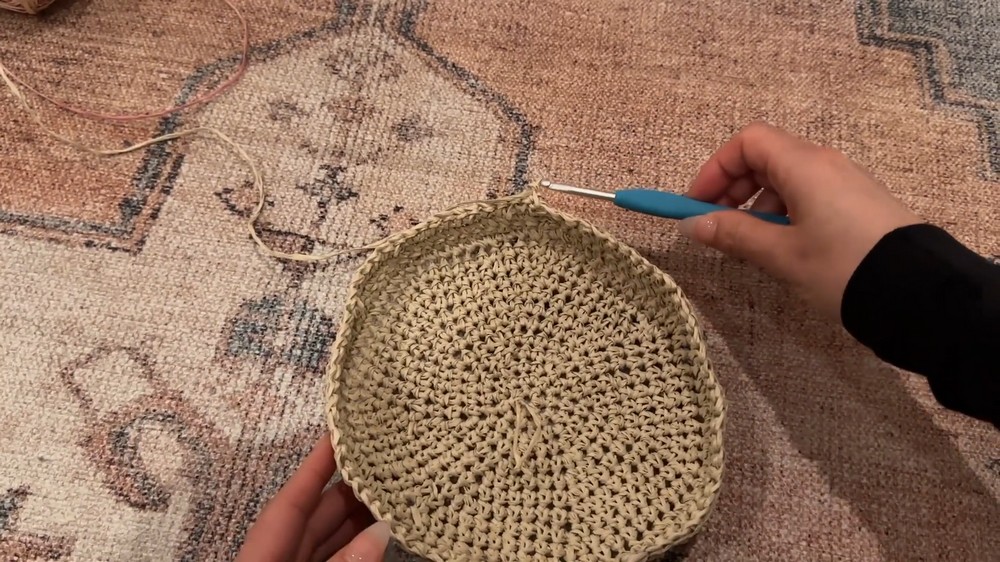
Texture Shift: Chain 1 and flip the work over. From this point on, work one single crochet in each stitch and turn the hat after every row. [08:53]
-
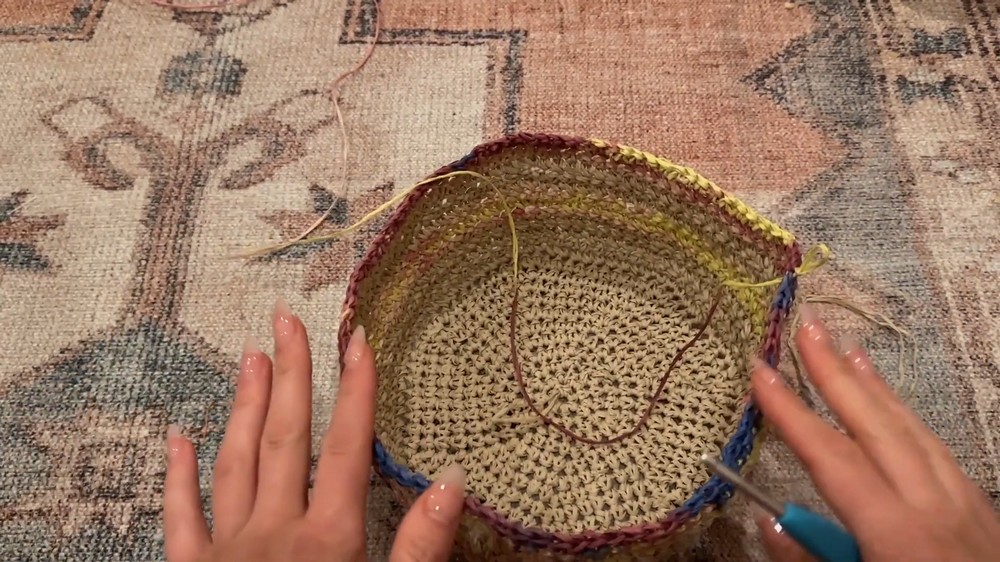
Shaping: Continue for about 4 rows of plain single crochet. As you progress, add very occasional increases (only 2 or 3 per round) every few rows to allow the hat to taper slightly toward the ears. [10:11]
-
Height: Stop when the body of the hat reaches the top of your ears. [15:24]
3. The Brim
-
The Flare: For the first row of the brim, work into the Front Loops Only (FLO). This creates a sharp angle that makes the brim stick out. [16:02]
-
Increase Pattern: Increase every 10 stitches in the first brim row, every 15 in the second, and every 16 or 17 in subsequent rows to keep the brim expanding. [16:56]
-
Finishing: Work as many rows as desired for your preferred brim width. End with a plain row of single crochet for stability. [19:44]
Tutor’s Suggestions
-
Size Check: Do not let the crown diameter exceed 6.5 inches unless you have a very large head, or the hat will be too loose. [08:41]
-
Switching Colors: When changing colors, pull the new color through during the final slip stitch of the previous round to ensure a clean transition. [13:57]
Uses
-
Sun Protection: The wide brim and straw material make it perfect for beach days or gardening.
-
Fashion Accessory: The bucket style is a trendy summer staple that pairs well with casual outfits.
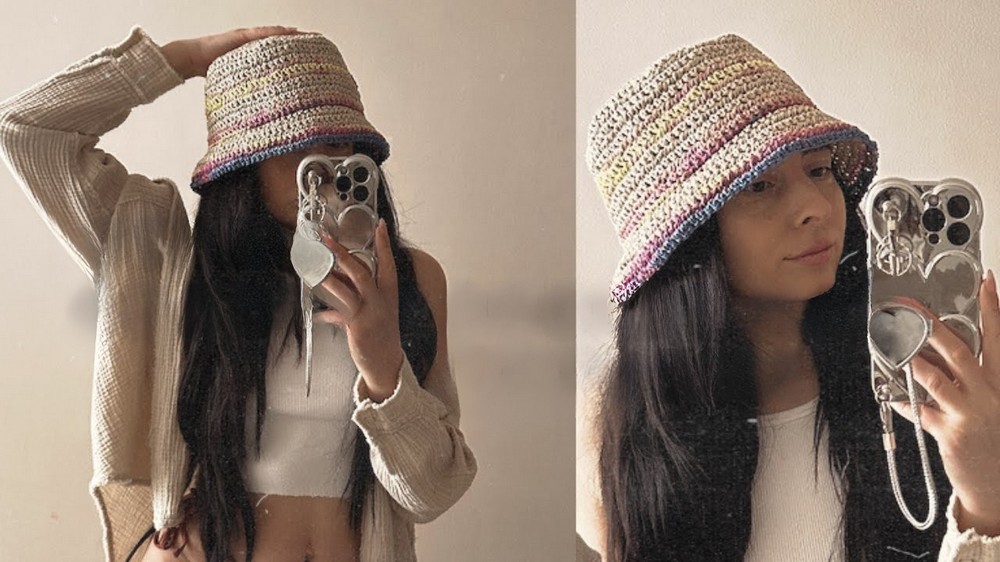
Conclusion
The Straw Bucket Hat is a rewarding project that results in a high-quality, boutique-style accessory. By mastering the simple increase rounds and the "flip-and-turn" technique for the body, you can create a customized hat that is both functional for the sun and fashionable for the season.
Tip: When working with paper yarn, your hands might get tired faster because the material is less flexible than cotton or wool. Take frequent breaks and try to maintain a slightly looser tension than usual to prevent the yarn from snapping or your stitches from becoming too stiff. [00:41]