
Add a touch of spring with Crochet Mini Tulip Vase Pattern that makes a tiny, cute flower vase perfect for desks, shelves, or sweet gifts.
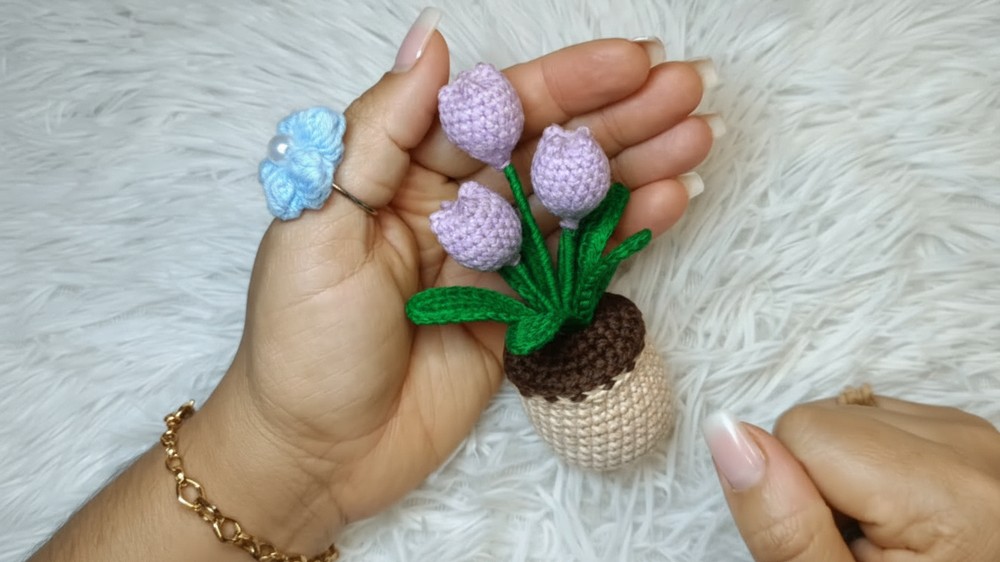
A tiny vase full of tulips can instantly make a room feel brighter. This crochet mini tulip vase pattern gives you that same happy look. The flowers look fresh and cheerful. The pot holds them up neatly. You can use bright yarn for the tulips and a calm color for the vase. It looks pretty on a desk or shelf.
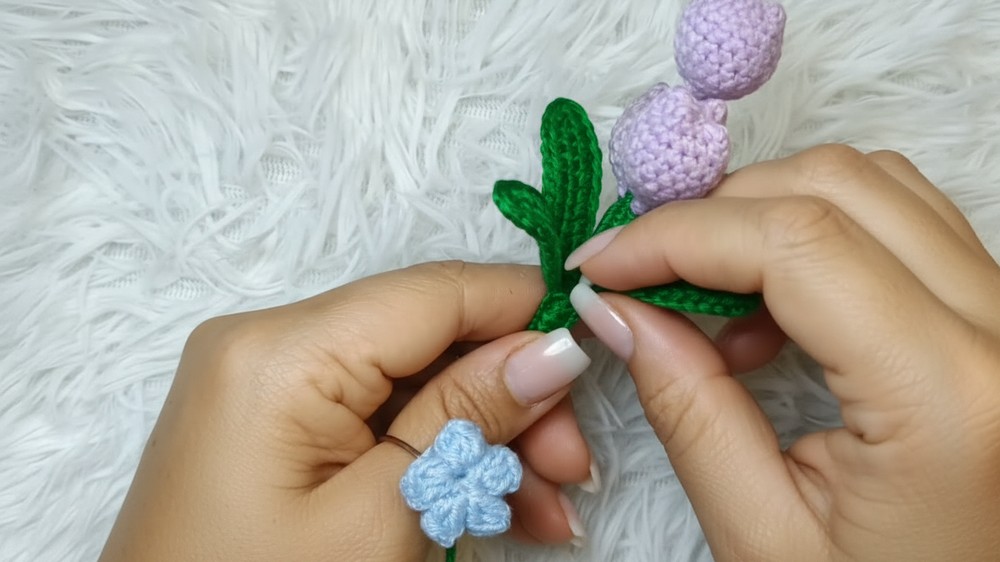
Lovely Crochet Mini Tulip Vase Pattern for Tiny Spaces
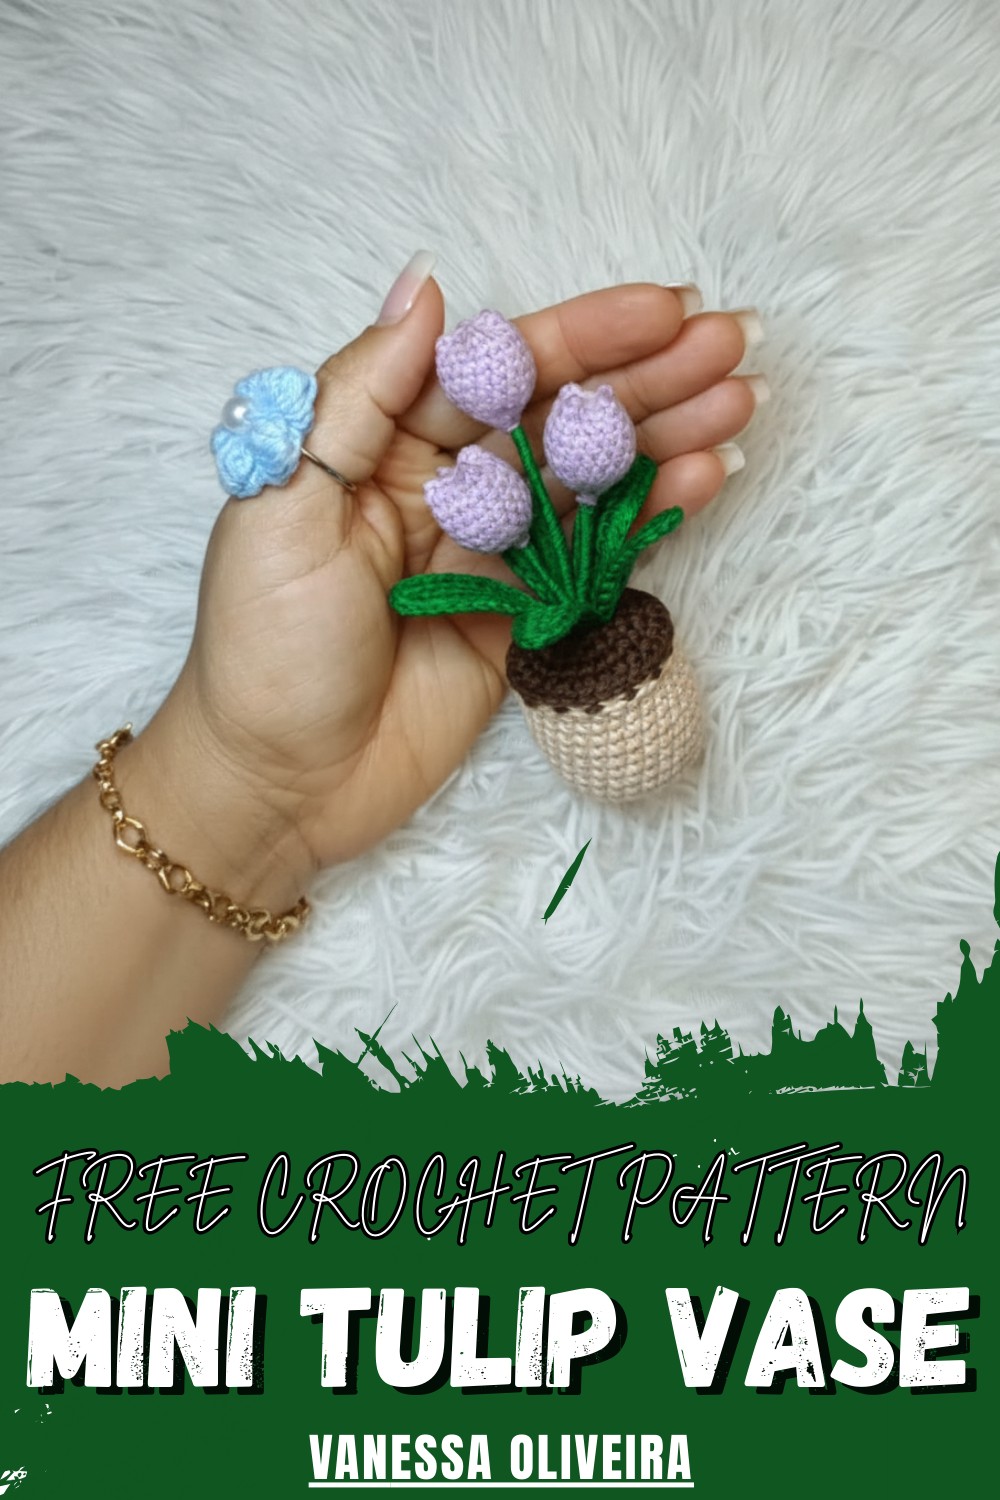
It also makes a nice gift for friends. The whole piece looks like a small spring bouquet.
The pattern starts with the base of the vase. You crochet it in rounds to make a stable shape. Then you make the tulip flowers one by one.
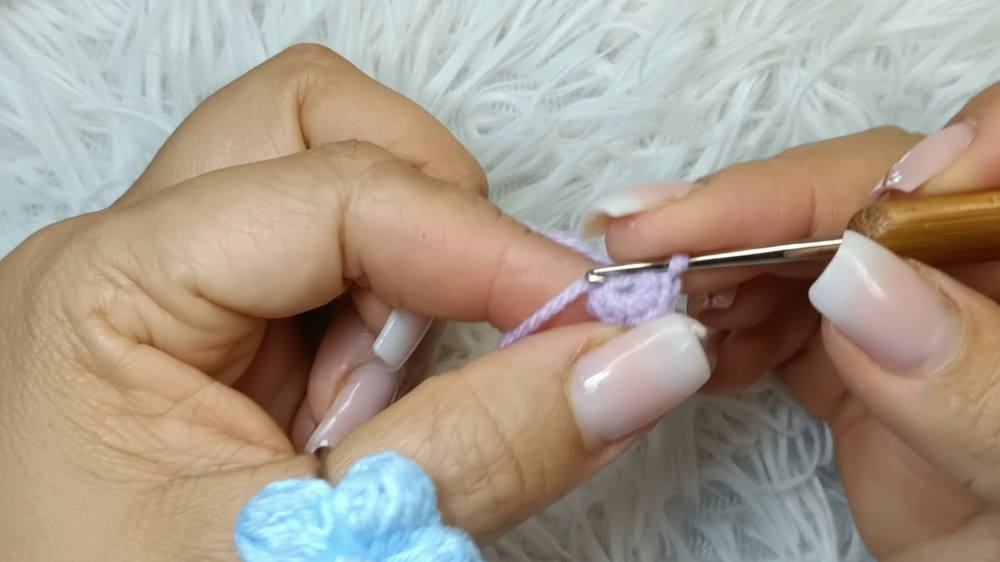
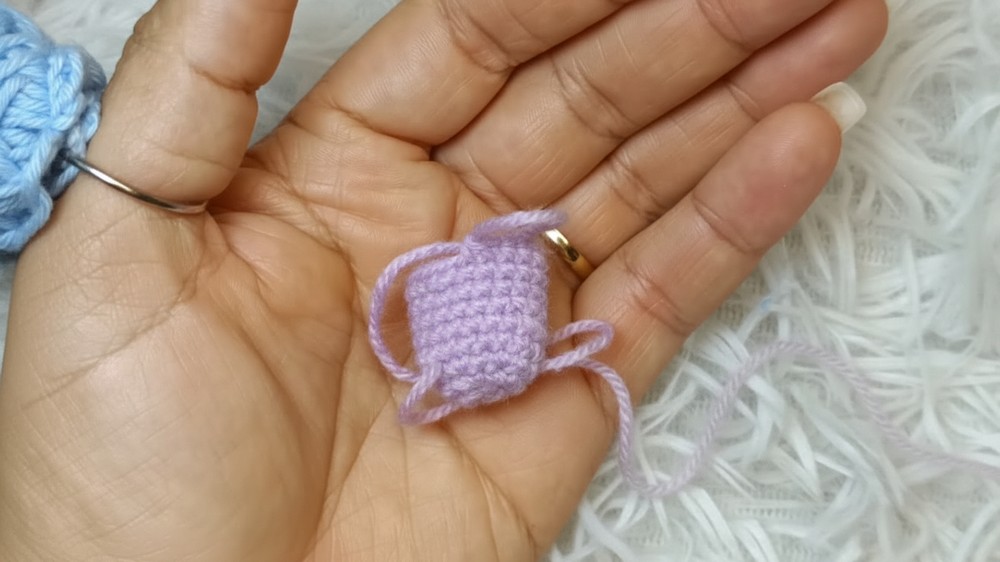
Each tulip is made with simple stitches that shape the petals. After that, you crochet the stems and leaves. These parts are attached to the vase.
The final result looks balanced and neat. You can make a few in different colors too.


They look lovely together in a small group. This project is fun and not hard. Even beginners can try it. When finished, it adds a cute handmade touch to any space.
Materials
-
Yarn: Fine baby yarn (very thin) for the tulips; wool (split into strands) for the leaves.
-
Hooks: 1.75 mm crochet hook.
-
Structure: Number 22 wire for the stems; "angel hair" (very fine) wire for the leaves.
-
Filling: Fiberfill (stuffing) for the tulip heads.
-
Tools: Hot glue, scissors, pliers, stitch markers, and a hair straightener (flat iron) for finishing.
Special Features
-
3D Amigurumi Style: The tulip is worked as a continuous tube, which is later pinched to form a classic four-pointed bloom.
-
Tapered Stems: Using different wire lengths for each of the three tulips provides a natural, staggered look in the pot.
-
Heat Finishing: The tutor uses a hair straightener to press the petals and leaves, giving them a professional, flat, and crisp structure.
-
Wired Foliage: Every leaf is reinforced with wire, allowing you to bend them to mimic real plant movements.
Level of Difficulty
Intermediate. While the stitches are basic (mostly single crochet), the small scale and the precision required for wiring and closing the tulip head require a steady hand.
Tutor’s Suggestions
-
Don't Overstuff: If you put too much filling in the tulip, the top won't pinch properly. Always leave the last row of crochet empty.
-
Tight Stitches: Use a 1.75 mm hook even with thin yarn to ensure the stitches are tight enough that the wire and stuffing don't show through.
Uses
-
Collectibles: Designed for dollhouses or miniature collectors.
-
Keepsakes: Perfect for small tokens of appreciation or desk decor.
Conclusion
This Mini Tulip Pot is a masterclass in miniature crochet. By focusing on tiny details—like the specific way the tulip head is sewn shut and the use of heat to refine the yarn's texture—you create a piece that looks incredibly professional despite its small size.
Tip: When closing the top of the tulip, use the same yarn end from the body. Thread it through the center of the pinched edges to create a "knot" in the middle; this keeps the petals tight and prevents the stuffing from migrating.