
Beautiful Crochet Baby Hat Pattern Free and Easy
Try this free crochet beautiful baby hat pattern to create a cozy and charming accessory, combining love and creativity into a fun and easy project.
A baby hat is a wonderful way to bring warmth and style to little ones while being a relaxing project for crochet enthusiasts. Lightweight and compact, it requires only a small amount of yarn yet results in something both useful and beautiful. The combination of ribbed textures and soothing colors adds charm, making it perfect for gifting or everyday use. Baby hats don’t take long to make, making them a great project for beginners who want quick and rewarding crochet experiences.
This particular hat features texture enhancing front post and back post double crochet stitches. These techniques provide depth and contrast while keeping the fabric soft and stretchy. Using these stitches, the hat gains a refined look, versatile for both one color options and lively two color combinations. These same stitches are handy for projects like blankets, scarves, and even baby cardigans, ensuring their usefulness extends beyond this specific project.
Free Crochet Baby Hat Pattern for a Cute Little Look
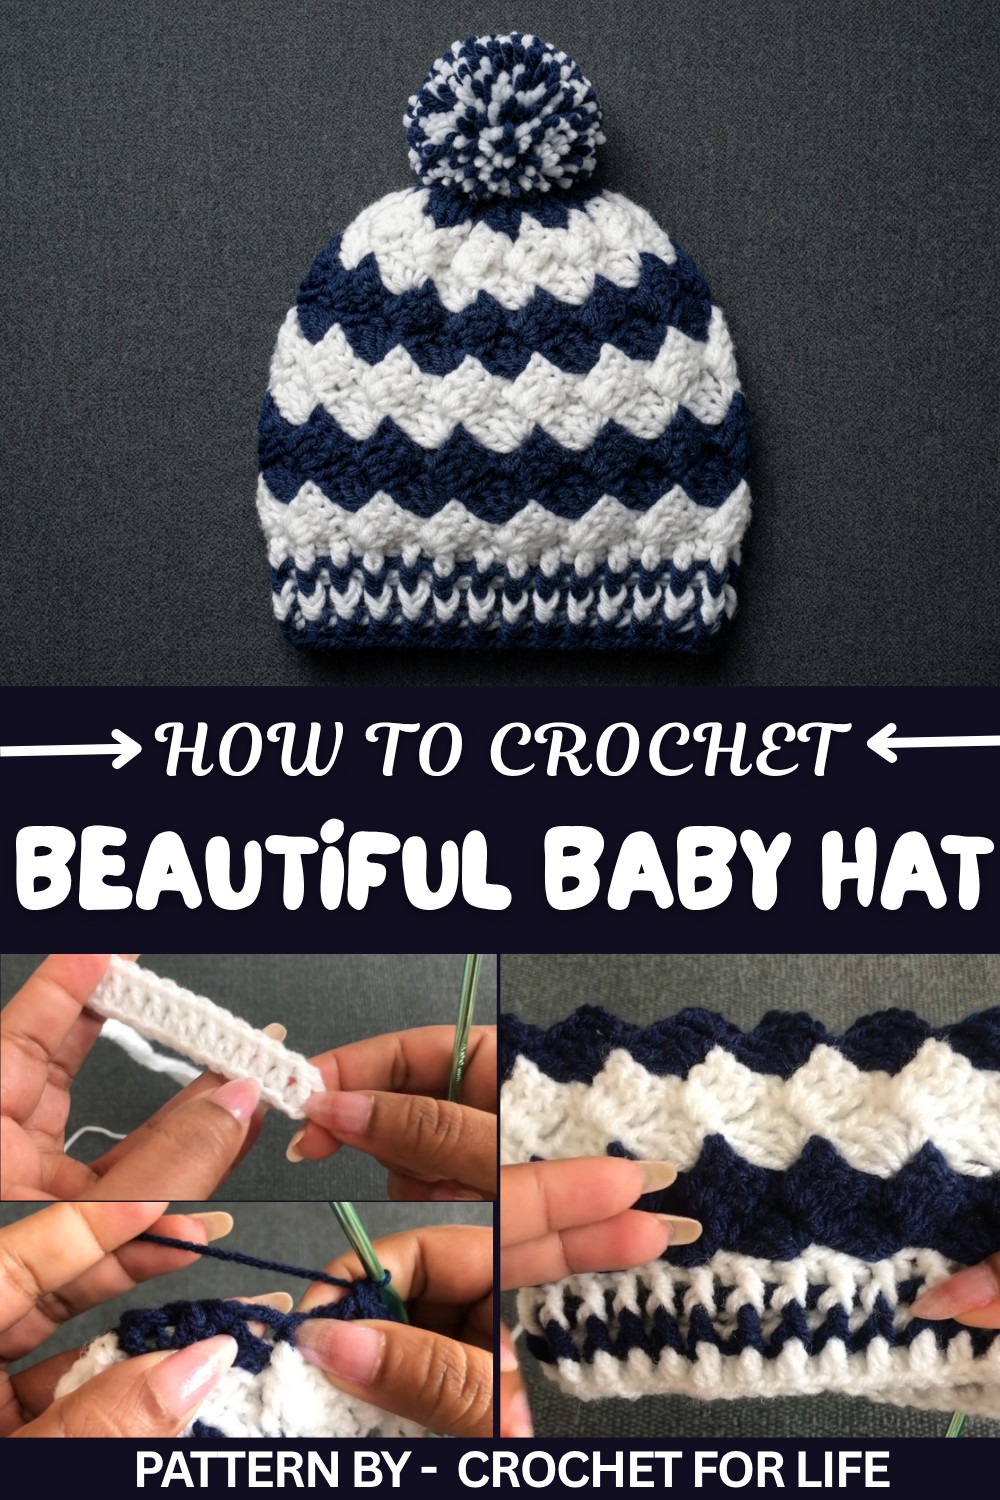
The process of making the hat includes learning basics like chaining and slip knots, working circular rows, and shaping the top with precise decreases. It also involves mastering decorative touches like pom poms, which can elevate the final appearance of the hat. The step by step approach ensures that beginners feel confident while making adjustments for different sizes, from 0 to 3 months to 12 to 18 months.
Featured By Crochet For Life
These ribbed stitches and techniques can be applied to many other crochet projects. By changing the yarn size or color combinations, it is easy to make textured throws, pillows, or even seat covers. Whether working on baby items or household accessories, these versatile stitches can be part of a wide range of crochet adventures.
Easy Crochet Baby Hat Pattern – 4 Size Options
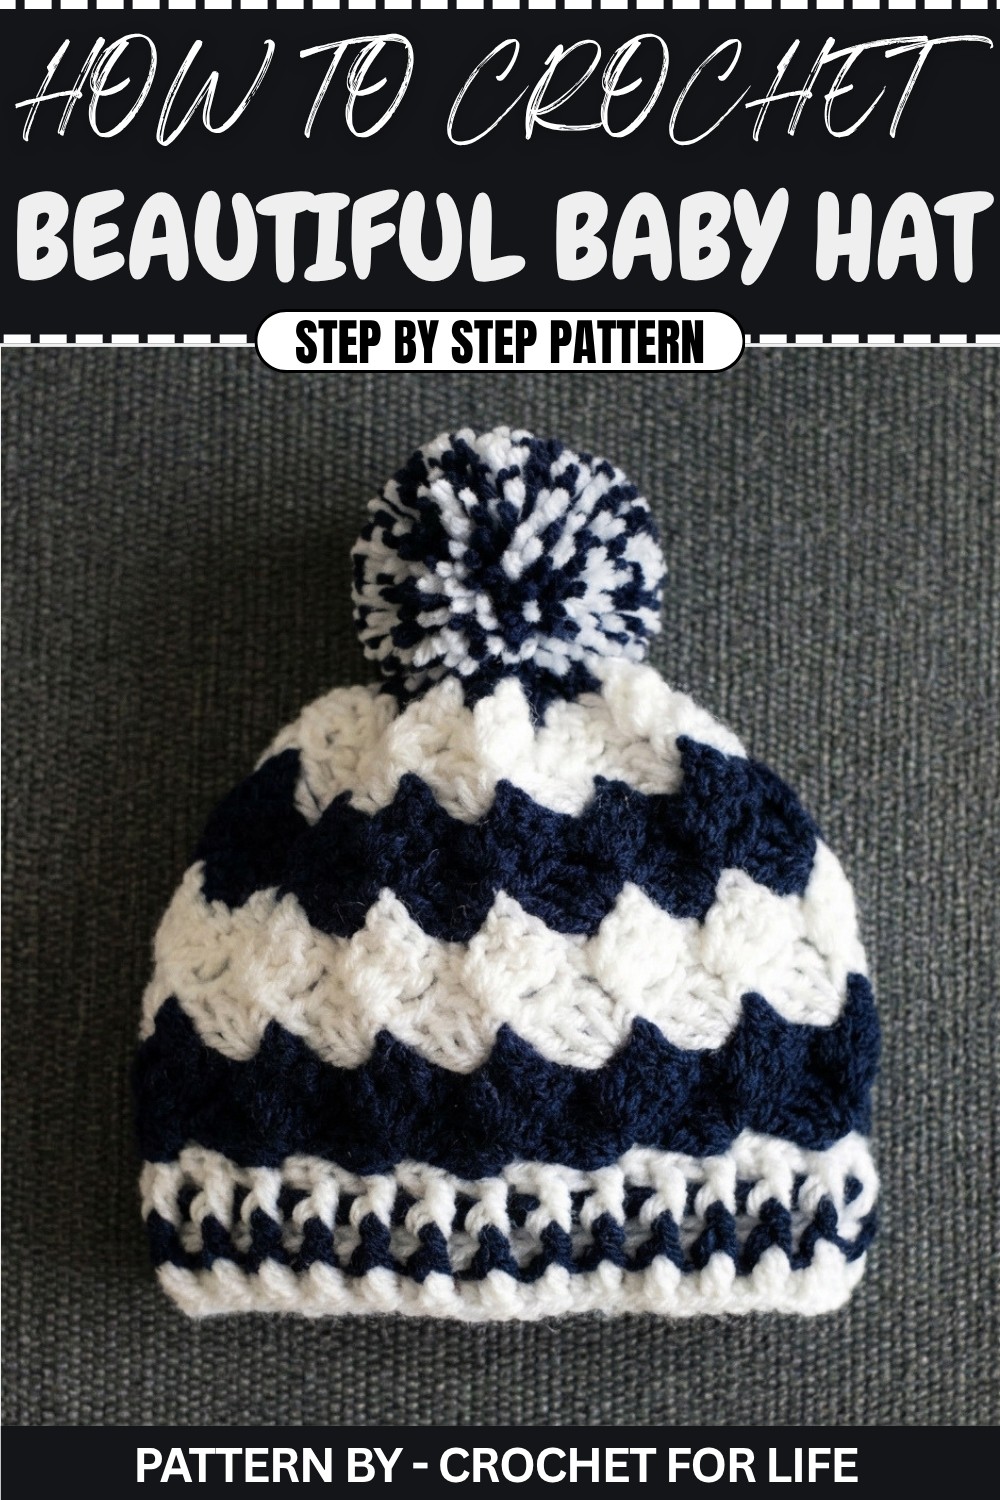
This hat is versatile and comes in 4 different sizes, including 0–3 months, 3–6 months, 6–12 months, and 12–18 months, making it perfect for babies at any stage. You can customize the hat with one or two colors, and the pattern is beginner-friendly. Let's create this cute baby hat, perfect for matching baby cardigans or blankets.
Quick Overview of Pattern
- Pattern Type: Baby Hat (Beginner Friendly)
- Sizes Available: 0–3 months, 3–6 months, 6–12 months, and 12–18 months.
- Construction: Circular rounds starting with a band, finished with a pom pom.
- Customization: Option to use one or two colors.
Notes
- The pattern uses a 4 mm crochet hook with DK weight yarn.
- The starting chain is a multiple of 4 + 2 extra chains, depending on the size.
- The first 5–8 rows determine the size, while the rest of the pattern remains consistent across all sizes.
- Use a tight tension for a snug fit and a neat finish.
- The pom pom on top is optional and adds a playful touch.
Skill Level
✔ Beginner Friendly
Materials
- Yarn:
- DK weight yarn (double knitting yarn).
- Choose two colors or stick to one.
- Approximately 100 grams per color (300 meters per ball).
- Hook Size: 4.0 mm crochet hook.
- Tapestry needle: For sewing and hiding loose ends.
- Pom pom Maker or scissors/cardboard.
Measurements / Sizing
| Baby Size | Starting Chain | Rows for 3 dc Rounds | Total Rows for Hat |
|---|---|---|---|
| 0–3 Months | 56 + 2 | 5 | 10 |
| 3–6 Months | 60 + 2 | 6 | 11 |
| 6–12 Months | 64 + 2 | 7 | 12 |
| 12–18 Months | 68 + 2 | 8 | 13 |
Gauge
- Work a test swatch of 8 rows of dc, and it should measure approximately 4 by 4 inches (10 cm x 10 cm).
Stitch Abbreviations
- ch: Chain
- dc: Double Crochet
- sc: Single Crochet
- sl st: Slip Stitch
- fpdc: Front Post Double Crochet
- bpdc: Back Post Double Crochet
Special Stitches
Post Stitches
- Front Post Double Crochet (fpdc):
- Yarn over and insert the hook around the post of the next dc from front to back.
- Yarn over and pull up a loop.
- Yarn over, pull through two loops.
- Yarn over, pull through the last two loops.
- Back Post Double Crochet (bpdc):
- Yarn over and insert the hook around the post of the next dc from back to front.
- Yarn over and pull up a loop.
- Yarn over, pull through two loops.
- Yarn over, pull through the last two loops.
The Crochet Pattern
Step 1: Base Chain
- Start by making a slip knot with your first color (e.g., white or blue).
- Make a starting chain based on the size:
- 0–3 months: ch 56.
- 3–6 months: ch 60.
- 6–12 months: ch 64.
- 12–18 months: ch 68.
- Add two more chains after the required starting chain (multiple of 4 + 2).
Step 2: Round 1 – Foundation Double Crochet
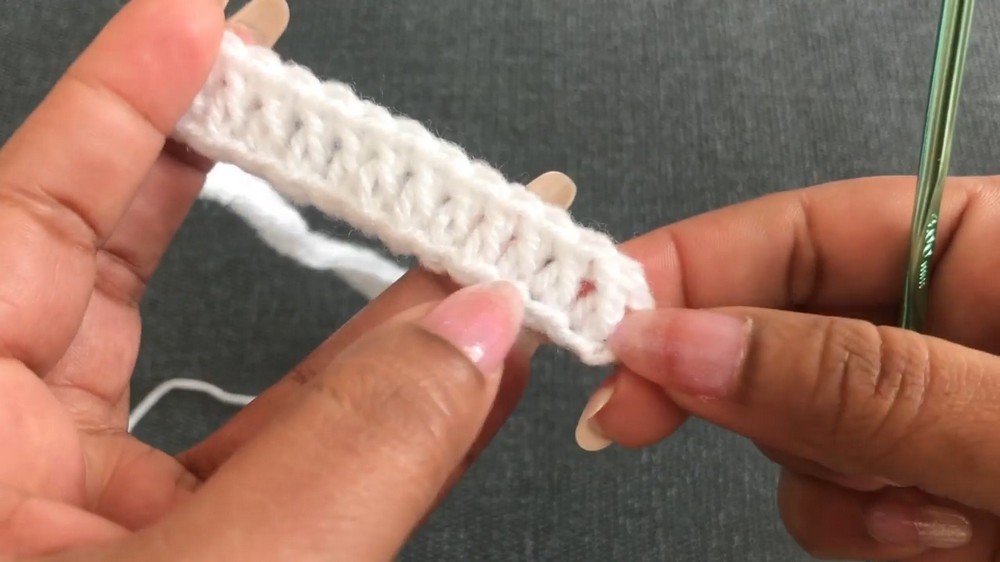
- Skip the first 3 chains (counts as the first dc).
- Into the 4th chain from the hook, work 1 dc.
- Work 1 dc into each chain across the row (56 dcs for the 0–3 months size).
- Join the round by working a sl st into the 3rd chain of the beginning ch 3.
- Fasten off the first color and secure the ends.
Step 3: Round 2 – Front and Back Post Double Crochet
- Join the second color yarn (e.g., blue) at the top of the starting ch 3.
- Ch 3 (counts as a dc).
- Work a fpdc into the next dc, followed by a bpdc in the following dc.
- Repeat [fpdc, bpdc] all around the hat.
- Finish the round with a bpdc and join with a sl st to the 3rd chain of the starting ch 3.
Step 4: Round 3 – Repeat Front and Back Post Double Crochet
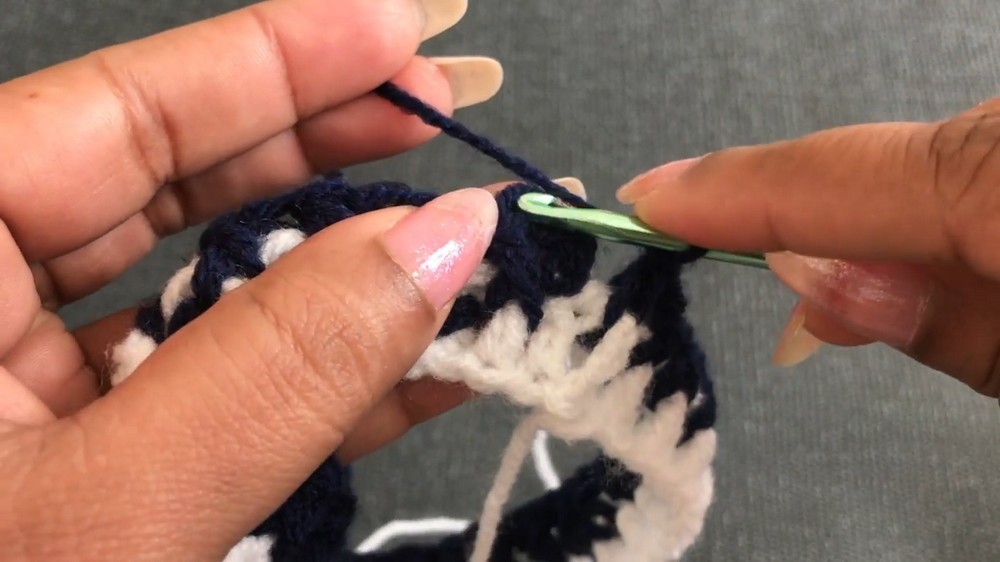
- Without cutting the second color, join the first color yarn (e.g., white) into the top of the starting ch 3 from the previous round.
- Ch 3 (counts as a dc).
- Work fpdc into the next fpdc and bpdc into the next bpdc.
- Repeat [fpdc, bpdc] around the hat.
- Join with a sl st to the 3rd chain of the starting ch 3.
Step 5: Repeating Alternating Colors
- Continue alternating colors every 2 rows (two white rows, two blue rows) to create a striped effect.
- Repeat the pattern of front post double crochets into front post double crochets and back post double crochets into back post double crochets.
- Follow the size chart to determine the number of 3 dc rows for your chosen size.
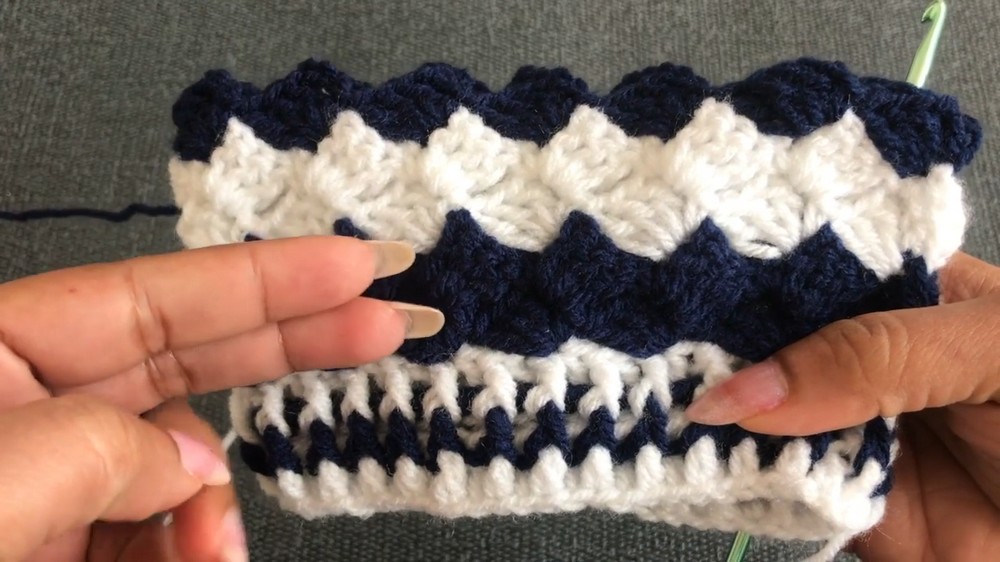
Step 6: Transitioning to 2 dc Segments
- Once the required number of 3 dc rows are complete, begin working rows with 2 dc clusters instead of the original 3 dc clusters.
- For these rounds:
- Work 2 dc, ch 3 and proceed as before, decreasing the size of blocks.
Step 7: Final Rounds with 1 dc Clusters
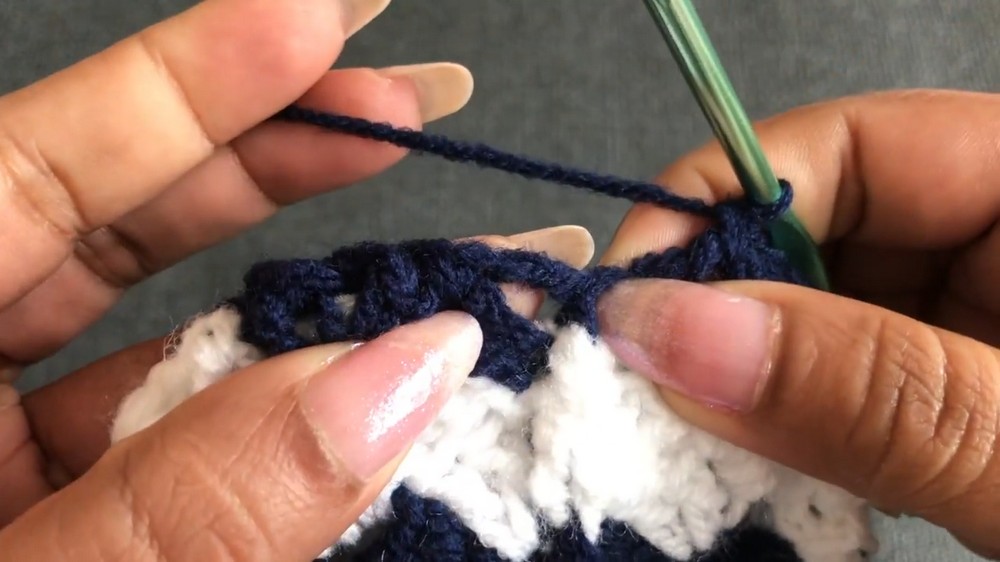
- Decrease further for the next round:
- Work 1 dc, ch 3 into each cluster space.
- Continue this pattern until the hat reaches the desired fit and dimensions for your selected size.
Step 8: Closing the Top of the Hat
- Once the last row is complete, leave a long yarn tail for sewing the top closed.
- Thread the yarn onto a tapestry needle and weave the tail through the topmost stitches.
- Pull gently to tighten and close the gap at the top of the hat.
- Secure the yarn with a sturdy knot and weave in the ends.
Assembly & Finishing
Adding a Pom Pom (Optional)
- Use a 5.5 cm pom pom maker or two cardboard circles to make a pom pom.
- Use one or both colors for the pom pom, as desired.
- Securely tie the pom pom with a long tail of yarn.
- Using the yarn tail, sew the pom pom securely onto the top of the hat.
- Trim the pom pom for an even and polished look.
Conclusion
Your easy crochet baby hat is now ready. With its beautiful texture, soft yarn, and charming pom pom, this cozy hat is perfect for newborns and young children. You can pair it with a matching blanket or cardigan for a complete outfit. If you've enjoyed this pattern, please share your creations or tag us, and don’t forget to check out our other tutorials for gorgeous baby outfits.