
Free Crochet Mini Christmas Hat Pattern for Santa Lovers
Wrap your gifts with love and holiday magic by creating a cute and festive mini Christmas hat using this simple and free crochet pattern.
The holiday season brings with it a sense of joy, creativity, and the desire to fill our homes with festive decorations. Handmade crafts, especially crochet, have a timeless charm that adds a personal touch to the celebrations. There’s something special about creating little treasures with your own hands, like a mini Christmas hat that’s cozy, cute, and full of holiday spirit. These small creations hold the power to brighten up spaces and spread cheer in the simplest way.
Free Crochet Mini Christmas Hat Pattern to Make and Gift
With the guidance of SamiGurumi Crochet, making these charming mini hats couldn’t be easier. Her step by step tutorial showcases how to bring this project to life, whether you’re crocheting for fun or designing festive decorations. She uses basic crochet techniques such as a magic ring and single crochets, making this project suitable for beginners and experienced crocheters alike. Adding final touches, like a fluffy white border and cheerful pom pom, transforms the hat into a delightful holiday staple.
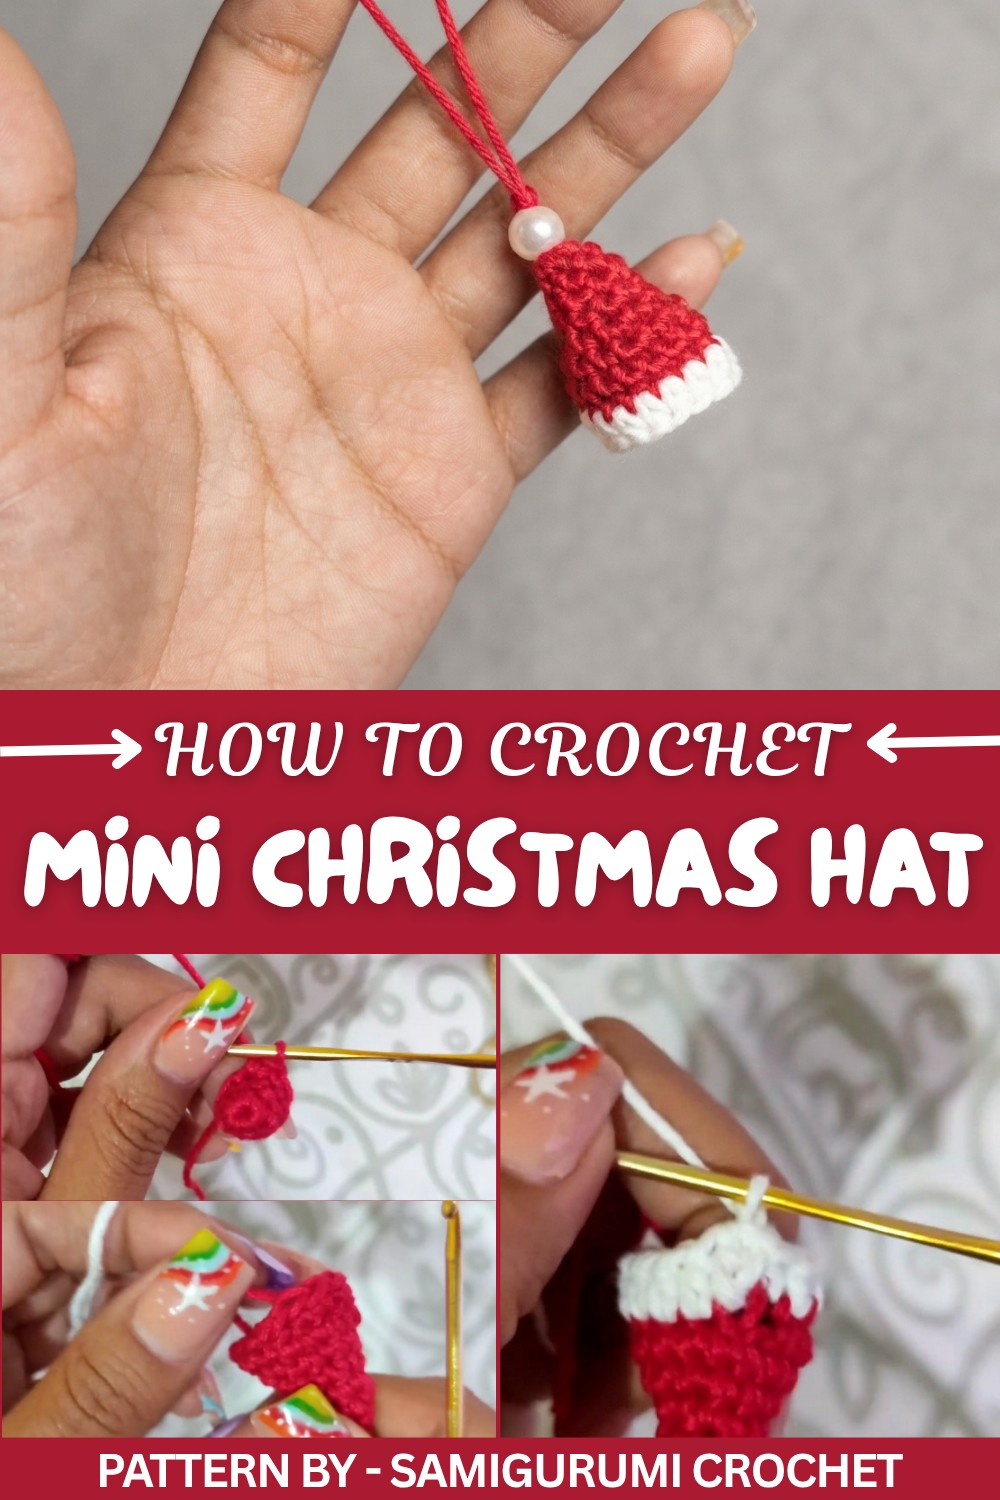
These mini hats are as versatile as they are adorable. You can hang them as ornaments on your Christmas tree, attach them to gift packages, or place them around your home as table decorations. They’re also perfect for crocheting keychains or garlands. The classic red and white design captures the cozy, warm feeling of Christmas, though you can customize the colors to suit your style or even match a winter themed aesthetic.
Simple yet impactful, these mini Christmas hats are more than just decorations—they’re a heartfelt way to share the festive spirit. Whether made for your home or as gifts, they’ll add a touch of holiday magic wherever they’re placed.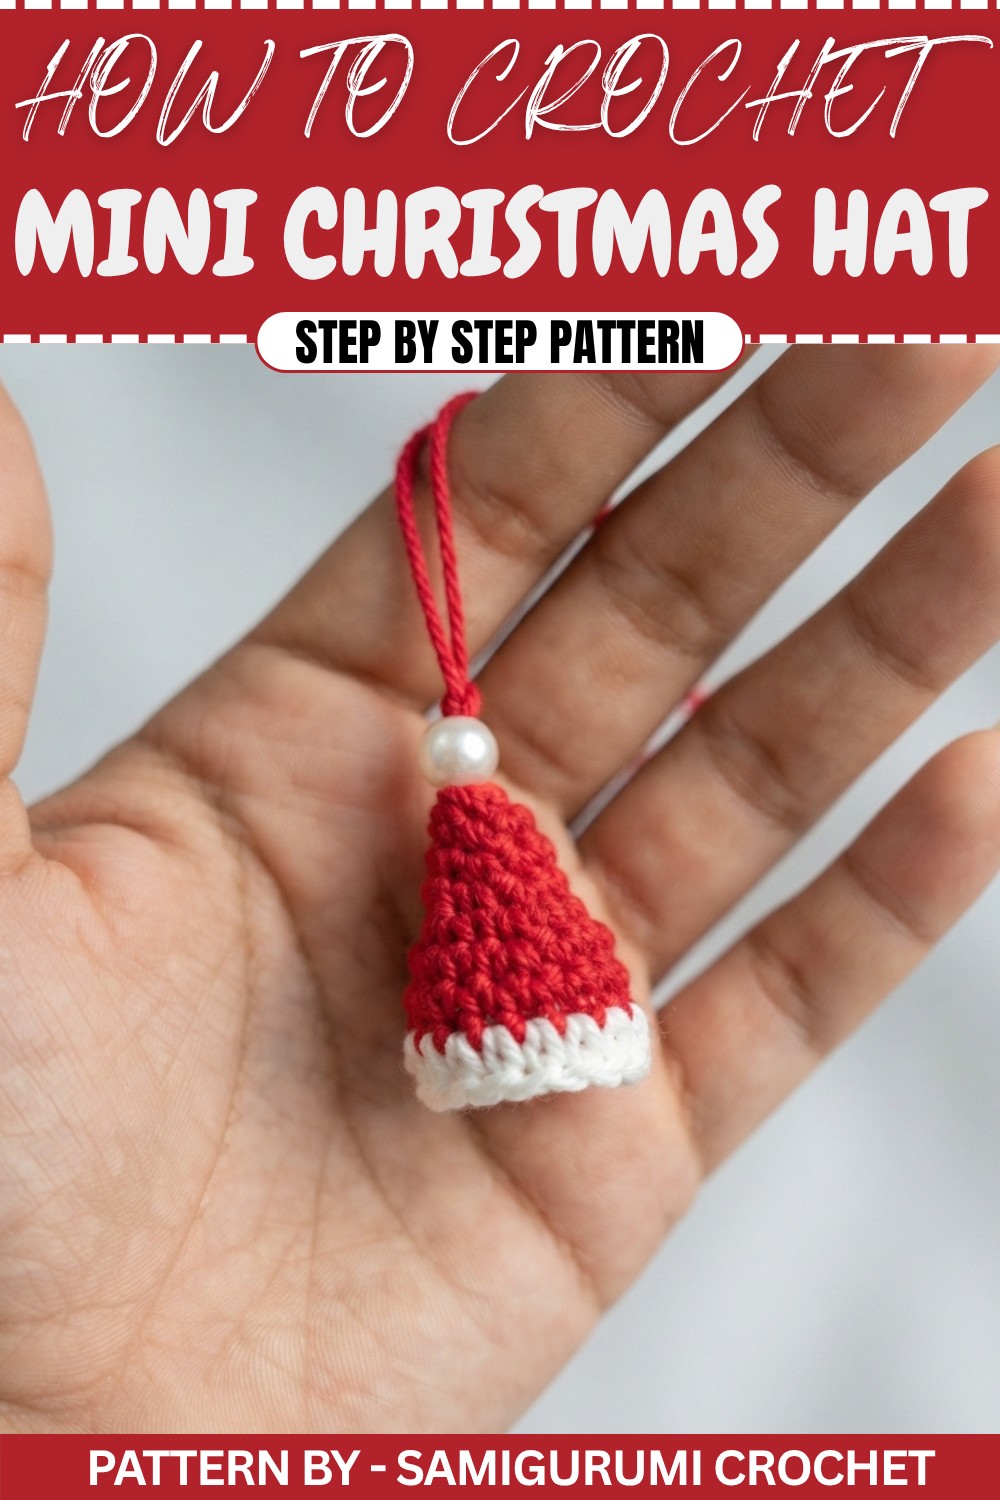
Crochet Mini Christmas Hat Pattern
In this fun and quick project, you'll create a Crochet Mini Christmas Hatthat's perfect as an accessory or a cute gift. The hat size depends on the material you use—thin thread creates a smaller hat while thicker yarn makes a larger one. Follow this step-by-step guide for a delightful crochet adventure.
Quick Overview of the Pattern
- Hat Type: Crochet Mini Christmas Hat
- Thread Used: Thin cotton thread in two colors (red and white)
- Hook: 2.5 mm crochet hook
- Features: Magic ring start, single crochet (Sc), half double crochet (Hdc), subtle increases, and pearl or pom pom decoration
Notes
- The size of the hat can be adjusted depending on the thickness of the thread or yarn used.
- For a larger size, you can simply add more increase rounds.
- Always use the front loops only when switching to the second color.
- Decoration options include pearls, tassels, or pom poms.
Skill Level
Beginner to Intermediate
The pattern uses basic crochet stitches like single crochet, half double crochet, and slip stitch with simple increases. It’s an excellent project for anyone looking for a quick and rewarding crochet projects.
Materials
- Cotton thread (hilaza): Thin or thick, depending on the size you want for your hat. Two colors were used in the tutorial: red and white.
- 2.5 mm crochet hook (adjust hook size according to yarn thickness).
- Small pearl or other decorative items (optional).
- Tapestry needle for weaving in ends and attaching decorations.
- Scissors
Measurements / Sizing
- Hat size made with thin cotton thread is approximately 4-5 cm in diameter.
- Use thicker yarn or additional rounds for creating a larger hat.
Gauge
- Gauge with 2.5 mm hook & thin thread: Approx. 5 single crochet stitches and 6 rows = 2.5 cm.
Stitch Abbreviations
- Ch: Chain
- Sc: Single crochet
- Hdc: Half double crochet
- Sl st: Slip stitch
Special Stitches
- Magic Ring: Wrap the yarn into a loop, work stitches into the loop, and tighten by pulling the thread end.
The Crochet Pattern
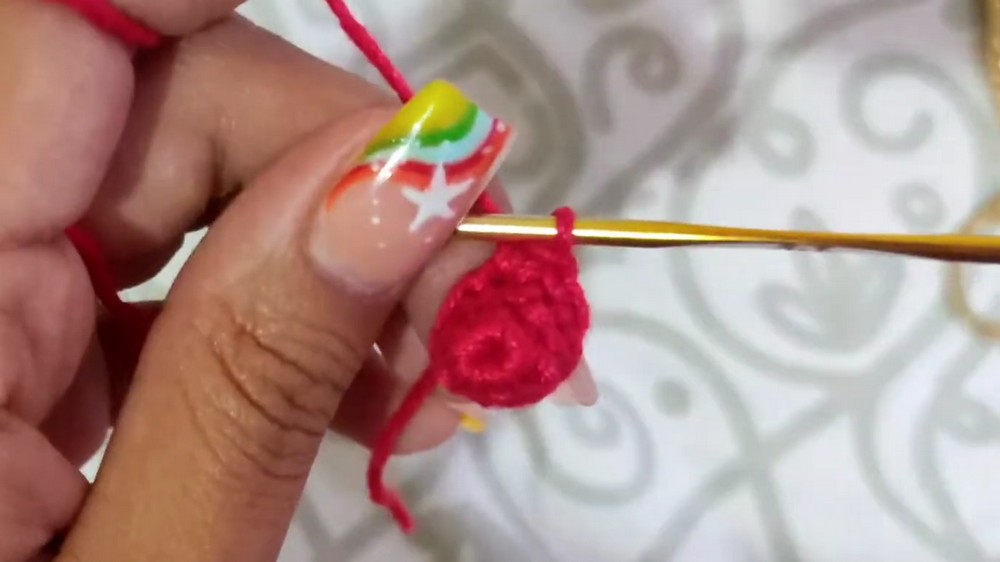
Step 1: Starting the Base (Red)
- Begin with red thread.
- Start with a Magic Ring.
- Work 5 Sc into the magic ring.
- Tighten the loop by pulling the loose end of the thread.
Step 2: Round 1 (No Increase)
- Insert hook into the first stitch of the round.
- Work 1 Sc into each stitch around.
- Total stitches: 5 Sc.
Step 3: Round 2 (First Increase)
- Work 1 Sc into the first stitch.
- Work 1 increase (2 Sc) into the next stitch.
- Repeat [1 Sc, 1 increase] around.
- Total stitches: 7 Sc.
Step 4: Round 3 (No Increase)
- Work 1 Sc into each stitch around.
- Total stitches: 7 Sc.
Step 5: Round 4 (Second Increase)
- Work 1 Sc into the first stitch.
- Work 1 increase (2 Sc) into the next stitch.
- Repeat [1 Sc, 1 increase] around.
- Total stitches: 10 Sc.
Step 6: Round 5 (Third Increase)
- Work 1 Sc into the first stitch.
- Work 1 increase (2 Sc) into the next stitch.
- Repeat [1 Sc, 1 increase] around.
- Total stitches: 15 Sc.
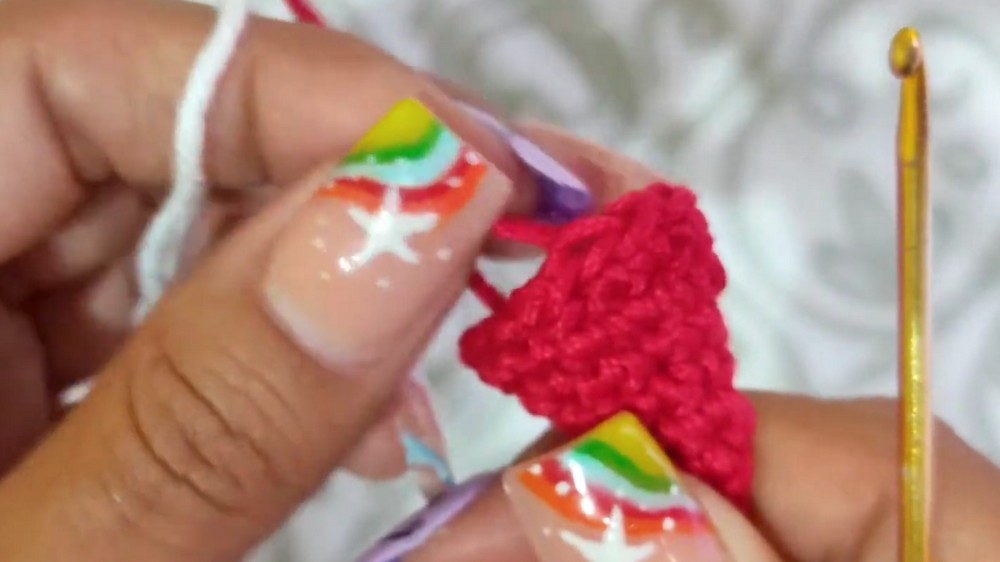
Step 7: Round 6 (No Increase)
- Work 1 Sc into each stitch around. No increases.
- Total stitches: 15 Sc.
Step 8: Finishing the First Section
- Cut the thread, leaving a small tail.
- Skip two stitches and insert hook into the next stitch. Pull the thread through to finish the round neatly.
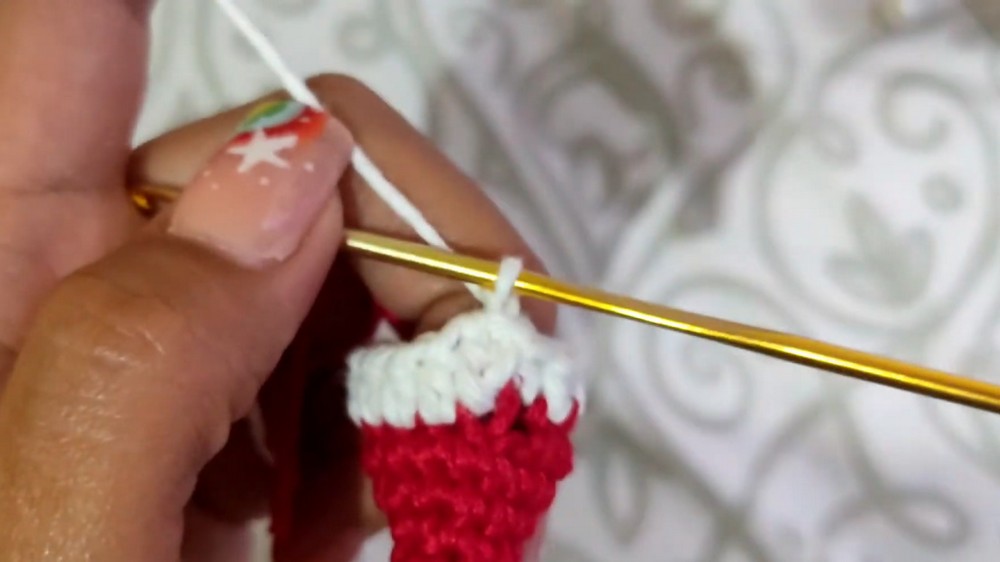
Step 9: Adding the Second Color (White)
- Attach white thread to any stitch from the last round.
- Work in the front loops only using white thread.
- Begin with Ch 1.
- Work 1 Hdc into each stitch around, always using the front loops.
- At the end of the round, join with a Sl st into the first stitch.

Step 10: Final Finishing
- Cut the white thread, leaving a small tail.
- Secure the tail and weave it in using a tapestry needle.
- Shape the hat and prepare for decoration.
Decoration (Optional)
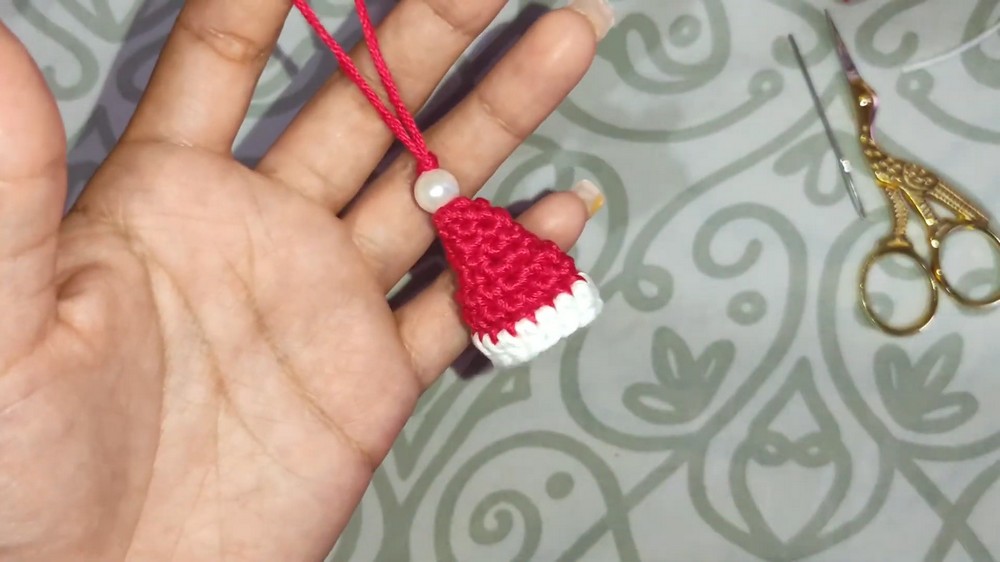
- Take a pearl, pom pom, or tassel for decoration.
- Attach the decoration securely to the center of the hat using extra thread or a needle.
- Tie knots to ensure the decoration is secure.
- Weave in any loose ends for a clean finish.
Assembly & Finished Size
- The hat is finished in its small size when using thin thread.
- For larger hat, use thicker yarn or additional increase rounds.
Conclusion
This quick and easy crochet pattern produces a mini hat that's perfect for accessories, decoration, or small gifts. Customize the size, colors, and decorations to make it uniquely yours. Whether you’re a beginner looking for a fun project or someone crocheting thoughtful gifts, this pattern ensures a delightful result.