
Cute Crochet Pumpkin Hat Pattern That Will Steal Heart
Celebrate fall in style with this Crochet Pumpkin Hat Pattern that’s cozy, playful, and adds a fun seasonal touch to any outfit.
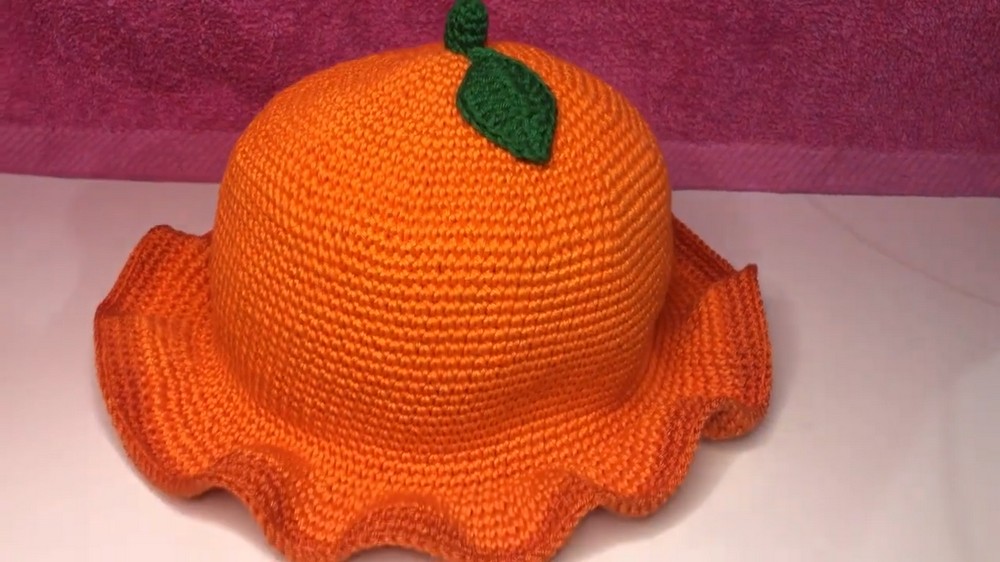
Bright orange tones and playful shaping give this handmade hat a cute, pumpkin‑like look that instantly brings fall vibes and fun to your wardrobe. With round, plump stitches that mimic the curves of a real pumpkin, the Crochet Pumpkin Hat pattern transforms simple yarn into a cozy, festive piece that feels perfect for autumn days, Halloween costumes, or chilly weather outings.
FEATURED BY: La Creativa
Crochet a Cozy Pumpkin Hat and Rock Fall in Style
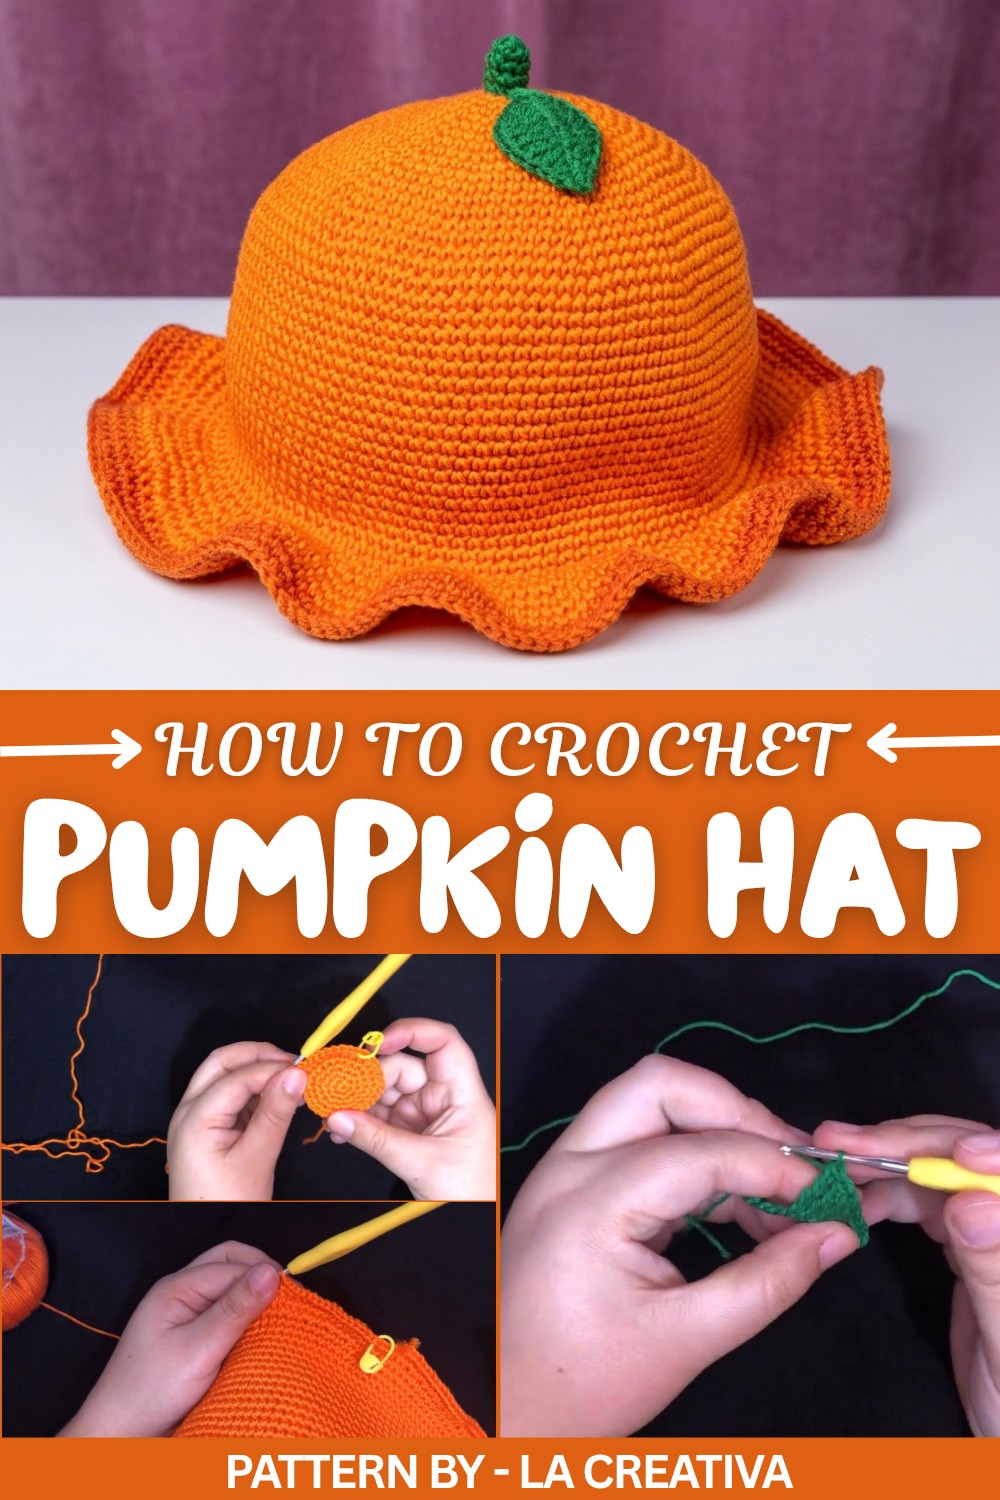
The little top “stem” adds extra personality, making the hat feel more like a wearable pumpkin and less like an ordinary beanie. This cheerful design works for kids, teens, and adults alike. This pattern stands out because it turns basic crochet shapes into a hat that looks playful and detailed without being complicated.
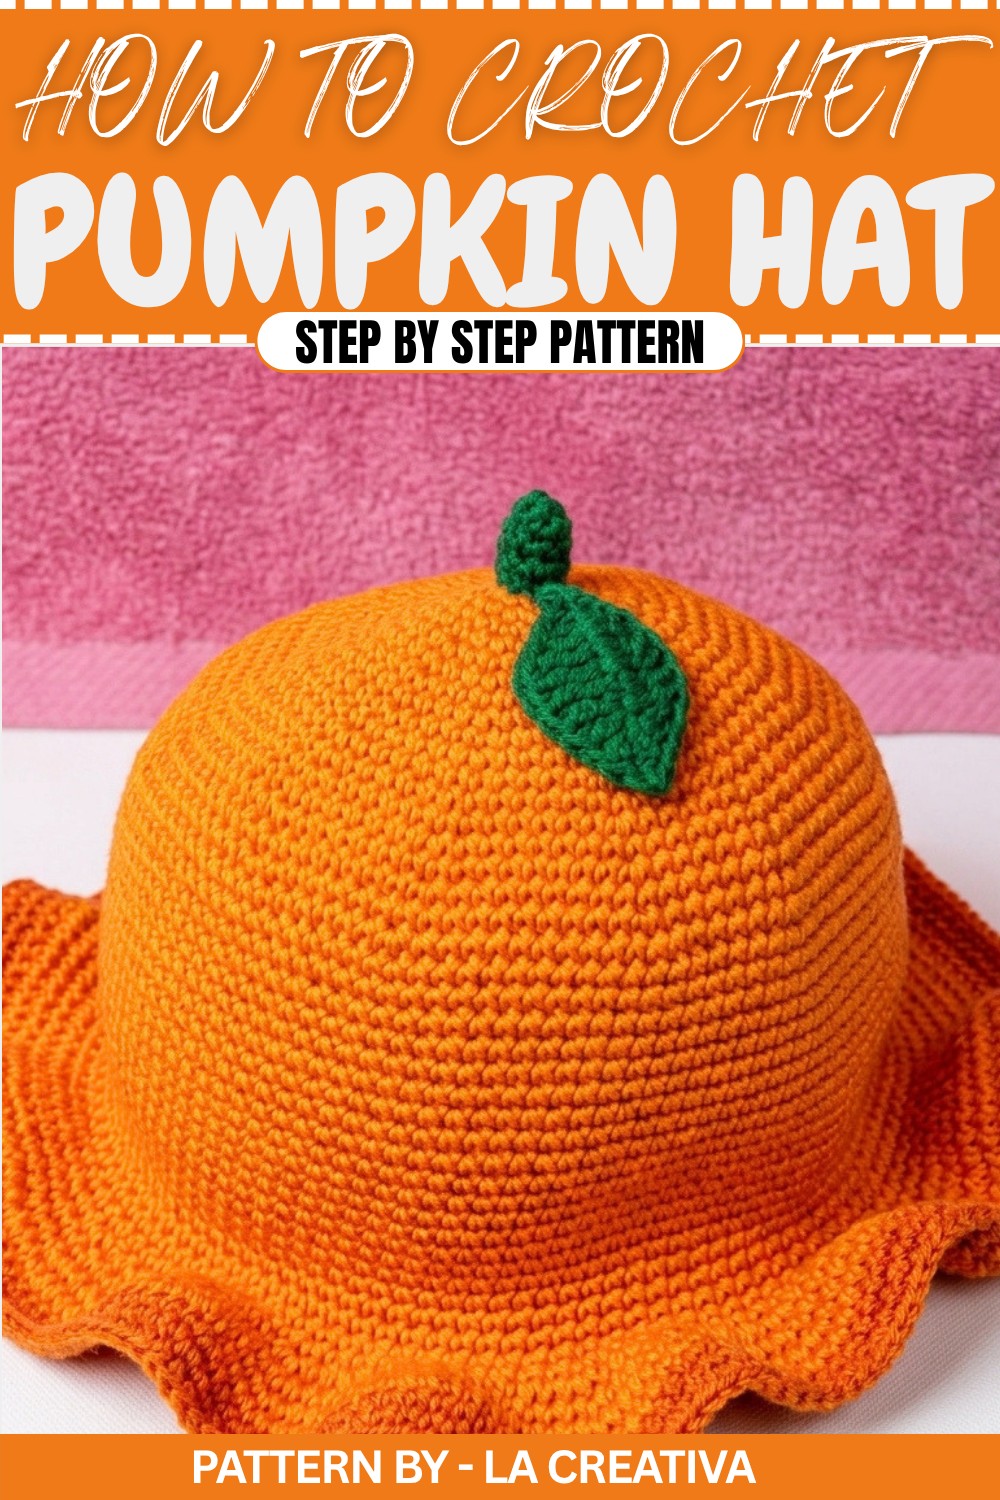
The stitches build a soft, rounded body that stays snug and comfortable on the head, and the design works up steadily in simple rounds so the shape stays balanced. Even makers who are still learning can enjoy watching the hat take shape stitch by stitch, creating a fun and rewarding project.
Once finished, this hat has many fun uses. It keeps heads warm during cool fall and winter weather, makes a delightful handmade gift, and is perfect for themed photos, fall festivals, or pumpkin patch outings. You can make matching hats in different sizes for family or friends, mix classic orange with other yarn colors, or add extra leaves or vines for a playful, festive touch.
Crochet Pumpkin Hat Pattern
This charming pumpkin hat is worked in the round, using 100% cotton yarn. It is suitable for all ages, with easy adjustments based on size and desired fit. The fun details like the ruffled edge and stem make this a perfect seasonal accessory. Measurements are essential for achieving the right fit, so be sure to check sizing as you go.
Skill Level
This pattern is suitable for beginners, though some familiarity with basic stitches and working in the round is recommended.
Materials
- Yarn: 100% cotton yarn
- Orange for the hat body
- Green for the stem and leaf detail
- Crochet Hook: Use a hook size that pairs appropriately with your chosen yarn for consistent tension.
- Tools:
- Scissors
- Measuring tape
- Felt (optional, for covering interior seams)
Special Stitches
Magic Ring:
- Wrap the yarn once around two fingers to form a loop.
- Insert the hook through the loop, yarn over, and pull through.
- Yarn over and pull through to secure the ring. Work stitches directly into the ring.
Single Crochet (SC):
- Insert hook into the stitch.
- Yarn over, pull through the stitch (2 loops on hook).
- Yarn over again and pull through both loops.
Half Double Crochet (HDC):
- Yarn over, insert hook into the stitch.
- Yarn over again, pull through the stitch (3 loops on hook).
- Yarn over and pull through all 3 loops on hook.
Double Crochet (DC):
- Yarn over, insert hook into the stitch.
- Yarn over, pull through the stitch (3 loops on hook).
- Yarn over and pull through the first two loops (2 loops remain).
- Yarn over and pull through the remaining two loops.
Double Treble Crochet (DTR):
- Yarn over twice.
- Insert hook into the stitch, yarn over, and pull through (4 loops on hook).
- Yarn over and pull through the first two loops.
- Yarn over and pull through the next two loops.
- Yarn over and pull through the final two loops.
Slip Stitch (SL ST):
- Insert hook into the stitch or chain space.
- Yarn over and pull through the stitch and the loop on the hook in one motion.
Stitch Abbreviations
- CH = Chain
- SC = Single Crochet
- HDC = Half Double Crochet
- DC = Double Crochet
- DTR = Double Treble Crochet
- SL ST = Slip Stitch
Useful Tips
- Measuring as You Go: Reference the sizing chart provided or measure the diameter after increasing rounds to ensure a proper fit. Example: a diameter of 17 cm suits an adult hat size.
- Avoid Stacking Increases: When creating increases in the crown, alternate starting stitches in rounds to prevent stack lines, ensuring a smoother texture.
- Customization: Adjust the number of body rows and ruffled edge rows to modify the height and flare of the hat to your liking.
- Details: Secure the stem and leaf firmly to avoid detachment during use, especially if the hat is for children.
The Crochet Pattern
1. Crown (Center of the Hat)
Round 1:
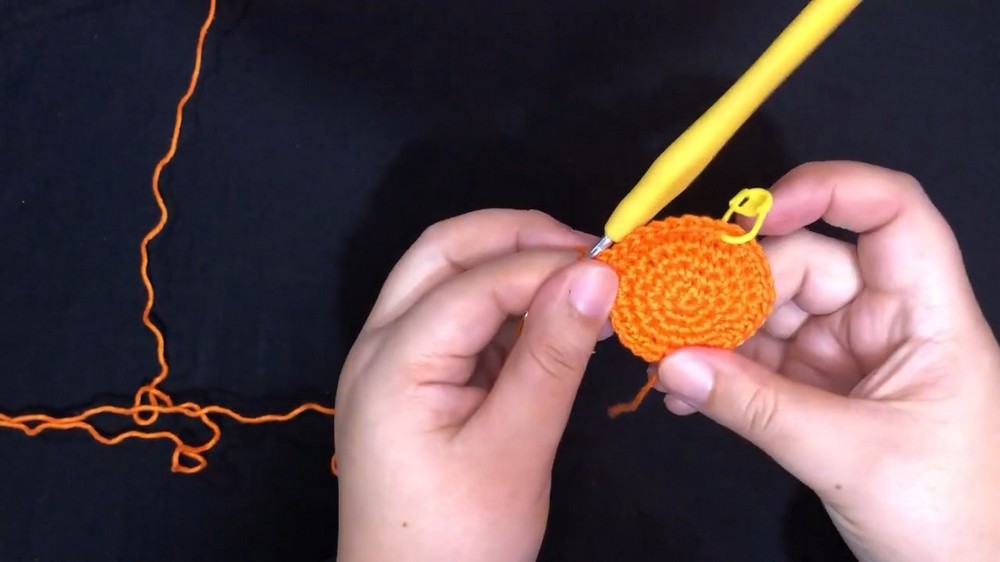
- Create a magic ring. Work 6 SC into the ring. Pull the ring tight to close. SL ST to the first SC to join.
Round 2:
- CH 1. Work 2 SC in each stitch = 12 SC. SL ST to join.
Round 3:
- CH 1. Work 1 SC, 1 increase (2 SC in the same stitch) alternating around = 18 SC. SL ST to join.
Round 4:
- CH 1. Alternate increases: start with 1 SC, then increase, and continue the pattern of 2 SC, 1 increase to avoid stacking lines = 24 SC. SL ST to join.
Round 5:
- CH 1. Work 3 SC, 1 increase around = 30 SC. SL ST to join.
Round 6 and Beyond:
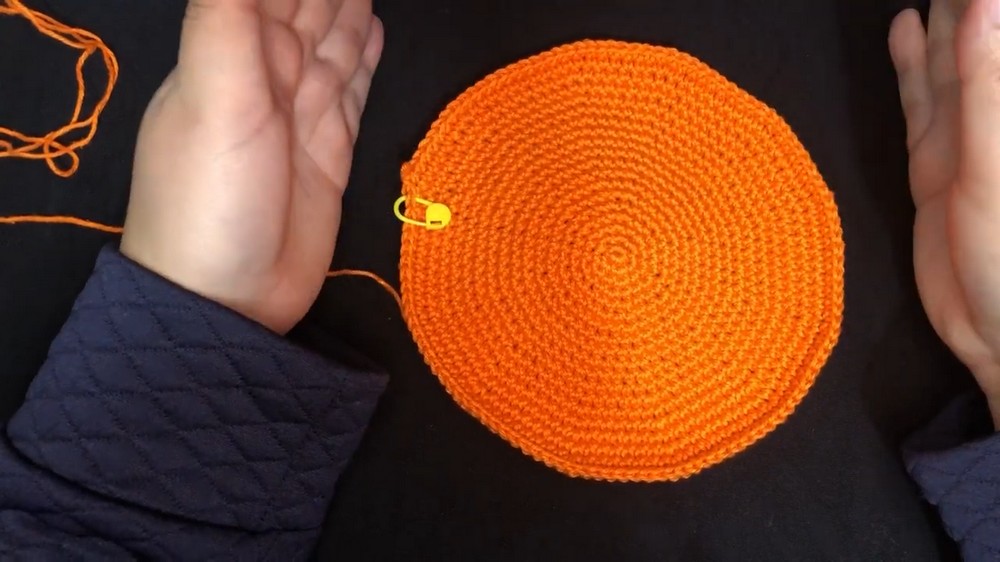
- Continue increasing rounds in this manner, adding 1 additional SC between increases (e.g., 4 SC, 5 SC, etc.) per round. Repeat until the circle reaches the desired diameter based on age or head circumference (e.g., 17 cm for an adult hat).
2. Body of the Hat
- Once the crown diameter is reached, stop increasing.
- Work 1 SC in each stitch around for the next 23 rows (or until reaching the desired height, e.g., 19–21 cm total from the top to bottom).
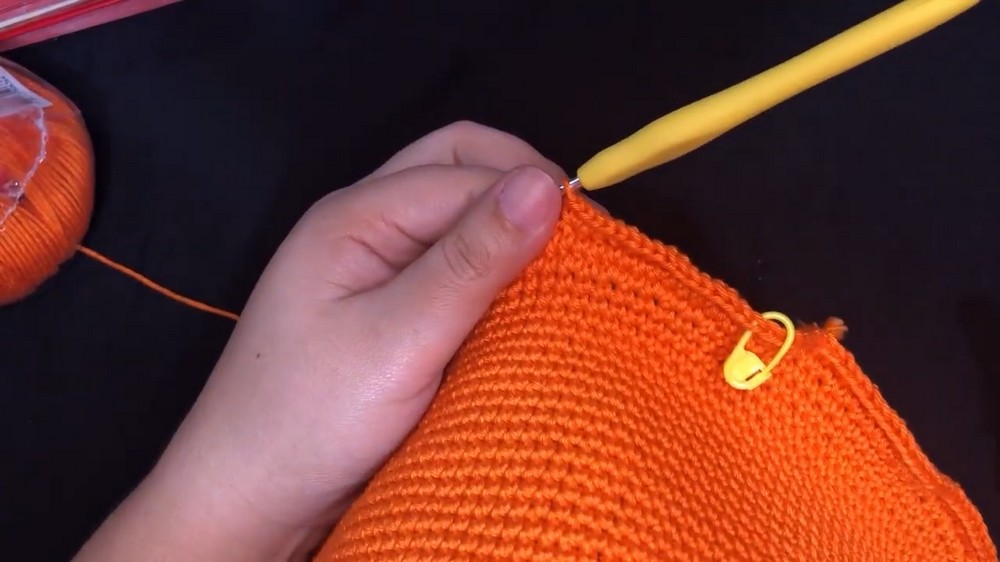
3. Ruffled Edge
Round 1:
- CH 1. Work 1 SC, 1 increase around = increased stitch count. SL ST to join.
Round 2:
- CH 1. Work 1 SC in each stitch around. SL ST to join.
Round 3:
- CH 1. Work 2 SC, 1 increase around = further increased stitch count. SL ST to join.
Additional Rows:
- Work 1 SC in each stitch for the next 3–4 rows to finish the ruffled edge. Fasten off.
4. Top Detail (Green)
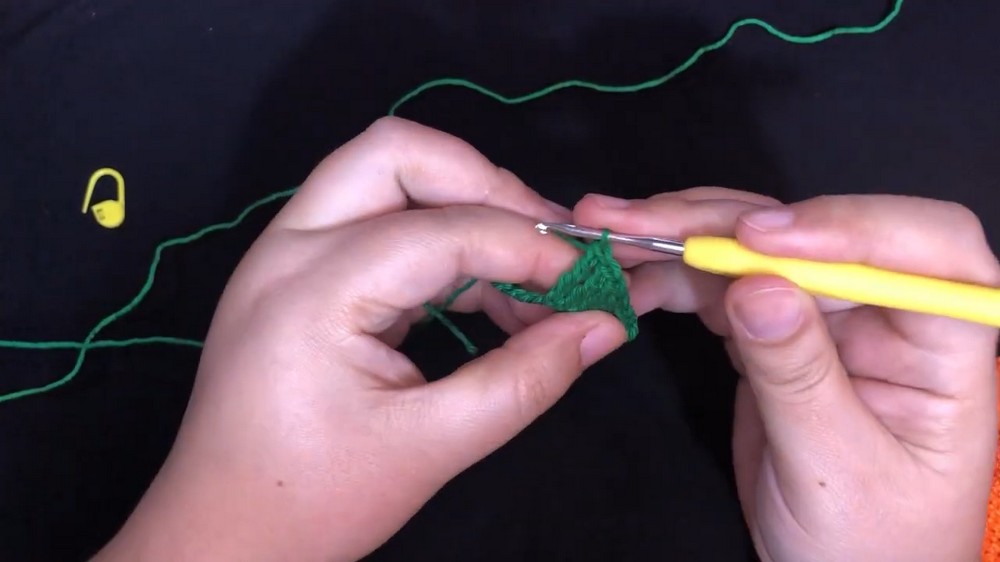
Stem:
- Magic ring with 8 SC.
- Work 1 SC in each stitch for a total of 4 rows.
- Finish with a SL ST and fasten off.
Leaf:
- CH 13.
- Work down the chain as follows:
- 1 SL ST into the first chain.
- 1 SC into the next.
- 1 HDC into the next.
- 1 DC into the next.
- 4 DTR into the next four chains.
- 1 DC into the next chain.
- 1 HDC into the next chain.
- 1 SC into the next chain.
- 1 SL ST into the last chain.
- Repeat the same stitch sequence on the opposite side of the chain.
- Fasten off.
5. Finishing
- Attach the stem securely to the top center of the hat using the blunt tapestry needle.
- Position the leaf beside the stem and sew or glue it in place for stability.
- For additional comfort, cut a circle of felt and sew or glue it inside the hat to cover any visible seams.
Assembly and Sizing
- Measure throughout the process to ensure accurate sizing. Adjust the number of rows and stitches as needed for different ages or head sizes. For infants, reduce the number of rows in the body of the hat; for older children or adults, add rows to increase height.
- Secure all components firmly during assembly to prevent detachment.
Conclusion
This crochet pumpkin hat combines function with a playful aesthetic, making it ideal for festive occasions or everyday wear during cooler months. The simple yet effective construction allows for easy customization, while the stem and leaf detail add a whimsical touch to the finished design. Perfect for gifting or personal use, this pattern ensures a cheerful accessory that showcases craftsmanship and creativity.