
Free Crochet Mini Shoulder Bag Pattern That Looks Chic
Try this free crochet mini shoulder bag pattern to create a cute, personalized accessory that’s both fashionable and useful for any occasion.
A busy day calls for just the essentials, a phone, wallet, and keys. But who says practicality shouldn’t come with style? A handmade crochet mini shoulder bag can be the perfect accessory, combining charm, usefulness, and personality in one cozy design. Think about having something to carry along that’s lightweight and fits seamlessly with your outfit, all while holding onto that special touch of being handmade.
Free Crochet Mini Shoulder Bag Pattern for Fun Beach Days
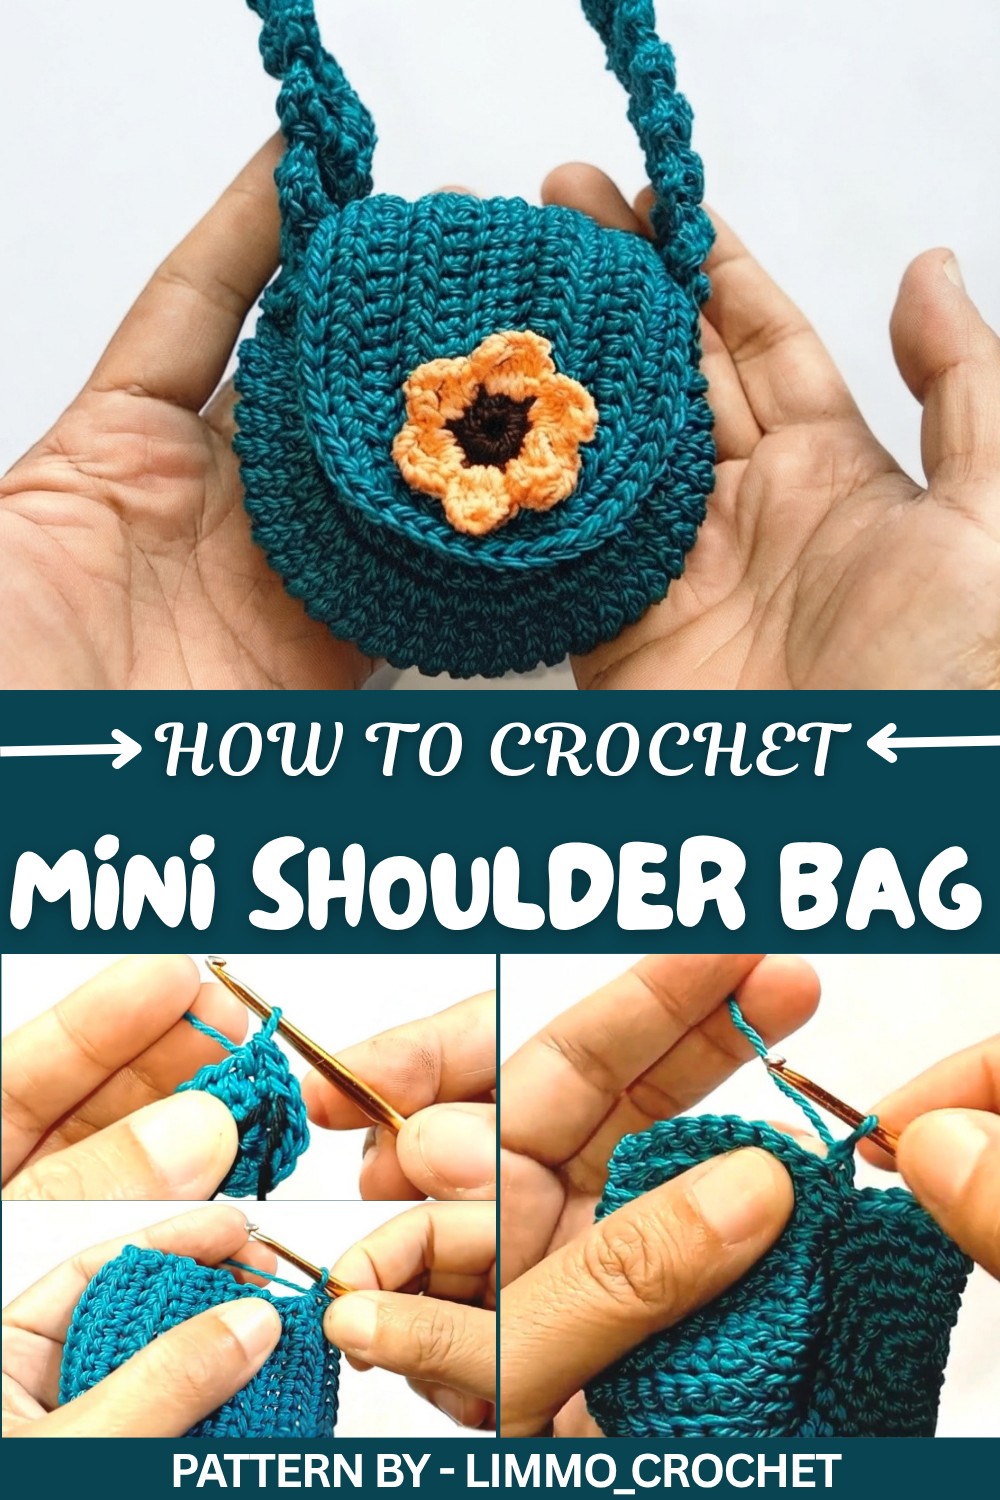
Follow along Limmo_crochet, She shares a simple tutorial that’s easy to follow, with clear steps and helpful tips. Perfect for beginners, her videos guide you through the process and make it easy to create something amazing.
This shoulder bag stands out because of its compact yet elegant shape. A sturdy strap allows it to rest comfortably on your shoulder or wear it as a crossbody for extra convenience. The structure of the bag is timeless, it’s the sort of piece that works well for errands, and casual walks. Plus, customizing the yarn color or texture gives you the freedom to match your style perfectly.
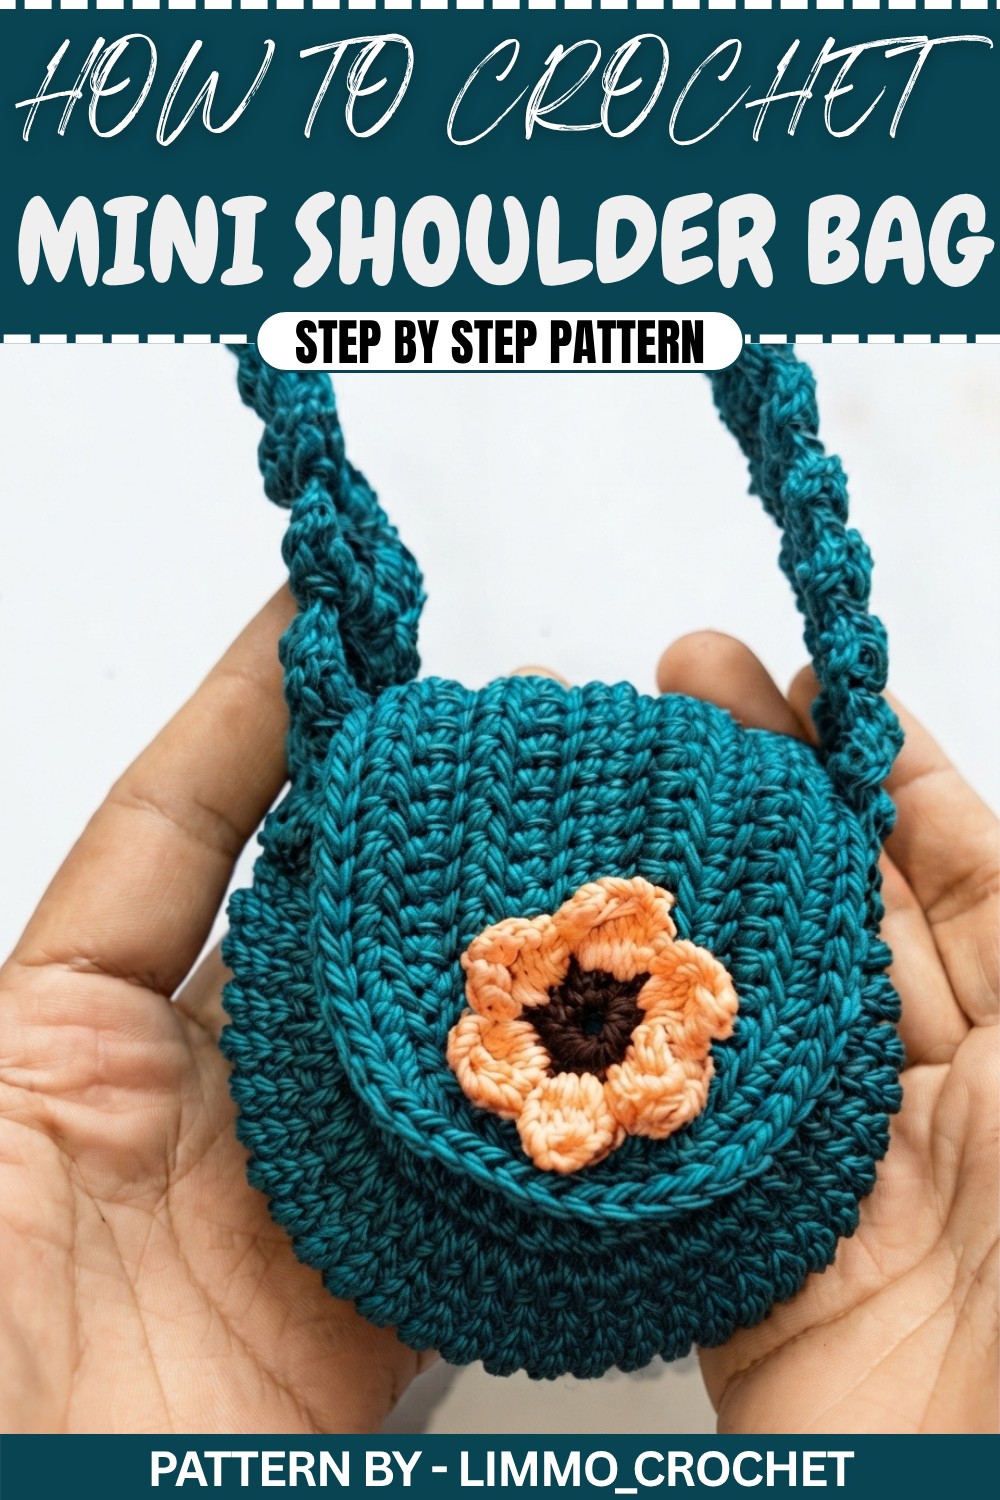
Lightweight, stylish, and easy to carry, the crochet mini shoulder bag isn’t just another item to own—it’s something you make with care and show off proudly, wherever life takes you.
Free Crochet Mini Shoulder Bag Pattern
This step by step crochet pattern will guide you through creating a charming small bag, perfect for gifting on special occasions like Eid. The design is made using Poly Kiwi yarn and simple crochet techniques, making it easy to follow even for beginners.
Quick Overview of Pattern
- Project: Small bag for Eid.
- Construction: Two circular pieces joined together to form the bag body, with additional details like a closure flap and strap/band.
- Stitch Focus: Single crochet (SC), increase, slip stitch, and bobble stitches.
- Customization: Make the bag in your choice of colors and adjust strap length easily.
Notes
- Magic Ring: Ensure the magic ring is cinched tightly after the first round to avoid gaps in the center.
- Back Loop Only: Some steps require working into the back loop; pay attention to these details for texture.
- Consistency: Maintain even tension throughout to ensure uniformity in size and shape.
Skill Level
Beginner to Intermediate.
Materials
- Yarn: Poly Kiwi yarn.
- Hook: 4 mm crochet hook (or suitable for your yarn).
- Other Supplies: Scissors, stitch markers, tapestry needle.
Measurements / Sizing
- Bag Body Diameter: Approx. 8 cm for each circular piece.
- Strap Length: Approx. 28 cm (adjustable).
Gauge
Gauge is not crucial for this pattern, but a snug, tight stitch ensures the bag structure holds well.
Stitch Abbreviations
- SC: Single Crochet
- CH: Chain Stitch
- SL ST: Slip Stitch
- DC: Double Crochet
- Increase: Work two stitches into the same stitch
- Bobble: Clustered DC stitches as defined in the special stitches section
Special Stitches
Bobble Stitch: Work 5 incomplete DC in the same stitch. Yarn over and pull through all loops on the hook to create a bubble effect.
The Crochet Pattern
Bag Body (Make 2 Pieces)
Round 1:
- Create a Magic Ring.
- Work 7 SC into the ring.
- Pull the ring tight and secure with a SL ST to the first SC. (7 stitches)
Round 2:
- Place a stitch marker to mark the beginning.
- Work 2 SC in each stitch around. (14 stitches)
Round 3:
- Alternate: 1 SC in the next stitch, then 1 SC Increase in the following stitch.
- Repeat this pattern around. (21 stitches)
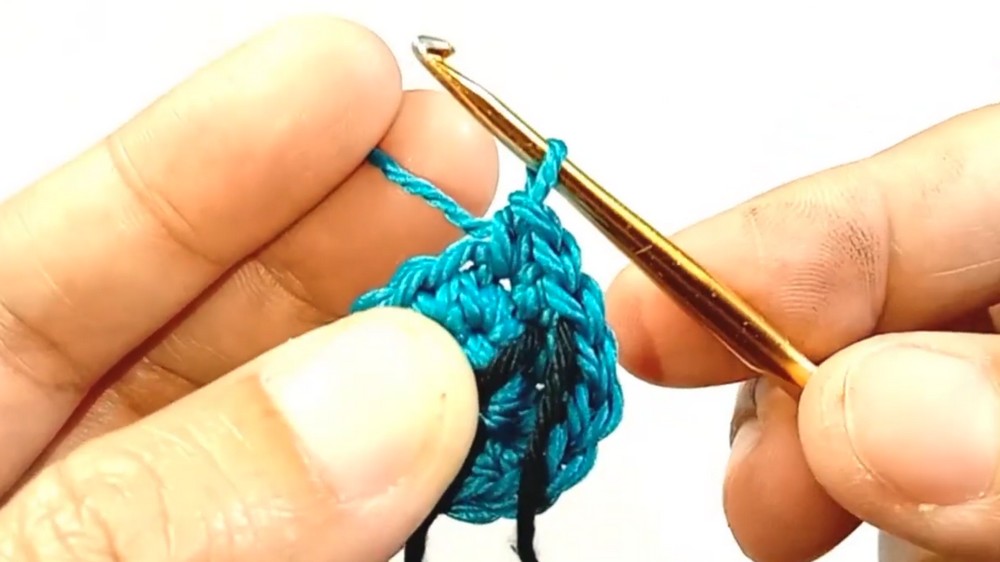
Round 4:
- Alternate: 2 SC in the next 2 stitches, then work 1 SC Increase.
- Repeat this pattern around. (28 stitches)
Round 5:
- Work: 3 SC in the next 3 stitches, then 1 SC Increase.
- Repeat around the round. (35 stitches)
Round 6:
- Alternate: 2 SC in the next 2 stitches, then work 1 SC Increase.
- Repeat this pattern around. (42 stitches)
Round 7:
- Work: 5 SC in the next 5 stitches, then 1 SC Increase.
- Repeat this pattern around to finish the round. (49 stitches)
- Fasten off the yarn and weave in the ends with a tapestry needle.
- Make 2 identical circular pieces.
Joining the Pieces
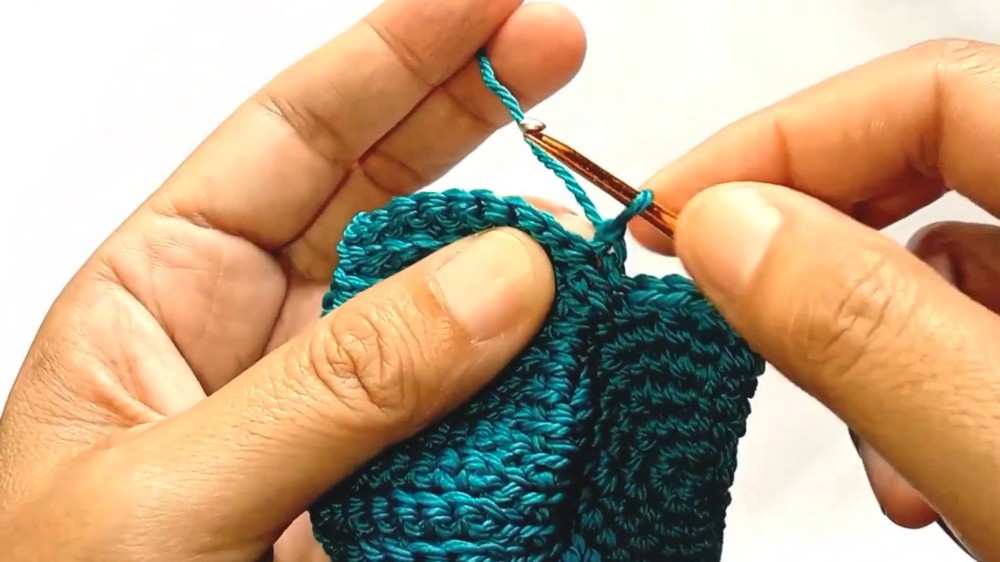
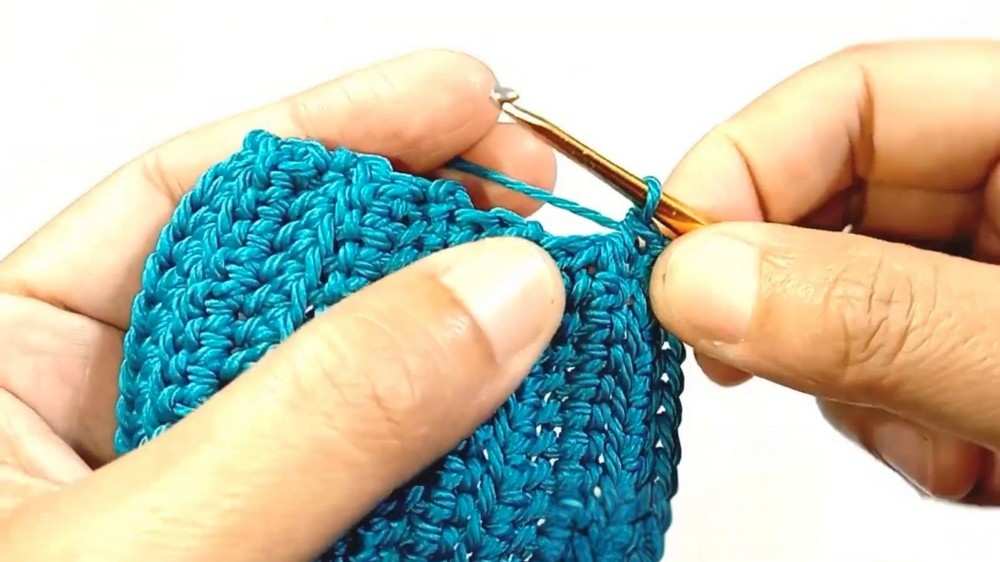
- Place the two circular pieces together with their wrong sides facing each other.
- Attach the yarn and CH 9.
- Join the chain to the opposite circle using a SL ST.
- CH 1, turn, and work across the chain:
- Make 2 SL ST, followed by 5 SC, and then end with 2 more SL ST.
- Continue to crochet around the edges, alternating between SL ST and SC to join both sides until the circles are completely connected into a bag shape.
Creating the Flap Closure
Step 1: Start the Flap
- Foundation: CH 15, then skip the first chain.
- Row 1: SC in the second CH from the hook. Continue to work in the following pattern:
- Insert your hook into the bottom loop of the SC, pull up a loop, then insert the hook into the next CH, pull up another loop, and pull through all loops on the hook.
- Repeat this sequence for 12 stitches total.
Step 2: Create the Rounded Edge
- In the last stitch, work 4 rounded stitches in the same hole (pull loops as described above).
Step 3: Work in the Round
- Without turning, continue repeating the same stitch pattern down the opposite side of your foundation chain, placing a stitch in each of the remaining 13 stitches.
Step 4: Shaping
- CH 1, turn, and continue the same pattern in the next row while adding 4 increases at the curve. Repeat this sequence until you’ve worked 5 rows and the flap reaches the desired size.
Adding the Strap
Step 1: Foundation Chain
- CH 6 for the width of the strap.
- Turn and SC in the second CH from the hook, work across the row with SC.
Step 2: Decorative Bubble Pattern
- CH 4, turn, and skip two stitches at the start of the row.
- In the next space, work a bobble stitch (5 incomplete DC stitched together).
- CH 2, then work one DC in the last stitch.
Step 3: Repeat the Pattern
- Work SC across and repeat the bobble pattern for consecutive rows. Continue this until the strap measures approximately 28 cm (or desired length).
Step 4: Finishing and Attaching
- Use SL ST to attach the strap to the bag body securely. Fasten off and weave in all loose ends.
Assembly & Finished Size
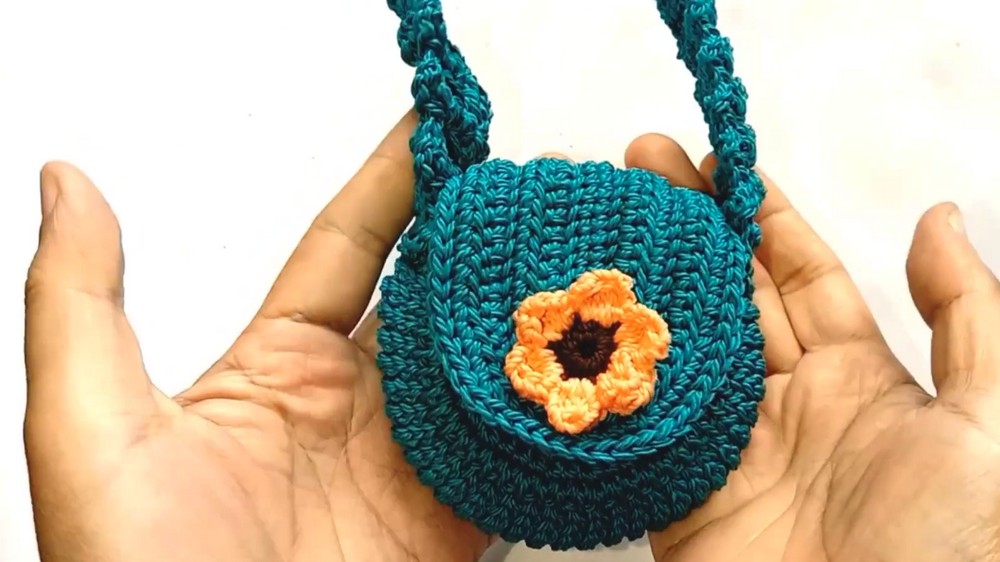
- Assembly: Sew the flap to the back of the bag body, ensuring it folds neatly over the opening. Attach the strap securely to each side.
- Finished Size: bag diameter – approximately 8 cm; strap – 28 cm.
Conclusion
Congratulations, You’ve just created a charming small Eid themed crochet bag with Poly Kiwi yarn. This versatile project makes a great gift for friends and family or the perfect personal accessory to celebrate special occasions. Keep exploring crochet patterns to improve your skills and bring more handmade joy to your life.