
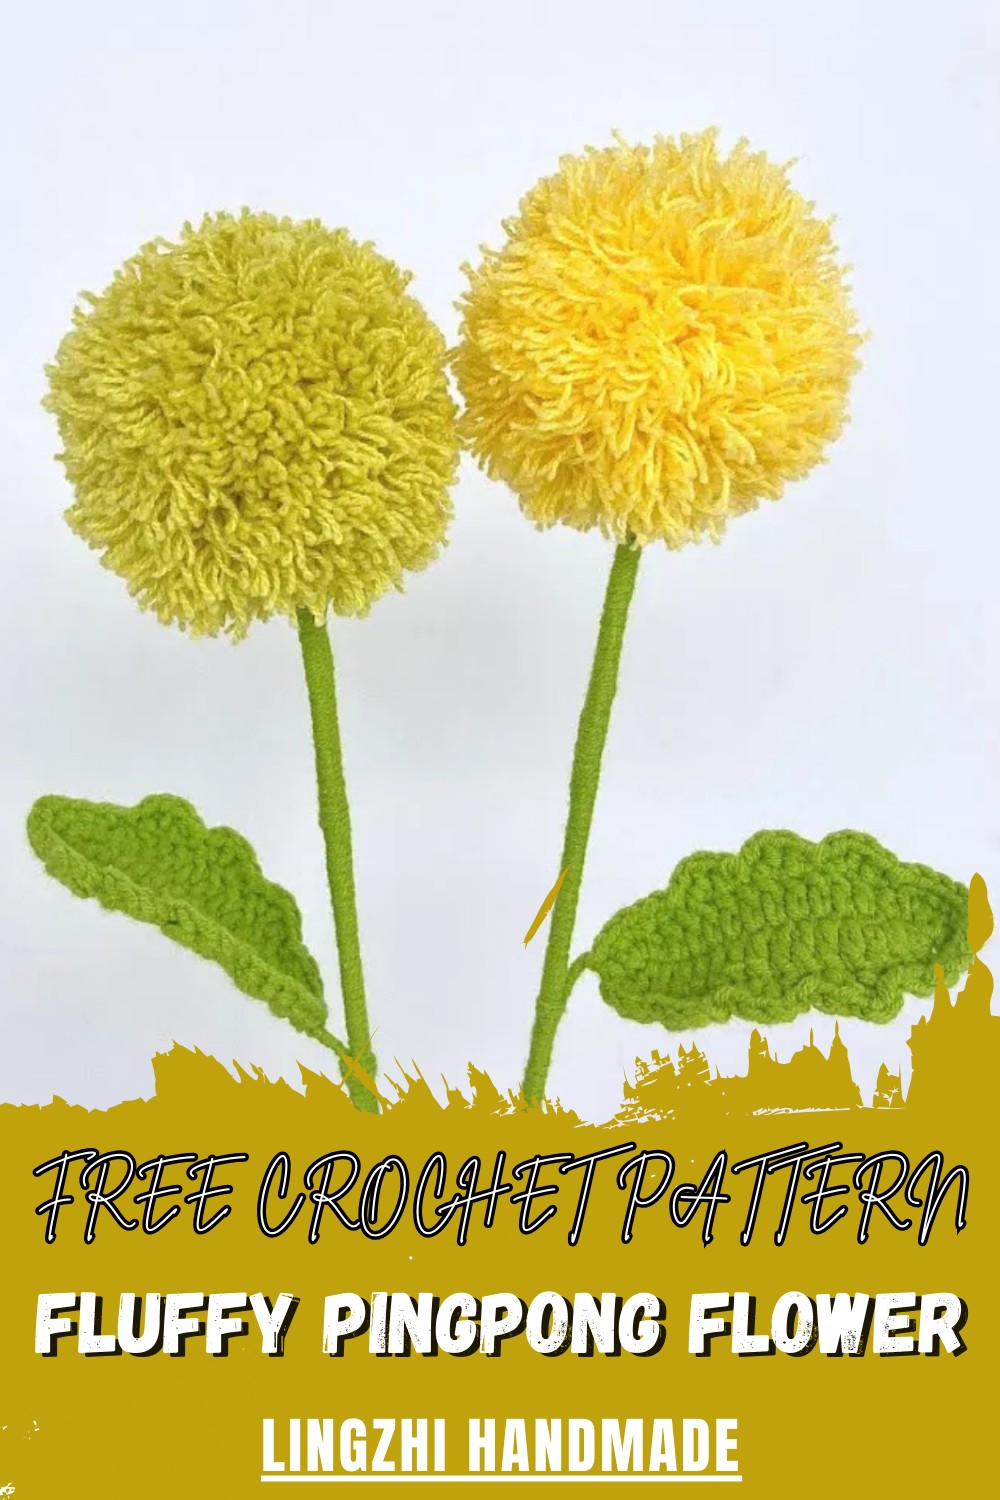
Bring joy to any project with the Crochet Fluffy Pingpong Flower Pattern, full of bouncy petals, simple stitches, and a bright, playful vibe.
Soft and textured crochet creations bring joy and a playful touch to any project. The voluminous and cheerful design of this pattern adds a whimsical charm that instantly brightens spaces or accessories. The Crochet Fluffy Pingpong Flower Pattern allows crafters to create vibrant, three-dimensional blooms that never wilt, making it a practical and lasting alternative to real flowers.
Charming Crochet Fluffy Pingpong Flower Pattern Ideal For Gifts
It is better for us because it encourages mindfulness, improves hand-eye coordination, and provides a fun way to personalize gifts or decor. Advantages include easy customization of size and color, durability, lightweight feel, and maintenance-free beauty.
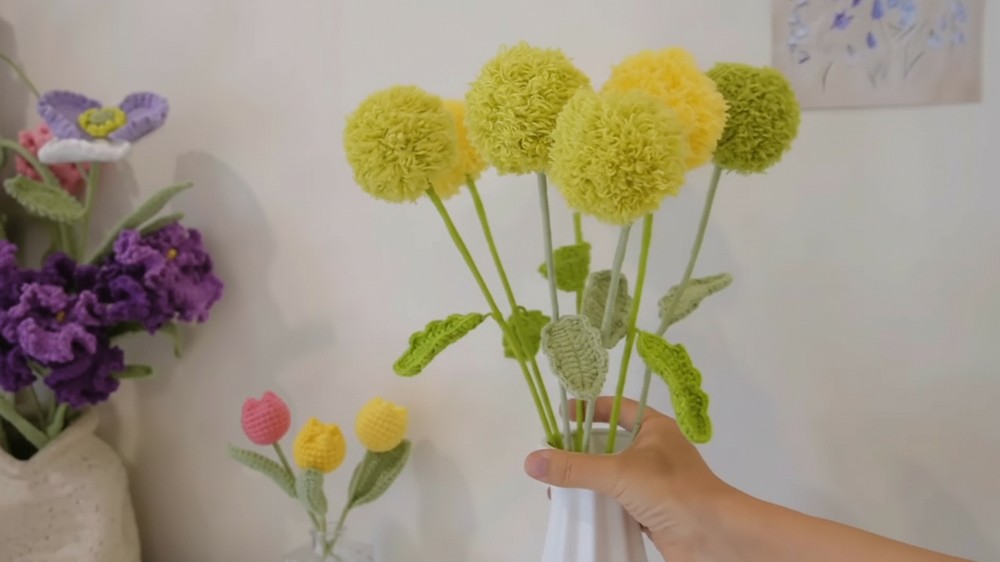
Its puffy petals and round form offer a unique, eye-catching appeal that enhances any craft or display. These flowers are ideal for embellishing cushions, blankets, hair accessories, wall hangings, bouquets, or party decorations. Their soft, playful elegance brings warmth and joy, transforming ordinary spaces into creative, colorful environments full of handmade charm.
How to Crochet a Fluffy Ping Pong Flower
Special Features
- Non-Crochet Fluffy Base: The main flower part doesn’t require crochet techniques—it is made by wrapping yarn.
- Dual Craft: Combines yarn techniques with craft wire, ensuring structure and durability in the final product.
- Versatility: The Ping Pong flower works beautifully as a bouquet filler or standalone décor item.
- Beginner-Friendly: While the flower is simple, the leaf section adds an intermediate challenge with more detailed stitches.
- Textured Design: Trimming and combing the yarn give the flower its unique fluffiness.
Materials Required
- Yarn: Choose yarn for both the flower (any color of your choice) and leaf (green).
- Craft Wire: Approximately 20cm pieces to stabilize the flower and leaf.
- Comb: To fluff the yarn ball for the flower’s texture.
- Scissors: For trimming and shaping the yarn ball.
- Crochet Hook: Hook size suitable for your yarn (unspecified in the video, but likely small size for single crochets).
Step-by-Step Instructions
1. Creating the Fluffy Flower (Non-Crochet)
a. Wrapping the Yarn
- Take a piece of yarn (color of your choice).
- Wrap the yarn 80 times around your four fingers. This will form the fluffy ball.
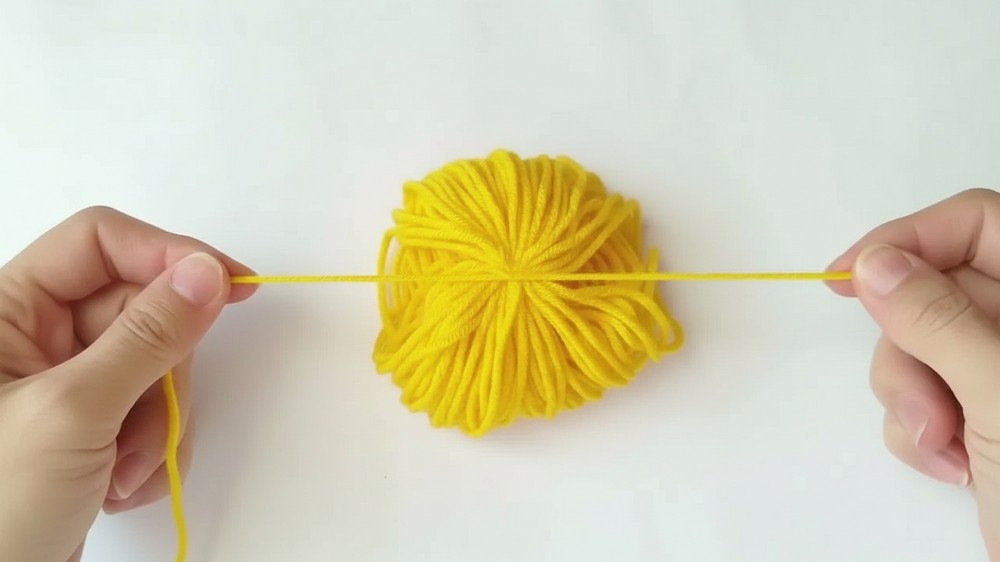
b. Tying the Yarn
- After wrapping, cut off the yarn.
- Take a separate piece of yarn approximately 40cm long and tie one knot to secure the bundle.
- Flip to the opposite side and tie two more knots to ensure stability.
c. Adding Craft Wire
- Insert a 20cm piece of craft wire through the center of the yarn bundle.
- Hold the yarn bundle tightly in place and tie more knots around the wire to secure both the wire and yarn.
- Wrap yarn around the bundle several times to keep it firm, ensuring the yarn ball stays tight.
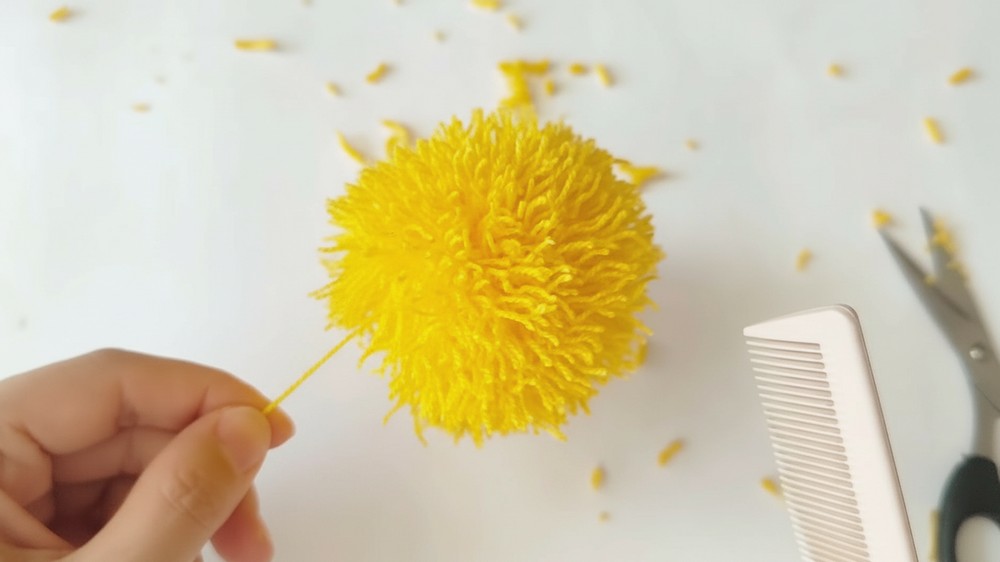
d. Trimming the Yarn
- Cut through the loops of the yarn bundle to separate each piece.
- Trim the ends gradually to shape the yarn into a round ball.
- Use a comb to fluff up the yarn ball for texture. Perform final trimming for a perfect round shape.
2. Crocheting the Leaf
a. Starting the Leaf
- Use green yarn and begin with a slip knot (do not count this as a stitch).
- Crochet 15 chains to create the foundation of the leaf.
b. Supporting the Leaf with Craft Wire
- Locate the second stitch from the hook and insert your crochet hook.
- Stop and insert a piece of craft wire to stabilize the leaf.
c. Single Crochet Foundation
- Work one single crochet into each chain for 13 stitches.
- At the last chain, crochet 3 single crochets to curve around the end.
d. Working the Opposite Side
- On the opposite side of the chain, hide the yarn tail while working.
- Crochet single crochet stitches up to the end.
- At the end, finish with a slip stitch through the first stitch to join the round.
- Chain 1 to secure this base level.
e. Round 2 – Adding Texture
- Do not count the initial chain.
- In the current space, crochet 1 single crochet.
- In the next space, crochet 2 single crochets, followed by 2 chains.
- Continue repeating this pattern: 1 single crochet, 2 single crochet, 2 chains.
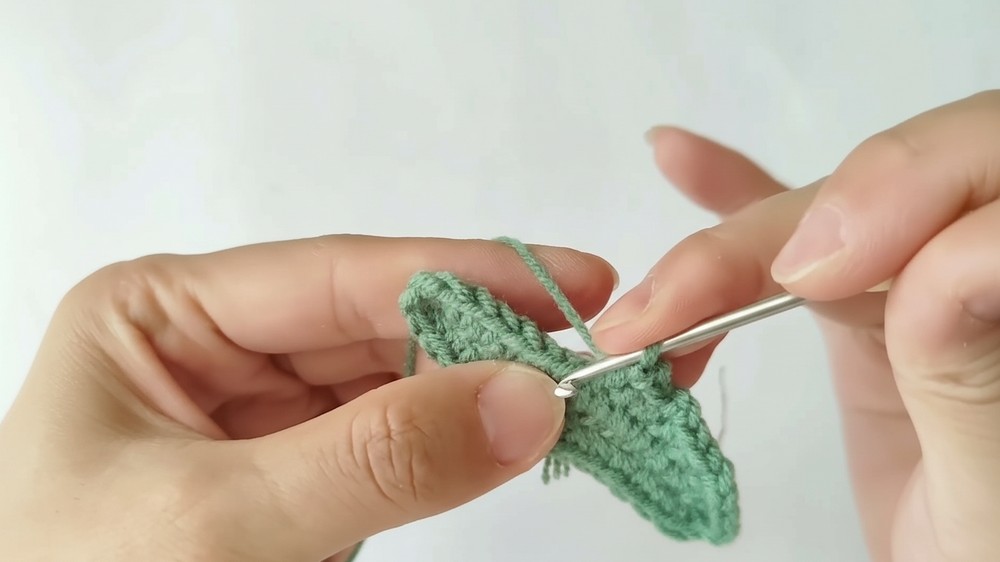
f. Creating the Leaf Tip
- At the top stitch, crochet 1 single crochet and 2 chains, then slip stitch into the second back bump.
- Crochet another single crochet in the same stitch to complete the tip.
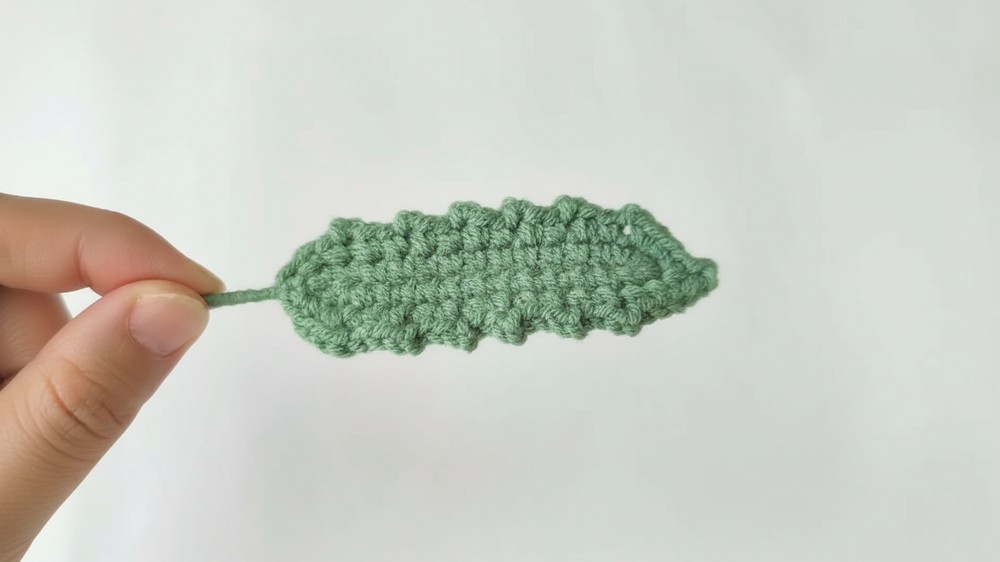
g. Finishing the Leaf
- Repeat the same pattern on the opposite side.
- Complete the round with a slip stitch into the first stitch and chain 1 to secure the end.
- Wrap any loose yarn to close the project.
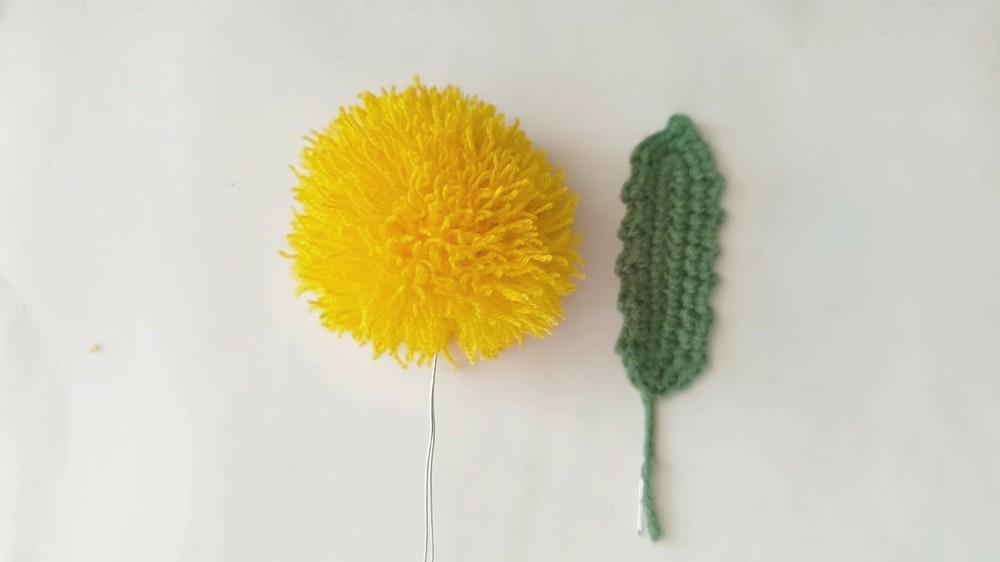
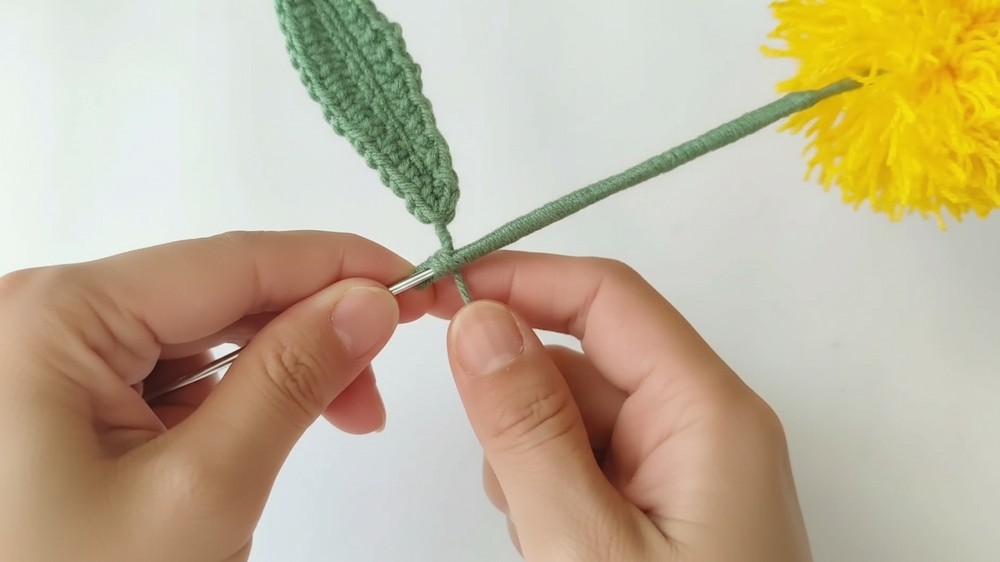
3. Assembling the Flower
- Combine one fluffy Ping Pong flower with one leaf.
- Attach them together using craft wire and secure tightly.
- Repeat the process for each additional bunch as desired—for a bouquet or decoration.
Level of Difficulty
The project is beginner-friendly, particularly the flower section, as it requires no crochet knowledge, focusing instead on yarn wrapping and trimming. The leaf section is slightly more advanced due to detailed crochet patterns and the addition of craft wire for support. Beginners can improve their skills while completing this project.
Tutor's Suggestions
- Be Patient: Trimming the yarn ball to shape it perfectly takes time, especially when creating a rounded, fluffy effect.
- Secure Your Knots: Ensure knots around the yarn and wire are tight to avoid the flower falling apart.
- Pause and Practice: The tutor advises pausing the video when completing each section to follow along at your own pace.
Uses and Applications
- Bouquet Filler: Perfect for adding texture and vibrancy to bouquets and floral arrangements.
- Decorative Art: Use as standalone decorations in vases, wreaths, or festive décor.
- Craft Projects: Great for detailed crochet projects needing small accents.
Pro Tip
When trimming the yarn ball, use sharp scissors for better precision in shaping. Comb thoroughly after cutting to fluff the ball evenly before finalizing its shape.
Conclusion
This Fluffy Ping Pong Flower tutorial is an excellent DIY project for crafters of all levels. Combining crochet and non-crochet techniques, it allows beginners and intermediates alike to create something versatile and beautiful. Whether used in bouquets or décor, the flower is easy to make, fun to assemble, and customizable. Don’t forget to subscribe to the channel for weekly tutorials—and tag the tutor on Instagram to share your finished creation.