
Unique Crochet Drawstring Pouch Pattern For Storage Solution
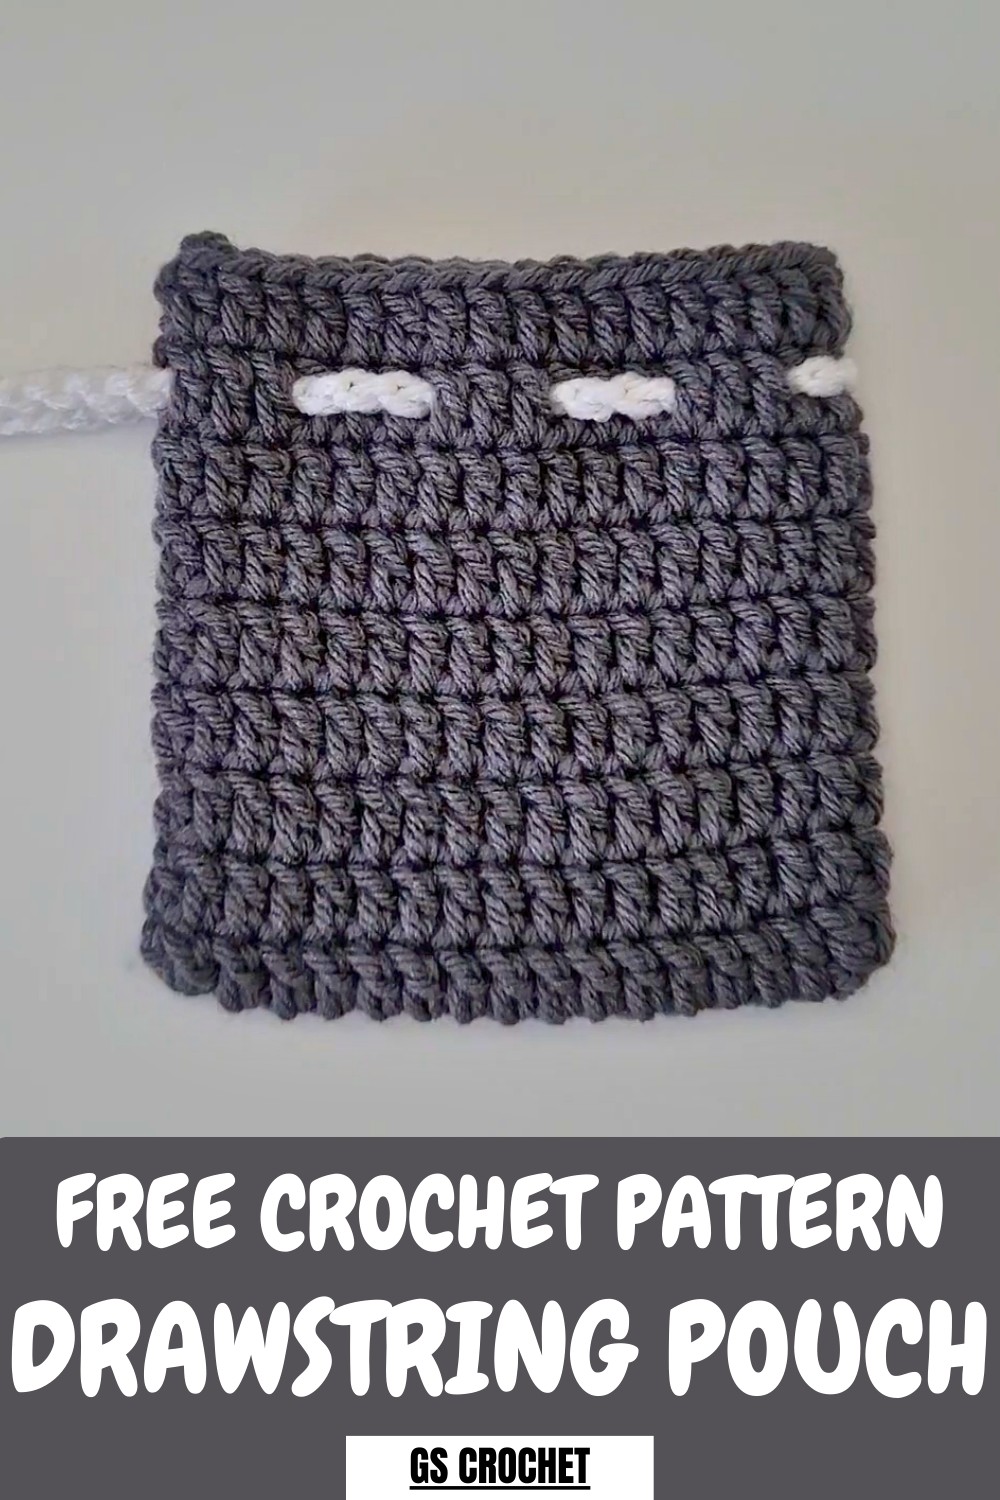
Keep your treasures stylish with the Free crochet Drawstring Pouch Pattern, a fun and handy project that creates a cute pouch perfect for gifts or storage.
A small drawstring pouch can be both charming and practical, adding a touch of handmade elegance to everyday life. Its soft texture, neat finishing, and simple shape give it a polished, appealing look, while the drawstring closure adds convenience and a playful detail. Perfect for storing coins, jewelry, small trinkets, or even serving as a unique gift bag, it blends functionality with style.
Mini Crochet Drawstring Pouch Pattern Perfect for Jewelry
Lightweight and portable, it slips easily into purses, backpacks, or drawers, keeping items organized wherever you go. Working on this piece is relaxing and satisfying, helping improve focus and stitch consistency. Thoughtful details like tidy edges and adjustable strings enhance both its practicality and visual appeal. This little pouch combines beauty, versatility, and handmade charm, transforming a simple storage solution into a delightful accessory that brings personality, organization, and a touch of elegance to daily routines.
How to Crochet a Simple and Stylish Drawstring Pouch (Step-by-Step Guide)
Materials Needed
To create the pouch, you’ll need the following materials:
- Yarn: Category 4 yarn. The tutorial uses brown yarn, but you can choose any color.
- Crochet Hook: A 5mm hook is recommended in the video, but you can adjust according to your yarn type and desired texture.
- Scissors: To neatly cut your yarn at various stages.
- Darning Needle: For weaving in loose ends and sewing the drawstring in place.
Uses of the Drawstring Pouch
- Gift Bag: Perfect for storing small gifts or party favors.
- Storage: Use it as a holder for coins, jewelry, or crochet supplies.
- Travel Accessory: Ideal for carrying small travel essentials like earbuds or cosmetics.
- Decorative Piece: Can be customized with different colors and embellishments to make a beautiful decorative item.
Special Features
- Customizable Size: Adjust the height and width by changing the number of chains and rounds.
- Simple Stitch Pattern: The entire design uses only double crochet stitches, making it beginner-friendly.
- Optional Design Touch: You can add different colors or applique details for a unique look.
- Functional Drawstring: A straightforward chain serves as a drawstring, providing a secure closure.
Level of Difficulty
This project is beginner-friendly. The pouch only requires basic skills such as chaining, slip stitching, and double crocheting, all clearly demonstrated to help new crocheters feel confident.
Step-by-Step Instructions
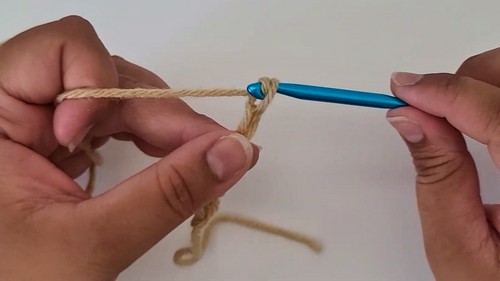
1. Create the Base Chain
- Start by making a slip knot on your hook.
- Crochet a foundation chain.
- The chain’s length represents the pouch’s width.
- Add 3 extra chains at the end, which count as the first double crochet stitch of the row.
- Example: For a width of 15 stitches, chain 18.
- Ensure your chain isn’t too tight, as you’ll be working into the back bumps for the first row.
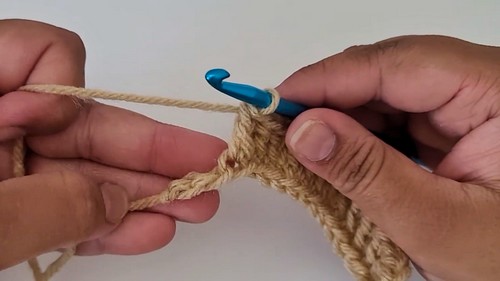
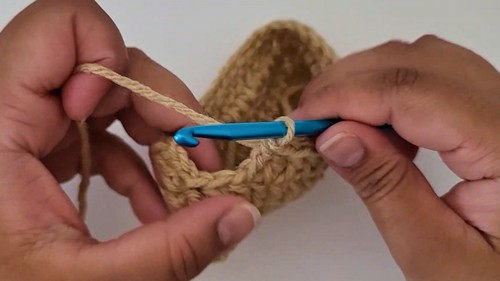
2. Crochet the First Round
- Begin by skipping the first 3 chains.
- Work a double crochet (DC) into the back bump of the 4th chain from your hook. Insert your hook into the back loop, yarn over, pull up a loop (3 loops on the hook), yarn over and pull through 2 loops, then yarn over and pull through the final 2 loops.
- Continue placing one double crochet stitch into each chain.
- At the last chain, work 3 double crochets into the same stitch to create a curve for the bottom edge.
- Turn your work so you’re crocheting along the reverse side of the foundation chain.
- Skip the chain you just worked into and begin crocheting double crochet stitches into the remaining chains along the opposite side.
- At the end of the row, place 2 double crochets into the last stitch.
- Finally, slip stitch into the first double crochet to complete the round.
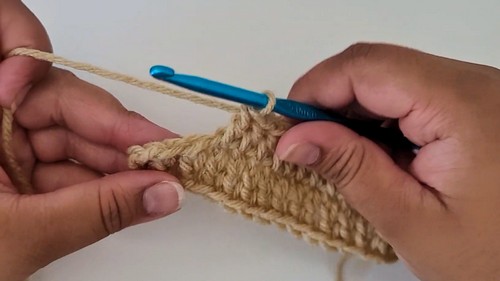
3. Build the Height with Additional Rounds
- Start each new round by chaining 3.
- This chain counts as the first double crochet stitch of the round.
- Work one double crochet into the same stitch where you slip-stitched.
- Continue crocheting one double crochet in each stitch around the pouch. No additional increases are needed after the base is established.
- End each round with a slip stitch into the first double crochet of the round.
4. Decide the Height of Your Pouch
- Repeat the process of chaining 3, double crocheting into each stitch, and slip-stitching at the end until the pouch reaches your desired height.
- For a medium-sized pouch, the video recommends approximately 8 to 10 rounds.
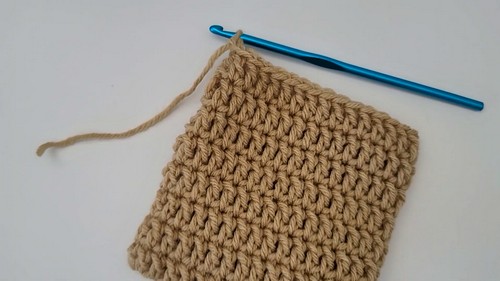
5. Finish the Base of the Pouch
- At the last round, fasten off by chaining 1, cutting the yarn, and pulling it through the loop.
- Secure the stitch by tightening the yarn.
- Weave in the loose ends with a darning needle, taking care not to distort the stitches.
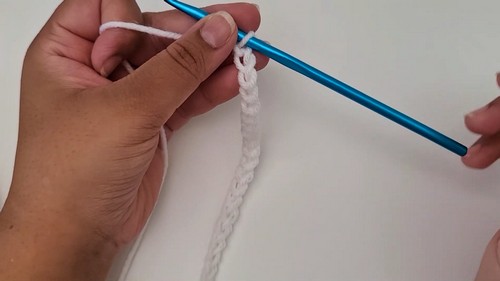
6. Make the Drawstring
- Begin with a slip knot and crochet a long chain.
- The chain should be long enough to loop through the pouch and provide at least 2 inches of excess on both sides for tying.
- Example: Chain approx. 45 stitches for a regular pouch.
- Fasten off by cutting the yarn, pulling it through the loop, and tightening the knot.
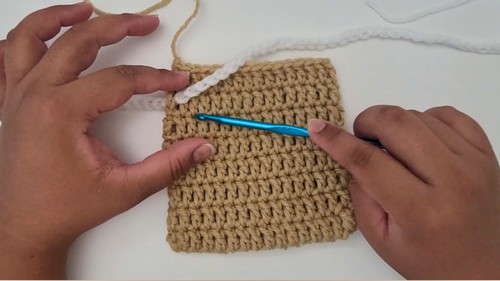
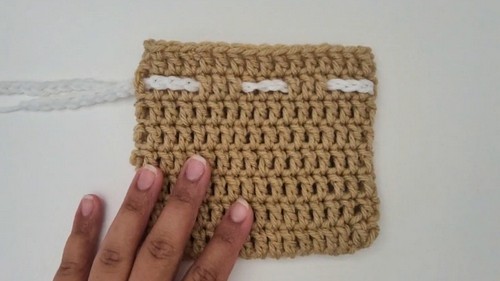
7. Insert the Drawstring
- Start from the second round from the top of the pouch.
- Use a hook or a darning needle to weave the drawstring in and out of the stitches, skipping 3 stitches at a time for an even look.
- Continue weaving all around until you return to the starting point.
- Adjust the drawstring to ensure equal length on both sides.
8. Final Touches
- Trim the drawstring ends to your desired length.
- Weave in any remaining ends securely on the inside of the pouch.
- Turn the pouch right side out and gently shape it into its final form.
Tutor’s Suggestions
- Chain Tension: Keep your foundation chain loose to simplify working on the first row.
- Drawstring Variation: Use a contrasting yarn color for the drawstring to enhance the design.
- Stitch Consistency: Make sure the tension is even throughout to avoid uneven widths.
- Experiment with Size: Increase the initial chain and number of rows if you want a larger pouch.
Conclusion
This crochet drawstring pouch is a simple yet charming project perfect for beginners exploring new patterns and techniques. With its customizable size and straightforward design, it’s both practical and fun to make. Whether for gifting, organizing, or decorating, this pouch is versatile and easy to personalize. With simple materials and basic stitches, you’ll have a functional handmade item in no time!
Bonus Tip
If you’re gifting the pouch, consider adding a personalized touch like a crochet applique or embroidered initials. This small detail will make your gift even more special!