
Festive Crochet Reindeer Ornament Pattern to Spark Holiday Joy
Stitch a touch of festive elegance with our free crochet reindeer ornament pattern, a charming heirloom for your tree.
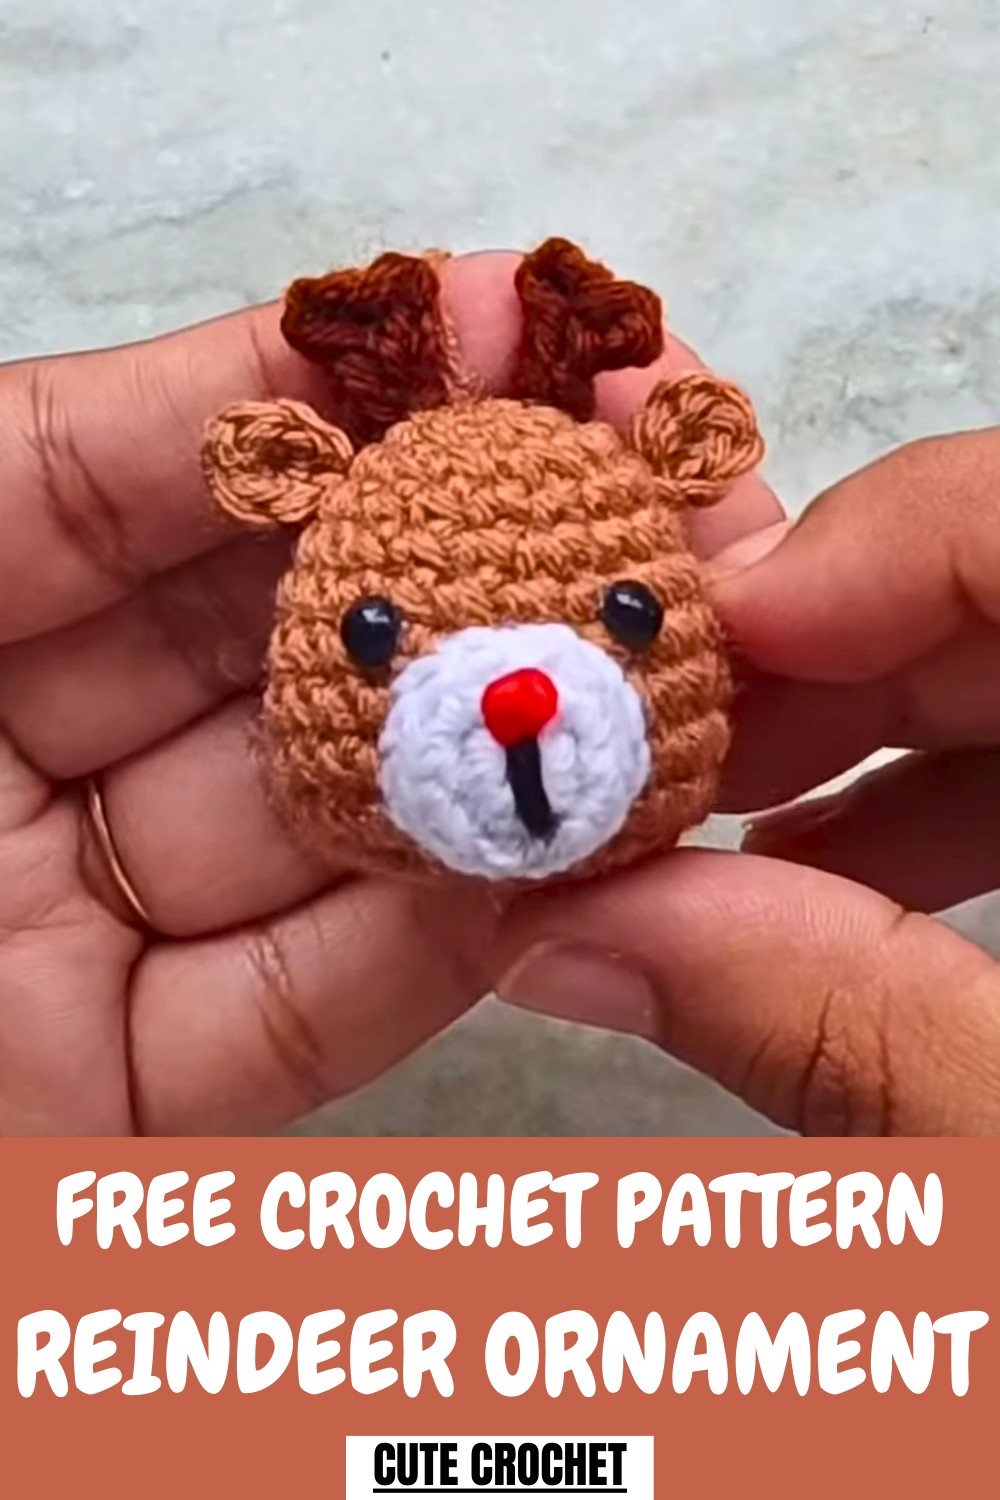
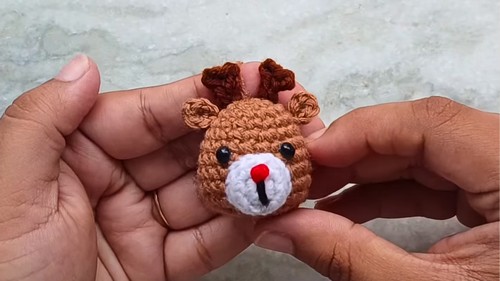
Delight in the charm of crafting an adorable holiday treasure! This reindeer ornament exudes warmth and festive cheer, with its tiny antlers, rosy red nose, and cozy handmade aesthetic. Perfectly suited for adding a whimsical touch to Christmas decorations, it brings a unique personality to your holiday tree or gift wrapping.
Cute Crochet Reindeer Ornament Pattern for Your Holiday Tree
Hang it on your tree, use it as a stocking stuffer, or gift it to loved ones as a thoughtful handmade present. Its compact size makes it ideal for small spaces while offering endless creative possibilities in design.
Creating this crochet ornament not only spreads joy but also enhances crafting skills. It’s a rewarding project that combines creativity and functionality, leaving behind crochet magic with every stitch!
Materials Needed
To crochet the reindeer amigurumi, you’ll require the following materials:
- Yarn: Light brown, dark brown, white, red, and black yarn (soft and pliable).
- Stuffing: To fill the amigurumi and give it shape.
- Safety Eyes: 4mm safety eyes for the reindeer's face.
- Keychain Blank (optional): If making a reindeer keychain.
- Tools:
- 3mm crochet hook (slightly smaller hook size recommended for the chosen yarn).
- Yarn needle.
- Stitch marker (paper clip or yarn will suffice).
- Pair of scissors.
These materials ensure the final piece is sturdy, adorable, and well-constructed.
Uses of the Reindeer Amigurumi
The reindeer amigurumi is versatile and festive!
- Make it into a keychain for holiday-inspired accessories.
- Use it as a Christmas tree ornament, adding homemade charm to your decor.
- Gift it as a thoughtful handmade present for loved ones.
Its compact size makes it perfect for various small decorative uses and holiday celebrations.
Special Features
The tutorial highlights several special elements:
- Beginner-Friendly Techniques: Focus on basic stitches, such as single crochet, magic circles, and invisible decreases.
- Customization: Create variations using different yarn colors or details.
- Detailed Instructions: Clear explanations for assembling individual pieces like the head, ears, antlers, snout, and embroidery.
- Tight Stitches for a Polished Look: The tutor recommends using a smaller crochet hook than specified for the yarn to keep stitches tight and prevent stuffing from showing.
Level of Difficulty
The project is deemed easy and perfect for beginners. It uses simple stitches like single crochet and incorporates foundational concepts, such as increasing and decreasing stitches. Assembly requires precision but is explained clearly.
Step-by-Step Process
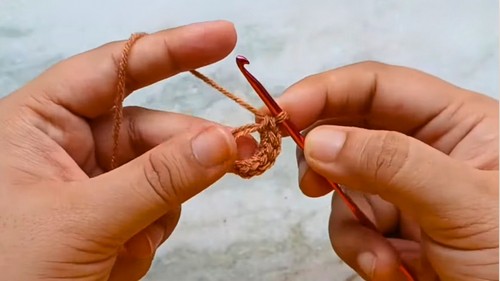
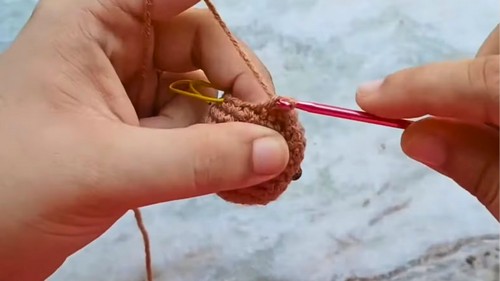
1. Start with the Head
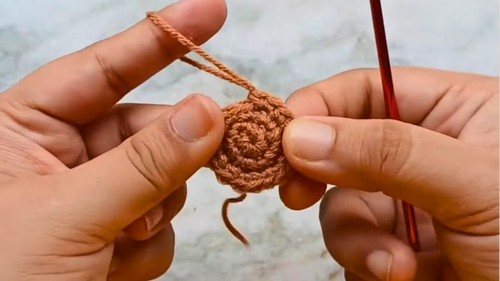
- Use light brown yarn with a 3mm crochet hook. Begin by making a magic circle and work continuous rounds of single crochet.
- Increase stitches gradually in the early rounds to shape the head and maintain stitch count consistency throughout later rounds.
- Insert safety eyes between rounds 6 and 7, spacing them three stitches apart, before completing decreases to close the head.
2. Create Other Features
- Ears: Use a magic circle with light brown yarn, followed by single crochet stitches. Make two identical ear pieces.
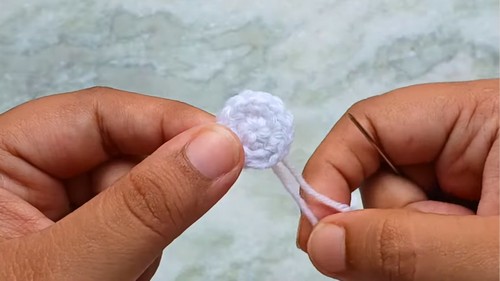
- Snout: Use white yarn, starting with a magic circle and increasing as required. Embroider the mouth using black yarn and make a French knot with red yarn for the nose.
- Antlers: Use dark brown yarn, starting with a slip knot and chain stitches. Work slip stitches into back bumps to create the antler branches. Make two antler pieces.
3. Stuffing
- Generously stuff the reindeer head with filler to give it a rounded, firm shape. Insert stuffing carefully during the final rounds to prevent interference while crocheting.
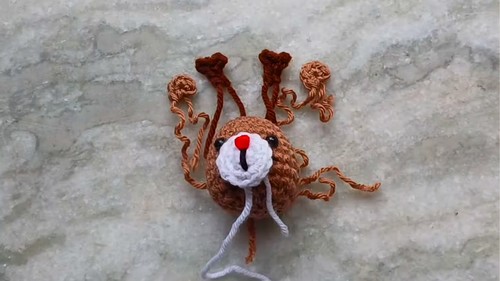
4. Assemble the Pieces
- Sew the snout onto the head between the eyes using a yarn needle.
- Attach the antlers symmetrically to the top of the head (around rounds 2–3).
- Position and sew the ears on round 3, pinching the base while sewing for better shape.
- Leave a loop at the top (if turning the amigurumi into a hanging ornament or attaching a keychain blank).
Tutor’s Suggestions
The tutor offers valuable advice throughout the video:
- Use a smaller crochet hook for tighter and neater stitches to prevent stuffing from showing.
- Count stitches meticulously during rounds to avoid errors, especially during increases and decreases.
- Use stitch markers to keep track of the last stitch in each round, simplifying the process for beginners.
- Secure all pieces with pins before sewing for accurate positioning.
Conclusion
This adorable reindeer amigurumi project is a delightful way to celebrate the holiday season. The tutorial blends simplicity and festive charm, guiding beginners toward creating a beautiful handmade accessory. Whether gifted or displayed, this crochet reindeer spreads the joy and warmth of the holidays.
Tip
Always use a lighter yarn color when working on intricate details such as embroidery or assembly—it’s easier to see and adjust your stitches!