
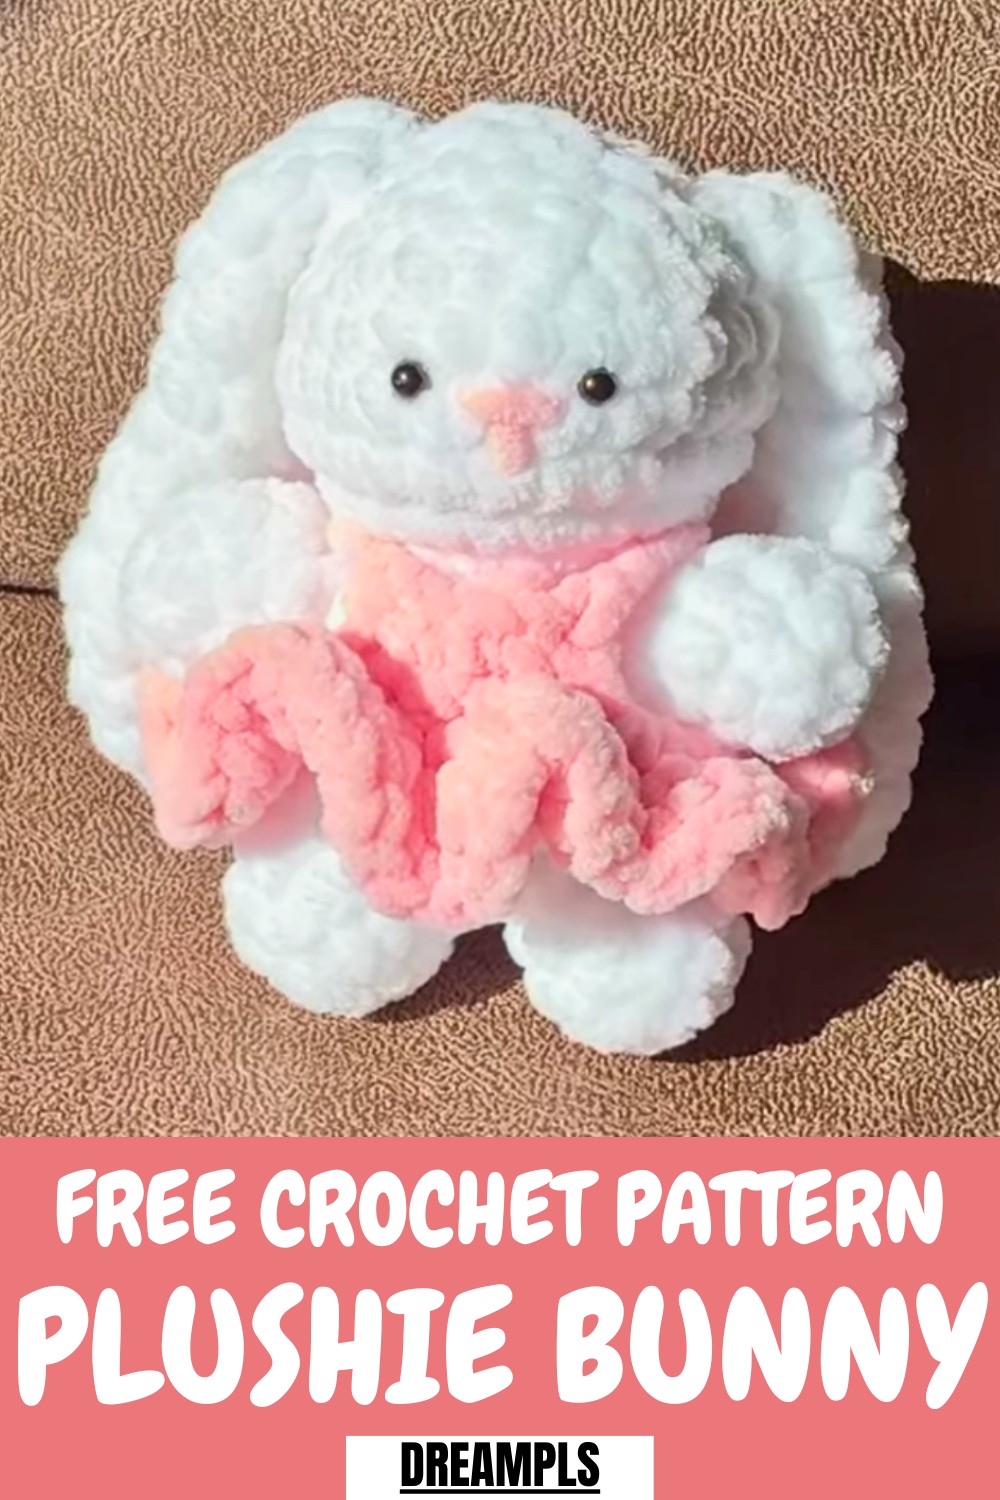
Turn yarn into a soft, huggable bunny with this free crochet Plushy Bunny Pattern, perfect for adding charm to gifts, shelves, or cozy corners.
This crochet pattern is designed to create an adorable Plushie Bunny with a timeless and cuddly aesthetic. Featuring a round body, floppy ears, and optional details such as outfits or bows, the design has a charming and customizable appearance.
Step-by-Step How to Crochet the Bunny Plush
Which Yarn You Use
For optimal results, soft acrylic or cotton yarn is recommended to achieve a plush texture, while allowing for personalized color choices.
For Seasonal Fun
This bunny is the perfect seasonal piece, ideal for gifts during Easter, spring celebrations, or baby showers. Its versatile and timeless design also makes it suitable as a year-round handmade keepsake for loved ones of all ages.
Fluffy Features of the Bunny Plush
- Customizable Dress and Colors: You can make the bunny unique by choosing your favorite yarn colors for its body, dress, and ears.
- Lightweight and Huggable: This bunny is perfectly plush, soft, and small enough to be a delightful keychain or desk buddy.
- Beginner-Friendly Design: With straightforward stitches and video guidance, this project is approachable for crochet enthusiasts at all levels.
Level of Difficulty: Beginner to Intermediate
This bunny plush is beginner-friendly for those familiar with basic crochet techniques like single crochet, magic ring, and increases/decreases. However, attaching parts (arms, legs, and ears) requires some patience, making it a good challenge for beginners looking to level up.
Materials You’ll Need
- Yarn: Soft acrylic or cotton yarn in colors of your choice for the bunny, dress, and embroidery.
- Hook: A hook sized appropriately to your yarn (check the yarn label!).
- Stuffing: Poly-fil or any soft stuffing to give the bunny its plushy form.
- Safety Eyes: For the bunny’s cute face (optional).
- Stitch Markers: To keep track of rounds.
- Tapestry Needle: For sewing parts together and hiding yarn ends.
- Scissors: Essential for clean cuts.
Tutor’s Tips for Success
- Use a Stitch Marker: Mark the first stitch in every round to avoid confusion.
- Stuff the Bunny Gradually: Add stuffing as you crochet the body/head and arms to get even shaping.
- Take Your Time with Assembly: Align the parts carefully when sewing on the arms, legs, ears, and dress.
- Play with Colors: Add personality to your bunny by choosing unique color combos for the body, dress, and embroidery.
Crochet a Cute Plushy Bunny
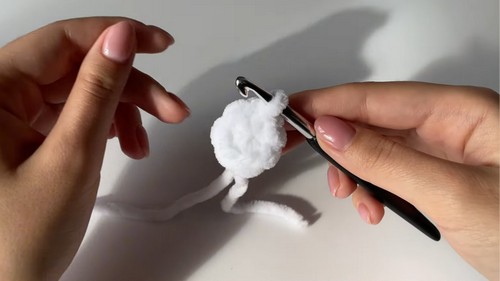
1. Start with the Bunny's Arms
- Create a Magic Ring: Wrap the yarn around your fingers and make 7 single crochets (SC) into the ring.
- Pull the Ring Tight: Use the short yarn tail to close the ring and slip stitch to join the row.
- Row 2-3: Work 7 single crochets in a continuous round.
- Finish the Arm: After 3 rows of SCs, chain 1, cut the yarn, and leave a small tail for sewing. Repeat for the second arm.
2. Crochet the Legs
- Magic Ring and Row 1: Start with a magic ring and make 4 SCs. Close the ring with a slip stitch.
- Row 2-4: Gradually increase stitches until you have 8 SCs per round. Work even rounds for rows 3 and 4.
- Connect the Legs: Make one leg as usual. For the second leg, after completing row 4, join it to the first leg using a chain and continue crocheting around both legs as one piece. You should have 18 stitches in total. Add stuffing to each leg.
3. Build the Bunny's Body
- Rows 5 and Onwards: Add rows of SCs until you complete the body. At the right row, attach the arms to the body as you crochet. Use stitch markers to ensure even attachment.
- Decreases: Gradually decrease the stitch count as you approach the neck, giving the bunny its rounded torso shape.
4. Shape the Bunny's Head
- Increase Rows for Expansion: Begin increasing stitches (SC, then increase) to form a larger diameter suitable for the head.
- Middle Rows: Work even SC rows to give the head its structure.
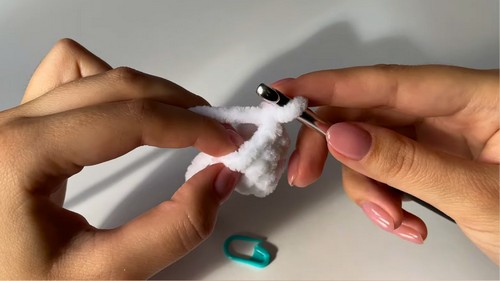
- Attach Safety Eyes: Insert eyes between rows and secure them before fully closing the head.

- Decreasing Rows and Stuffing: Gradually decrease stitches to close the top of the head. Stuff carefully before fully closing it.
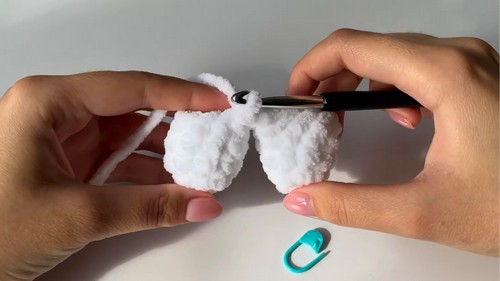
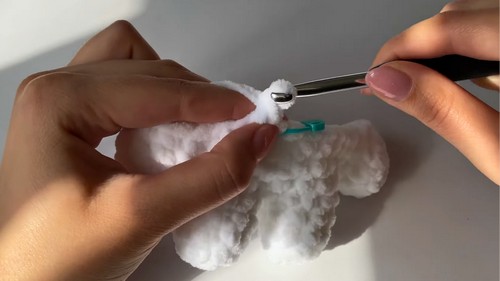
5. Craft and Attach the Bunny’s Ears
- Ears Start Flat and Fold Naturally: Begin with a magic ring and work single crochets evenly while shaping the ear with decreases in later rows. This gives the ear its flat and folded finish.
- Close the Opening: Use slip stitches to close the ear, and leave a long tail for sewing.
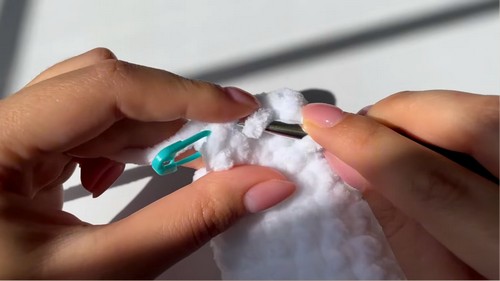
- Sew to the Head: Attach the ears to the top of the head slightly towards the back. Align them and sew carefully for symmetry.
6. Add the Bunny’s Face
- Use Pink Yarn for Nose and Mouth: Embroider the nose and mouth using pink yarn, following a simple "V" shape. Rely on your instincts for placement and adjust as necessary.
- Thread and Hide Ends: Pull the thread through the head and hide the ends by pulling them into the plush body.
7. Make the Bunny Dress (Optional)
- Start with the Top Panel: Chain 5, work 4 SCs, and chain 1 to fasten off. Repeat the process for the second panel.
- Connect with Chains: Join the panels using chain stitches to create armholes and work SC stitches around the entire circle.

- Create a Fluffy Skirt: Crochet 3 half-double crochets (HDC) into each stitch for a ruffled effect. Slip stitch to finish.
- Add Adjustable Straps: Attach straps at the front and back of the dress using slip knots and chains.
Where Can You Use It?
- Gifting: Handmade with love, perfect for kids, friends, or special occasions.
- Decor: Add it to your workspace, nursery, or use it as a cuddly keepsake.
- Accessories: Turn it into a keychain or bag charm for a touch of personality.
Your Plushy Bunny is Ready to Hop!
Congratulations! You’ve created an adorable crochet bunny plush imbued with charm and personality. Whether it’s for yourself, a loved one, or a little one, this plushie is guaranteed to bring joy. Keep experimenting with colors and outfits to make every bunny unique.
Bunny Tip:
While embroidering the face or sewing the ears, always place the bunny upright to ensure correct alignment. Small misalignments can affect the overall look, but don’t stress! The charm of handmade creations lies in their one-of-a-kind imperfections.


