
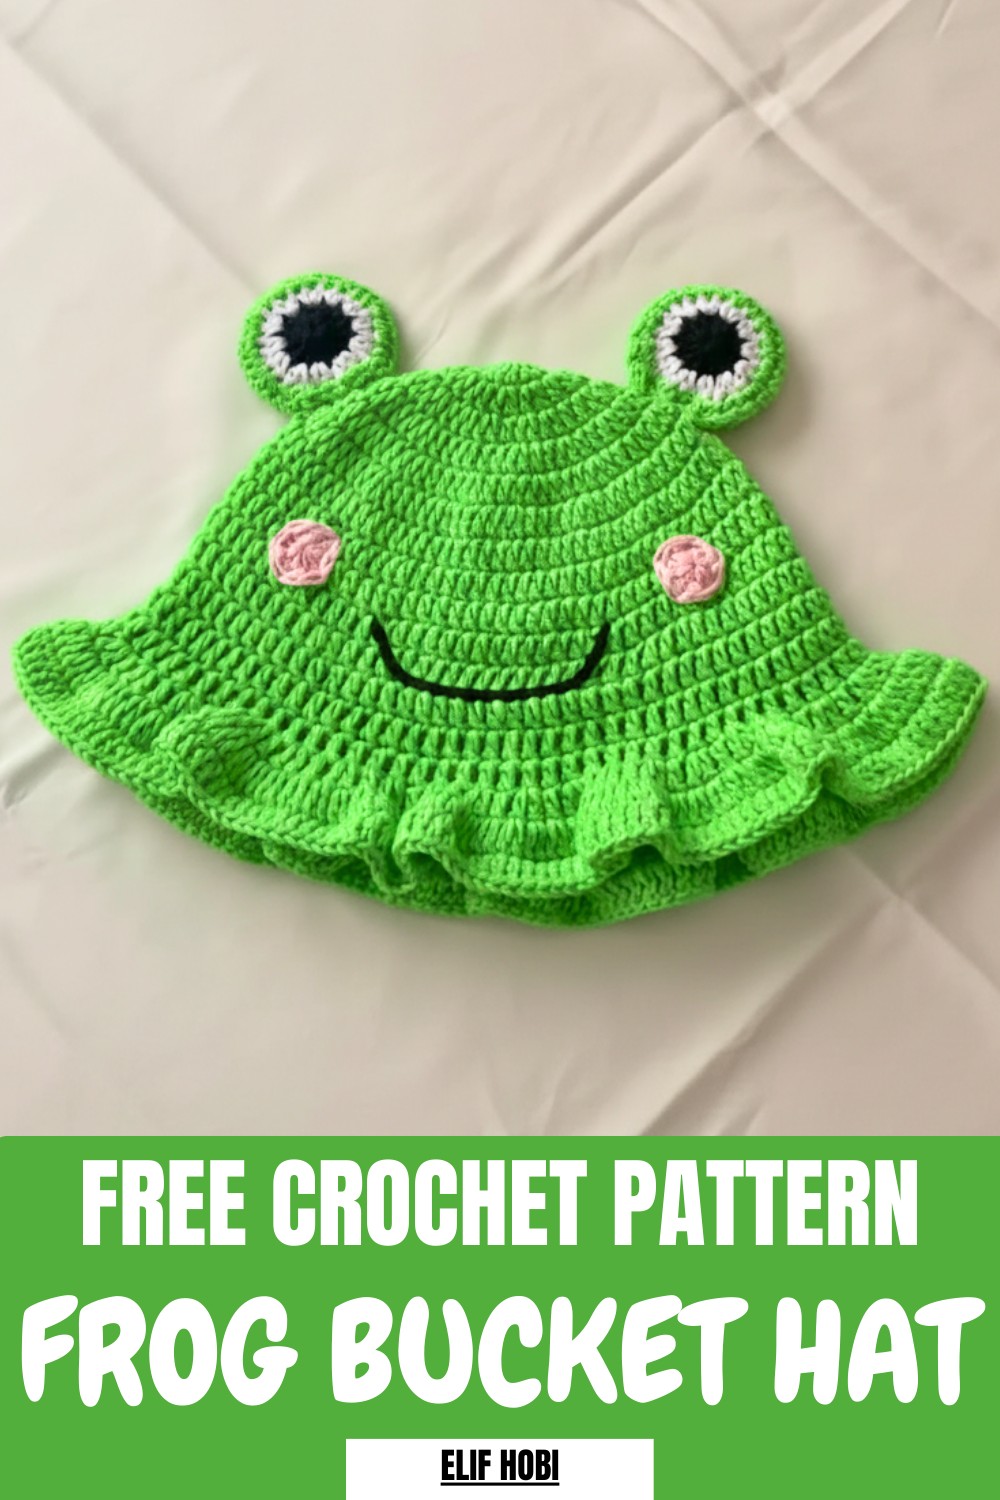
Show playful charm with this Crochet Frog Bucket Hat Pattern featuring cute, comfy fit and fun style suited to festivals photos casual wear.
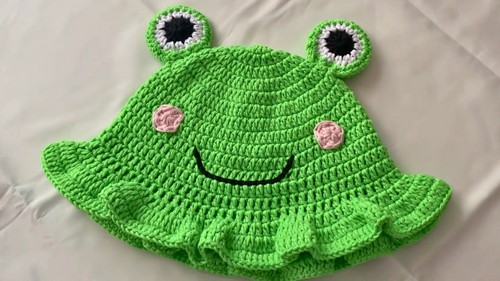
A cheerful accessory with a wide, gently shaped brim adds personality while providing practical sun coverage. The frog-inspired design brings a whimsical charm that stands out during outdoor activities, festivals, or casual daytime outings. Comfortable to wear and visually engaging, it suits both children and adults who enjoy expressive fashion choices. Using a Crochet Frog Bucket Hat Pattern allows flexibility in adjusting size, colors, and facial details to match individual preferences or themed outfits.
Fun-Filled Crochet Frog Bucket Hat Pattern Everyone Will Adore
The breathable stitch structure supports airflow, helping maintain comfort in warmer weather, while the balanced shape ensures a secure fit. Its distinctive look turns a simple outfit into a statement, offering both function and fun.
Overall, this design presents a creative blend of comfort and style, delivering a lighthearted yet practical accessory that remains eye-catching, wearable, and memorable across seasons.
Step-by-Step Details
Materials Needed
- Yarn: Gaza Lan Istaç Beybi Cotton yarns in various colors (green for the base, black and white for the eyes, pink for the side details).
- Crochet Hook: Size 4 mm hook.
- Tools: Scissors, tapestry needle, and additional accessories for sewing.
- Optional Materials: Measurements for different sizes (available in the tutorial description) and beads if desired.
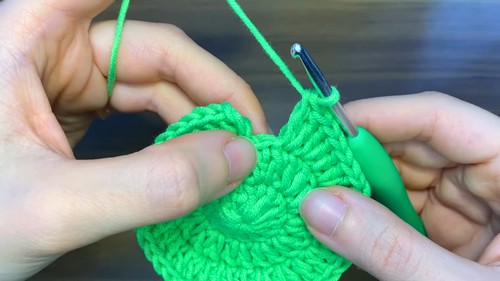
Step 1: Start With the Base Hat
- Begin With a Magic Ring:
- Wrap the yarn to form a magic circle and chain 2 stitches.
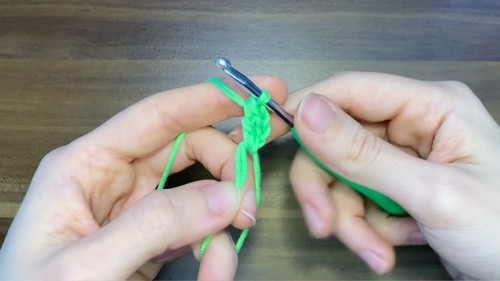
- Crochet 12 double crochet stitches into the circle. Pull the yarn to close the loop tightly, join the row using a slip stitch, and chain 3 to begin the next row.
- Wrap the yarn to form a magic circle and chain 2 stitches.
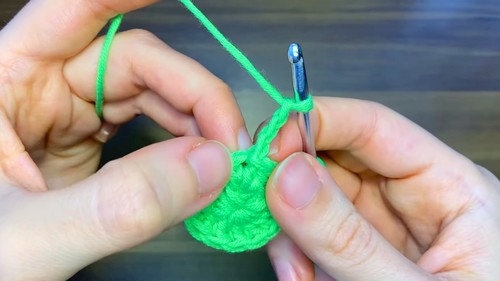
- Increase Gradually:
- Second Row: Work 2 double crochets into each stitch. Repeat until the end of the row, join the row, and chain 3.
- Third Row: Alternate 2 double crochets in one stitch and 1 double crochet in the next. Repeat this pattern, join, and chain 3 for the next row.
- Fourth Row: Continue alternating stitches, but now use 3 single stitches followed by one double crochet.
- Fifth Row: Alternate 4 single stitches and 1 double crochet.
- Second Row: Work 2 double crochets into each stitch. Repeat until the end of the row, join the row, and chain 3.
- Create the Base Shape:
- After completing the increases, continue crocheting 8 rows of double crochet stitches without increases. This ensures the hat forms evenly without additional width.
- After completing the increases, continue crocheting 8 rows of double crochet stitches without increases. This ensures the hat forms evenly without additional width.
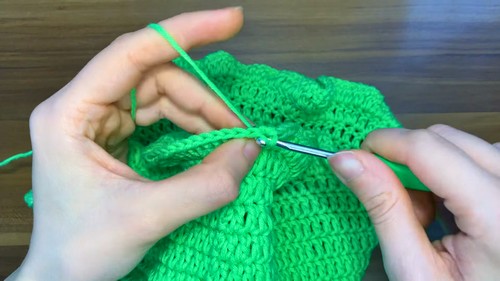
Step 2: Add the Ruffle Details
- Chain 3 to start a new row. Begin alternating single crochet stitches and double crochet stitches around the base to create the ruffled effect. Repeat until you reach the end of the row.
- For the next row, repeat single and double crochet stitches, ensuring an even finish without increasing the size of the hat. The ruffles create a playful texture.
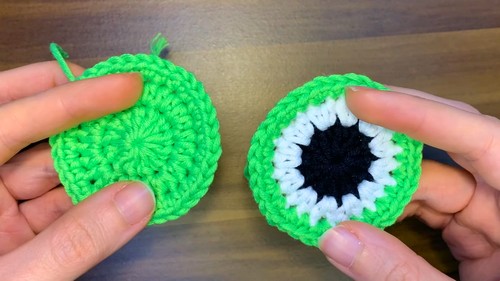
3: Create the Frog Eyes
- Black Yarn:
- Make a magic ring and chain 2. Work 11 double crochets into the ring. Pull the yarn tight, join the row, and cut the yarn.
- White Yarn:
- Attach the yarn to any stitch from the previous round. Chain 2 and make 2 single crochets in each stitch until completing the row. Join and cut the yarn.
- Green Yarn (Outer Layer):
- Attach yarn as before, chain 1, and work alternating single and double crochets in the top of each previous stitch. Create the circular outline, cut the yarn, and repeat the same process to crochet a second eye piece.
- Attach yarn as before, chain 1, and work alternating single and double crochets in the top of each previous stitch. Create the circular outline, cut the yarn, and repeat the same process to crochet a second eye piece.
- Assemble Eyes:
- Sew the green layers to the black and white parts using a tapestry needle. Affix these to the top of the hat using sturdy stitches to ensure the eyes are upright and symmetrical.
4: Side Parts (Pink Details)
- Create the side parts using pink yarn:
- Make a magic ring and chain 2. Work 8 double crochets inside the ring. Pull the yarn tight and leave a small tail to sew.
- Crochet a total of three pieces, then sew them onto the sides of the frog face using the tapestry needle.

5: Create the Mouth
- Using your needle and yarn, embroider the frog’s mouth:
- Insert the needle into the hat’s front, pull the thread, and stitch back and forth to complete the smile. Make sure the yarn is secure before tying off.
Final Assembly
Sew the eye pieces, mouth, and side decorations securely to the hat. Ensure all ends are tied off neatly and trimmed for a polished finish.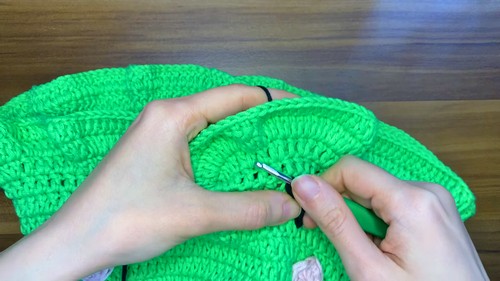
Special Features
- Whimsical Design: The frog hat is playful and cute, perfect for kids or anyone who loves fun accessories.
- Customizable Sizes: The tutorial provides size adjustments to fit all ages, from toddlers to adults.
- Interactive Instructions: The tutor includes helpful reminders like measurements, joining techniques, and ongoing encouragement.
- Mixed Textures: The hat features ruffles and layered eyes, adding creativity to a simple project.
Level of Difficulty
The project is beginner-friendly, with only basic techniques like magic rings, chain stitches, single and double crochets required. Intermediate crocheters can enjoy customizing the design further, like adding beads or enhancing the frog's features.
Tutor's Suggestions
- Take Breaks: Crocheting multiple rows and details can be time-consuming, so pace yourself to avoid fatigue.
- Follow Size Guidelines: Refer to the numbers for size adjustments in the video description to ensure a proper fit.
- Practice Magic Rings: Beginners should practice magic rings beforehand, as this foundational step sets up the entire project.
- Use Tidy Joins: Be mindful of joining rows neatly for a professional look.
- Double Yarn If Thin: If using thinner yarn, consider doubling it for better structure and quicker progress.
Uses
- Personal Accessory: Wear the frog hat as a unique and fun fashion statement.
- Gifts: Crochet the hat for loved ones, especially kids who adore playful designs.
- Craft Sales: Use this design to create handmade items for sale or customization requests.
- Toy Addition: Use the pattern as inspiration for creating other animal-themed accessories!
Tip
Experiment With Colors: Try using alternate colors for the frog’s features—like blue for the base or yellow for the eyes—to make each piece unique and suited to the recipient’s taste.
Conclusion
This frog hat pattern combines simplicity, creativity, and practicality into one engaging project. The detailed instructions help even novice crocheters produce an adorable and well-made accessory. By following step-by-step techniques and incorporating personal touches, you can create a custom hat that captures everyone’s attention. Whether worn, gifted, or sold, this frog-themed hat is sure to put a smile on anyone’s face.


