
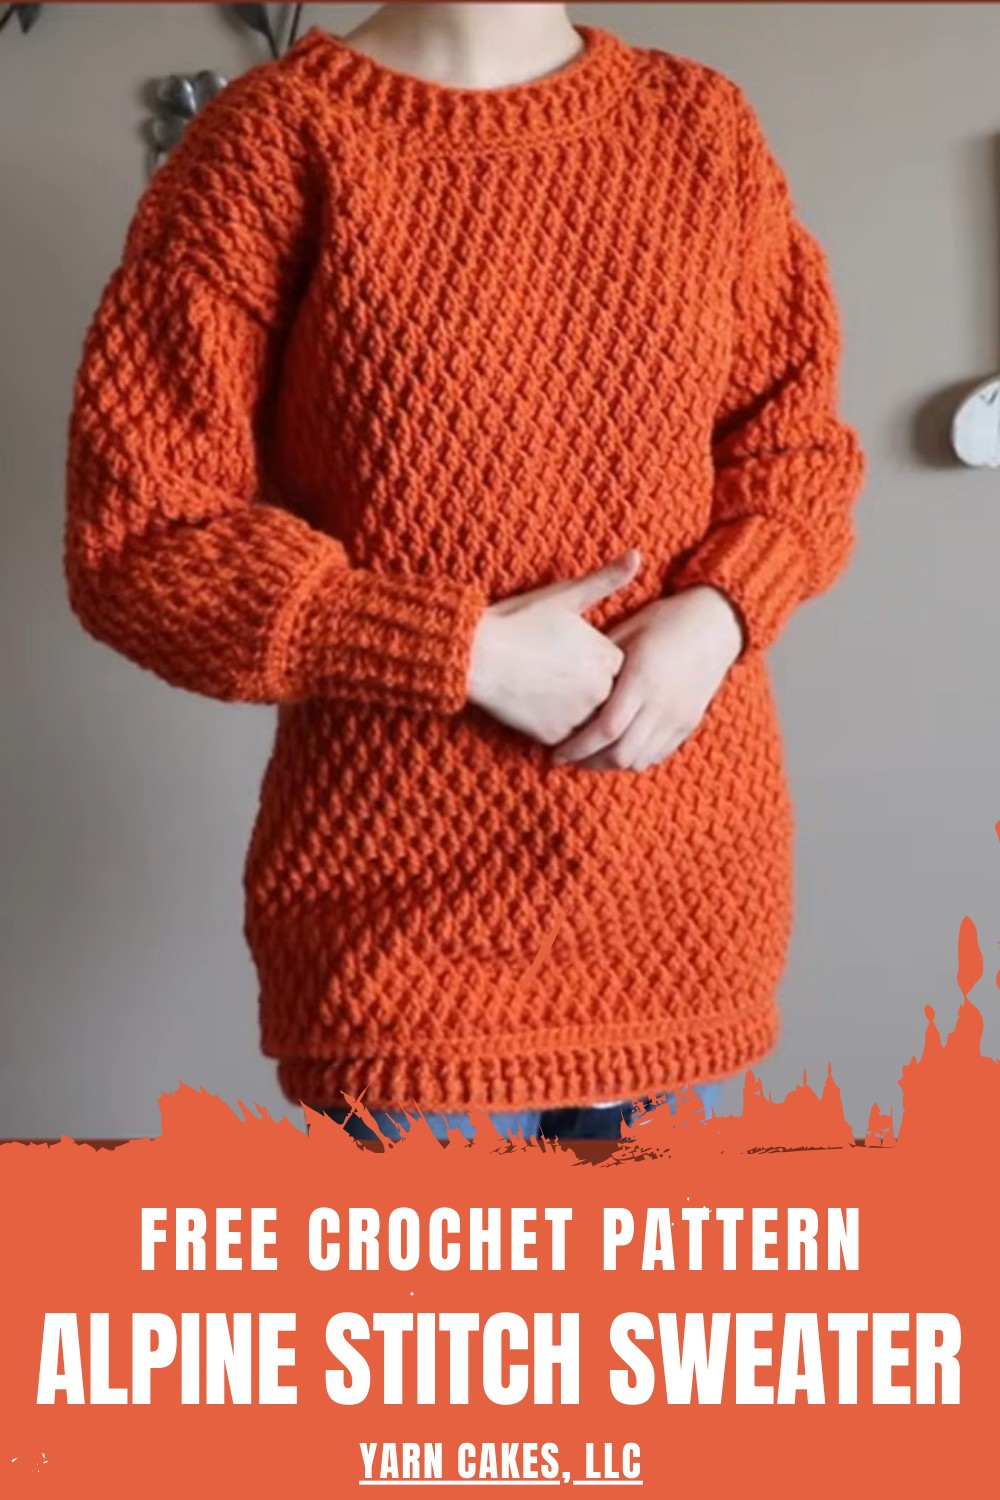
Refresh your wardrobe with this Free Crochet Alpine Stitch Sweater Pattern that,s perfect eye-catching design that keep you stylish and snug.
Adding texture and charm to any wardrobe, the alpine stitch creates a sophisticated look that draws attention while remaining comfortable. The Crochet Alpine Stitch Sweater Pattern offers a perfect balance of style and practicality, providing warmth on chilly days without feeling heavy or restrictive. Its detailed stitchwork brings depth and dimension, making it ideal for casual outings, cozy home wear, or thoughtful gifts.
Flawless Crochet Alpine Stitch Sweater Pattern That Feels Luxury
The pattern encourages creativity, letting crocheters experiment with colors, sizes, and personalized accents to match their taste. Each stitch provides a satisfying sense of accomplishment, transforming the crocheting process into a relaxing and rewarding experience.
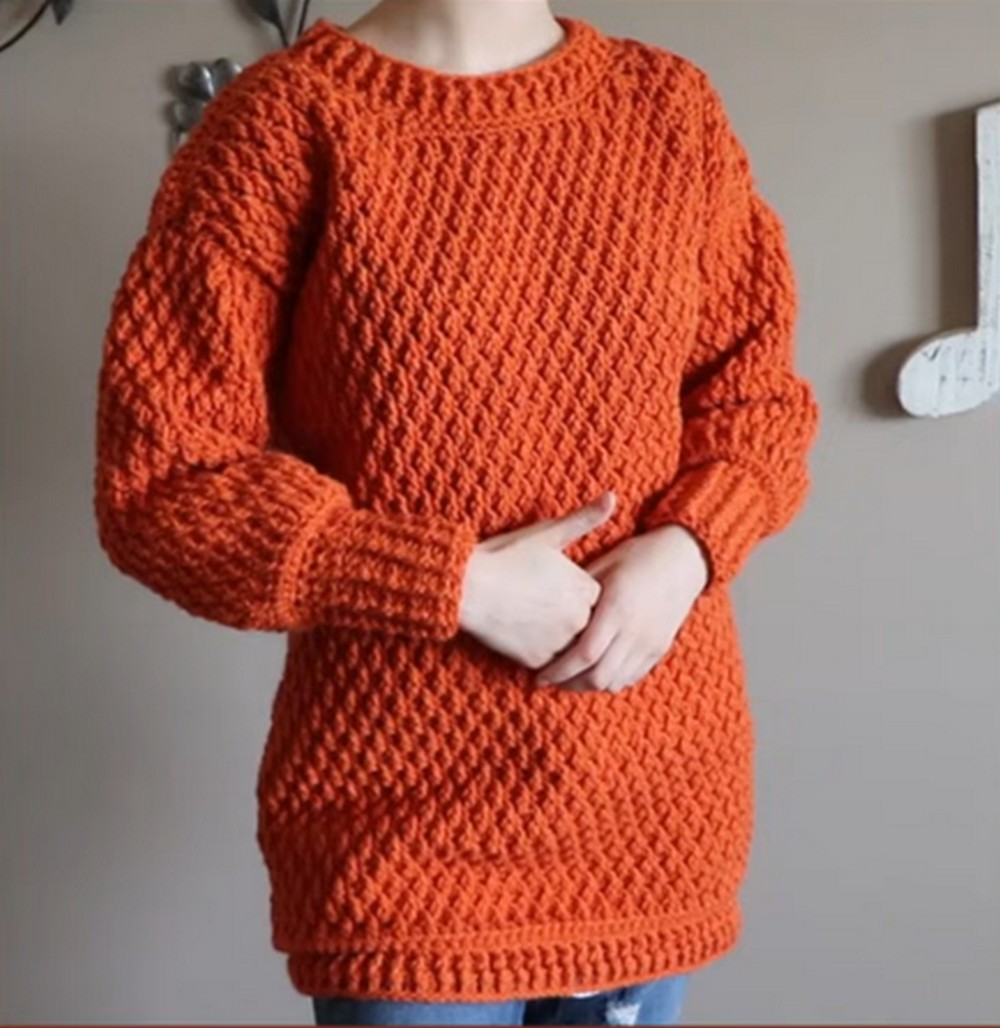
Lightweight yet durable, the design drapes gracefully, enhancing the overall silhouette and offering versatility across seasons. Perfect for beginners and experienced crocheters alike, this pattern turns a simple garment into a distinctive, timeless piece of handmade artistry.
Free Crochet Alpine Stitch Sweater Pattern
Special Features
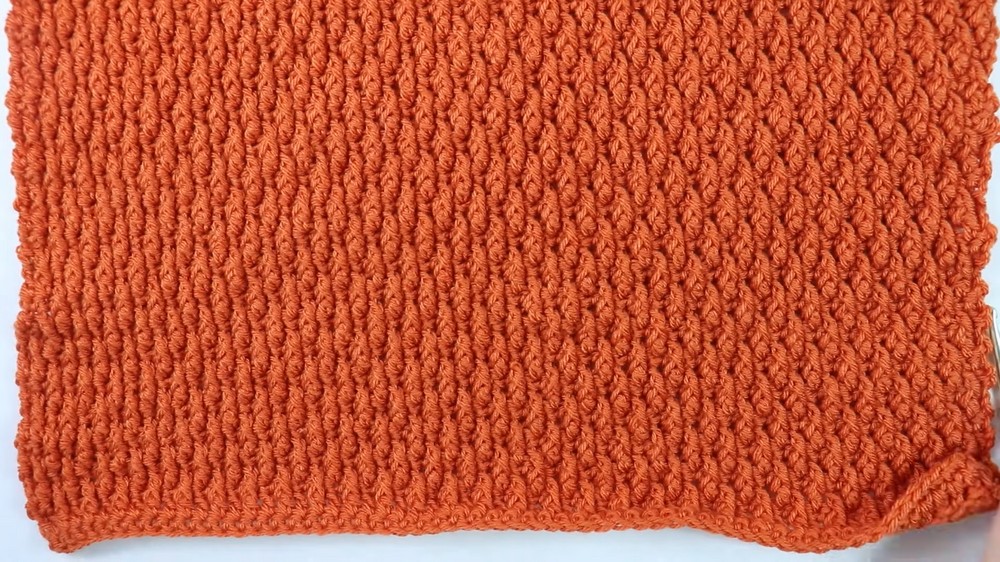
- Alpine Stitch Texture: The alpine stitch creates a zigzag, textured look, elevating the design without overly complicated techniques.
- Customizable Sizes: Instructions are explicitly provided for sizes ranging from XS to 3XL, with specific stitch counts mentioned in the video.
- Versatile Yarn Options: The sweater can be customized with different yarn colors or brands, allowing for endless creative possibilities.
- Two Panel Design: The front and back panels of the sweater are straightforward and symmetrical, making the project manageable even for newer crocheters.
Step-By-Step Details
Materials Needed
- Red Heart Super Saver Yarn (Category 4) or any similar yarn in your preferred color.
- 5.5 mm crochet hook for the main body.
- 4.5 mm crochet hook for the borders and sleeves.
- Scissors to trim yarn.
- Tapestry needle for seaming and weaving in loose ends.
Front and Back Panels
- Start with the Foundation Chain:
- Create a slipknot and chain 59 stitches for size small (adjust based on size from XS to 3XL, displayed in the video).
- Create a slipknot and chain 59 stitches for size small (adjust based on size from XS to 3XL, displayed in the video).
- Work Row 1 (Single Crochet):
- Skip the first chain and insert your hook into the second chain.
- Single crochet into each chain across the row.
- Chain 2 and turn your work.
- Row 2 (Double Crochet):
- Skip the first stitch (the chain-2 counts as your first double crochet).
- Double crochet into the second stitch and all remaining stitches across the row.
- Chain 1 and turn.
- Row 3 (Single Crochet):
- Work single crochets into each stitch across, chain 2, and turn.
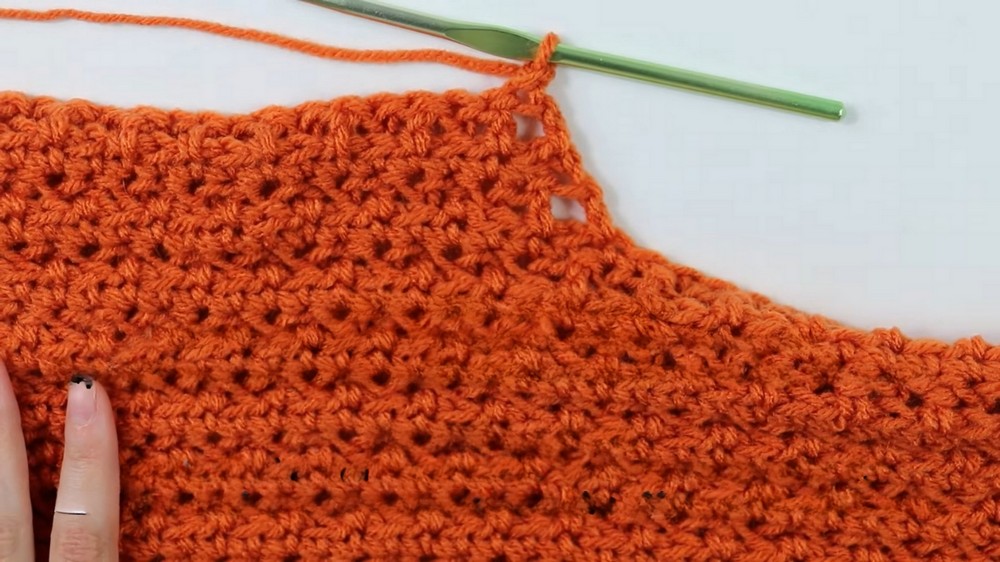
- Row 4 (Alpine Stitch):
- The alpine stitch begins with front post double crochets (FPDC) and regular double crochets alternated across the row:
- FPDC: Work the double crochet around the post of the stitch below.
- Regular Double Crochet: Insert your hook into the top of the stitch and complete a double crochet.
- Always end the row with two double crochets at the end. Chain 1, turn your work.
- The alpine stitch begins with front post double crochets (FPDC) and regular double crochets alternated across the row:
- Row 5:
- Single crochet into each stitch across.
- Continue alternating single crochet rows and alpine stitch rows until you complete 71 rows (adjust according to your preferred length). The last row must always be a single crochet row.
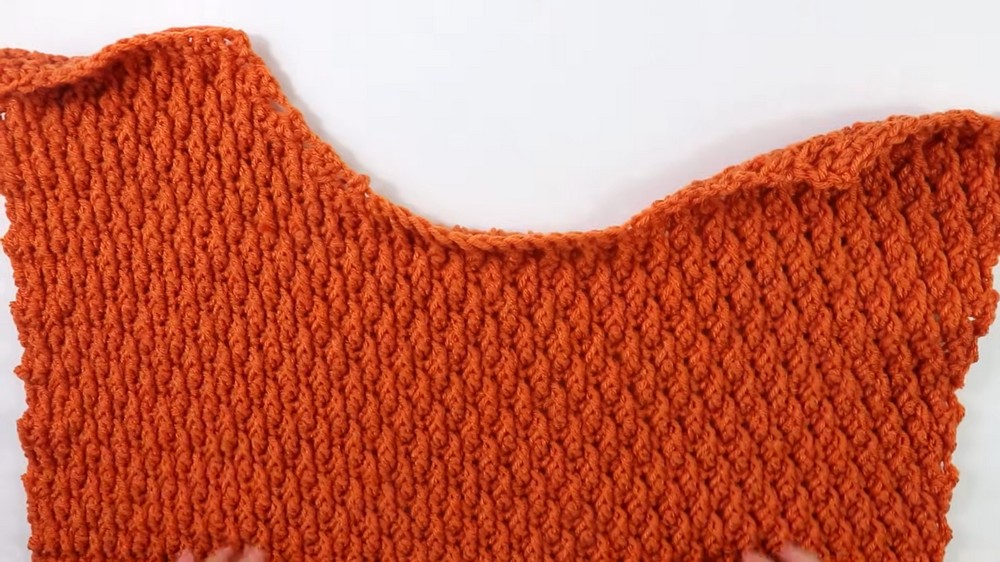
Shoulder Straps
- First Shoulder Strap (Right):
- After completing the body panel, chain 2 and turn.
- Work the alpine stitch across 20 stitches only, leaving the rest unworked.
- Decrease stitches on one side of the row while keeping the other side straight until you have completed 8 rows.
- Cut and fasten off.
- Second Shoulder Strap (Left):
- Count 13 unworked stitches on the row (for size small) and attach your yarn to the 14th stitch.
- Follow the same process as the first strap: alpine stitch across 20 stitches, with decreases on one side only.
- Complete 8 rows, cut, and fasten off.
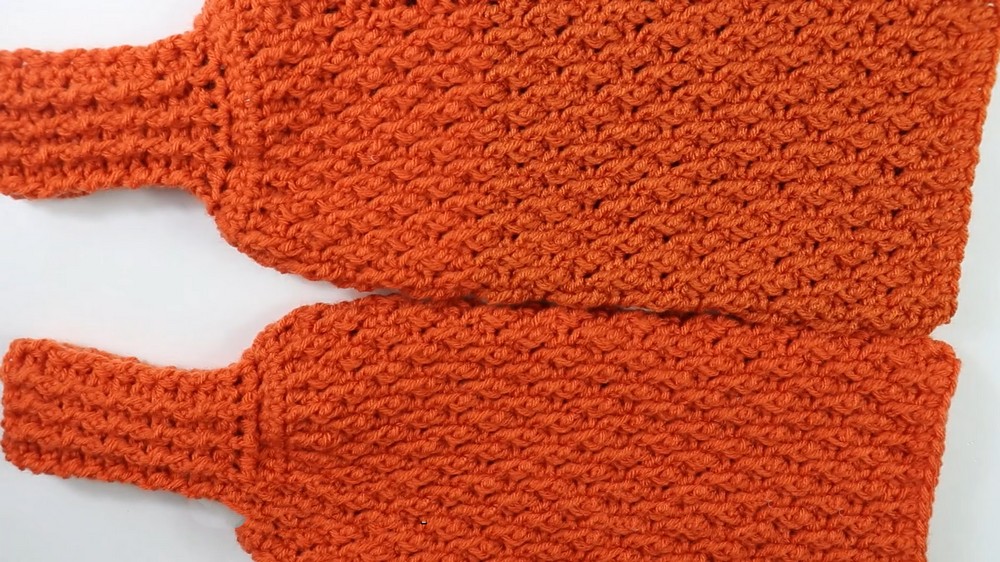
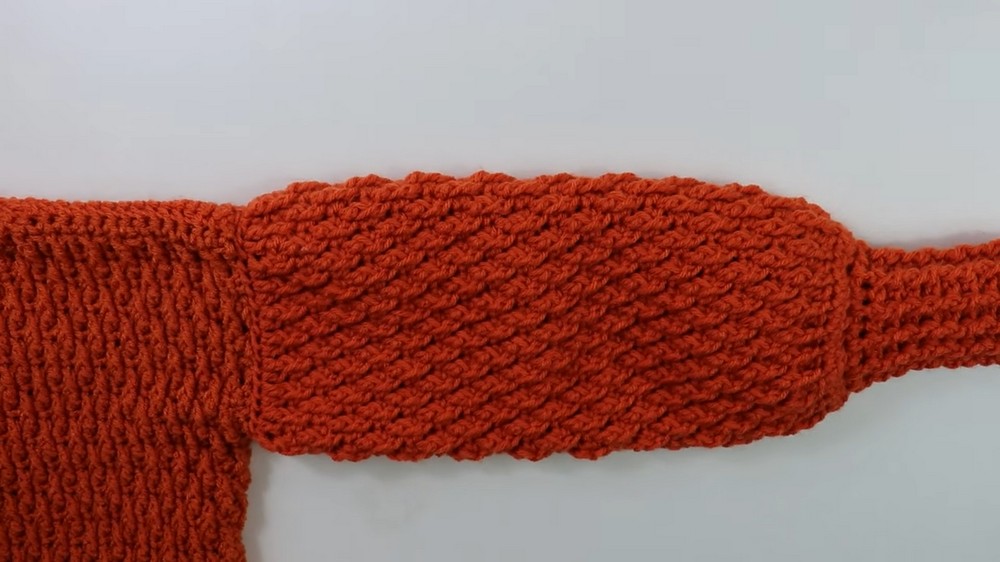
Sleeves
- Foundation Circle:
- Chain 38 stitches for size small, ensuring the chain is untwisted.
- Slip stitch into the first chain to form a circle. Chain 2 and turn.
- Row 1:
- Double crochet into each stitch of the foundation circle.
- Slip stitch at the end of the round, chain 1, and turn.
- Row 2:
- Work a round of single crochets into each stitch.
- Slip stitch to join the round, chain 2, and turn.
- Alpine Stitch Rows:
- Alternate between front post double crochets and regular double crochets throughout each round to incorporate the alpine stitch.
- Complete 37 rows depending on your desired sleeve length.
- Cuff:
- Switch to the 4.5 mm crochet hook.
- Work a decrease row using single crochet decreases in each stitch around.
- Continue alternating front/back post double crochets for 12 total cuff rows.
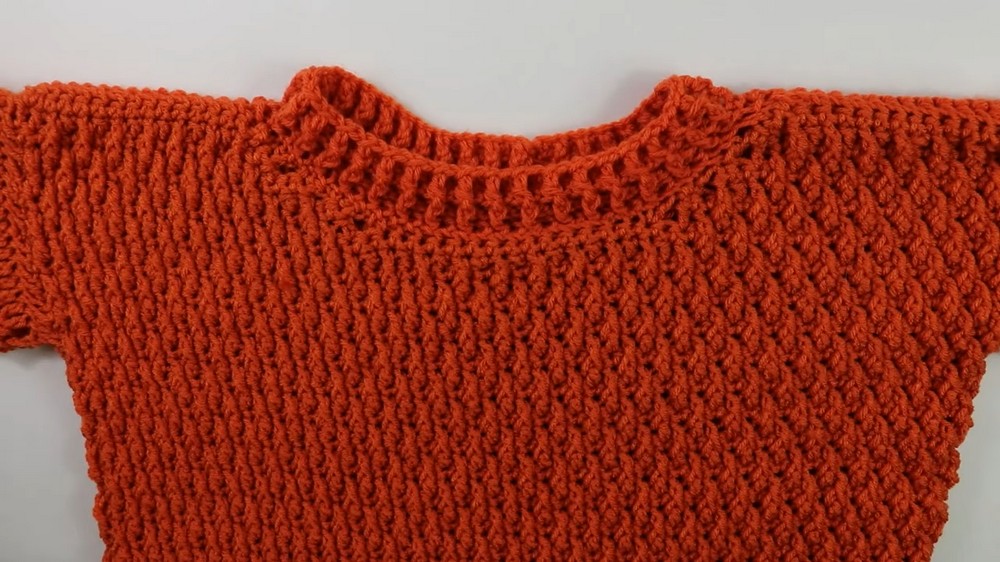
Collar and Border
- Collar:
- Chain 72 stitches for size small, form a circle, and complete one round of double crochets.
- Work two rounds alternating front/back post double crochets for texture.
- Bottom Border:
- Create a longer chain of 140 stitches and follow the collar process.
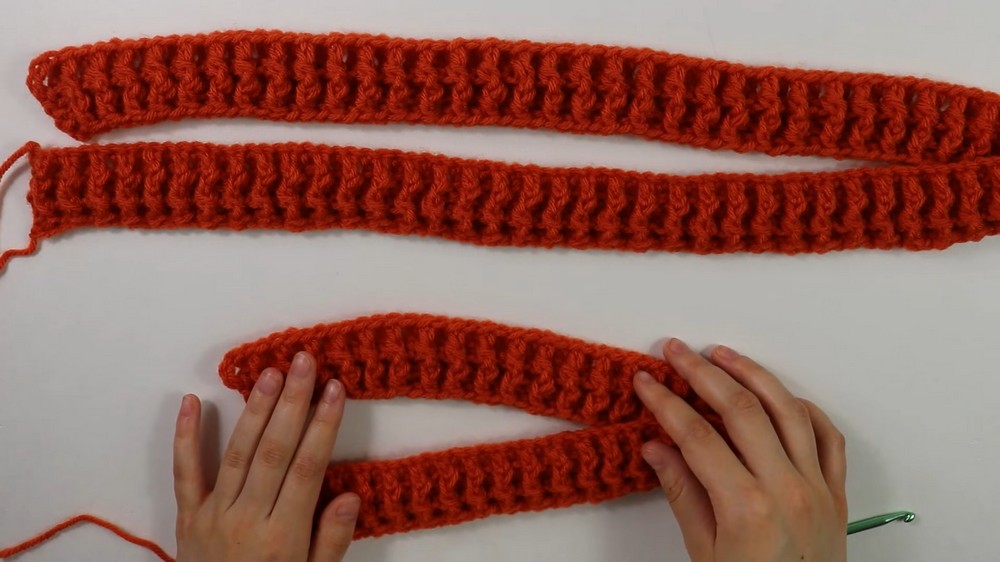
- Create a longer chain of 140 stitches and follow the collar process.
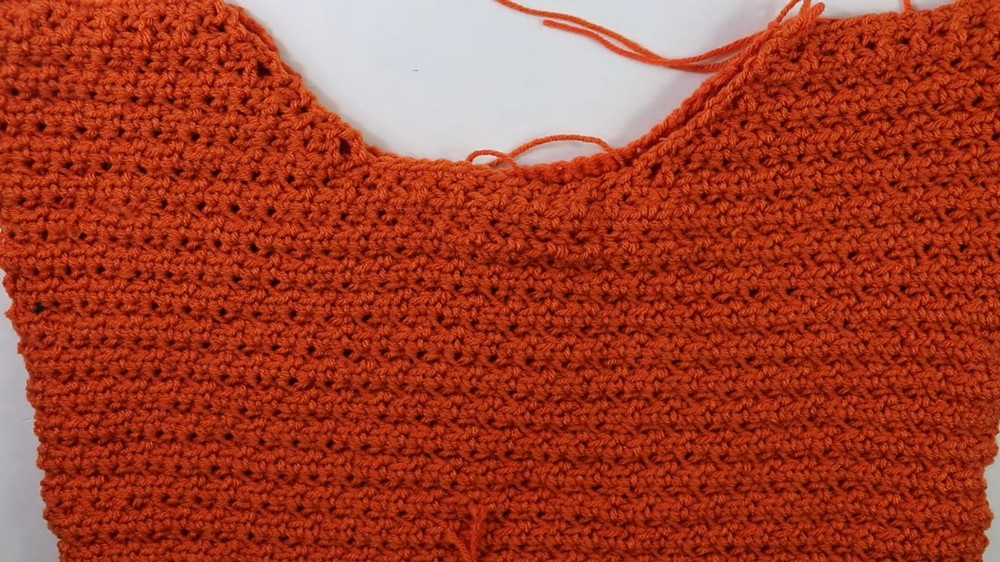
Assembly Process
- Seam the Panels:
- Place the front and back panels together, with the wrong side facing outward.
- Whip stitch the sides together, leaving a 6.5-inch opening at the top for armholes.
- Attach the Sleeves:
- Align the sleeves with the armhole openings and whip stitch around the edges.
- Align the sleeves with the armhole openings and whip stitch around the edges.
- Add Borders:
- Attach the collar and bottom border to their respective areas using whip stitching.
- Weave Loose Ends:
- Use the tapestry needle to weave in any loose ends for a polished finish.
- Use the tapestry needle to weave in any loose ends for a polished finish.
Level of Difficulty
This project is suitable for intermediate crocheters. Beginners comfortable with basic stitches like single crochet, double crochet, and post stitches can try it with extra care and practice. The alpine stitch is easy to pick up with Anne’s clear demonstrations but requires attention for consistency.
Tutor’s Suggestions
- Practice the Alpine Stitch: Anne recommends practicing the stitch on scrap yarn before starting to ensure your tension is even and the design remains symmetrical.
- Custom Adjustments: Follow the written pattern or size guidelines presented on-screen to adapt the sweater to your measurements.
- Consistency in Tension: Maintain consistent tension for a polished finish, especially on the textured stitches.
Uses and Materials
Uses:
- Create a cozy winter wardrobe essential with a fashion-forward textured design.
- Makes an ideal handmade gift for family and friends.
Materials:
- Red Heart Super Saver Yarn (Category 4).
Tip
When working the alpine stitch, keep your post stitches loose to ensure the sweater does not pull unevenly. Practicing this will make inserting your hook easier and improve the final texture.
Conclusion
This crochet alpine stitch sweater blends elegance and coziness into one stylish garment. With creator clear instructions and accessible sizing options, this project is an excellent opportunity to advance your crochet skills while creating a practical and wearable piece.


