
nFind your perfect project with our free crochet winter hat pattern, a quick and cozy make for chilly days.
A crocheted head covering for the colder months offers a beautiful fusion of function and personal style. Its handmade texture, from simple ridges to complex braids, gives it a unique visual appeal that stands out. This accessory provides essential warmth against biting winds while serving as a fashionable accent to any winter coat or sweater.
Chic Crochet Winter Hat Pattern for Your New Go-To Accessory
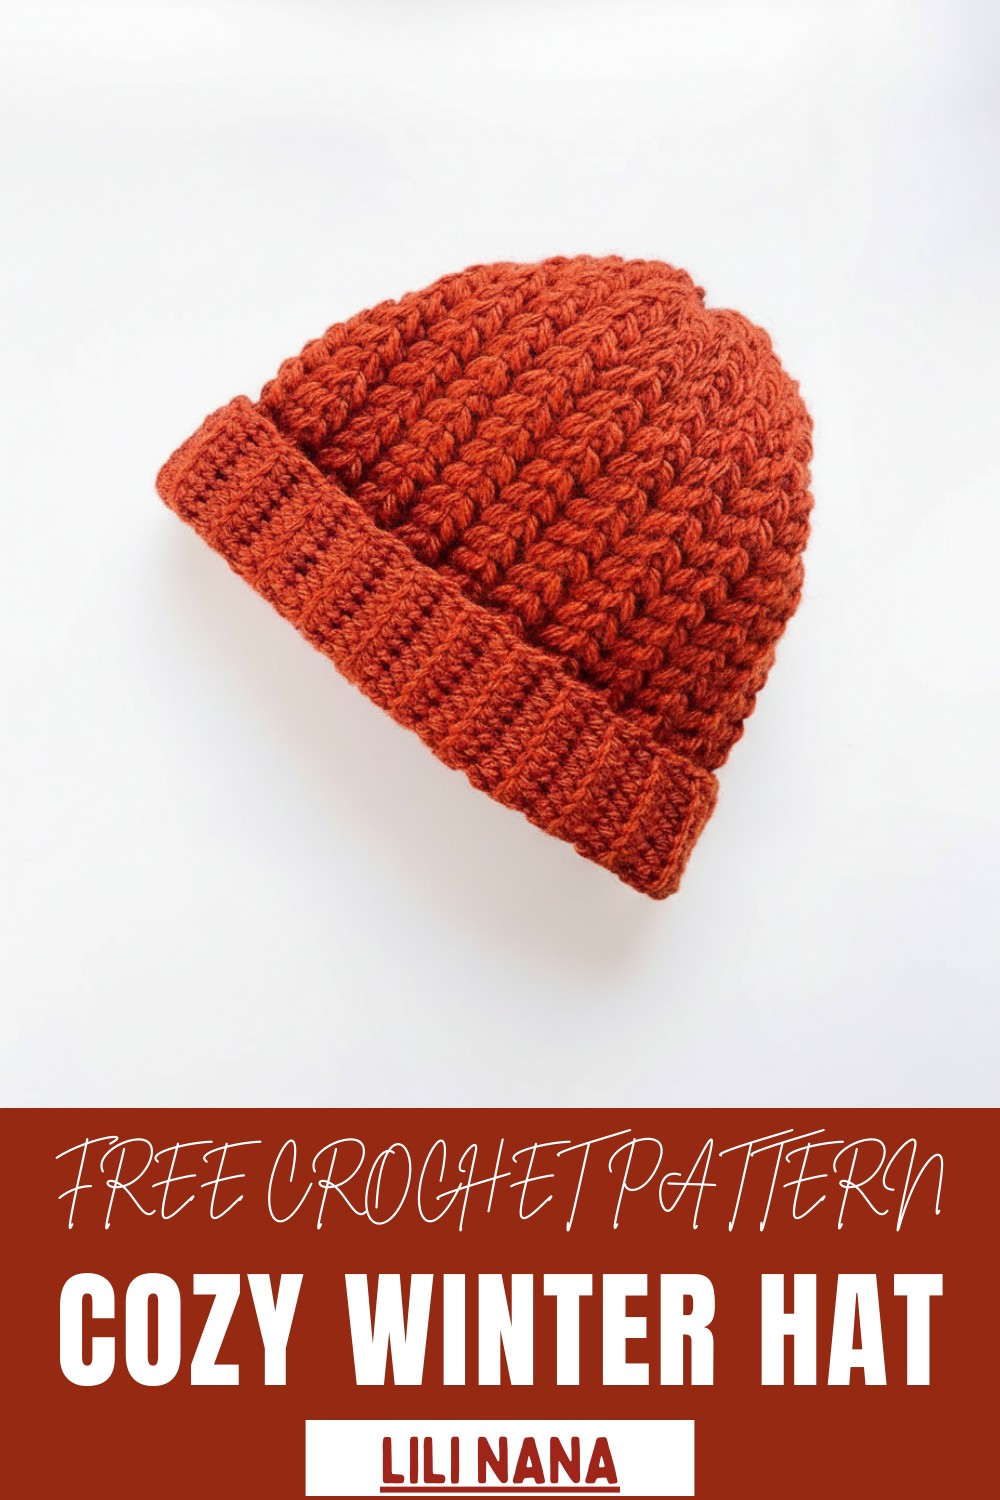
It is the perfect companion for frosty outings, ensuring you stay both comfortable and chic.
Uses
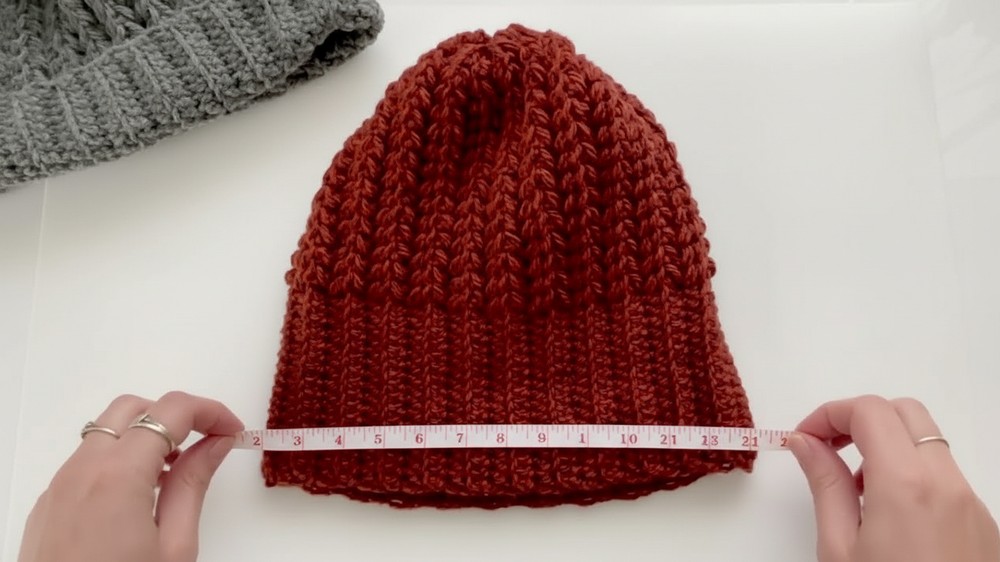
You create a cozy, everyday unisex fitted winter hat that wears close to the head without much slack at the crown.
Materials
-
Use Wool Blend yarn (80% Acrylic, 20% Wool, approximately 40g/62m per skein). The sample uses Daiso's ラセット ブラウン (Russet Brown).
-
Require a 5 mm (Japanese size 8/0) crochet hook.
-
Need a tapestry needle (とじ針) for seaming and cinching the crown.
-
Need a stitch marker to designate the end of the ribbed section.
Special Features
-
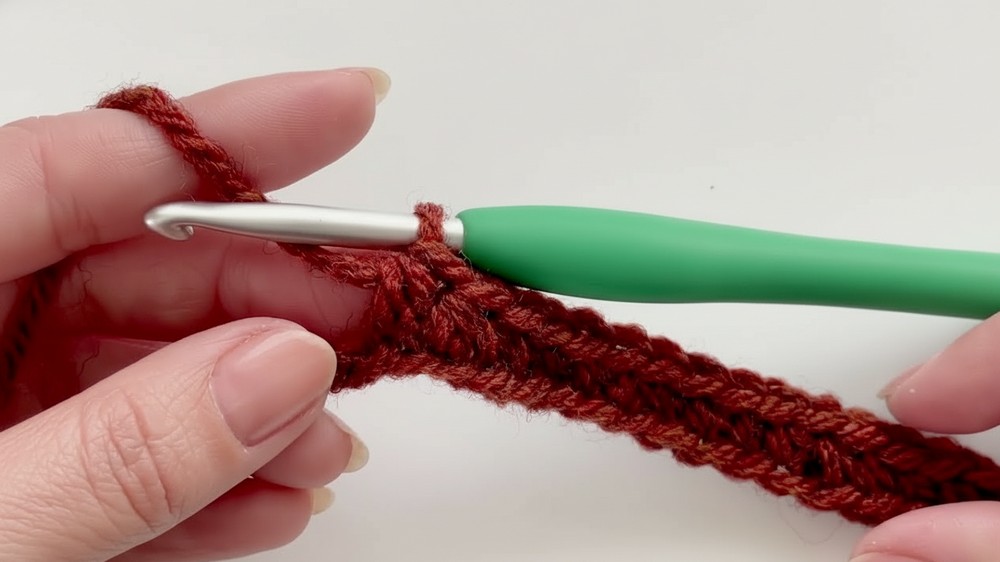
Vertical Ribbing: You work the brim vertically using a Half Double Crochet (HDC) in the back loop only, which creates a flexible, stretchy, and professional-looking ribbed texture for the fold-over brim.
-
Unique Main Body Stitch: The hat features a special textured stitch that uses a combination of incomplete Single Crochet (SC) and Half Double Crochet (HDC) stitches worked into the same space to create a subtle cluster pattern.
-
Fitted Shape: The construction method results in a hat that naturally fits snugly to the head (頭にフィット), unlike slouchy beanies.
-
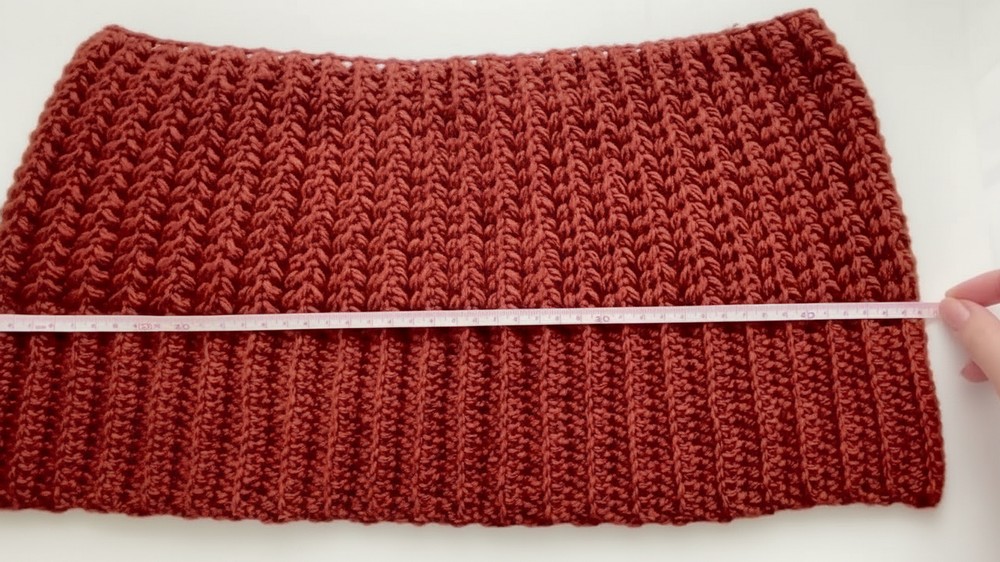
Flat Construction: You work the entire piece flat in rows before joining the two short sides to form the tube of the hat.
Level of Difficulty
This project is rated at a Medium difficulty level. While the stitches are basic (chain, SC, HDC), the main body pattern requires mastering a specific two-stitch cluster/missed-stitch technique and maintaining the correct stitch counts and placements across alternating rows.
Tutor's Suggestions
-
Customize the Ribbing Width: Adjust the number of stitches in your initial chain (16 stitches in the sample, which measures about 9 cm) to control the width of the folded brim. You can use any number of stitches, odd or even.
-
Maintain Odd Stitch Count for Pattern: The total number of stitches used for the main body pattern (not including the ribbing stitches) must be an odd number (31 stitches in the sample) for the stitch pattern to finish correctly at the end of the row .
-
Adjust Starting SC for Small Sizes: If you are crocheting a very small hat (like for a baby) or using very thick yarn, reduce the initial 5 Single Crochet (SC) stitches you work at the start of the pattern-side rows down to 3 SC to ensure better balance and fit.
-
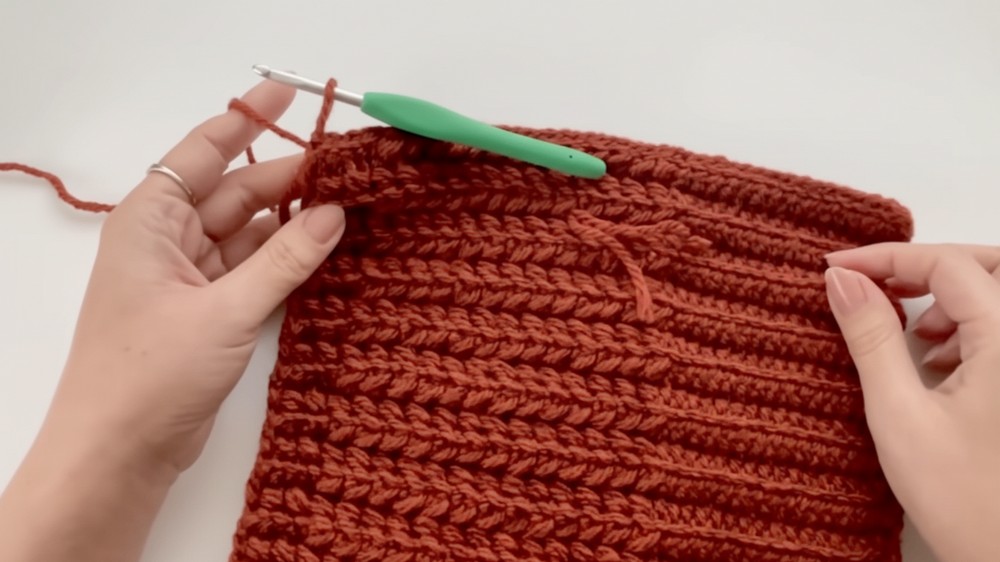
Weave and Cinch Securely: When cinching the crown, thread the tapestry needle through the large, open holes that naturally appear between the pattern repeats on the right side of the fabric. Pull the yarn tail tight and secure it multiple times to close the crown completely.

The act of making one yourself provides benefits that reach far beyond the final product. The repetitive, focused work of looping yarn is a known way to calm the mind and reduce stress. Because you choose the yarn yourself, you can guarantee a level of softness and insulation that store-bought items often lack.
The satisfaction of wearing a piece born from your own effort adds an irreplaceable layer of value to this practical item. These projects are wonderfully accessible to people of all skill levels.
Clear, step-by-step guides allow a complete novice to produce a lovely first piece, while more advanced techniques offer a rewarding challenge for those with experience. A huge community of makers shares ideas and support online, making it easy to find help and inspiration.
Conclusion
By using this repetitive two-row stitch pattern and simple flat construction, you successfully create a fitted, textured beanie. Then resulting hat is durable and features a classic ribbed brim that you can fold up for extra warmth or a neat style.
Tip
When joining the final seam, pay close attention to the loop placement. Then always inserting your hook into the inner loop of the front piece and the inner loop of the back piece, you create a less noticeable seam line that maintains the overall vertical look of the hat fabric.


