
Enjoy relaxing time using Crochet Hat Pattern with cozy fit, neat texture, and beginner friendly results for year round wear at home today.
Providing a perfect fusion of snug insulation and high-fashion flair, a versatile Crochet Hat Pattern stands as an essential roadmap for those who value both comfort and style. This blueprint allows for the construction of everything from a sleek, minimalist beanie that hugs the head to a slouchy, relaxed silhouette that offers an effortless urban vibe. The inherent stretch of the interlocking loops ensures a custom fit that remains breathable yet exceptionally effective at shielding the ears from frosty winds.
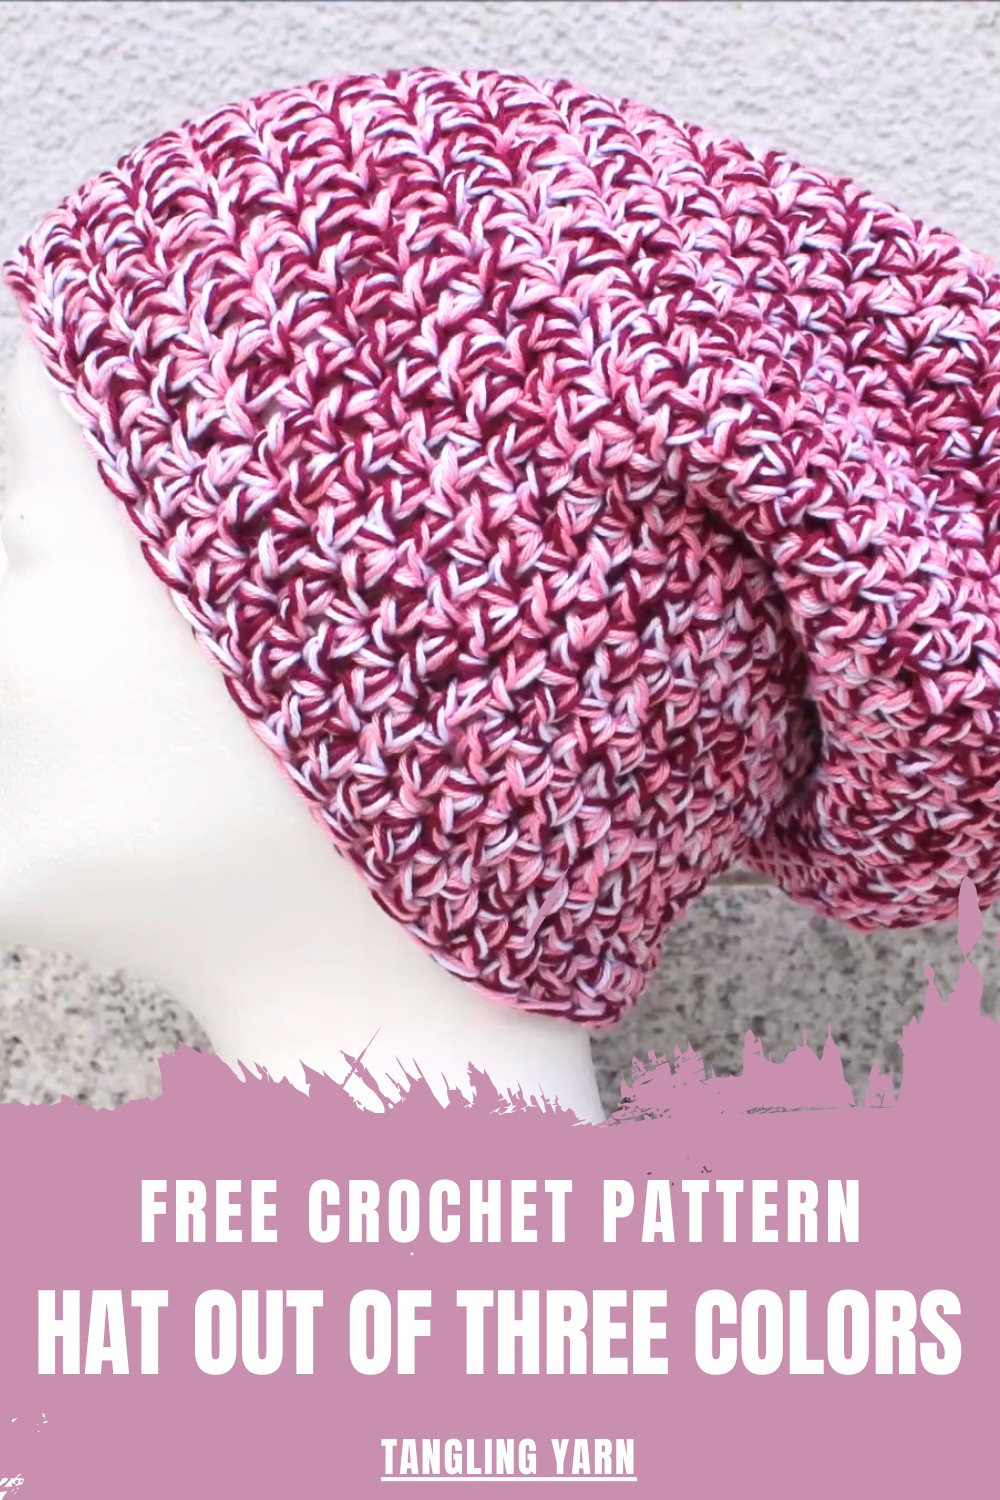
Posh Crochet Hat Pattern Your New Favorite Seasonal Look
Visually, the intricate ridges and valleys of the stitches provide a rich, tactile depth that flat fabrics simply cannot replicate. Using this guide results in a durable headpiece that serves as a sophisticated finishing touch for any outdoor ensemble, whether you are navigating a city street or a snowy trail.
Materials
- Yarn: Choose three skeins of yarn in colors you love. The tutorial uses medium-weight yarn that recommends a 3 mm hook size.
- Hook: To work with all three threads together, use a larger 5 mm crochet hook.
- Basic Tools: Scissors and a yarn needle for cutting and finishing.
- Optional: Tape measure to ensure your hat dimensions match your desired size.
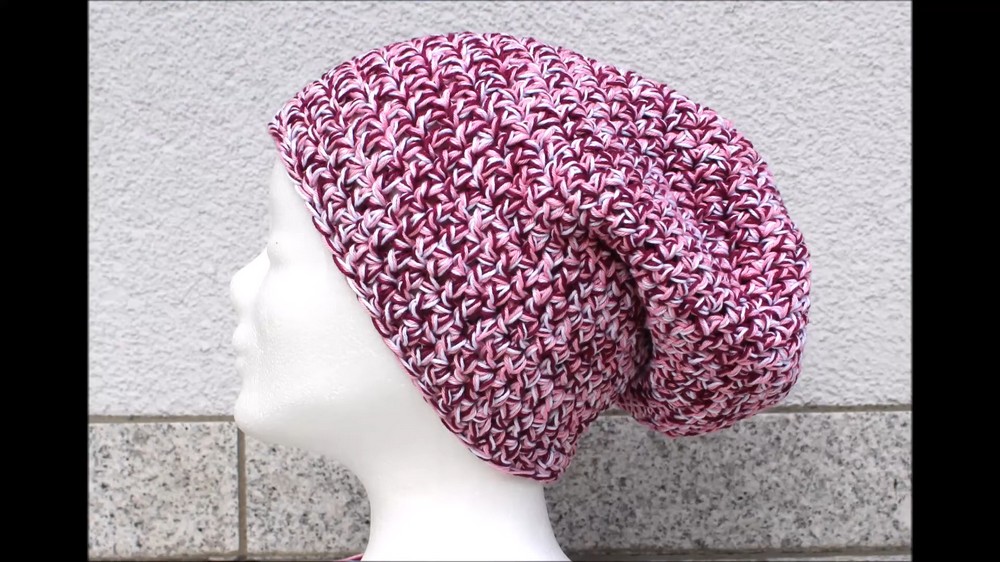
The finished piece radiates a polished, boutique-quality charm, proving that practical winter protection also acts as a masterpiece of modern design and personal expression.
Step-by-Step Details
Step 2: Preparing the Yarns
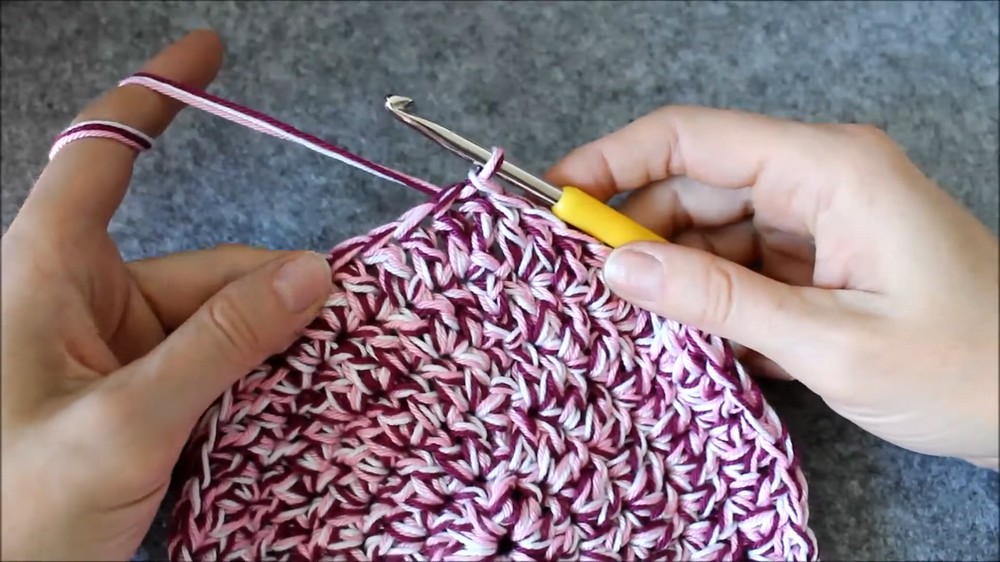
- Pull the tails from the skeins and hold all three yarns together, treating them as a single, thicker thread.
- As per the tutor's suggestion, pull the yarn tails from inside the skeins to ensure they remain stationary during crocheting and prevent tangling during the process.
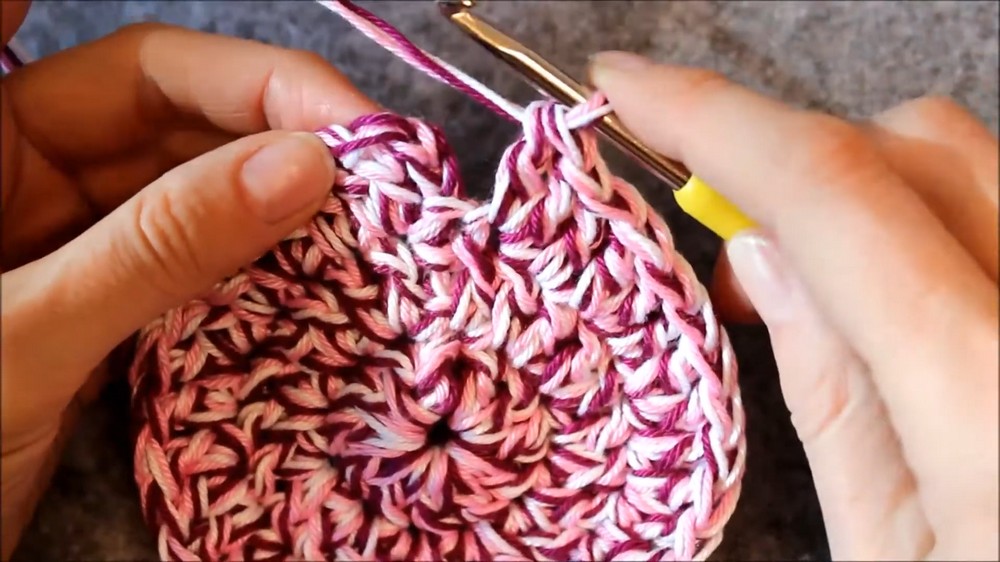
3: Starting with the Magic Circle
- Create a magic circle with the three yarns held together as one.
- Chain 2 stitches to start and consider this chain as your first double crochet (DC).
- Crochet 11 double crochets into the magic circle.
- Pull the magic circle's tail tightly to close the loop, ensuring a neat, round center.
- Make a slip stitch into the chain at the top of the first double crochet to complete the round. You should now have 12 double crochets in total.

4: Increasing for the Crown
- Start the second round by chaining 3 stitches, which counts as the first double crochet.
- Make 2 double crochets into each stitch from the previous row.
- At the end of this round, include the chain of 3 in your count and ensure you have a total of 24 double crochets.
- Use a slip stitch in the chain of 3 to close the round.
- In the third round:
- Chain 3 stitches (counts as first DC).
- Alternate between 1 double crochet (DC) in one stitch and 2 double crochets in the following stitch. Continue this pattern.
- At the end, you should have 36 double crochets including the chain of 3. Close using a slip stitch.
- For the fourth round:
- Chain 3 stitches.
- Make 1 double crochet in each of the first 2 stitches, followed by 2 double crochets in the third stitch.
- Repeat this pattern until the end of the round. Make a slip stitch to close. You will have 48 total double crochets.
5: Adjusting the Crown Diameter
The crown diameter determines the width of the top of your hat. Use the chart from the tutorial to determine the ideal size for your project. The tutor mentions that her crown reached 14 cm (5.5 inches), which she determined was slightly small.
- To adjust the size:
- Add extra increases incrementally. For example, in the next round, make 1 DC in each of the first 5 stitches and then 2 DCs into the sixth stitch, adding 8 increases instead of 12 to achieve the perfect crown size for your hat.
- If the crown diameter is still too small, you can make additional rounds, increasing up to 12 double crochets per row. However, if it becomes too large, reduce the increases.

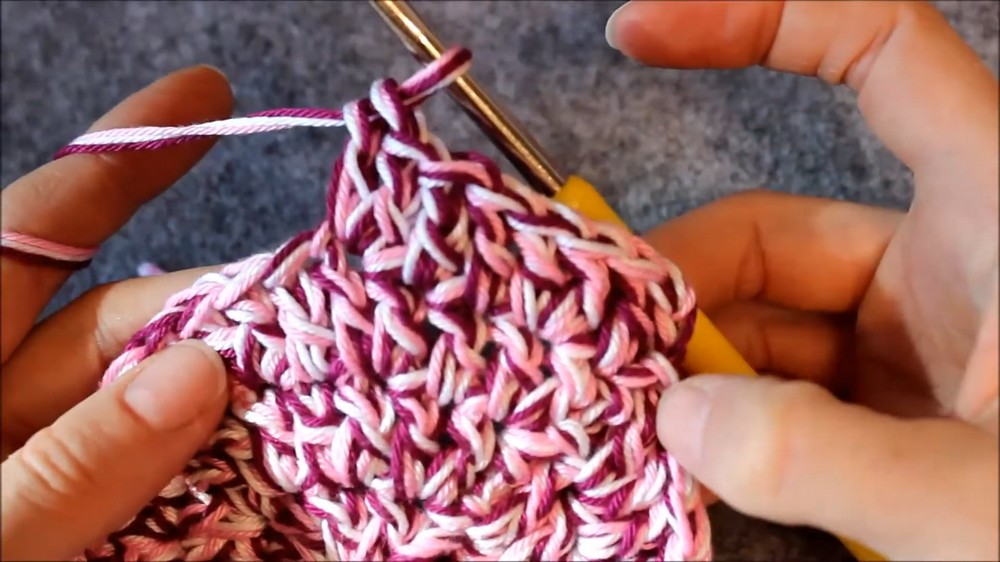
6: Forming the Hat Body
- Once the required crown diameter is achieved, stop making increases and allow the work to bend naturally into the shape of a hat.
- Chain 3 stitches at the start of each row and make 1 double crochet into every stitch for the entire round.
- Repeat this for as many rows as desired to achieve the hat’s height.
- Refer to the length chart:
- For a snug beanie, you’ll need around 10 cm (4 inches) of additional length from the crown edge.
- For longer or slouchier hats, extend to your desired measurement.
- End each round with a slip stitch to secure the row neatly.
7: Finishing Touches
- Once you’ve finished crocheting the body, cut the three yarn threads and use a yarn needle to weave in the ends securely.
- Optionally, you can top your hat with a pompom or add a decorative edge.
Special Features
- Three-Color Design: Using multiple yarn colors elevates the style and adds unique texture to your hat.
- Customizable Size: You can easily adjust the crown diameter and overall length to fit any head size, from babies to adults.
- Double Yarns for Depth: By crocheting with three strands simultaneously, the hat gains a thicker and cozier structure, perfect for colder weather.
Level of Difficulty
This project is ideal for beginner to intermediate crocheters. Beginners can follow the basic stitches and methods, while intermediate crocheters can experiment with customizations like crown diameter and adding flair.
Tutor’s Suggestions
- Test Hook Size: Since you’re working with combined yarns, test several hook sizes to find which one gives the best balance of flexibility and stability. The tutorial recommends a 5 mm hook for three 3 mm yarns.
- Prevent Tangling: Always pull the yarn ends from the center of the skeins to avoid them rolling around and tangling.
- Use Charts: Follow the provided diameter and length charts to make hats that are proportional and fit perfectly.
- Count Stitches: Check your stitch count at the end of each row to ensure even increases and avoid mistakes.
Uses and Applications
- Winter Hats: Keep warm in style with this thick and cozy design.
- Gift Items: Handmade gifts like hats are thoughtful and personal.
- Charity Donations: Crocheted hats are perfect for donating to those in need during colder seasons.
- Fashion Statement: Choose bold or subtle color combinations to match your aesthetic.
Tip
To make your hat more versatile, consider adding a brim by using front post and back post double crochets at the end of your project. This creates a ribbing effect and allows the edge to stretch comfortably while maintaining its shape.
Conclusion
This tutorial by 10 Union provides a fantastic guide to creating a stylish and cozy three-color crochet hat. The step-by-step instructions, adaptability for various sizes, and suggestions make it suitable for most crocheters, regardless of skill level. Whether you’re making a fun DIY project for yourself or crafting thoughtful gifts for friends and family, this hat pattern is a delightful choice.


