
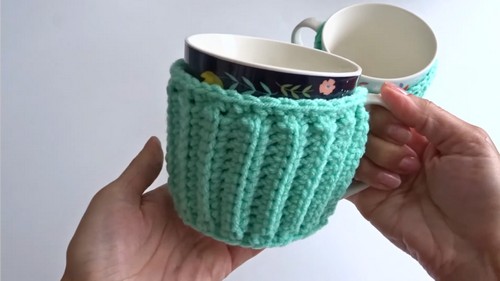
Learn how to make a functional yet stylish free crochet mug cozy pattern that adds warmth, charm, and individuality to your favorite mug.
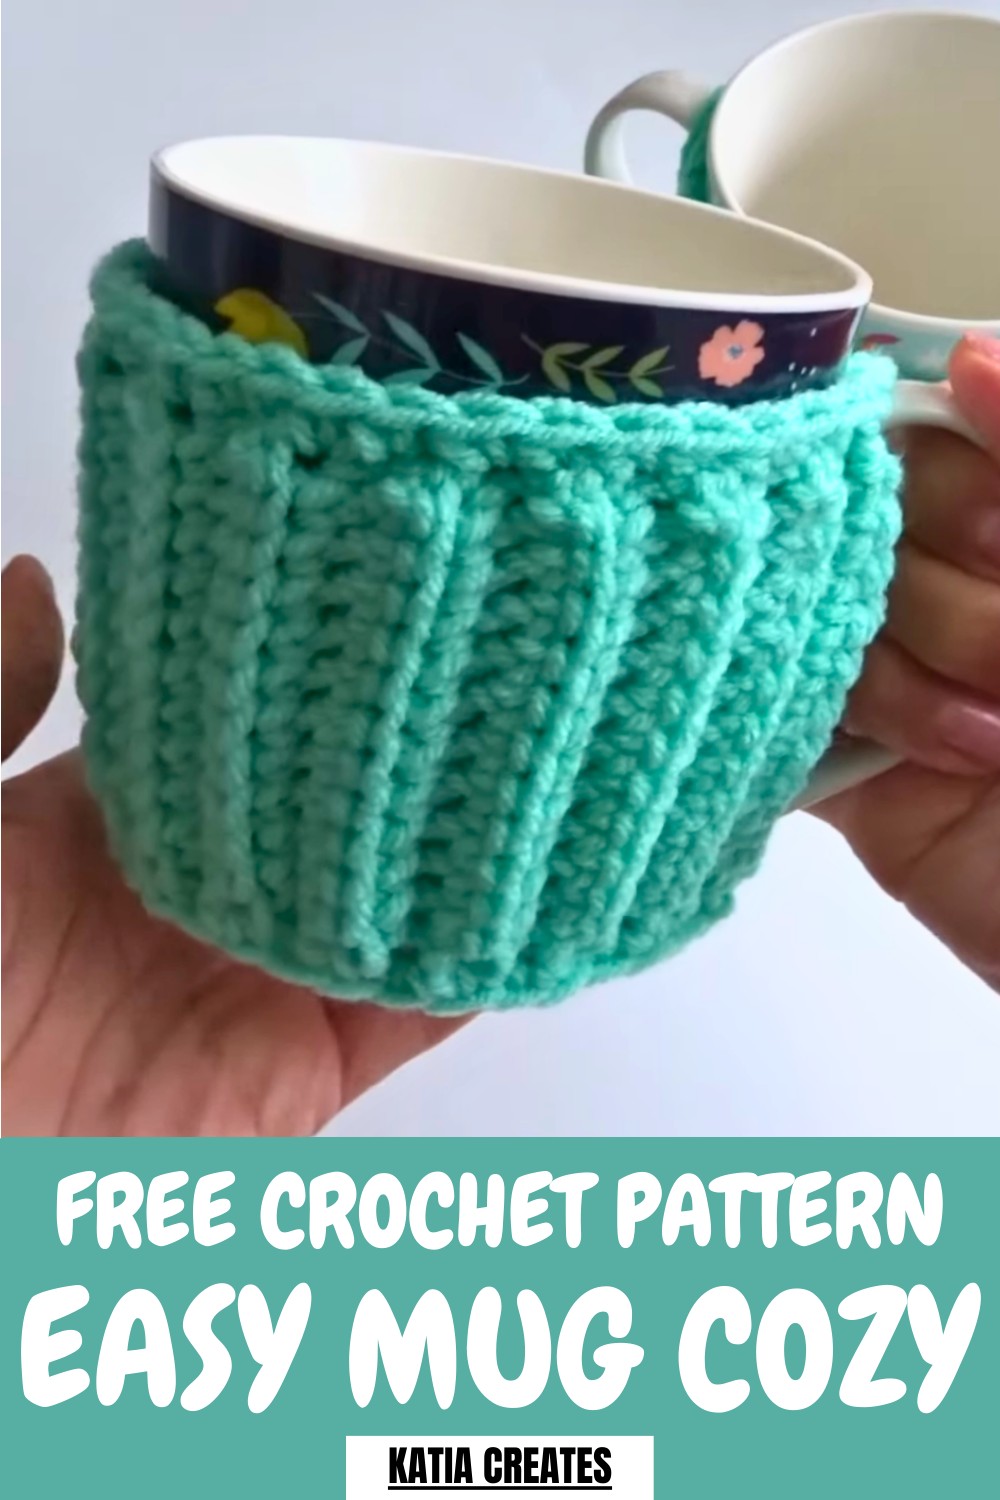
This item combines practicality and charm, offering a stylish solution for insulating mugs while protecting hands from heat. The crochet mug cozy pattern features a textured ribbed surface achieved with basic crochet techniques, making it both visually appealing and functional. Its snug fit around standard mugs ensures maximum usability, while the option to customize colors and yarn types adds versatility.
Beautiful Crochet Mug Cozy Pattern for a Cozy Cup of Joy
This item is not only a thoughtful gift idea but also a decorative accessory for any kitchen or workspace. Beginners benefit from an accessible way to enhance their skills, while seasoned enthusiasts enjoy the simplicity and efficiency of its construction.
Lightweight, reusable, and durable, it brings a touch of warmth and individuality to everyday routines. Whether for personal use or as a heartfelt gift, it provides a balance of aesthetics and utility, making it an essential addition to anyone’s collection of practical handmade goods.
How to Crochet a Quick and Easy Mug Cozy
Materials Required
You will need the following supplies to complete this project:
- Yarn: Medium-weight yarn (#4), 100% acrylic (cotton yarn can also be used as an alternative)
- Crochet Hook: 5 mm hook
- Scissors: For trimming the yarn
- Needle: To weave in the loose ends
Uses
- Insulates mugs to keep beverages warm and your hands protected from heat.
- A thoughtful and easy-to-make gift for friends, family, or coworkers.
- Can be crafted and sold in markets or online for additional income.
- Adds a decorative and personal touch to mug collections.
Special Features
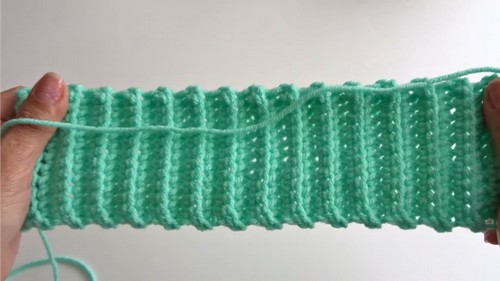
- Stretchy Fabric: The repetitive use of single crochets in the back loop creates a ribbed, flexible texture that fits snugly over mugs.
- Customizable Size and Design: Easily adjust the length or color to fit specific mugs or personal design preferences.
- Beginner-Friendly Methodology: The pattern relies on basic stitches, making it accessible to even those new to crochet.
Step-by-Step Instructions
- Create the Base:
- Begin with a slip knot and chain 13 stitches.

- For Row 1, make a single crochet into the second chain from the hook, followed by a single crochet into each of the remaining 11 chains for a total of 12 single crochets.
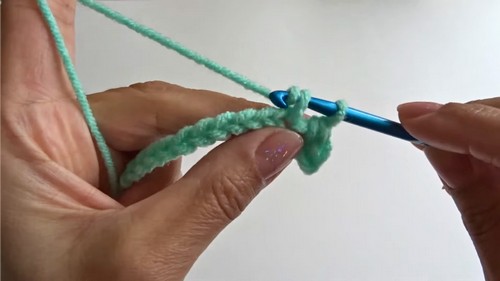
- Begin with a slip knot and chain 13 stitches.
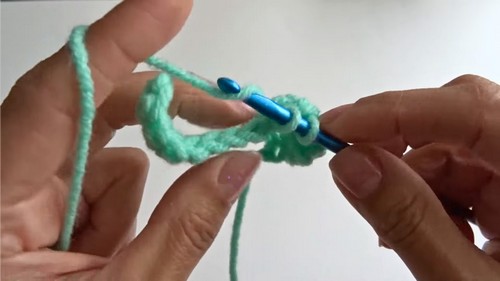
- Start the Body:
- Chain 1, turn the work, and make a single crochet into the first stitch using back loops only.
- Continue to make single crochets across the row using back loops only. At the end of Row 2, you should still have 12 single crochet stitches.
- Continue the Pattern:
- For the following rows (up to Row 31), chain 1, turn the work, and repeat the pattern of making single crochets into each stitch using back loops only. Ensure all rows consist of 12 single crochet stitches. The fabric will become stretchy as you progress.
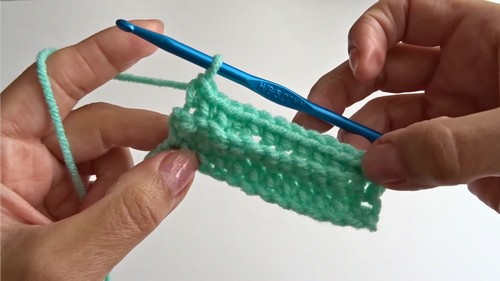
- For the following rows (up to Row 31), chain 1, turn the work, and repeat the pattern of making single crochets into each stitch using back loops only. Ensure all rows consist of 12 single crochet stitches. The fabric will become stretchy as you progress.
- Add the Strap:
- After completing 31 rows, chain 14 stitches to create the first part of the strap.
- Turn the work and begin crocheting across the side of the fabric, working single crochets into the posts of each previous row. Make sure your chain does not twist.
- Once you finish this side, chain 14 more stitches and repeat the process on the opposite side of the fabric by crocheting into the side of the rows, creating symmetry.
- After completing 31 rows, chain 14 stitches to create the first part of the strap.
- Finishing Touches:
- End the project with a slip stitch to secure the final row to the starting chain.
- Cut the yarn and pull through to tighten the knot.
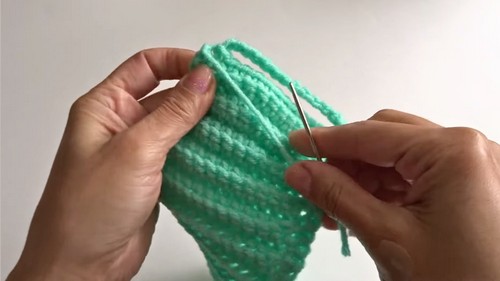
- Use a needle to weave in the loose ends by picking up back loops from several stitches, ensuring it's neat and secure. Trim off the remaining yarn.
Level of Difficulty
This project is classified as beginner-friendly, as it primarily uses basic stitches like the single crochet. Intermediate crocheters may find it a quick and enjoyable project.
Tutor’s Suggestions
- Use even tension while crocheting to achieve a consistent and professional look.
- While working on the side rows, carefully find the post of each stitch to ensure your single crochets are properly placed.
- Make sure the straps (chains) do not twist when attaching them to the sides.
Conclusion
This quick and easy mug cozy project is a versatile and practical handmade item that’s perfect for gifting or selling. The repetitive use of simple stitches ensures even beginners can complete it with ease, while its stretchy yet snug fit makes it both functional and stylish. By using minimal materials and investing just a small amount of time, you can create a charming accessory that enhances any mug.
Tip
To eliminate gaps or uneven edges, firmly pull your yarn while weaving in the ends to hide it neatly. This gives your finished piece a polished and professional look.


