
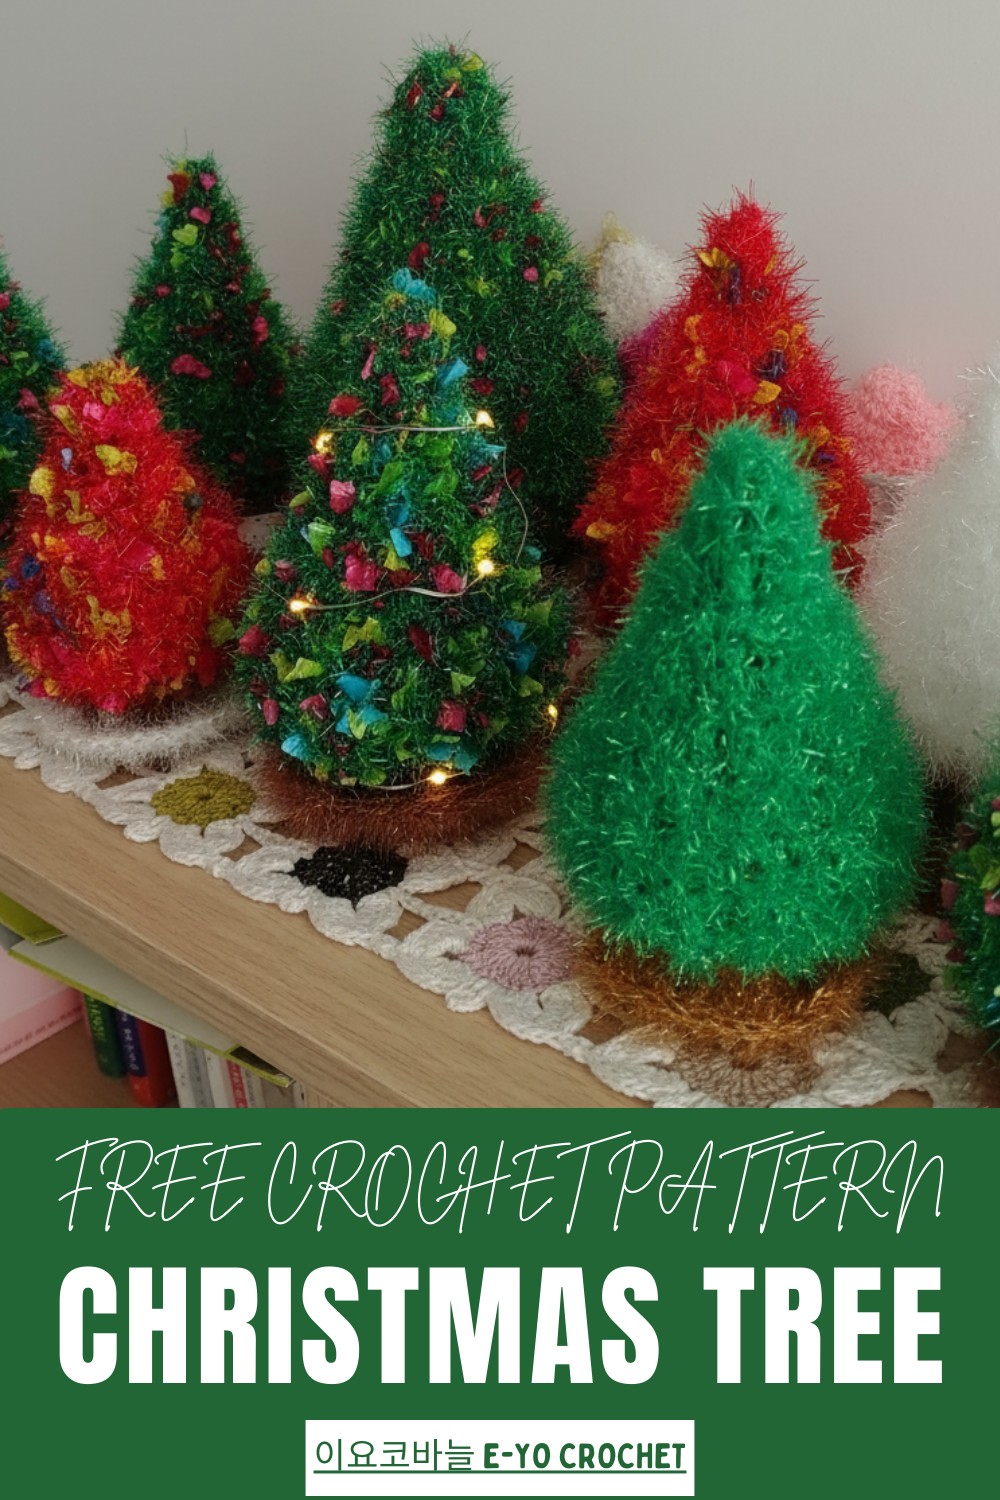
Bring festive charm with Free crochet Christmas tree Pattern featuring simple steps to make a cute, textured, and handmade holiday decoration.
Add a cheerful touch to your holiday décor with this handmade Christmas tree, perfect for bringing warmth and charm to any room. This crochet project transforms simple yarn into a textured, layered tree that resembles real pine branches, giving it a full and lively look. Its compact size makes it ideal for tabletops, shelves, mantels, or even as part of a garland, adding festive appeal without taking up too much space.
Easy Crochet Christmas Tree Pattern Perfect for Any Space
Materials
-
Yarn: Use Scrubber yarn (수세미 실), such as the two-ply "Clover Scrubber Yarn" used in the demonstration. If you intend the finished product purely as a decoration, substitute general glitter yarn or acrylic yarn.
-
Hook: Use a crochet hook appropriate for your chosen yarn (the tutorial used a 6mm hook for a larger sample).
-
Trunk Yarn: Grab a small amount of yarn in a contrasting color (like brown or dark green) for the tree trunk.
-
Other: Gather a tapestry needle for weaving in ends.
Uses
-
Christmas Decor: Place the small tree on a shelf or mantle as an easy, decorative Christmas ornament.
-
Scrubber: Use the tree as a dish scrubber, especially if you create it using absorbent scrubber yarn.
Special Features
-
Quick Project: Complete the tree quickly, making it a great last-minute craft or gift.
-
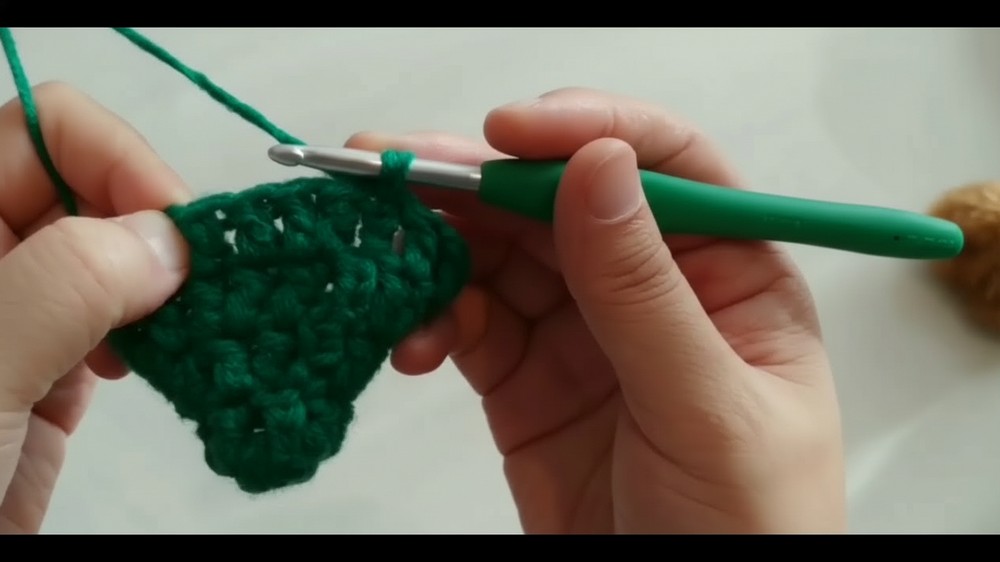
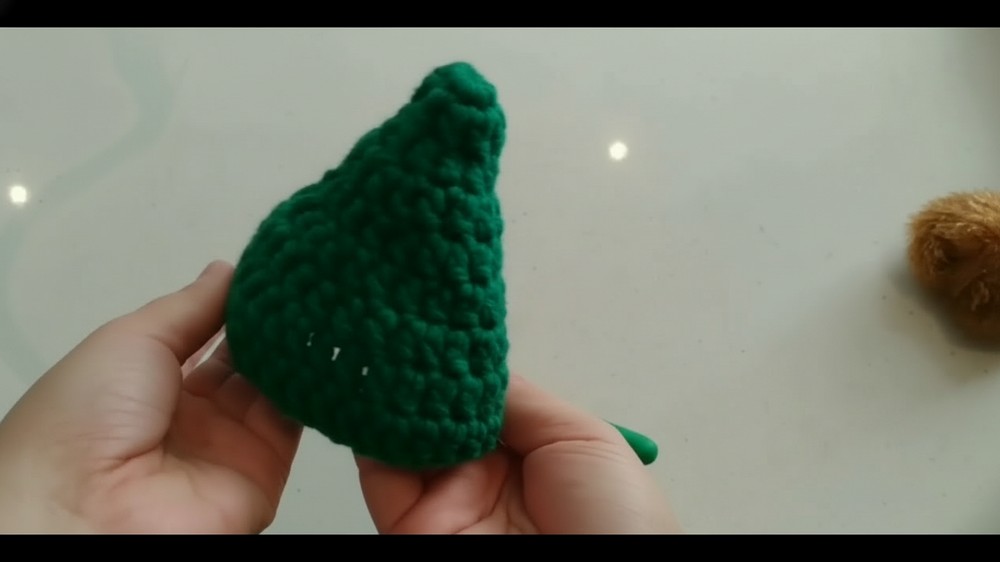
Conical Shape: Achieve the distinctive cone shape by increasing four stitches in most rounds, then sharply decreasing stitches in the final two rounds.
-
Flared Base: The final round of the trunk uses Half Double Crochet (HDC/긴뜨기) with an increased stitch count to create a wide, stable base that helps the tree stand upright.
Level of Difficulty
This project is Easy to Moderate. While the pattern uses only basic stitches, you must know several techniques, including the magic ring, increasing, and decreasing (crocheting two stitches together).
Tutor's Suggestions
-
Count Your Stitches: Always count your stitches in each round to ensure you maintain the correct shape, especially if you are new to crochet.
-
Vary Increase Placement: Change the position where you place your increase stitches in each round to prevent the tree from developing corners (turning it into a hexagon or square) and help it maintain a round, natural tree shape.
-
Simplify the Trunk: If you find the Front Post Single Crochet (FPsc) for the first trunk row too challenging, simply use a regular single crochet (SC/짧은뜨기) in the back loops to create a defined edge.
-
Seamless Color Change: When switching from the green to the trunk color, make the very last yarn over and pull-through of the final slip stitch using the new color. This makes the color transition much cleaner and less noticeable.
Crochet Christmas Tree

The project uses basic crochet techniques like single crochet and working in rounds, making it accessible for beginners while still engaging for more experienced crafters.
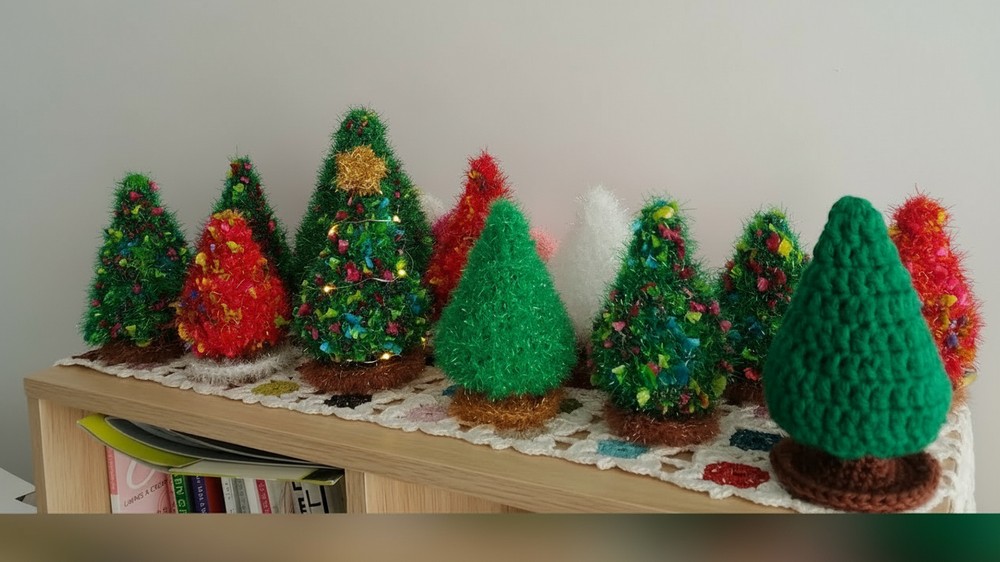
The tree is highly customizable: choose yarn colors to match your holiday theme, or add small beads, stars, or ribbons for extra sparkle. Smaller versions can serve as unique gift toppers or ornaments, while larger ones can become a standout décor piece that draws attention and admiration.
Working on this project also offers practical benefits, helping improve hand coordination, stitch consistency, and attention to detail.
Durable, lightweight, and easy to care for, this Christmas tree is a long-lasting seasonal accent. Whether used as a personal decoration or a thoughtful handmade gift, it combines creativity, practicality, and festive charm, enhancing the holiday spirit and making any space feel cozy and inviting.

Conclusion
The completed project is a charming, cone-shaped Christmas tree that stands on its own sturdy base. You successfully created a versatile craft that is perfect for holiday decorating or everyday use as a scrubber. Feel free to experiment with different sizes and yarn types to create a varied collection of mini-trees.
Tip
To ensure your tree remains round and does not develop a squared or angled shape, never place an increase stitch directly above an increase stitch from the previous round.


