
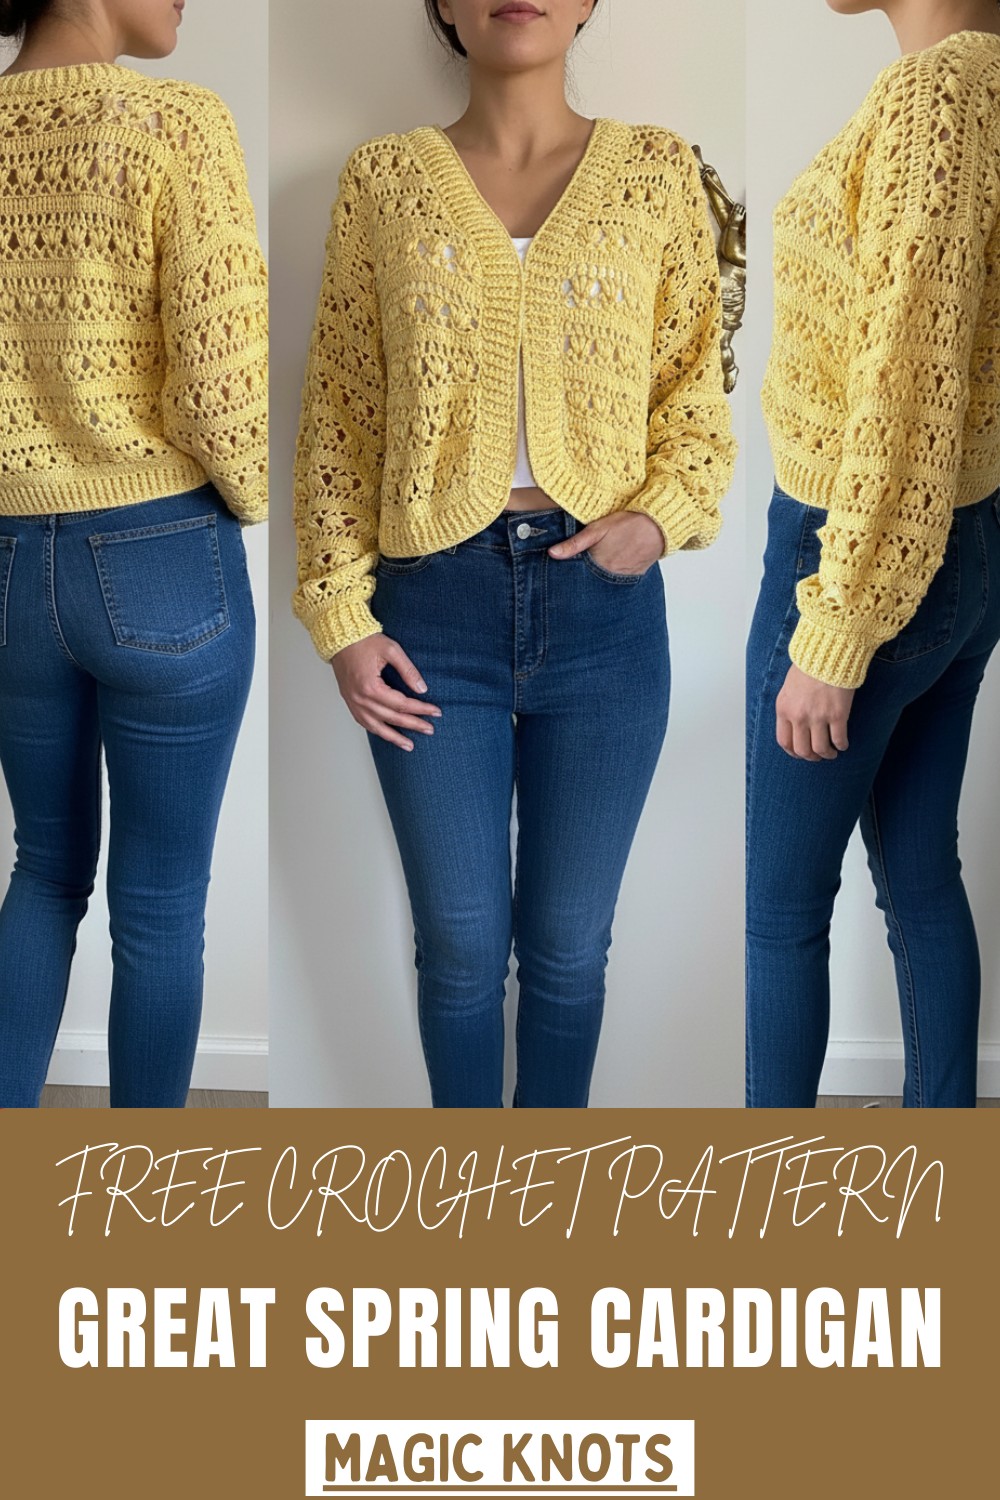
Step into a Free crochet Spring Cardigan Pattern with lightweight, airy stitches that offer a comfortable, stylish layer perfect for mild, sunny days.
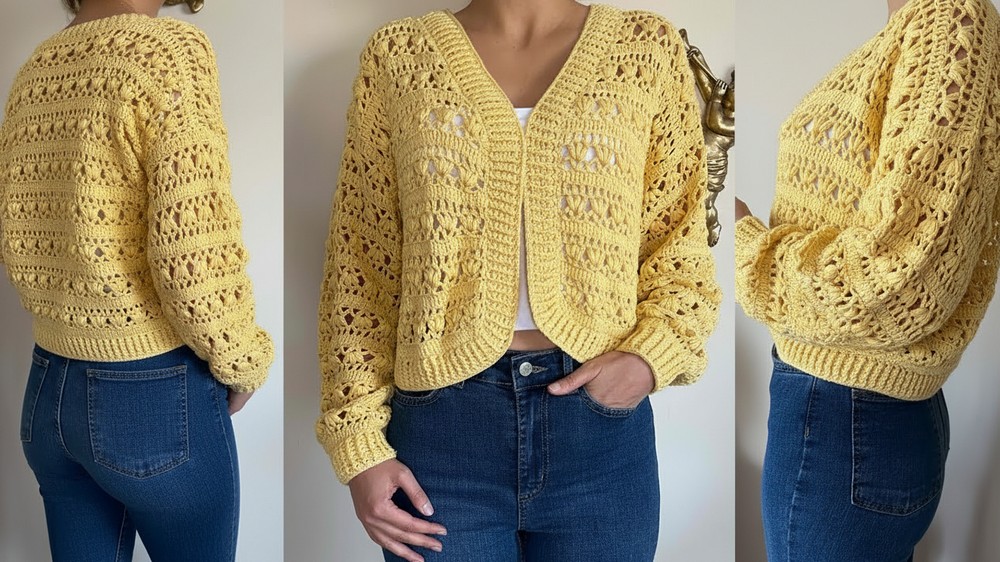
A light and breezy layer can instantly refresh any outfit, bringing both comfort and effortless style to spring wardrobes. The Crochet Spring Cardigan Pattern features delicate stitches and an airy design that make it perfect for layering over dresses, tops, or casual outfits. Its soft texture and openwork provide breathability while maintaining a polished, elegant look.
Lightweight Crochet Spring Cardigan Pattern for Warm Weather
Ideal for cool mornings, evening strolls, or casual gatherings, this cardigan blends practicality with charm. The pattern also allows for customization in color, stitch, and length, resulting in a handcrafted piece that is both versatile and timeless, adding handmade beauty to any spring ensemble.
Step-by-Step Guide: Making a Cute Autumn Cardigan
Materials Needed
To crochet the cardigan, you’ll need:
- Yarn Options:
- Nako Calico: A cotton-based yarn that provides a slightly thicker yet smooth texture.
- Alize Cotton Gold: An alternative cotton yarn that works equally well if Nako Calico is unavailable.
- For advanced variation: Mohair yarn can be used for an elegant and luxurious appearance.
- The project requires approximately 5 balls of yarn.
- Crochet Hook:
- A 3.5 mm hook is recommended, especially if working with thinner yarns like Alize Cotton Gold.
- Basic Tools:
- Scissors for cutting yarn.
- Yarn needle for weaving in ends.
Uses
- The cardigan is stylish and practical for autumn weather, offering warmth while being lightweight.
- It complements casual or semi-formal outfits, making it versatile for different occasions.
- You can customize the size and colors to suit personal preferences or seasonal trends.
Special Features
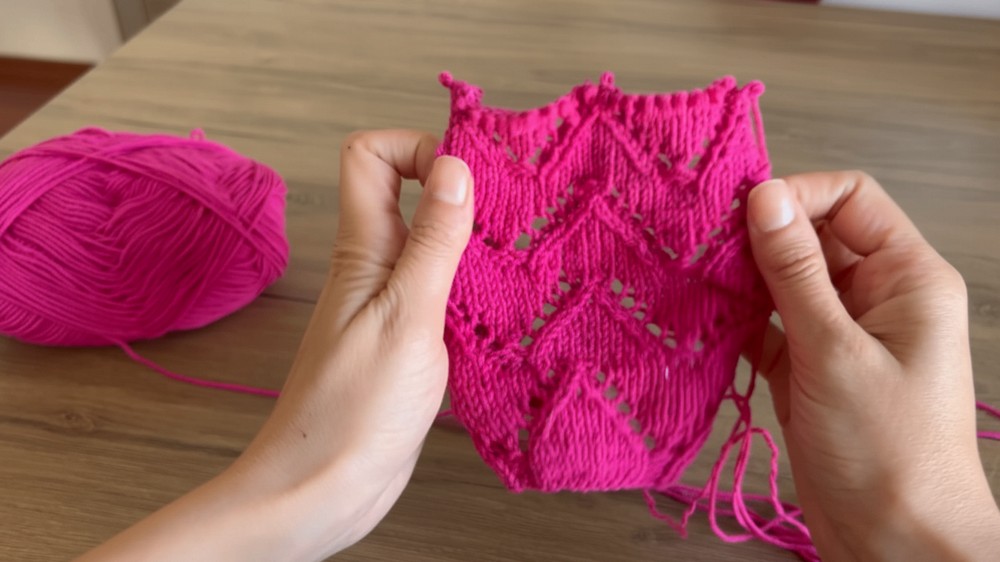
- Unique Knitting Pattern: The design features "double handrail" stitches and V-shaped details, creating a beautiful texture.
- Elastic Edges: The pattern includes elastic edges around the collar, cuffs, and hem for a polished finish and snug fit.
- Yarn Versatility: The pattern works with various yarns, including cotton and mohair, offering flexibility based on the desired style.
- Customizable Fit: You can adjust chain counts and measurements to create cardigans for different sizes.
Level of Difficulty
This project is beginner-to-intermediate friendly, as it focuses on basic stitches like chains, double crochets ("double handrails"), single crochets, and elastic ribbing. The most challenging aspects involve switching yarn colors, maintaining consistent tension, and working elastics for the finishing touches.
Tutor’s Suggestions
The tutor shares several tips and recommendations to ensure success with this cardigan project:
- Hold Tension Loosely: Avoid tight tension when beginning your chain or stitches. Tight work can result in an uneven or stiff fabric.
- Use the Right Yarn: If you’re unable to find Nako Calico, Alize Cotton Gold works perfectly. Both yarns provide a similar feel, with Calico being slightly thicker.
- Start with a Chain: The model uses 90 chains for the back of the cardigan and 45 chains for each side. Adjust these numbers depending on the desired size.
- Count Stitches Accurately: Consistent stitch counts ensure the pattern remains even and uniform throughout the project.
- Use a 3.5 mm Hook: The tutor emphasizes using a 3.5 mm hook for optimal results, especially if working with thinner yarn.
- Work in Repetitions: Once the basic pattern is set up, the rows are repetitive, making the process easier to follow as you progress.
- Incorporate Elastics Slowly: The elastic-edged rows require moving between front and back loops to create a ribbed effect. Pay attention to these details to achieve a neat and stretchy finish.
Step-by-Step Instructions
Step 1: Prepare the Foundation Chain
- Start with a slip knot, and crochet 90 chains for the back. For the sides of the cardigan, you can use 45 chains each.
- Keep your hand loose while making the chains to prevent tension issues.
Step 2: Work the First Row
- After the chain is complete, go up with 3 chains.
- Work a double crochet (double handrail) into the last chain.
- Continue across the row by working one double crochet into each chain.
- Example: If you have 90 chains, you’ll end up with 90 double crochets.

- Example: If you have 90 chains, you’ll end up with 90 double crochets.
- At the end of the row, chain 3 and turn your work.
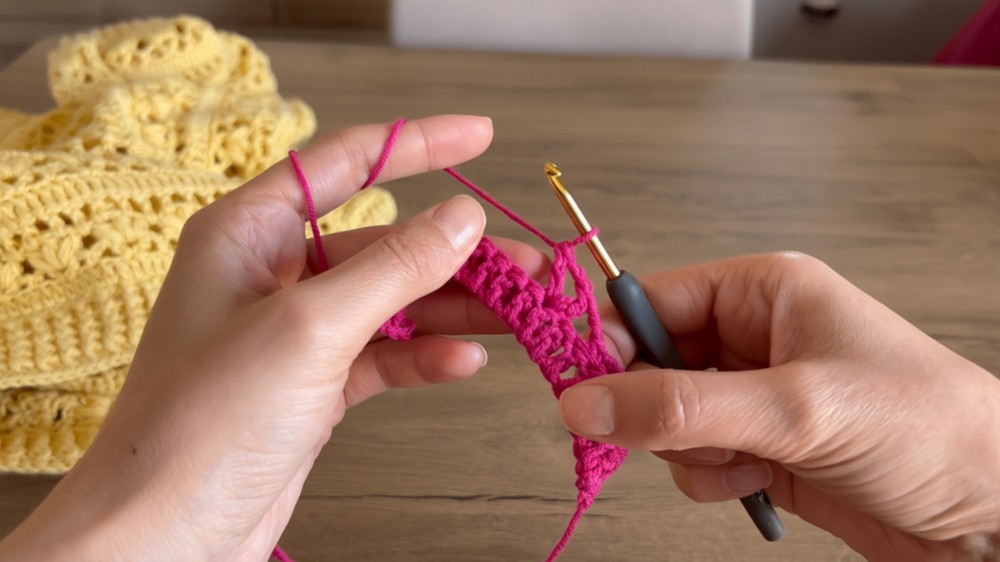
Step 3: Create the V-Stitch Pattern
- Begin the next row by working a single crochet into the top of the first double crochet.
- Chain 2, skip 2 spaces, and work a V-stitch (2 double crochets with a chain in between) into the third space.
- Chain 2 again, skip 2 spaces, and secure with a single crochet.
- Repeat this sequence of V-stitches and single crochets until you reach the end of the row.
- At the end of the row, finish with a triple crochet to match the starting chain.
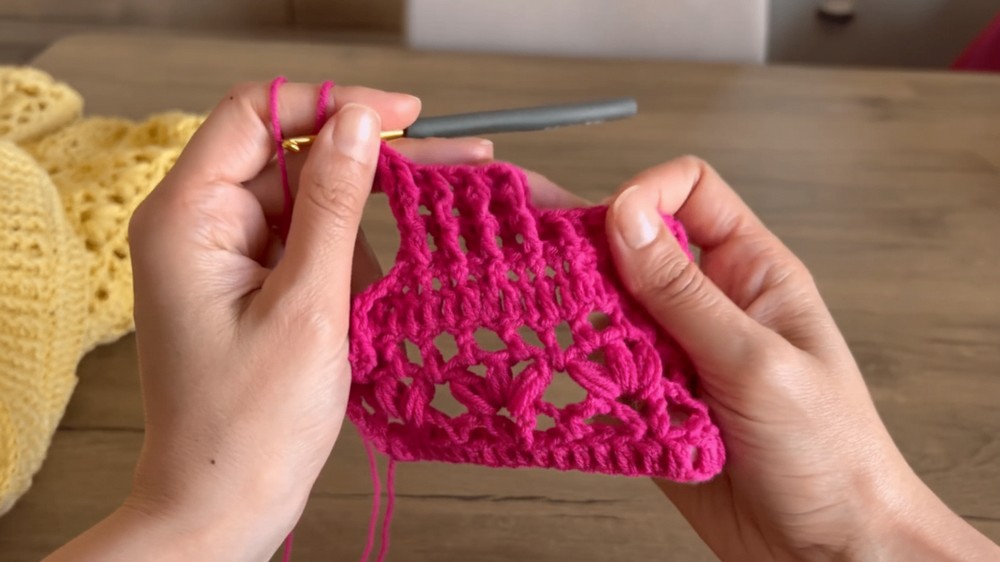
Step 4: Build the Pattern
- Start the next row by chaining 3.
- Work double crochets into the spaces created by the previous row’s V-stitches and chains.
- Continue this pattern, alternating between a regular double crochet row and a V-stitch row.
- Repeat until the back and side lengths are complete.
Step 5: Add Elastic Edges
- To add elastics, begin with a row of single crochets placed along the edges of the cardigan where elastic trimming is needed (e.g., collar, cuffs, hem).
- Create elastics by alternating front post and back post double crochets in the next row:
- For front post double crochets, insert the hook from the front of the post of the stitch below.
- For back post double crochets, insert the hook from the back of the post of the stitch below.
- Continue this ribbing pattern for as many rows as needed to achieve the desired elasticity.
Step 6: Finishing the Cardigan
- Once the body and elastic sections are complete, sew the sides of the cardigan together with a yarn needle to form the sleeves.
- Add a row of single crochets to the edges for a smooth and clean finish, if needed.
Conclusion
This autumn cardigan is a highly enjoyable and versatile project that combines a simple stitch pattern with cozy materials for the perfect fall accessory. With clear instructions and repetitive rows, even those with basic crochet skills can achieve a stylish and polished look. The addition of elastic edges gives the cardigan a professional finish and ensures comfort and fit.
Crochet Tip
When making the elastic edges, always check that your tension is balanced—too tight, and the ribbing may wrinkle; too loose, and it may lack structure. Use markers at every 10th stitch to maintain consistency and prevent mistakes when working large projects.


