
Enjoy playful style with this Crochet Ruffle Hat Pattern for textured, cozy hats that provide charm, comfort, and versatile everyday wear.
Elevating a personal accessory collection begins with a crochet ruffle hat pattern that effortlessly balances rhythmic movement with a refined, sophisticated silhouette. This design features an architectural brim that cascades into soft, elegant waves, framing the face with a romantic touch suitable for garden weddings or upscale outdoor events. By utilizing premium, breathable fibers, the piece provides a comfortable fit that offers gentle shade while maintaining an airy feel.
Cute Crochet Ruffle Hat Pattern Perfect for Layering Looks

Beyond its striking visual appeal, the versatility of this design allows for a seamless transition from vintage-inspired aesthetics to modern streetwear. Makers can easily customize the volume of the ruffles and the color palette to suit any specific style, resulting in a boutique-quality finish that far surpasses mass-produced alternatives.

Today, this trend celebrates a unique fusion of high-fashion texture and feminine grace, making every finished hat a timeless addition to a sophisticated wardrobe. The meticulous stitch work ensures that the flowing ruffles retain their sculptural integrity, delivering a look that is both luxurious and structurally sound.
Step-by-Step Instructions
Materials Needed
- Yarn - Lightweight or fine yarn (acrylic recommended).
- Crochet Hook - A 1.5mm hook (labeled as number 6 in the video).
- Measuring Tape - To ensure accurate sizing.
- Stitch Marker - Essential for marking slip stitches at the end of each row (a safety pin can also be used).
- Scissors - To cut the yarn.
Steps
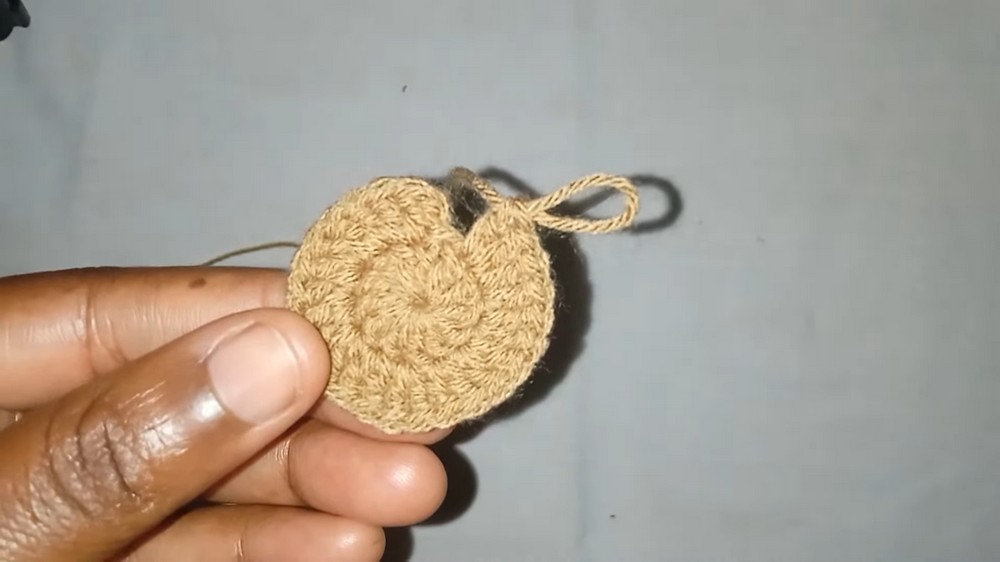
Base of the Hat
Row 1: Magic Ring and Foundation
- Create a magic ring:
- Wrap the yarn around your finger, pass the hook under the yarn, and pull through.
- Chain 2 to secure the ring.
- Make 12 double crochets (DC) into the magic ring.
- Pull the yarn tail to close the magic circle snugly.
- Join the round with a slip stitch in the first double crochet (not the chain 2). Place a stitch marker in the slip stitch.
Row 2: Doubling Each Stitch
- Chain 2.
- In the same stitch as the slip stitch, work 2 DCs.
- Work 2 DCs in every stitch around.
- At the end of the round, join with a slip stitch in the first DC and place the stitch marker. You should now have 24 stitches.
Row 3: Increasing the Circle
- Chain 2.
- In the same stitch as the slip stitch, work 2 DCs.
- Work 1 DC in the next stitch, followed by 2 DCs in the next stitch.
- Repeat this pattern (1 DC, 2 DCs) around.
- End the row with a slip stitch into the first DC and place your stitch marker. You should now have 36 stitches.
Row 4: Continuing Increases
- Chain 2.
- In the same stitch, make 2 DCs. Work 1 DC each in the next 2 stitches, then make 2 DCs in the next stitch.
- Repeat (2 DCs, 1 DC in two stitches) all around.
- At the end, join with a slip stitch. You now have 48 stitches.
Rows 5 - 11: Increasing Gradually
- For each row, increase the number of single DCs between the 2 DCs from row 4.
- For example:
- Row 5: [2 DCs in one stitch, 3 single DCs].
- Row 6: [2 DCs in one stitch, 4 single DCs].
- Keep increasing the single DCs by 1 for each subsequent row.
- For example:
- End each row with a slip stitch and move the stitch marker to the new slip stitch.
At the end of row 11, you should have 132 stitches, with a circle diameter of approximately 6.5 inches. This is where you stop increasing.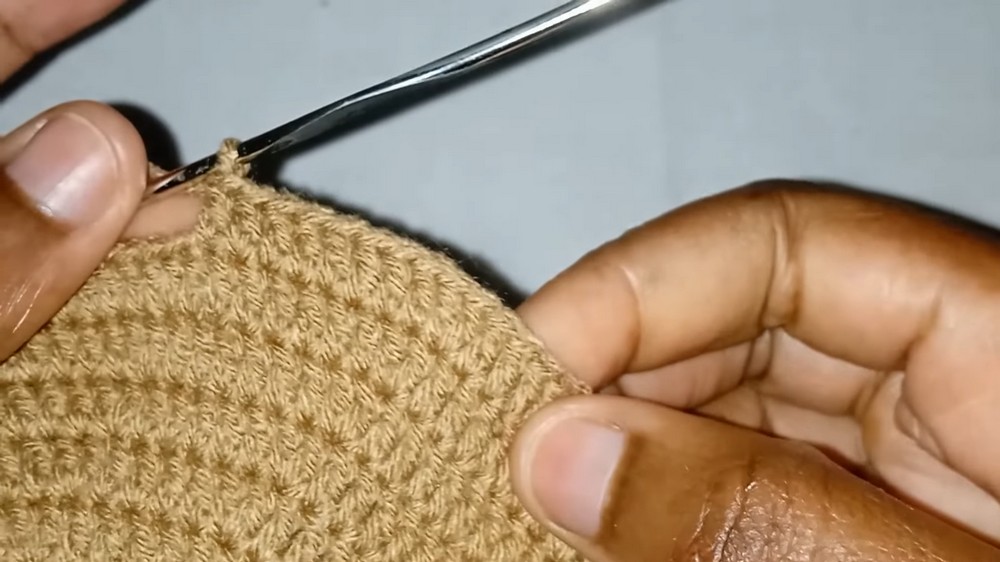
Body of the Hat
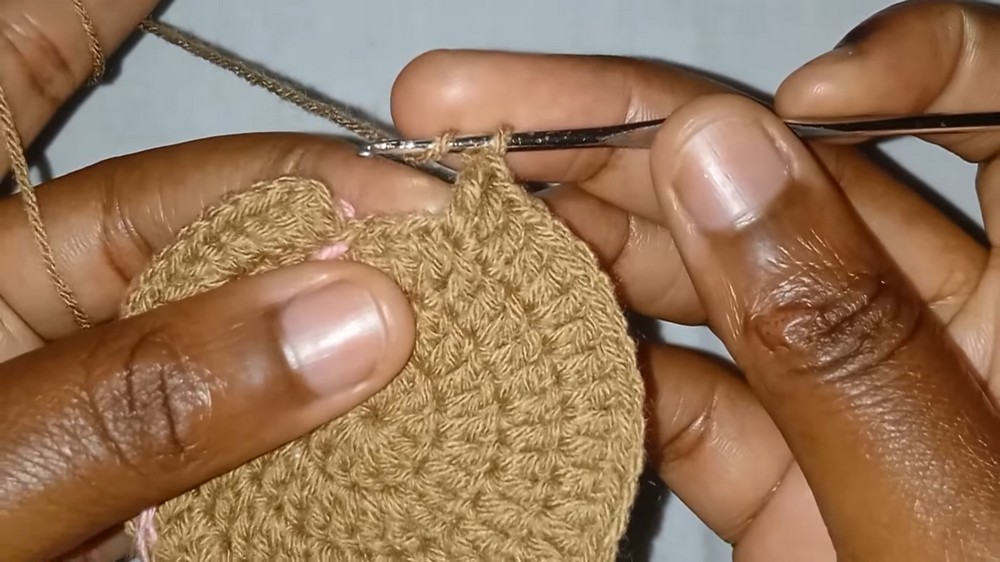
Rows 12 - 25: Straight Rows Without Increases
- Chain 2 and work 1 DC in every stitch around.
- Continue for 12 rows, maintaining the same number of stitches (132).
- Measure the height of the hat. For the tutorial, it measures 4 inches from row 12. Adjust the height of your hat based on your preference.
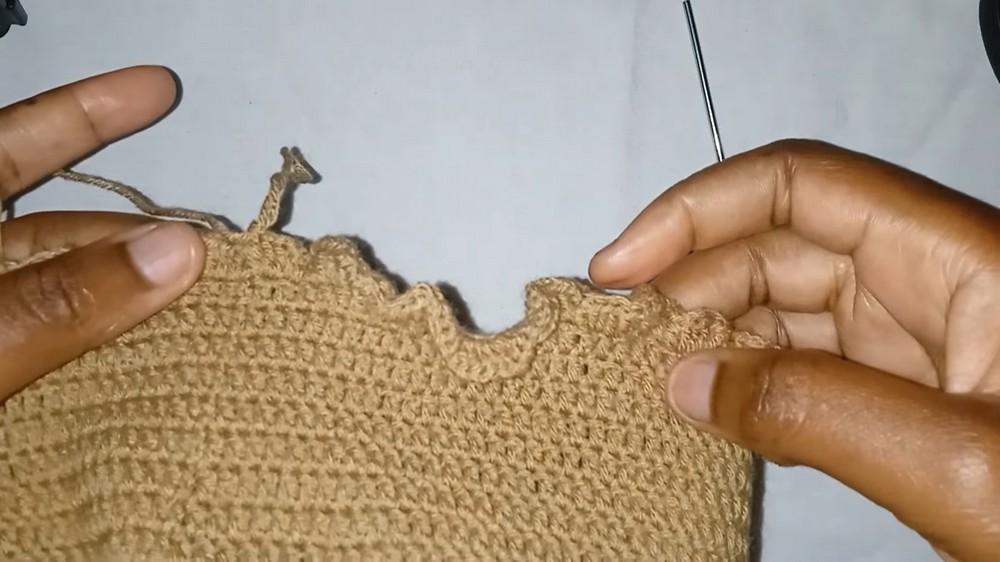
Ruffle Section
Ruffle Row 1:
- Chain 2, and in the same stitch, work 3 DCs.
- In every stitch of this row, make 3 DCs to create the ruffle effect.
- Join the row with a slip stitch in the first DC.
Ruffle Rows 2-3: Expanding the Ruffle
- Row 2: Chain 2, and in the same stitch, make 2 DCs. Then work 2 DCs in every stitch around.
- Row 3: Repeat the pattern of 2 DCs in every stitch to further expand the ruffle.
Row 4: Securing the Ruffle
- Chain 2 and work 1 DC in each stitch without increasing.
- This row adds stability and neatness to the ruffles.
Finishing
- Chain 1, cut the yarn, and pull it through. Tighten to secure.
- Weave in all loose ends using a tapestry needle.
Special Features
- Elegant Ruffles: The hat’s standout feature is the layered ruffles that add volume and a decorative flair.
- Lightweight Design: Made using fine yarn, it’s breathable, stylish, and perfect for warmer climates.
- Customizable Fit: Adjustable based on measurements, including diameter and height.
- Detailed Instructions: The video provides clear row-by-row guidance to ensure success, even for those using different yarn weights.
Level of Difficulty
This project is suitable for intermediate crocheters due to the precision needed for increases, ruffle creation, and consistent stitch counting. Beginners with some experience in basic stitches can also attempt this with practice.
Tutor's Suggestions
- Follow Measurements, Not Rows: Depending on the yarn weight, your row count might vary. Focus on the recommended measurements (e.g., 6.5 inches for the hat base diameter).
- Use a Stitch Marker: Always place a marker in the slip stitch to avoid adding stitches at the end of rows.
- Count Your Stitches: After every row, count your stitches to ensure accuracy, especially during increases.
- Zoom for Visibility: The tutor zooms in on the work to show detailed techniques; pause the video if any step feels unclear.
Uses and Materials
Uses:
- The ruffle hat is perfect as a stylish accessory for casual or formal occasions.
- It works as a thoughtful handmade gift for friends and family.
- Lightweight construction makes it ideal for year-round wear.
Materials Needed:
- Lightweight yarn or fine yarn (100% acrylic suggested).
- 1.5mm crochet hook.
- Stitch marker (or safety pin).
- Measuring tape and scissors.
Tip
When transitioning to the ruffle rows, ensure your tension remains consistent. Loose stitches can make the ruffles appear uneven, while overly tight stitches may distort the shape of the hat. Take your time to maintain evenness.
Conclusion
This crochet ruffle hat tutorial is a comprehensive guide to creating a stylish accessory using lightweight yarn. With its ruffled details and customizable fit, the hat is both practical and beautiful. The clear steps and stitch markers make it manageable even for newer crocheters willing to try their hand at an intermediate project.


