
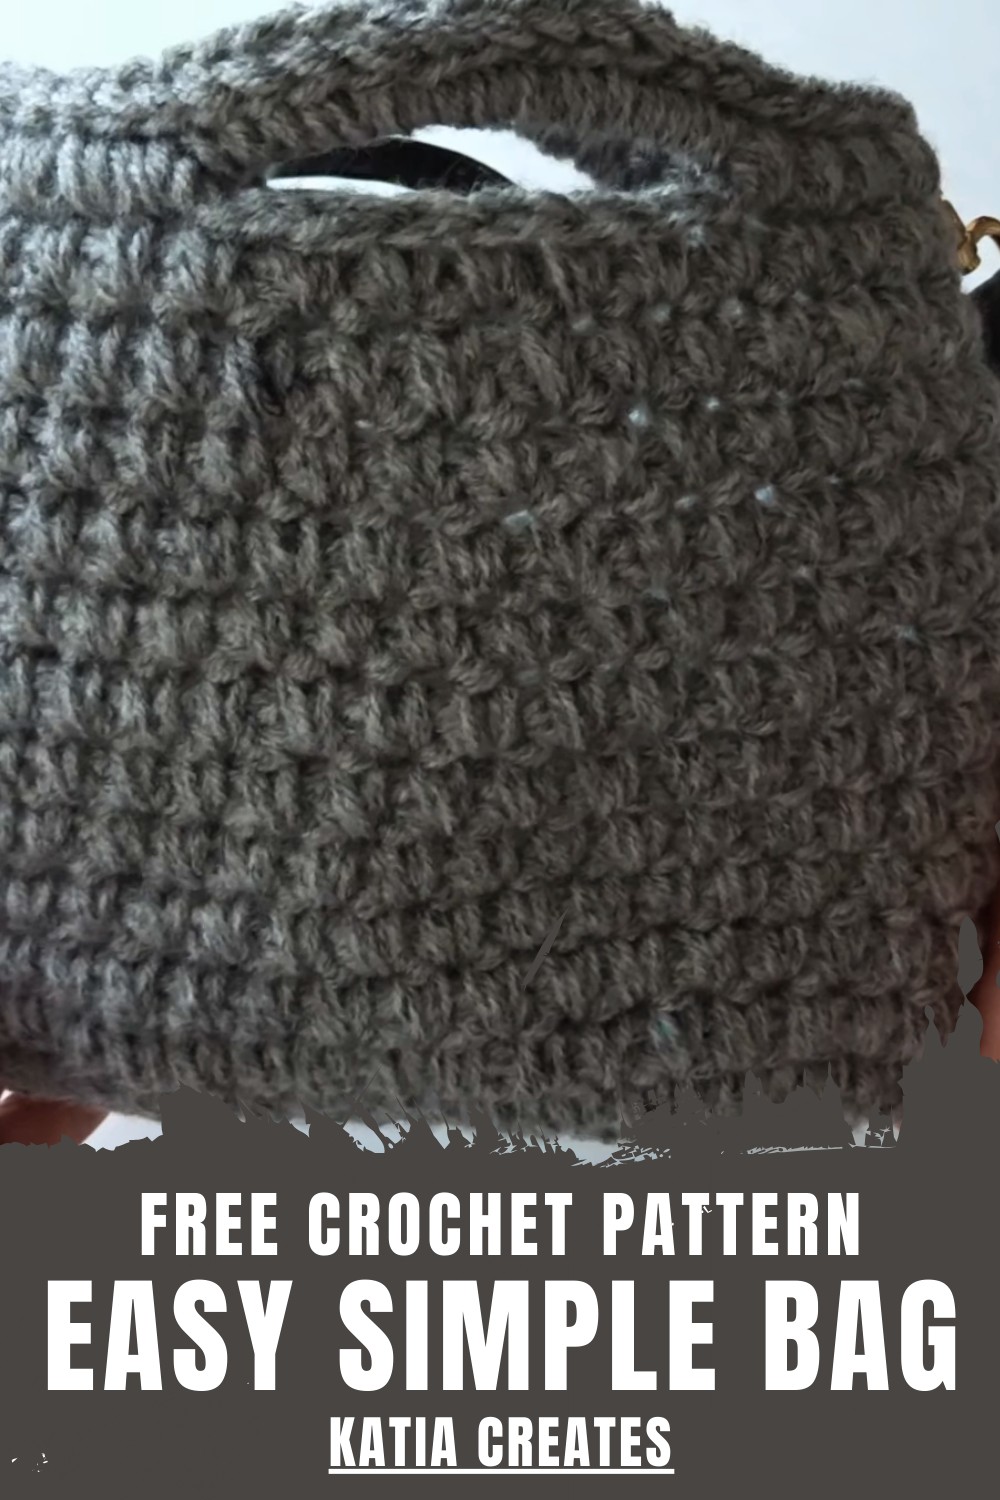
Carry charm everywhere with the Crochet Bag Pattern, a stylish and practical handmade piece that adds color, texture, and flair to daily use.
Stylish, practical, and surprisingly versatile, this accessory is a must-have for anyone who loves handmade fashion with a functional twist. Its sturdy construction and intricate texture make it both durable and visually appealing, while the Crochet Bag Pattern allows crafters to customize colors, yarn types, and stitch designs to create a unique, personalized piece. Lightweight yet strong, it can carry everyday essentials comfortably without losing its shape.
Spark Crochet Bag Pattern Perfect for Quick DIY Fashion
Perfect for shopping trips, casual outings, beach days, or as a thoughtful handmade gift, this bag combines creativity with practicality. Beyond its aesthetic charm, the pattern is beginner-friendly, offering a satisfying crafting experience while helping improve crochet skills.
With its balance of beauty, functionality, and adaptability, this accessory is more than just a bag—it’s a stylish, eco-friendly, and handmade solution for carrying essentials with flair, adding both personality and craftsmanship to any outfit.
Step-by-Step Guide: Adorable Crochet Bag
Special Features
- Reinforced Single Crochet Stitches:
- The bag incorporates reinforced single crochets that enhance durability and help maintain the bag's shape.
- Double Strand Technique:
- By using two strands of yarn together, the bag achieves a thicker and more robust texture.
- Customizable Handle Options:
- The tutorial includes options to add crochet handles or repurpose handles from other bags for a personalized touch.
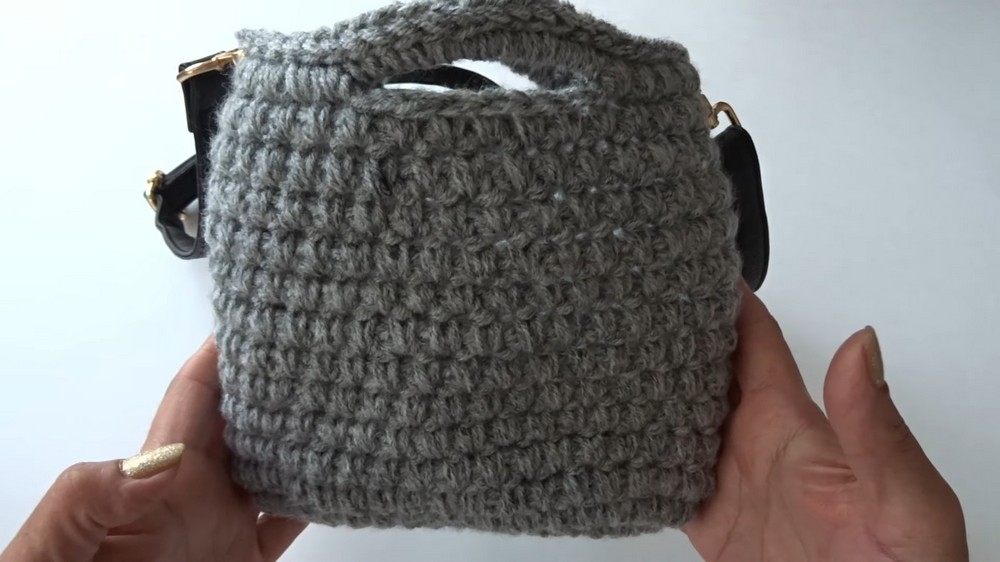
- Compact and Practical Size:
- The finished bag measures approximately 8 inches wide by 7 inches tall, making it perfect for everyday use.
Level of Difficulty
Beginner to Easy:
- Accessible for beginners who are comfortable with basic stitches such as the slip knot, chain, and single crochets.
- The pattern includes straightforward instructions for assembling the bag base and handles, with no complex techniques required.
Tutor's Suggestions
- Yarn Selection:
- Use #4 medium weight yarn, preferably 100% acrylic for flexibility and ease of use.
- Hook Size:
- A 5.5 mm crochet hook is recommended for this project. Make sure to use two strands of yarn together for the necessary thickness.
- Managing Yarn Tails:
- Weave in yarn tails as you go to keep your work neat and reduce finishing work later.
- Adjustable Handle Length:
- Customize handle length by altering the number of chains created for handles. The tutorial suggests a chain of 8 for short handles but feel free to increase it.
Materials Required
- Yarn: #4 medium weight acrylic yarn, using two strands throughout the project.
- Hook: 5.5 mm crochet hook.
- Stitch Markers: Helpful for marking handles and keeping track of rounds.
- Darning Needle: For weaving in yarn ends and assembling parts.
- Scissors
Step-by-Step Tutorial
1. Create the Base
- Foundation Chain:
- Start with a slip knot and chain 13.
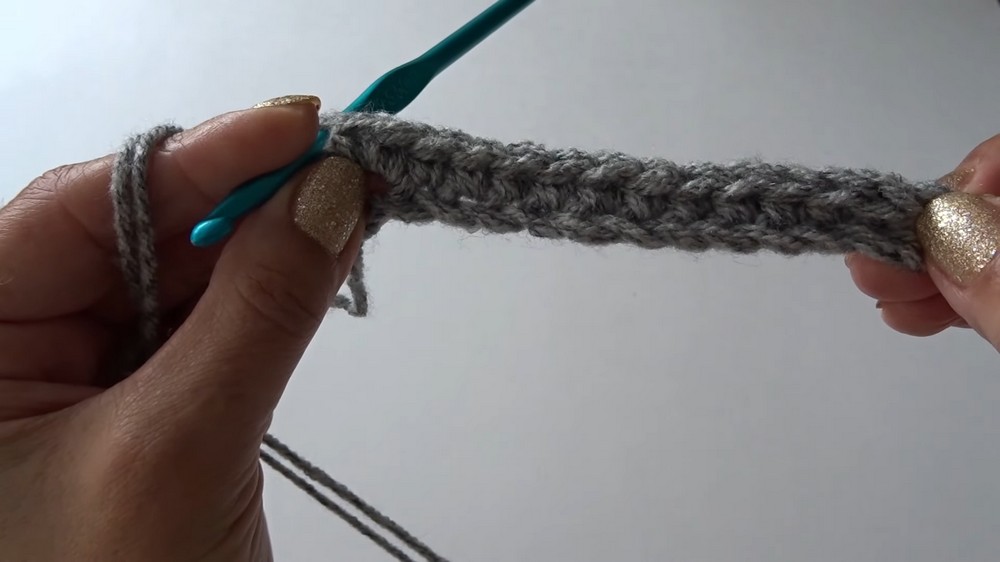
- Start with a slip knot and chain 13.
- Round 1:
- Work 2 single crochets into the second chain from the hook.
- Continue with one single crochet in each of the next 10 chains.
- Work 2 single crochets in the last chain.
- Turn your work and work single crochets into the 10 loops on the opposite side.
- The round ends with 24 single crochets in total.
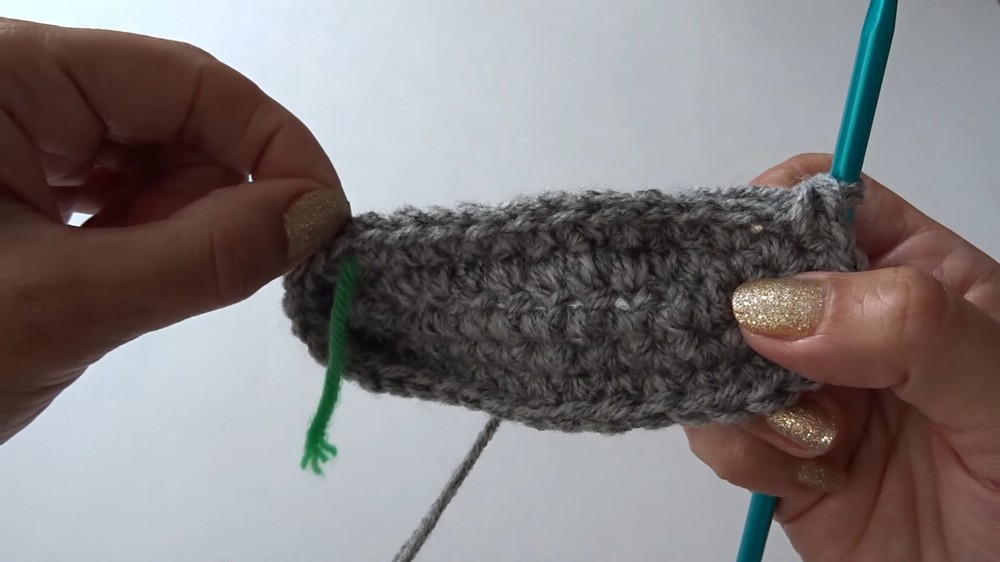
2. Build Up the Sides
- Additional Rounds:
- Round 2: Begin with 2 single crochets in the first four stitches to create increases, and single crochet across the remaining stitches.
- Round 3: Again increase by working 2 single crochets in the first four stitches, and single crochet the rest across.
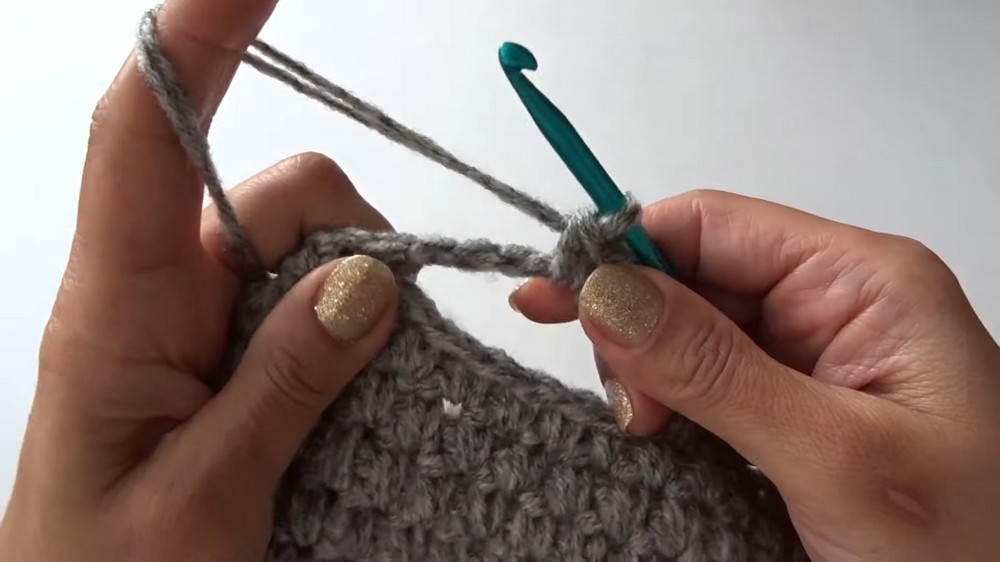
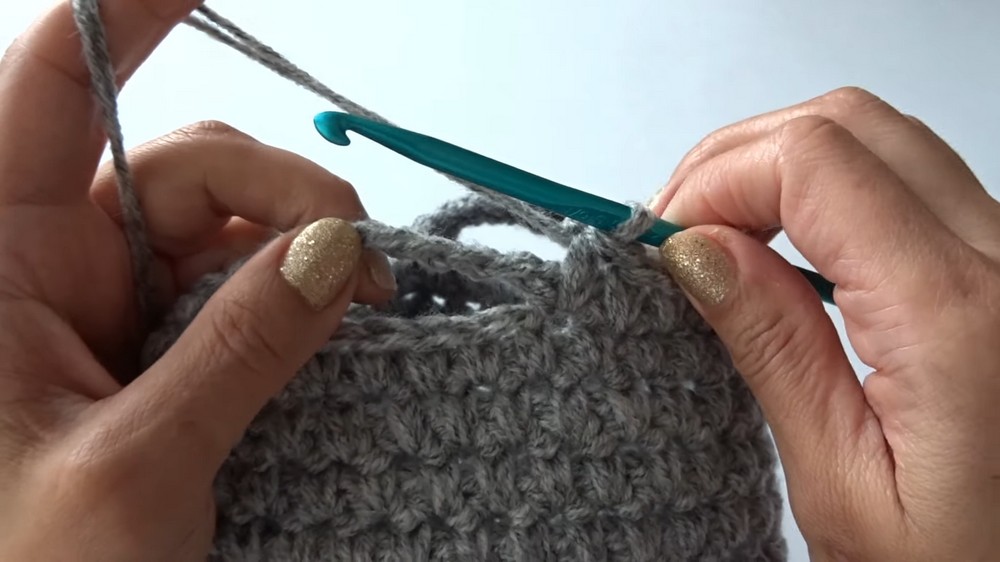
- Sides Construction:
- Alternate between a round with only single crochets (round 4) and one with long single crochets (round 5) where you crochet below the row's loops.
- Follow this pattern to build up the bag's height, repeating rounds 4 and 5.
3. Create the Bag’s Height and Handles
- Building Height:
- Continue repeating the alternating rounds until you reach a total of 27 rounds, including the base.
- Handles:
- Use stitch markers to designate handle placement.
- Chain a batch of 8 for each handle, joining it to stitch markers set 6 stitches apart, forming two loops for handles.
4. Finish the Handles and Add Final Touches
- Finish Handles:
- Work single crochets around handle chains for sturdy finish.
- Work single crochets around handle chains for sturdy finish.
- Final Rounds:
- Round 29 involves slip stitching across all previous stitches, including handles, to secure the edges.
- Finish Off:
- Fasten off, weave in ends, and tidy up edges for a neat finish.
Uses of the Crochet Bag
- Everyday Accessory:
- Perfect for carrying essentials such as your wallet, phone, and keys.
- Customizable Gift:
- An ideal gift for friends and family with options to personalize colors and handle styles.
- Skill Building:
- An excellent project for honing beginner crochet skills and learning to maintain consistent tension.
Tip for Success
When working in the round, particularly when switching between regular and long single crochets, maintaining the same tension is key. Practice keeping your loops consistent in size to ensure a uniform look for the entire bag.
Conclusion
This tutorial guides you through creating a chic and practical crochet bag using reinforced single crochets for a robust structure. The adorable size and custom handles make it both versatile and individualized. Perfect your crochet skills while crafting a stylish accessory that’s sure to impress! Happy crocheting!


