
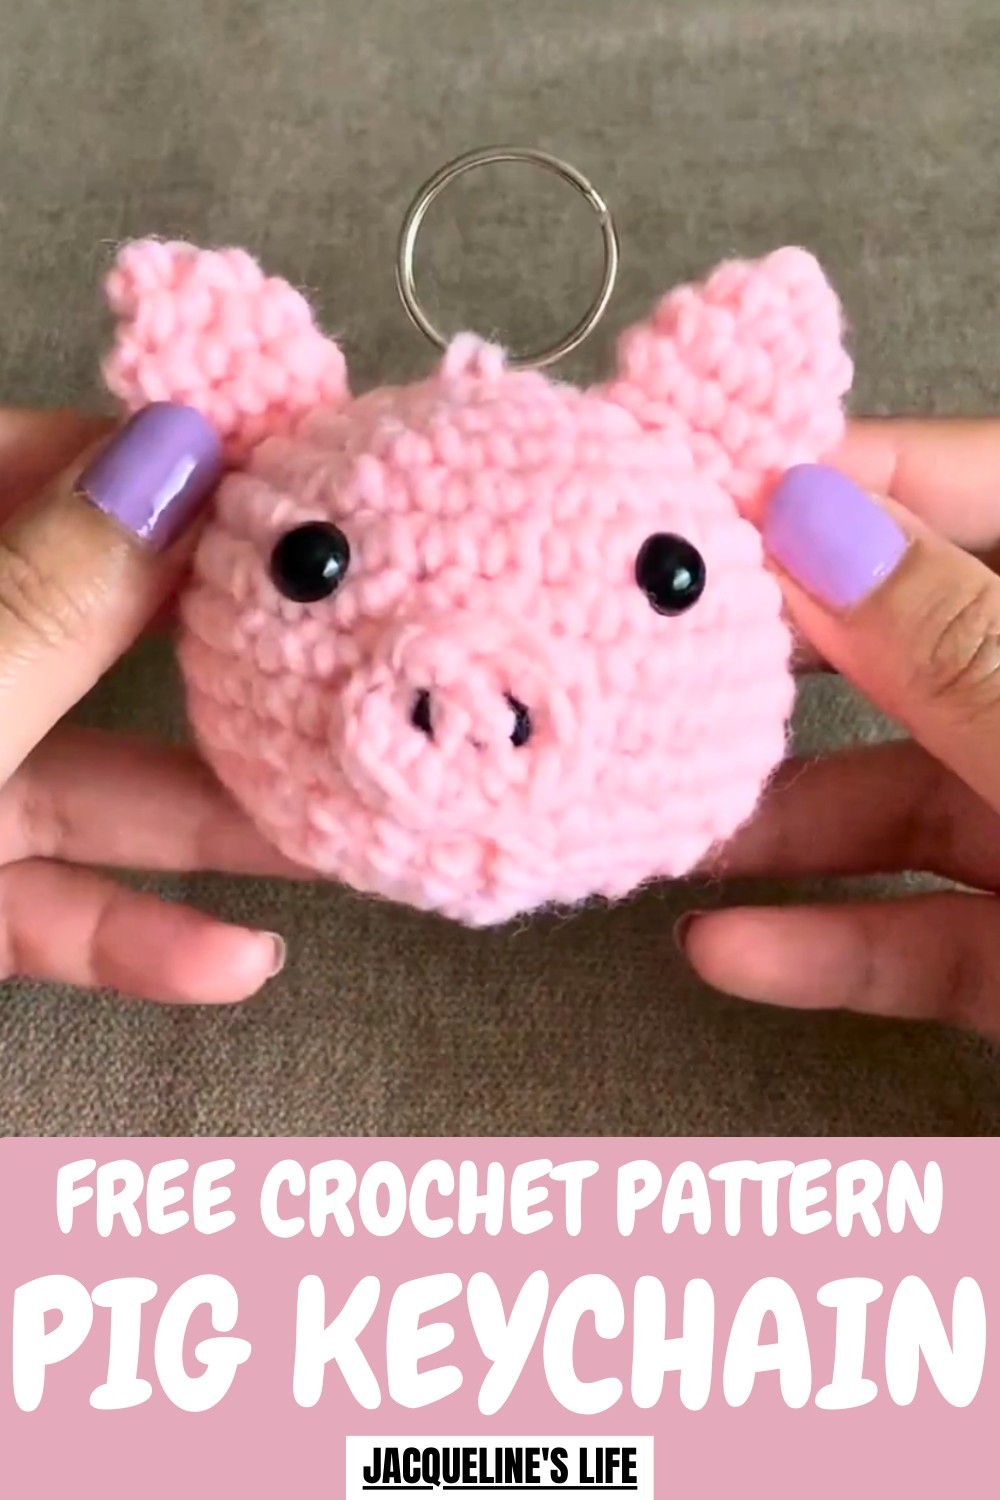
Oink your style up with this Free Crochet Pig Keychain Pattern, adding a cute and playful touch to your keys or small handmade gifts.
Adding a touch of charm to everyday items has never been easier. With a Crochet Pig Keychain Pattern, you can turn a simple keychain into a playful, one-of-a-kind accessory. This pattern guides you to create a soft, detailed pig that stands out on keys, bags, or backpacks. It’s perfect for personalization, allowing you to pick colors, textures, and finishing touches that suit your style.
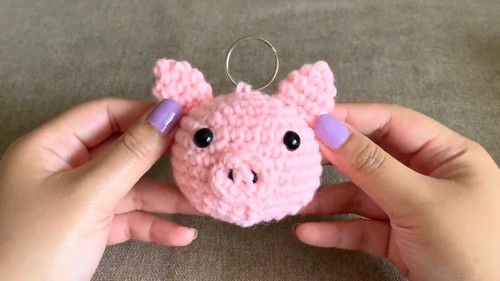
Adorable Crochet Pig Keychain Pattern That Melts Hearts Instantly
Making a pig keychain is relaxing, rewarding, and produces a durable item that store-bought versions often lack. It’s a fun way to combine creativity and functionality in a small, delightful piece.
How to Crochet a Little Pig Keychain – Step-by-Step Guide
Materials Used
To make this cute pig head keychain, you will need:
- Main Materials:
- One-pound yarn (pink or any color of your choice for the pig).
- Black yarn (for creating the pig’s nostrils).
- Crochet Hook and Tools:
- 4.5mm crochet hook (used in the tutorial).
- Stitch marker to track rounds.
- Fiberfill or leftover yarn for stuffing the head.
- Safety Eyes:
- Use any size safety eyes based on your preferred look. (The tutor sourced her safety eyes in a pack from Wish.)
- Optional Accessories:
- Keychain ring to transform your project into a keychain.
- Other Tools:
- Scissors to trim yarn.
- A yarn needle for sewing the ears, nose, and finishing touches.
Uses of the Little Pig Head
- Keychain: Attach a keychain ring to make it a portable accessory for your keys or bags.
- Decorative Item: Display it as a cute craft collectible in your personal space.
- Gift: Use it as a delightful handmade gift or party favor.
- Crochet Practice: It’s an excellent project for improving small-part crocheting and assembly skills.
Special Features
- Compact Design: Simplistic yet eye-catching, perfect for smaller projects.
- Customizable: Easily modify the colors, size, or details like ear shape and nose placement to create different animals or unique characters.
- Key Techniques: Involves foundational crochet skills such as magic circle, increasing, and decreasing, making it a great learning opportunity for beginners stepping into intermediate crochet.
- Miniature Appeal: Its tiny size makes it adorable and ideal for decoration, craft fairs, or gifting.
Level of Difficulty
Intermediate Beginner
- The project is accessible for crochet beginners who are familiar with the following:
- Magic circle creation
- Single crochet (SC)
- Increasing and decreasing stitches
- Handling smaller pieces (like the ears and nose)
- The assembly stage (sewing parts together) requires some care and patience.
Tutor's Suggestions
- Practice the Magic Circle: For beginners, the tutor recommends watching her slower magic circle tutorial to master the method before starting this project. This is especially important as the magic circle forms the base of the pig’s head.
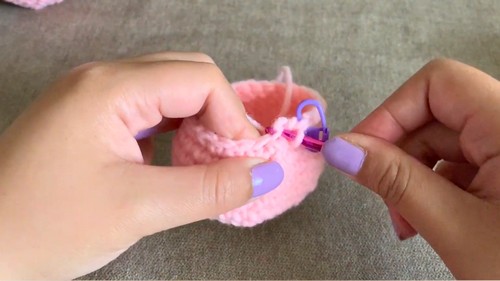
- Use a Stitch Marker: Always use a stitch marker to track the last stitch in your rounds and avoid losing count.
- Customize Your Keychain:
- Experiment with different yarns and eye sizes to personalize your pig.
- Swap pink yarn for other colors to make different animals (e.g., white for a bunny).
- Adjust Placement for Proportion: Start by attaching the ears first to help guide where to sew the nose and eyes.
- Add Extra Stuffing: When stuffing the head, adjust the fiberfill to ensure a round, uniform look without overstuffing.
- Do Invisible Decreases: Use the invisible decrease technique to keep the stitches tight and clean on the head.
- Take Breaks When Working Smaller Parts**: If you're crocheting for long periods, rest your fingers as working on mini pieces (e.g., ears) can strain your hands.
Step-by-Step Instructions
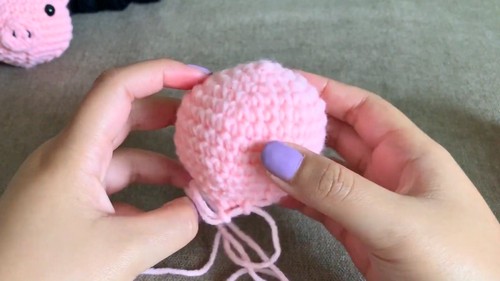
Step 1: Crochet the Pig's Head
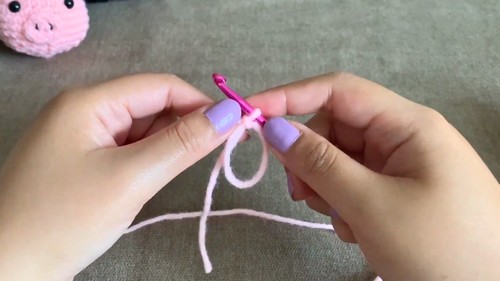
- Magic Circle:
- Create a magic circle and crochet 6 SCs into the circle.
- Pull the yarn tail to tighten the magic circle.
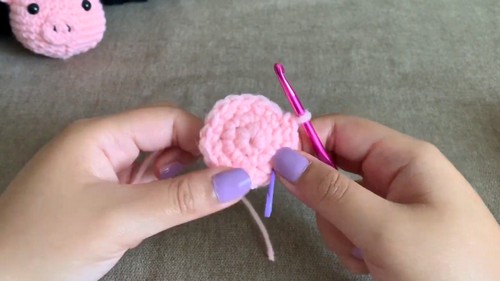
- Round 2:
- Increase in each stitch (2 SC in every stitch) to get a total of 12 stitches.
- Increase in each stitch (2 SC in every stitch) to get a total of 12 stitches.
- Round 3:
- Increase in the first stitch, then SC into the next stitch (INC, SC) all the way around (total 18 STs).
- Round 4:
- Start with an increase in the first stitch, then SC into the next 2 stitches (INC, SC, SC). Continue around to end with 24 stitches.
- Round 5:
- Repeat the pattern of increasing in the first stitch, then SC into the next 3 stitches (INC, SC, SC, SC) for 30 stitches.
- Repeat the pattern of increasing in the first stitch, then SC into the next 3 stitches (INC, SC, SC, SC) for 30 stitches.
- Rounds 6–10:
- SC in each stitch with no increases to add height. Repeat for 5 rounds.
- Round 11 and Onwards (Decreasing Rounds):
- Perform invisible decreases and single crochets in the following sequence:
- Round 11: Invisible DECR, SC in the next 3 stitches (24 stitches).
- Round 12: Invisible DECR, SC in the next 2 stitches (18 stitches).
- Round 13: Invisible DECR, SC in the next 1 stitch (12 stitches).
- Perform invisible decreases and single crochets in the following sequence:
- Stuff the Head:
- Fill it with fiberfill before continuing to close the circle through decreasing.
- Closing the Head:
- Finish by decreasing until the top of the circle is completely closed. Secure the end by weaving the yarn and trimming the excess yarn.
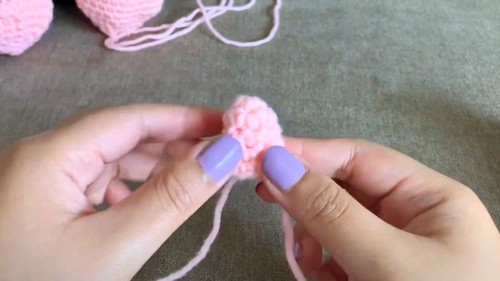
Step 2: Crochet the Ears
- Magic Circle:
- Create a small magic circle and SC 4 stitches into the circle. Tighten and close.
- Round 2:
- Increase into every stitch (2 SC in each stitch), ending with 8 stitches.
- Round 3–5:
- SC into each stitch. This creates the ear’s length and allows it to curve naturally. Adjust the number of rounds based on how long you want the ears to be.
- Flatten:
- After the last round, flatten the ear and add shape by gently pulling the sides.
- After the last round, flatten the ear and add shape by gently pulling the sides.
- Make Two: Repeat the process to create the second ear.
Step 3: Make the Nose
- Chain 3 Stitches:
- Start with a slipknot and chain 3 stitches.
- Crochet the Oval Base:
- SC into the middle chain, then crochet 3 SCs into the last chain while turning your work.
- SC into the other side of the middle stitch and end with 2 SCs into the starting stitch for the oval nose base.
- Add Nostrils with Black Yarn:
- Using a thread needle, stitch two small black nostrils onto the oval base. Secure the thread at the back.
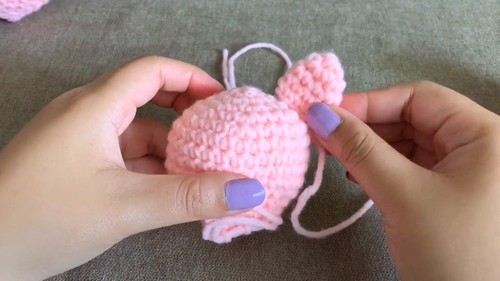
Step 4: Assemble the Pig
- Attach Ears:
- Position ears carefully and sew them to the top side of the pig’s head. Use the first rounds of the head as guides for placement.
- Position ears carefully and sew them to the top side of the pig’s head. Use the first rounds of the head as guides for placement.
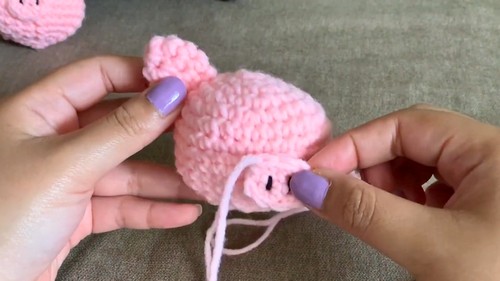
- Attach the Nose:
- Sew the nose near the bottom center of the face, slightly below the eyes.
- Sew the nose near the bottom center of the face, slightly below the eyes.
- Insert Safety Eyes:
- Place the eyes evenly on either side of the nose. Attach safety backs to secure them.
- Finish the Bottom:
- Add more stuffing if necessary; then close the bottom by decreasing all the remaining stitches.
- Add a Keychain Ring (Optional):
- Attach a small keyring to the top of the head and secure it tightly.
- Attach a small keyring to the top of the head and secure it tightly.
Conclusion
Congratulations! You’ve completed your crochet pig head keychain. This delightful DIY project allows you to improve your crochet skills while creating something fun and functional. Whether you use it as a keychain or display it as a decorative handmade piece, this little piggy is guaranteed to bring a smile to anyone who sees it.
Pro Tip
When sewing smaller parts like the ears and nose, position everything first using pins to ensure perfect symmetry before you begin stitching them on. This saves time and ensures a more polished final look!


