
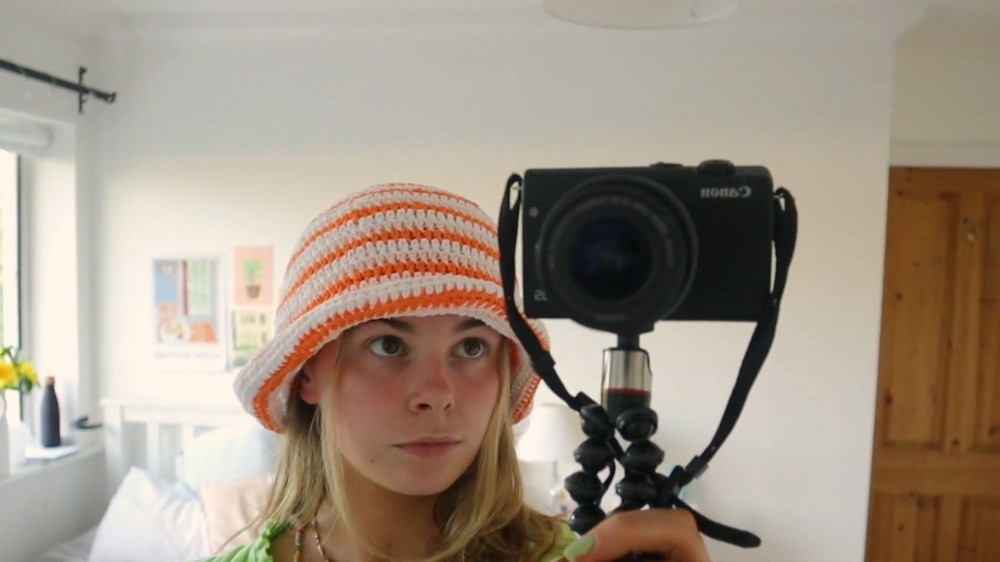
Stay stylish this season with this Free Crochet Bucket Hat Pattern offering comfortable, trendy headwear perfect for sunny days outdoors.
Elevate your summer wardrobe with a chic and versatile accessory that effortlessly blends fashion and function. Soft yet durable, this Crochet Bucket Hat Pattern provides excellent sun protection while keeping your head cool during warm outdoor days, making it perfect for beach trips, picnics, or casual city strolls. Its relaxed, rounded shape and subtle texture offer a modern, stylish look that complements a wide range of outfits, from breezy dresses to casual shorts and tees adding a handmade, artisanal touch to every ensemble.
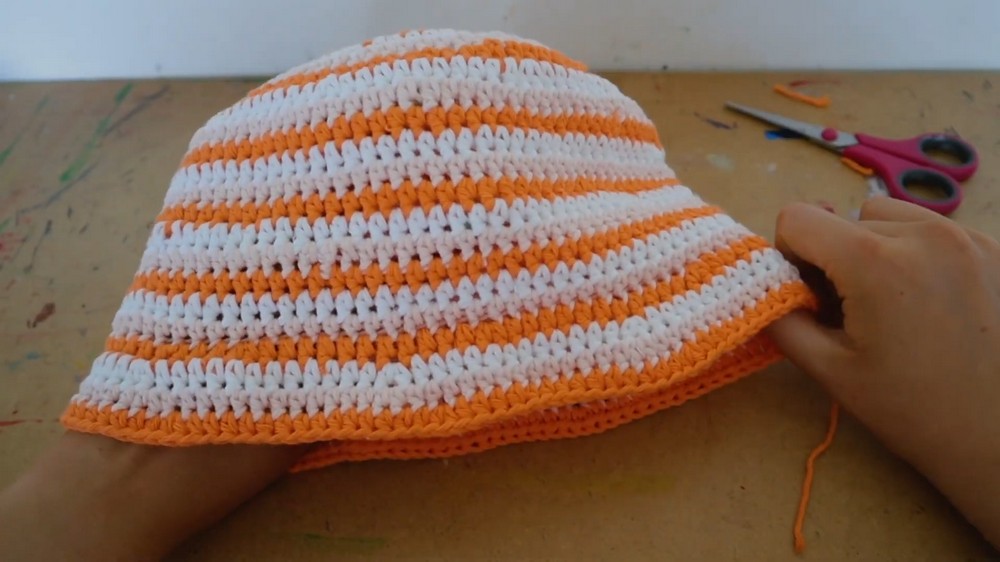
Lightweight Crochet Bucket Hat Pattern for Warm Days

Lightweight and easy to wear, it can be customized in colors, yarn types, and stitch patterns, allowing for a personal flair that matches your unique style. Beyond practicality, it embodies creativity and thoughtful craftsmanship, making it a charming handmade gift for friends or family. Combining elegance, comfort, and everyday functionality, this accessory enhances outdoor experiences with effortless style and timeless appeal.
Step-by-Step Details
-
Materials Needed:
- Yarn: 100% cotton yarn (weight 4) – 3 balls of 50g in different colors (e.g., Pearl White, Papaya). You’ll use roughly 25g of each color.
- Crochet Hook: 4mm hook.
- Additional tools: Scissors, measuring tape, darning needle.
- Note: The smaller/larger the hook or different yarn weight may affect the hat size, so Emma suggests using the recommended materials for the same results.
-
Starting the Hat (Top of Crown):
- Begin by creating a slip knot: Wrap yarn around your fingers in an "X," pull yarn through, and tighten to form the knot.
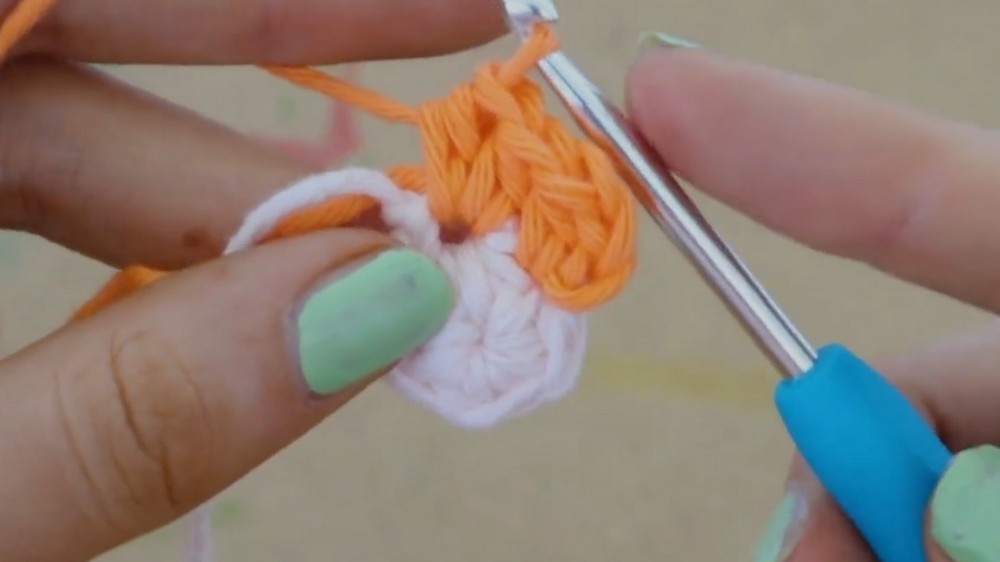
- Create 4 chains. Insert the hook into the first chain, ensuring “two strands” are on the top of the hook. Slip stitch to form a circle.
- Chain 2 to begin the first round. Crochet 6 half double crochets (HDC) into the center of the circle. Pull the loose string at the back to tighten the opening. At the end of the round, finish with a slip stitch.
- Begin by creating a slip knot: Wrap yarn around your fingers in an "X," pull yarn through, and tighten to form the knot.
-
Increasing the Circle:
- In subsequent rounds (Rounds 2–12), use increases to expand the circle:
- Round 2: Work 2 HDC in each stitch around (14 total stitches).
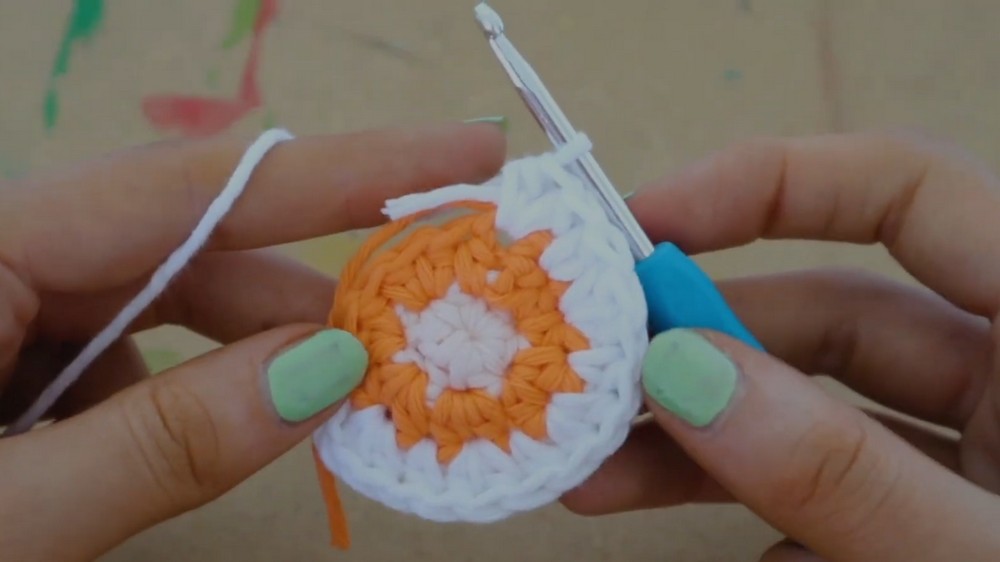
- Round 3: Alternate 1 HDC, then 2 HDC in the next stitch (21 stitches).
- Round 4: Follow the pattern 2 HDC, 1 HDC, 1 HDC (28 stitches).
- Continue this pattern, alternating between normal HDCs and increases in every round. For example, Round 9 involves 7 HDC, then an increase.
- Round 2: Work 2 HDC in each stitch around (14 total stitches).
- By the end of Round 12, the circle should measure approximately 8 inches across with 84 stitches in total.
- Note: Emma mentions the top may curl slightly but will even out over time. If it's too tight, you may have missed increases. Review your stitches.
- In subsequent rounds (Rounds 2–12), use increases to expand the circle:
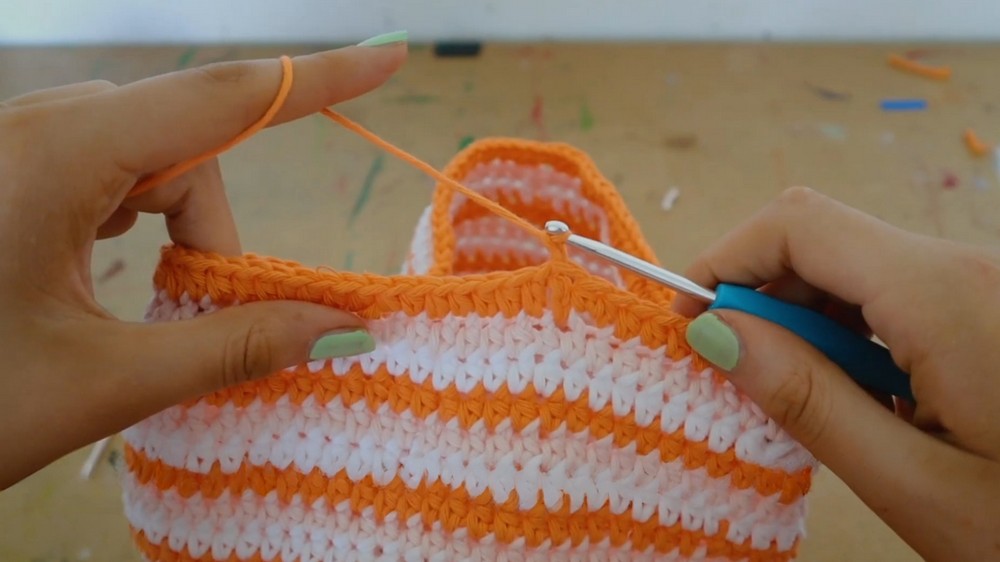
- Shaping the Hat (Rounds 13–22):
- Stop increasing after Round 12.
- For Rounds 13–22, crochet one HDC into each stitch (no increasing). This forms the sides of the bucket hat.
- After 10 rounds of regular HDC, the hat should be 3.5 inches tall.
- Creating the Flipped Brim (Round 23–28):
- For Round 23, slip your hook into any stitch on the edge. Begin with front loop only (FLO) HDCs to create the start of the brim:
- Work 11 FLO HDCs, then 1 increase (2 HDC in the same stitch).
- Round 24: Use FLO, and alternate 12 HDCs, then an increase (98 total stitches).
- Round 25–27: Gradually increase stitches: e.g., Round 25 = 13 HDCs, then 1 increase.
- Final Round (Round 28): Crochet 1 HDC into each stitch without any increases. This results in a flipped brim that measures 2 inches in length.
- For Round 23, slip your hook into any stitch on the edge. Begin with front loop only (FLO) HDCs to create the start of the brim:
- Finishing:
- Use the tapestry needle to weave in loose ends. Emma emphasizes securing the loose strands properly for a neat finish.
- Trim excess yarn and inspect the hat for any adjustments needed.
Special Features
- Striped Design: Emma incorporates three colors in the tutorial, but you can alter it based on personal preference (e.g., 2, 3, or more colors). The transitions between colors create a stylish striped bucket hat.
- Flipped Brim: The FLO technique creates a distinct edge, allowing the brim to flip outward for a trendy appearance.
- Customizable Size: Follow additional rounds of increasing to make the hat larger or shorter for a closer fit. Emma also suggests continuing the number of HDCs proportionally to adjust for size.
Level of Difficulty
This project suits beginners to advanced beginners. Basic crochet skills like chaining, slip stitches, and half double crochets are essential. The most challenging part is the color changes and ensuring consistent increases, but Emma makes an effort to clearly explain both in the tutorial. Those familiar with basic crochet stitches should find this a manageable and enjoyable project.
Tutor’s Suggestions
- Stick to the Materials: Emma stresses the importance of using the recommended cotton yarn and a 4mm hook to achieve accurate results. Using different weights or hooks may produce unexpected sizing, which could be tricky to adjust.
- Take Your Time with Color Changes: Practice weaving in loose ends or crocheting over color changes to maintain a seamless look. If unsure, Emma suggests reviewing basic stitch tutorials for additional confidence.
- Check Your Stitch Count: Ensure each round has the correct number of stitches. If you notice curling or excess looseness, you might have missed an increase or added too many.
Uses and Materials
Uses:
- Perfect as summer headwear due to its breathable cotton material and lightweight design.
- Stylish for casual and beachwear, or as a personalized, handmade gift.
Materials Recap:
- 4mm crochet hook.
- Yarn (weight 4 cotton); Emma uses Yarn and Colors Epic brand in three colors.
- Scissors, measuring tape, and tapestry needle.
Tip
When working on the brim, use the front loop only (FLO) method consistently and keep tension even. The FLO technique is key to achieving the flipped brim effect, and steady tension ensures a clean, symmetrical brim.
Conclusion
This crochet striped bucket hat pattern is a delightful project for all skill levels, offering a modern and on-trend accessory. Creator's detailed step-by-step instructions make it approachable, even for beginners, while allowing room for creative flair through color combinations. Whether you’re making a hat for yourself, a friend, or for your small business, following this tutorial will leave you with a stunning and versatile design.


