
Keep your essentials close with Crochet Fanny Pack Pattern that makes a cute, hands-free pouch perfect for trips, walks, or everyday fun.
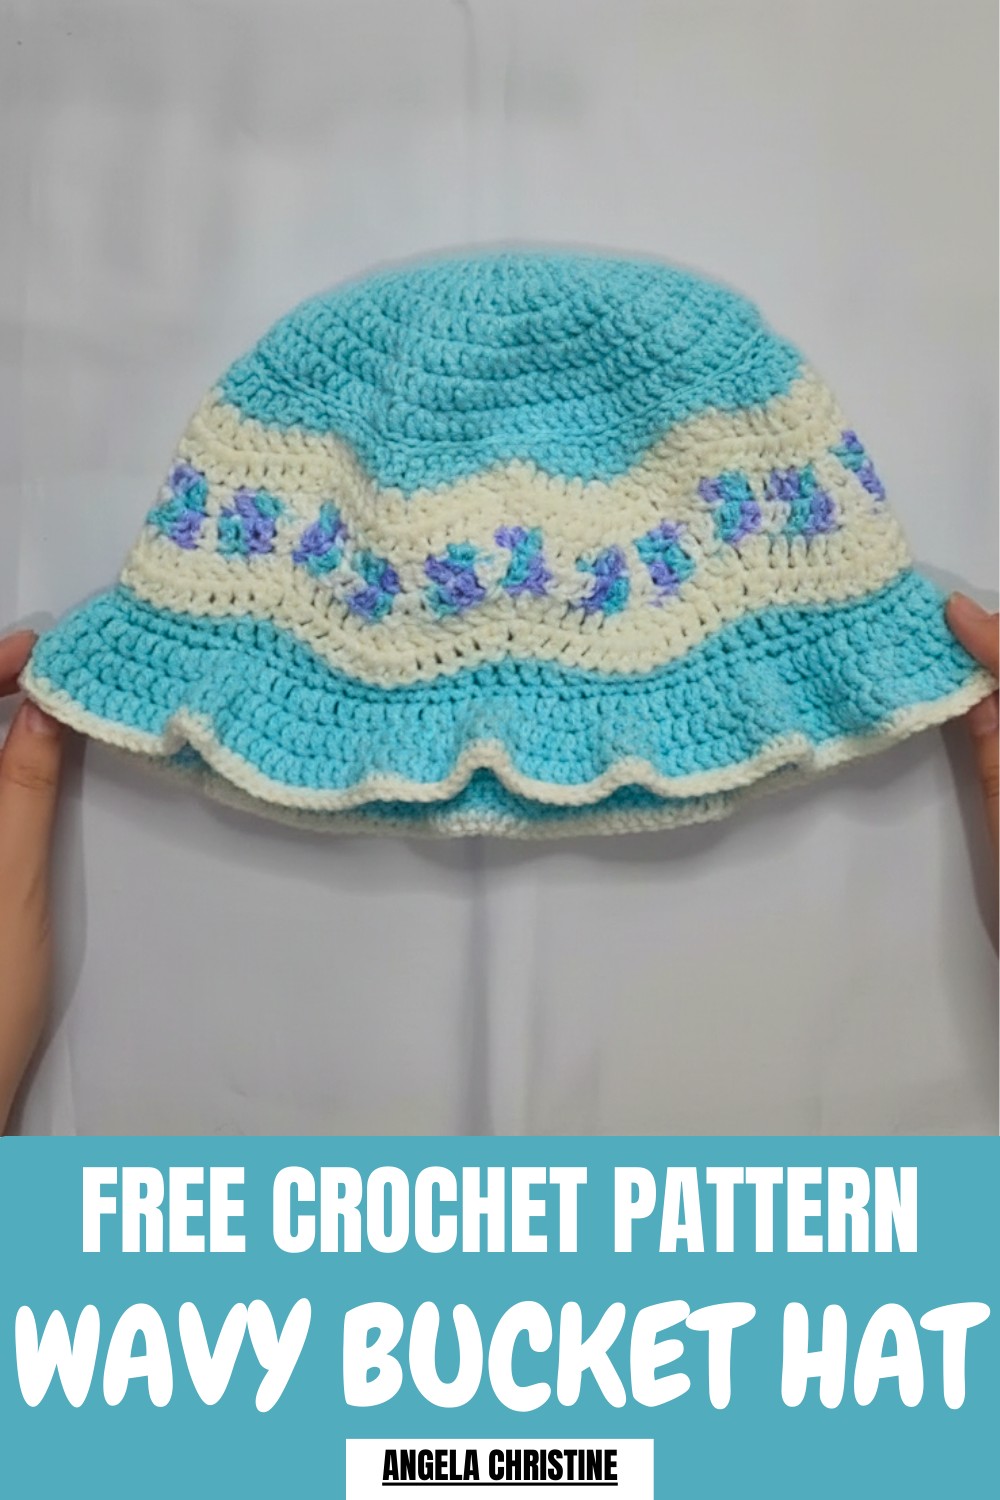
With its elegant rippled waves and playful design, this hat is both stylish and charming, making it a delightful accessory for any season. The Crochet Wavy Bucket Hat pattern stands out for its textured appearance and customizable features, allowing you to experiment with colors and sizes to suit your personal style.
Cute Crochet Wavy Bucket Hat Pattern for Fashion Lovers
Whether you’re looking to create a trendy sun hat, a functional everyday piece, or a thoughtful handmade gift, this design is incredibly versatile. Its wavy brim adds a touch of uniqueness, while the overall simplicity of the pattern makes it accessible for beginners yet engaging for seasoned crocheters.
From bold statement designs to soft pastels, you can create a range of styles to match any occasion. The real joy lies in how easily it combines a modern twist with timeless crochet charm, making the Wavy Bucket Hat a perfect project for crocheters of all levels.

Crochet Wavy Bucket Hat Pattern
Special Features
- Wave Design: The standout feature of this bucket hat is its rippled wave design, which adds a playful yet sophisticated touch to the hat.
- Customizable Colors: You can mix and match colors to create unique designs, like a watermelon or vibrant gradients.
- Adjustable Brim: The brim uses a flaring technique that creates a wavy flare, which can be customized to suit different preferences—less wavy or more dramatic.
- Seamless Assembly: Employ techniques like the invisible seam or whip stitch for a clean, professional finish.
Level of Difficulty
This project is rated easy to intermediate, making it suitable for both beginners and more experienced crocheters:
- Beginners may need to practice counting stitches and managing consistent tension.
- The ripple stitch adds interest but is guided step-by-step, so there’s no skill barrier.
- Assembly and finishing are straightforward, especially with the tutor’s clear guidance.
Materials Needed
To make the Wavy Bucket Hat, gather the following:
- Yarn: Multiple colors of lightweight acrylic or cotton yarn, depending on your preferred design (e.g., blue, white, red, or green for a theme).
- Crochet Hooks:
- A smaller hook (e.g., 4mm) for tighter, neater stitches.
- A slightly larger hook (e.g., 5mm) to create looser foundation chains and avoid curling.
- Darning Needle: For sewing the pieces together and weaving in ends.
- Scissors: To trim yarn ends.
- Optional Materials: Floral wire for structured brims, stitch markers for counting rounds, or threads for added decorative purposes.
Step-by-Step Instructions
1. Making the Top of the Hat
- Step 1: Start with a magic ring and the smaller hook (4mm).
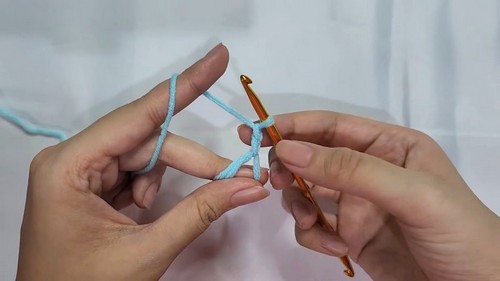
- Step 2: Chain 2 (this won’t count as a stitch) and make 12 double crochets into the magic ring.
- Step 3: Pull the tail to close the ring. Slip stitch into the first double crochet to close the round.
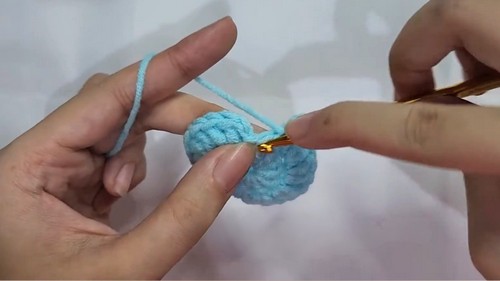
- Step 4: Continue rounds, using the following pattern:
- Round 2: Increase in every stitch (24 stitches in total).
- Round 3: Increase every second stitch (36 stitches in total).
- Tip: For subsequent rounds, subtract one from the round number to determine the increase placement.
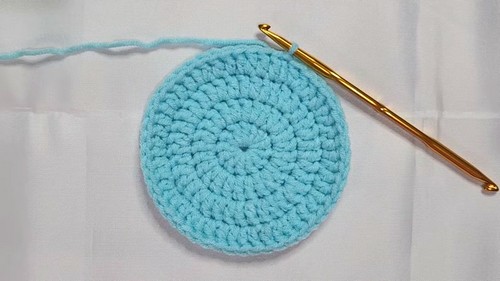
- Step 5: Continue increasing rounds until the top of the hat matches the size of your head. Stitch counts will increase by 12 for each round.
2. Making the Sides
- Step 1: Begin with a chain matching your last round’s stitch count (e.g., 84 stitches for the top). Use a larger hook (5mm) to keep the chain loose.
- Step 2: Flip the chain and work into the back ridges:
- Double crochet, half double crochet, and single crochet in alternating patterns to create a base wave-like structure.
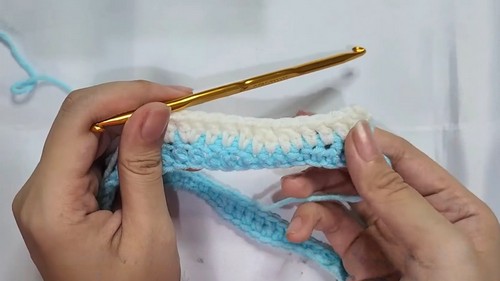
- Repeat until the end of the chain to complete one row.
- Double crochet, half double crochet, and single crochet in alternating patterns to create a base wave-like structure.
- Step 3: Switch to the ripple stitch pattern for the wavy design.
- Peaks: Make 2 double crochets in one stitch for increases.
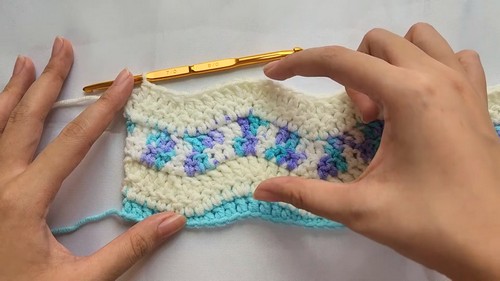
- Dips: Create decreases by crocheting two stitches together.
- Add 3 straight double crochets between peaks and dips.
- Peaks: Make 2 double crochets in one stitch for increases.
- Step 4: Continue switching colors every two rows until the waves reach the desired height of your hat.
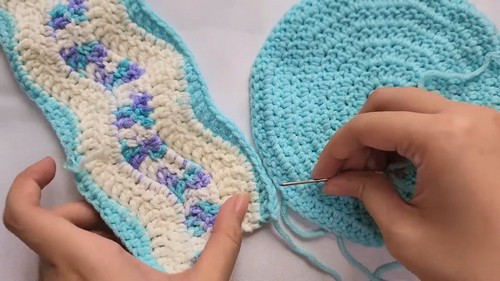
3. Assembling the Hat
- Line up the sides and the top (right sides facing each other), ensuring alignment of stitches.
- Sew the pieces together using the invisible seam or whip stitch method, working only through the outer loops to achieve a clean seam.
- Tie secure knots at the end and weave in all yarn tails.
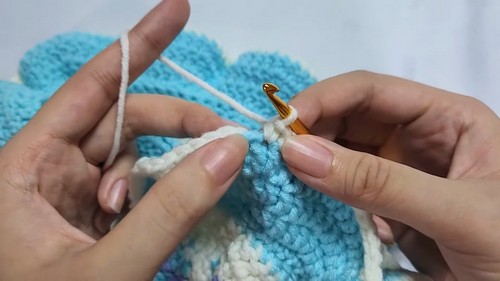
4. Adding the Brim
- Step 1: Attach a new yarn color at the seam, working continuously around the brim. Start with single crochets to create a stable base.
- Step 2: For the wavy brim, only work into the front loops during the first round. Make 2 double crochets in every third stitch to create the wave.
- Step 3: For successive rounds, work into both loops and continue increasing, adding 1 stitch between increases (e.g., every 4th stitch in the next round).
- Step 4: Adjust the number of rows and the spacing of increases to create a wavy or flat brim.
5. Final Touches
- Add a finishing edge using single crochets for a clean trim.
- Weave in any loose ends and ensure the stitches are properly secured.
Tutor’s Suggestions
- Handling Tension: Keep the yarn tension consistent throughout—looser for the brim to prevent it from curling inwards.
- Color Change: When switching colors, carry the yarn tails as you crochet to minimize loose ends. This also keeps the inside neat.
- Losing Count: The tutor offers a handy trick for counting increases—subtract one from the round number to know where increases occur.
- Assembly Tips: Use a matching yarn color when sewing pieces together to hide visible stitches.
Uses of the Bucket Hat
- Fashion Accessory: Add a unique style to any casual outfit with this versatile hat.
- Cultural and Seasonal Projects: Experiment with color palettes to create summer or themed designs (like the watermelon-inspired variant shown in the video).
- Handmade Gifts: A thoughtful present for friends and family.
- Practical Use: Ideal for sunny days as it provides both style and functionality.
Tip
When transitioning between colors, use the new yarn to complete the last pull-through of the previous stitch. This ensures seamless color changes and prevents "jogs" between rows.
Conclusion
This Wavy Bucket Hat project is a fantastic blend of creativity and functionality, perfect for crafters of all levels. With its rippled wave design and ability to customize the brim and colors, it offers endless possibilities to make each hat unique. Whether used as a fashion statement, a gift, or a fun summer accessory, this hat is sure to make heads turn.


