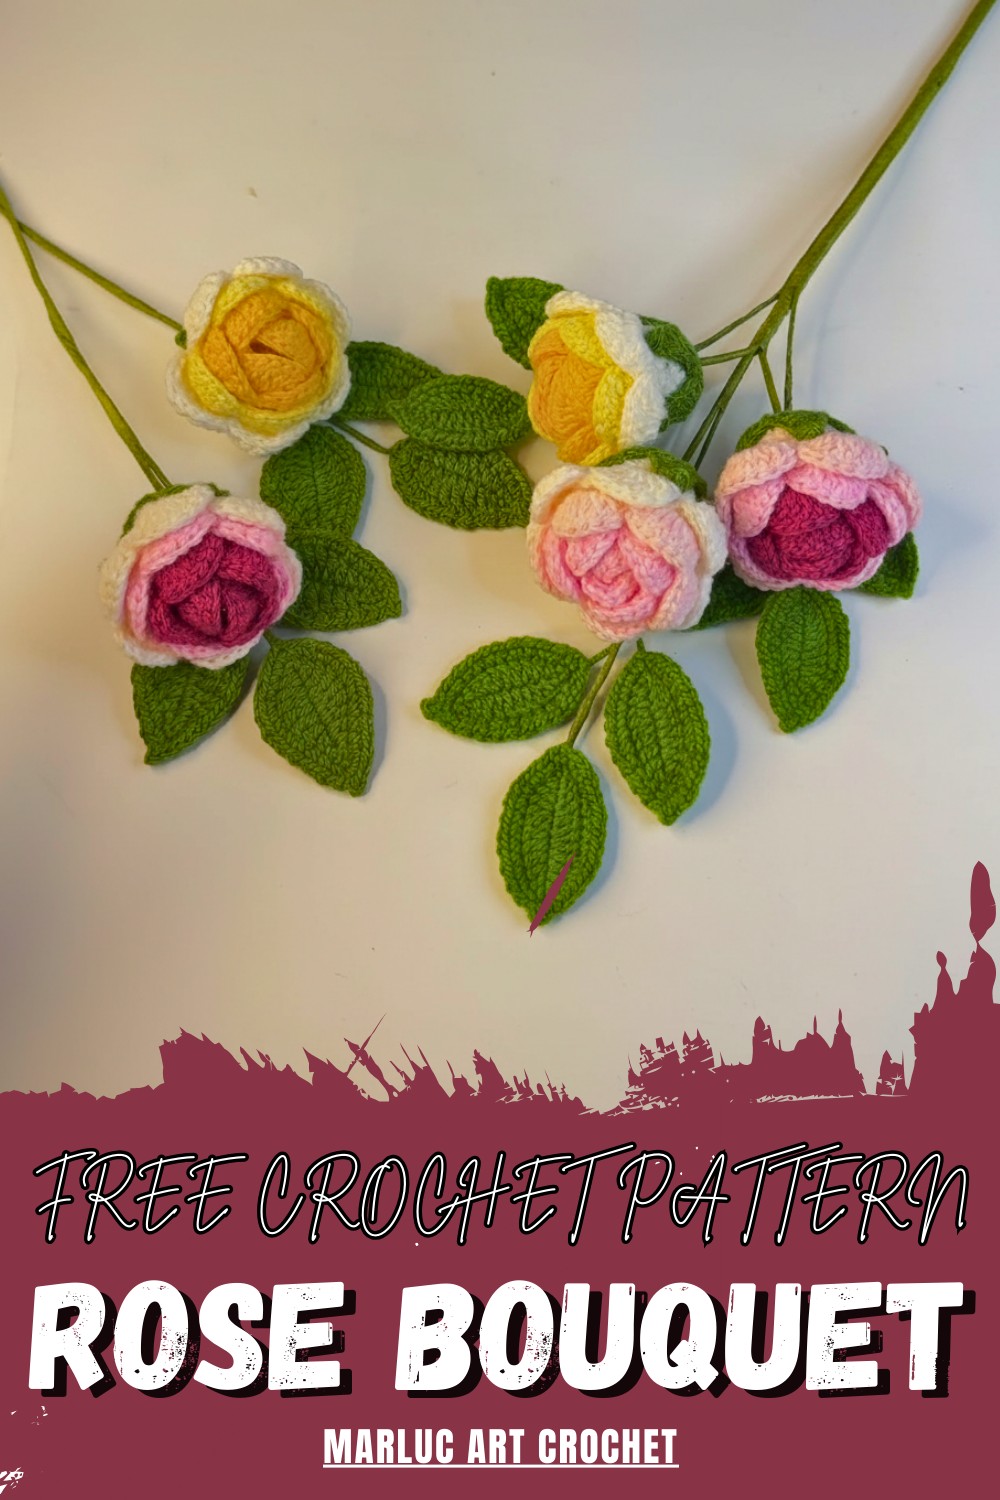
Showcase floral charm with this Free Crochet Rose Bouquet Pattern, featuring layered blooms, rich texture, and graceful decor beauty accents.
A timeless decorative piece with a soft and romantic appeal adds warmth and personality to any setting while offering long-lasting beauty. The Crochet Rose Bouquet Pattern is designed to create detailed roses with well-shaped petals that come together in a balanced and visually pleasing arrangement. Its graceful form makes it suitable for home décor, weddings, celebrations, or thoughtful gifts that hold sentimental value.
Beautiful Crochet Rose Bouquet Pattern for Weddings and Gifts
The pattern allows flexibility in color choices and bouquet size, making it easy to reflect different moods, seasons, or themes. Unlike fresh flowers, the finished bouquet stays vibrant over time and requires no upkeep, making it both practical and decorative. It can be displayed as a centerpiece, shelf accent, or memorable keepsake.
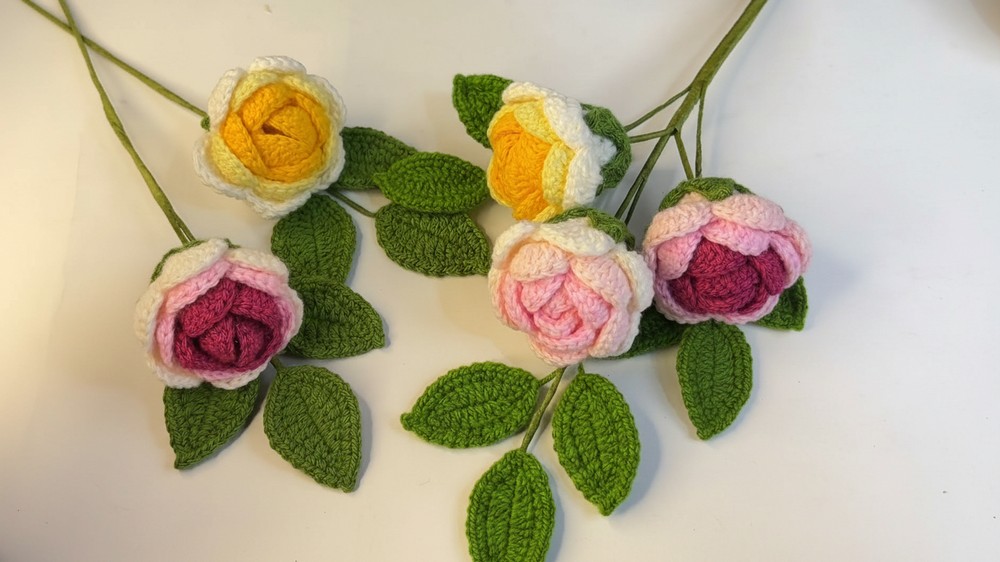
Overall, this pattern blends visual elegance with lasting usefulness, resulting in a floral arrangement that feels expressive, refined, and meaningful for everyday display or special occasions.
Step-by-Step Instructions
Materials Needed
- Yarns: Four colors of baby acrylic wool (Silvio Wawita brand recommended):
- Three colors for the petals: fuchsia, pink, and cream.
- One green color for leaves and the calyx.
- Hook: Use a 2.25 mm crochet hook (a slightly loose weave is needed for this project).
- Wire:
- 16-gauge galvanized wire (23 cm for the stem).
- Thin wire for the leaves.
- Floral Tape: To wrap stems and leaves (optional: use green yarn if not available).
- Hot Glue Gun: Essential for assembling the rose.
- Other Tools: Scissors and a marker for measurements.
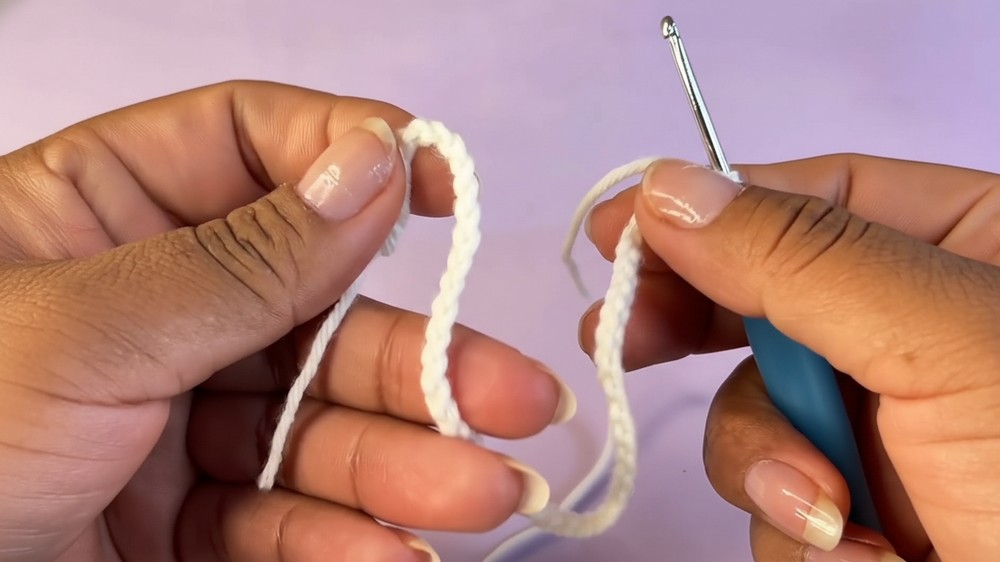
Step 1: Crochet the Rose Base
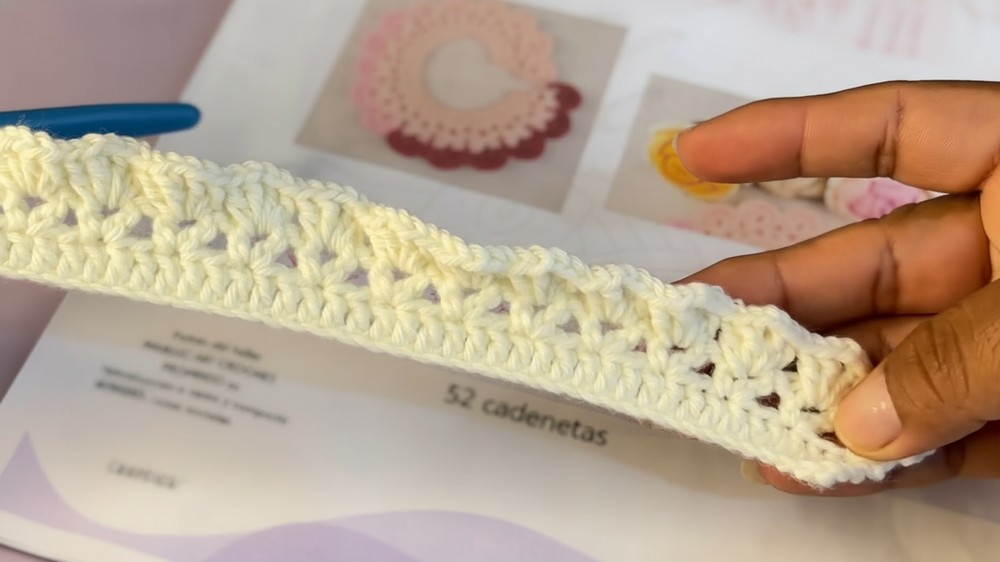
- Start with 52 Chains:
- Chain 52 and crochet 49 double crochets (DC), skipping the first three chains.
- Turn the fabric, chain 4, and start crocheting motifs across the strip.
- Create Motifs:
- In every third stitch, crochet a double crochet, chain one, and another double crochet into the same space. Repeat this across to finish with 17 motifs in total.
- Add Fans:
- Turn the fabric again. In each chain-space from the motifs, create a "fan" with four stitches: two DC, chain 2, and two DC. Complete all 17 motifs this way.
- Turn the fabric again. In each chain-space from the motifs, create a "fan" with four stitches: two DC, chain 2, and two DC. Complete all 17 motifs this way.
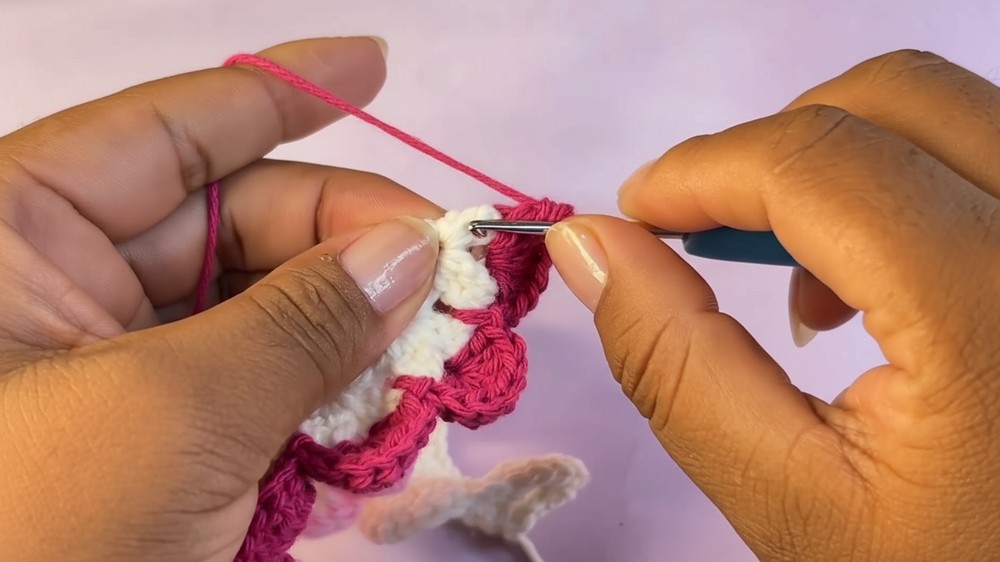
Step 2: Make the Petals
- Begin with the First Color:
- Attach the darkest color of yarn, and without chaining, crochet 8 double crochets into the chain space of each fan.
- Slip stitch between the fans and repeat to complete 6 petals.
- Switch to Second Color:
- After completing 6 petals, attach the medium color and crochet 5 petals in the same way.
- After completing 6 petals, attach the medium color and crochet 5 petals in the same way.
- Switch to Final Color:
- Repeat the process for 6 more petals using the lightest color of yarn.
- Complete the Petals:
- At the end of the strip, cut and secure the yarn, ensuring the petals are neat and all threads are trimmed and hidden.
3: Create the Calyx
- Magic Ring:
- Start with a magic ring and crochet 20 double crochets into it.
- Calyx Leaves:
- Crochet 7 chains, and from the second chain, create the following:
- One slip stitch, one half-double crochet (HDC), two double crochets (DC), and one treble crochet (TR).
- Slip stitch into the fourth stitch of the ring and repeat to make 5 leaves.
- Crochet 7 chains, and from the second chain, create the following:
- Finish:
- Secure the thread, adjust the calyx, and prepare it for attachment.
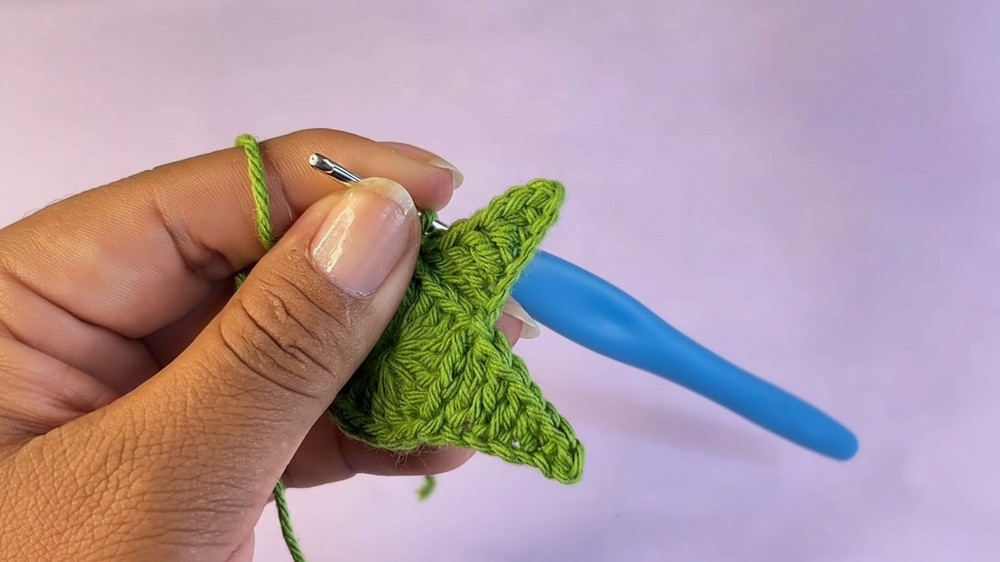
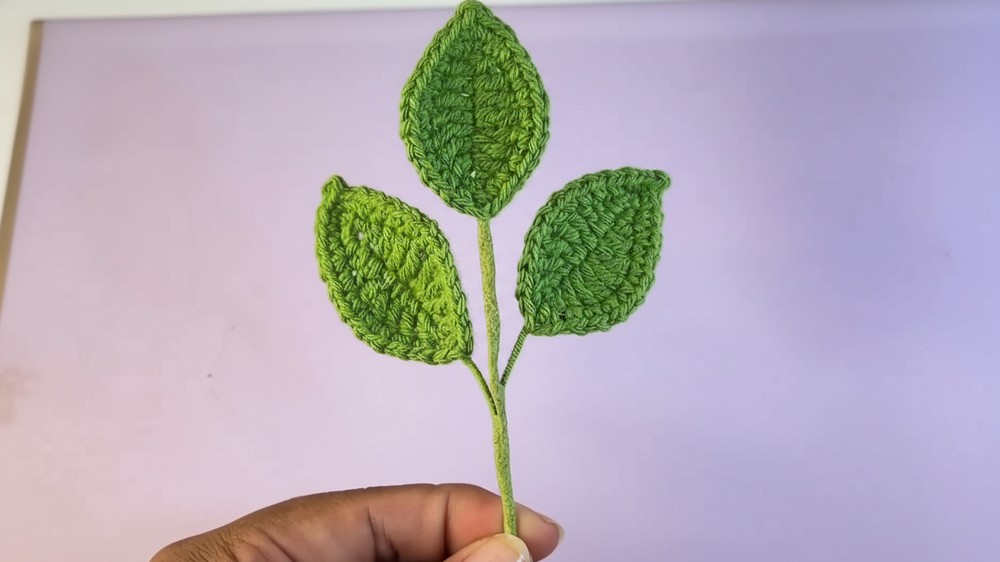
4: Crochet the Leaves
- Start the Leaf:
- Chain 10 and crochet the following:
- Single crochet (SC) in the second chain.
- HDC in the next.
- Double crochet in the next two stitches.
- Add an increase in the next stitch (2 double crochets in one stitch).
- Crochet back down symmetrically: single and double crochet as applicable.
- Chain 10 and crochet the following:
- Add the Wire:
- Insert a 20 cm wire along the leaf’s spine and secure it with yarn using single crochets around the edges.
- Insert a 20 cm wire along the leaf’s spine and secure it with yarn using single crochets around the edges.
- Finish:
- Repeat the process to make three leaves.
5: Assemble the Rose
- Form the Center:
- Roll the petals tightly to create the center of the rose. Secure with hot glue.
- Layer the Petals:
- Glue the petals in layers, starting with the 2 petals tightly wound in the center.
- Add the 4 petals around the center, then continue outward with alternating petals in groups of 5 and 6.
- Attach the Calyx:
- Place the calyx at the base of the rose and secure it with hot glue. Add extra yarn to fill the area if needed.
- Build the Stem:
- Wrap the floral tape or green yarn around the wire stem to secure the calyx and create a clean, finished look.
- Attach the Leaves:
- Use floral tape to attach the three-leaf branches to the main stem.
6: Finish and Arrange
- Bend the wire stem slightly for a natural look.
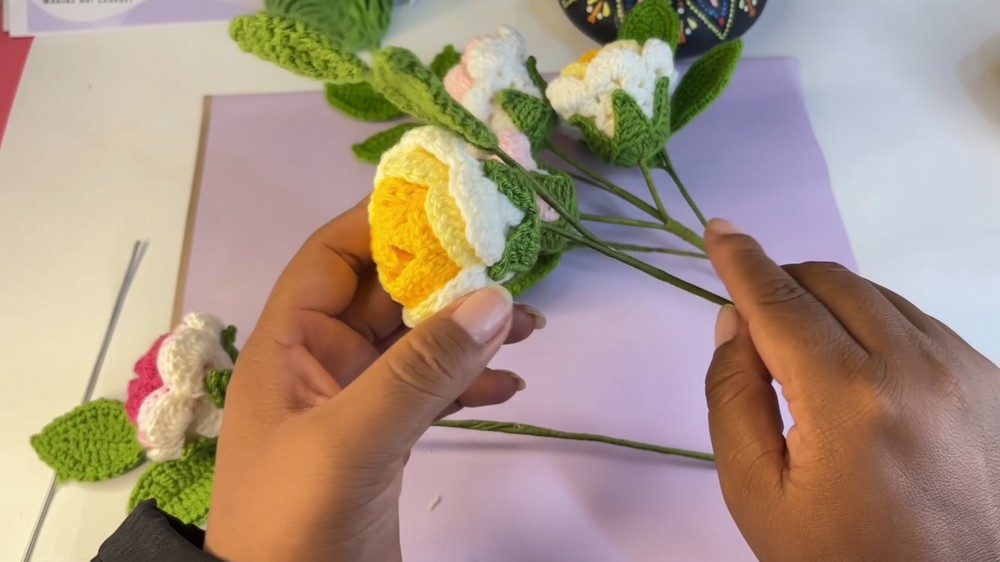
- Assemble multiple roses for a bouquet or use a single rose as a decorative piece. Add wrapping (e.g., Korean paper) for gifting or arrange in a vase for display.
Special Features
- Realistic Design: The layered petals and structured calyx closely mimic real rose shapes.
- Customizable Colors: Use your preferred color scheme to create unique rose bouquets.
- Flexible Wire Stem: Allows you to adjust the shape and position of each rose for arranging or decoration.
- Versatile Use: Make individual roses, full bouquets, or floral arrangements for home décor or special occasions.
Level of Difficulty
This project is intermediate level. While the individual stitches (double crochet, treble crochet) are simple, there’s a need for careful attention to detail during assembly and layering the petals.
Tutor’s Suggestions
- Use the Right Hook: The creator recommends using a slightly larger hook (2.25 mm) for a softer and looser fabric, ensuring the petals fold naturally.
- Work with Precision: Follow the exact chain, stitch, and petal counts to ensure a symmetrical and neat finish.
- Hide Threads Seamlessly: Trim and securely tuck loose threads for a clean and polished final product.
- Watch Assembly: Pay attention to petal positioning and layering to avoid overcrowding or uneven spacing.
Uses
- Gift Idea: Perfect for birthdays, anniversaries, or Valentine's Day.
- Home Decor: Make DIY floral arrangements, centerpieces, or decorations.
- Bouquet Design: Create professional-looking bouquets for weddings or as keepsakes.
Helpful Tip
When wrapping the stem with floral tape or yarn, pull and stretch the tape for a tighter grip. This ensures all components are securely held together and adds durability to your rose.
Conclusion
This crochet rose bouquet project is a wonderful blend of creativity and practicality. The tutorial makes it easy to follow along and produce lifelike roses that can brighten any space. With its intricate details and customizable design, this project is perfect for special occasions or gifts.