
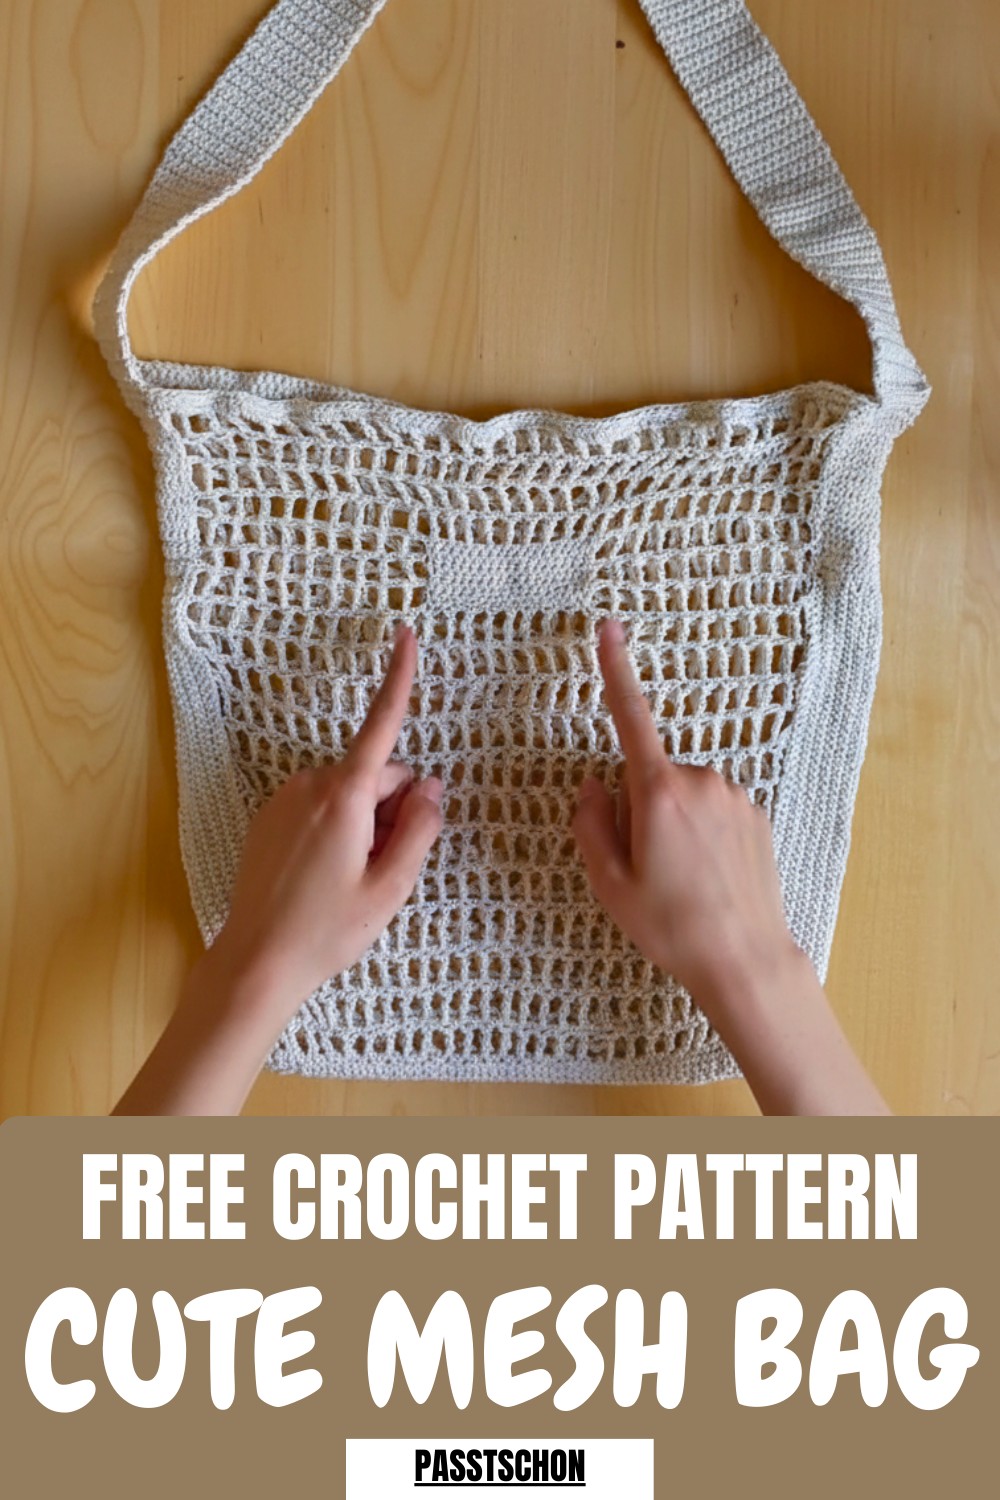
Carry style and practicality with this free crochet mesh bag pattern, perfect for beginners and customizable for everyday use.
Crochet enthusiasts often enjoy the practicality and charm of a lightweight, breathable mesh bag pattern that offers simple crochet yet a versatile design. This type of bag is ideal for everyday activities, such as grocery shopping, carrying essentials, or gifting something handmade to loved ones. With its stylish mesh pattern, the pattern is functional while maintaining an elegant look, perfect for anyone seeking eco-friendly alternatives that don’t compromise on durability. Its customizability allows adjustments in size, color schemes, and additional features like inner pouches or opaque panels, making it both practical and personal.
Unique Crochet Mesh Bag Pattern for Eco-Friendly Accessories
Keep track of stitch counts throughout to maintain even proportions for the panels and straps, minimizing the chance of uneven edges. Test the strap's length for comfort before assembling the final piece. This project is simple yet adaptable, allowing you to design a functional accessory with a unique flair.
Materials Needed
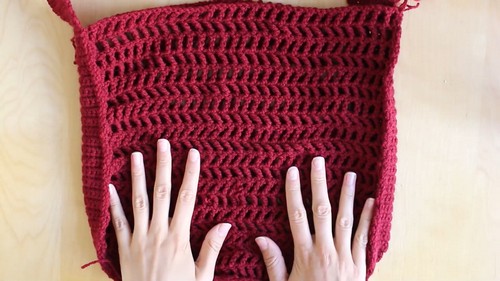
- Yarn: Different yarn types work well for this project. The beige bag uses a thinner yarn (~200g, 4 skeins), while the red version uses 100% acrylic yarn (~150g, 3 skeins).
- Crochet Hook: The tutor suggests increasing the hook size slightly from the yarn recommendation for a looser, mesh-like effect. For example, if the yarn calls for a 3–3.5mm hook, use a 4.5mm hook for this pattern.
- Other Tools: Scissors, stitch markers (optional but helpful), and a thick needle (if not crocheting the panels together).
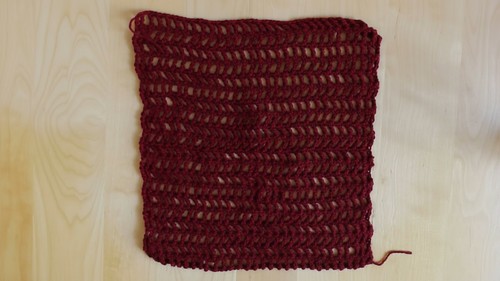
To begin, start by stitching two identical mesh panels paired with a sturdy rectangular piece for the handle and sides.
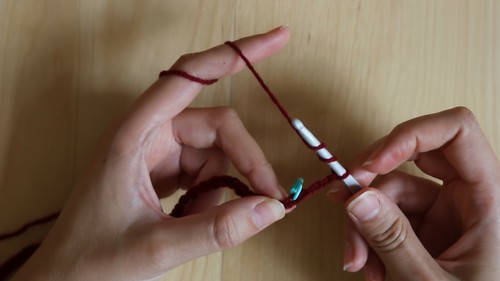
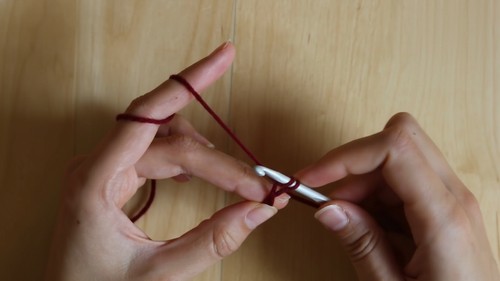
Begin with a base chain (55+4 turning chains) worked using the triple crochet technique. This involves yarning over twice, skipping one stitch, inserting the hook in the next chain, and then chaining one after each triple crochet for the desired mesh effect.
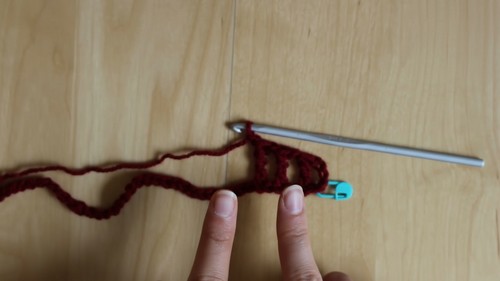
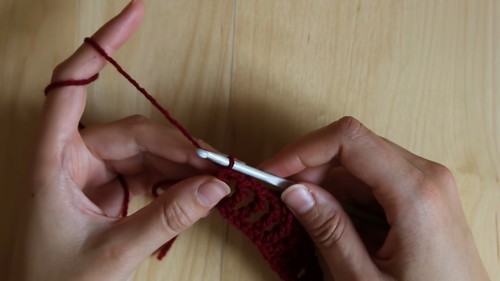
Continue building row by row, aligning each stitch perfectly with the previous row for a clean and consistent pattern.
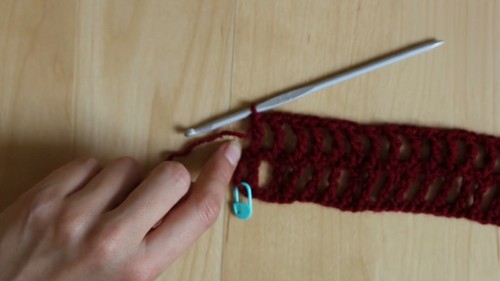
Once you’ve created both mesh panels, move on to the handle and sides using single crochet stitches, giving them extra strength and stability.
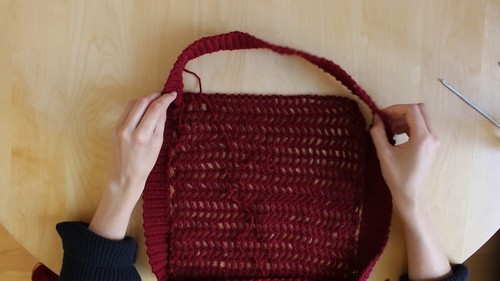
To assemble the bag, use slip stitches to join the edges together or sew them according to your preference. Consider adding optional features like an inner pouch stitched onto the inside or an opaque patch for small items to prevent slipping through the mesh holes.
Special Features and Tutor Suggestions
- Customizable Size: You can adjust the width and height of the bag by altering the number of base chains and rows.
- Inner Pouch Accessory: An extra pouch for keys, phones, or wallets ensures smaller items won’t slip through the mesh holes.
- Handle Adjustments: The handle length can be tested and modified to fit comfortably over your shoulder or as a hand-held bag.
- Connecting Panels: The panels can be crocheted together (as demonstrated) or sewn for a different finish.
Level of Difficulty
This project is designed for beginners but offers plenty of creative flexibility for more advanced crocheters. The mesh pattern and single crochet handle make it straightforward, and the tutor’s clear instructions ensure ease of accessibility. Assembling the panels requires some attention to detail, but it is manageable with stitch markers or clear alignment.
Uses
- Eco-friendly reusable bag for shopping and travel.
- A functional yet aesthetic tote for carrying lightweight essentials.
- Versatile accessory for casual outings, especially with added features like customized colors, an inner pouch, or a logo panel.
Tip for Better Results
When working on the handle/side panel, avoid overstretching the fabric during assembly—it can cause the bag to warp and lose its shape. Use stitch markers for consistent alignment while connecting the edges, and always try testing the handle length for comfort before finishing.
Step-by-Step Instructions
Crocheting a mesh bag is a wonderful project that blends functionality with creativity. This step-by-step tutorial provides a detailed walkthrough for crocheting a customizable mesh bag that meets your needs—whether you're aiming for an everyday tote, a reusable grocery bag, or a colorful accessory.
Conclusion
This crochet mesh bag is a blend of simplicity and versatility, perfect for beginners and seasoned crocheters alike. With its customizable size, optional features, and stylish pattern, it’s both functional and fashionable. Whether you’re exploring eco-friendly alternatives or adding a personal handmade accessory to your collection, this pattern will serve as a practical and unique project worth showcasing.


