
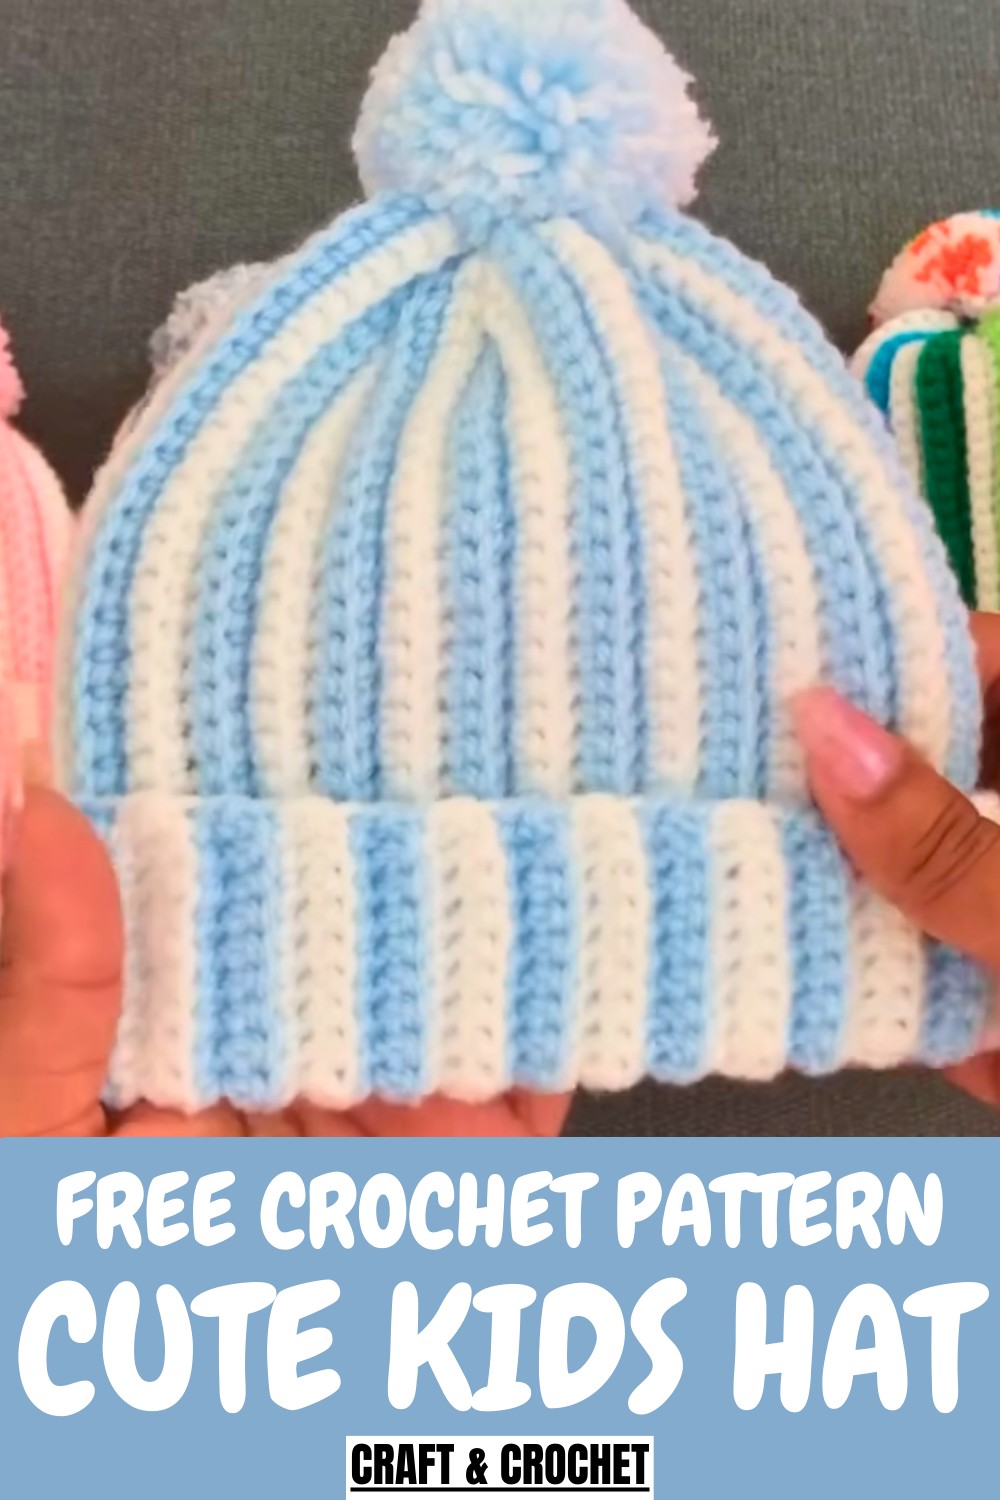
Keep little heads cozy with a Free crochet Kids Hat Pattern featuring soft, easy stitches that provide warmth and a cute, stylish look for any day.
Protecting little heads from the chill has never looked so charming, with soft textures and playful designs that kids love to wear. The Crochet Kids Hat Pattern combines cozy comfort with whimsical style, making it perfect for everyday outings, school days, or festive occasions. Its gentle stitches provide warmth without being bulky, while the fitted shape ensures it stays snug on active little heads.
Cozy Crochet Kids Hat Pattern to Keep Little Heads Warm
Beyond practicality, the pattern allows for creative customization with colors, motifs, or fun embellishments. The finished hat is not just functional—it’s a delightful, handmade accessory that adds personality, comfort, and handmade charm to any child’s wardrobe.
Step-by-Step Guide to Crochet a Basic Kids' Beanie
Materials Needed
To crochet these beanies, you’ll need:
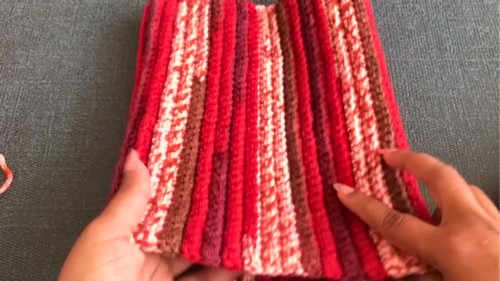
- Yarn:
- Double-knit yarn (red and white were used in this video).
- Recommended yarn weight: approximately 50–80g per hat, depending on size.
- The yarn ball used is 100g (300m).
- Crochet Hook:
- A 4 mm crochet hook is ideal for this project, though hooks between 4 mm and 4.5 mm can also be used depending on yarn thickness.
- Additional Tools:
- Scissors for trimming.
- Yarn needle for joining the hat and finishing touches.
- Pom-Pom (Optional):
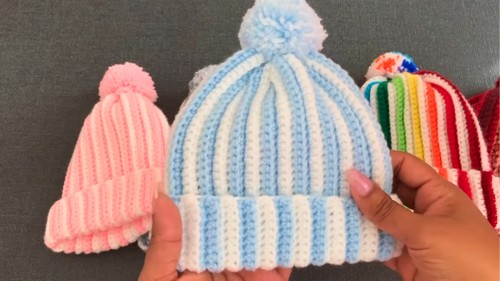
- Can be made in various colors. Pom-pom tutorials are available in the creator's prior videos.
Uses
- These beanies are perfect for young children, keeping them cozy and warm during cold weather.
- They are stylish and customizable, making them suitable for both boys and girls.
- With multiple sizes available, this design accommodates children aged 1–12 years.
Special Features
- Size Options: The tutorial provides chain count and row guidelines for sizes, ranging from 1–12 years, making it easy to personalize.
- Color Patterns: The alternating rows of color add visual interest and allow experimentation with combinations.
- Fast Project: Each hat can be completed quickly, making it an ideal gift or last-minute craft.
- Reversible Appearance: The finishing method ensures the inside looks as neat as the outside.
Level of Difficulty
This project is beginner-friendly, as it primarily uses single crochet stitches. The technique involves working into back loops only, which is a straightforward skill for crochet enthusiasts. The only challenging aspects might be:
- Changing colors seamlessly.
- Counting stitches accurately for the correct size.
- Joining the hat neatly during the final steps.
With the clear guidance provided, even beginners can complete this beanie successfully.
Tutor’s Suggestions
The tutor offers several helpful recommendations in the video:
- Count Stitches Consistently: Always count stitches at the end of each row, especially the first few rows, to maintain consistent size and shape.
- Work into Back Loops: Use only the back loops for single crochet stitches to create flexibility and texture in the design.
- Change Colors Cleanly: When switching colors, use the last loop of one row and pull the new yarn through to ensure smooth transitions between rows.
- Customize Sizes Based on Chains: The tutor provides the following chain counts for different age groups:
- 1–2 years: 43 chains.
- 2–4 years: 45 chains.
- 4–6 years: 47 chains.
- 6–8 years: 49 chains.
- 8–12 years: 52 chains.
Adjust chain counts and row measurements if using thicker or thinner yarns.
- Pom-Pom Addition: Adding a pom-pom at the top of the hat is optional but recommended for cuteness and extra style.
Step-by-Step Instructions
Step 1: Make the Foundation Chain
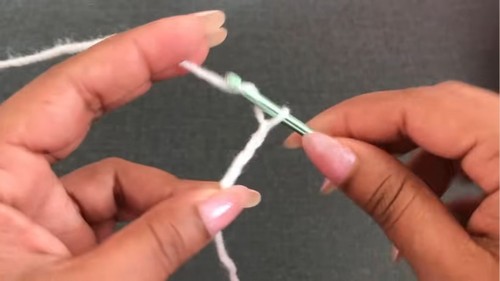 Slip Knot and Chain: Create a slip knot and crochet the required number of chains based on the intended size.
- Example: For 4–6 years, crochet 47 chains.
- Example: For 4–6 years, crochet 47 chains.
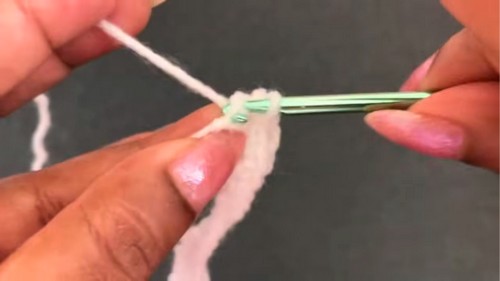
Step 2: Create the Rows
- Skip the first chain.
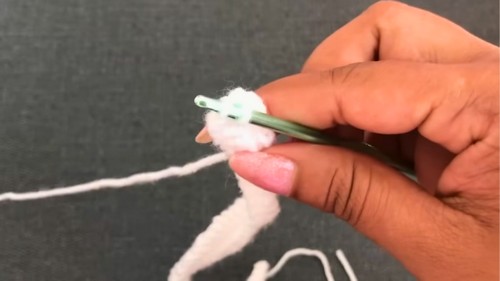 Begin working single crochet (SC) into the second chain from the hook. Continue crocheting one single crochet into each chain across the row.
- Example for 47 chains: You should end the row with 47 single crochet stitches.
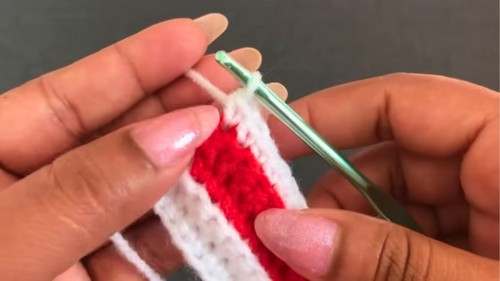
- Chain 1 and Turn: Begin the second row by chaining 1, turning your work, and crocheting into the back loops only. This creates the stretchy texture needed for the beanie.
Step 3: Maintain Pattern
- Continue crocheting single crochets into the back loops for the next rows while counting stitches for alignment.
- Change colors every two rows (e.g., red after two rows of white). Pull the new yarn through the last loop of the row to start the next row seamlessly.
Step 4: Repeat Rows
- Crochet the required number of rows for the size, as per the measurements provided:
- 1–2 years: 68 total rows.
- 2–4 years: 72 total rows.
- 4–6 years: 80 total rows (40 lines visible).
- 6–8 years: 88 total rows.
- 8–12 years: 96 rows.
- Measure as you go to ensure proper sizing:
- 1–2 years: 34 cm circumference.
- 2–4 years: 36 cm circumference.
- 4–6 years: 40 cm circumference.
- 6–8 years: 42 cm circumference.
- 8–12 years: 46 cm circumference.
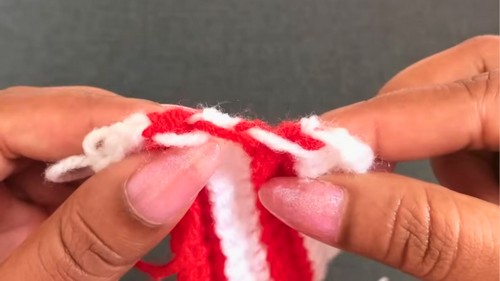
Step 5: Join the Hat
- Fold the work in half with the start and end rows aligned.
- Using a yarn needle, pass through the loops on each side—using two loops on one side and one back loop on the other—for a clean seam.
- Secure tightly and weave in all ends.
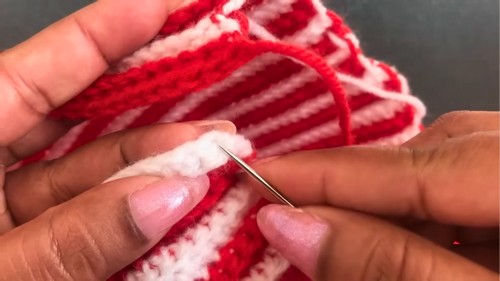
Step 6: Close the Top
- Thread the yarn needle through each line at the top of the hat, skipping alternating rows, and pull tight.
- Knot the thread securely to close the hole.
- For added decoration, attach a pom-pom to the top using yarn tails.
Conclusion
This basic kids' beanie tutorial is simple yet versatile, allowing you to craft stylish and comfortable hats for children of various ages. Whether you're customizing the colors or adding pom-pom decorations, this project offers plenty of creative possibilities. With straightforward techniques like single crochet stitches and back loop usage, beginners can complete this project confidently and enjoy the process. The end result is a beautiful and functional hat that’s perfect for any little one.
Crochet Tip
When changing colors, weave in the yarn tails as you go rather than leaving them to handle later. This saves time and ensures a tidy finish. Additionally, always measure the hat as you crochet to ensure it matches the size you’re aiming for.


