
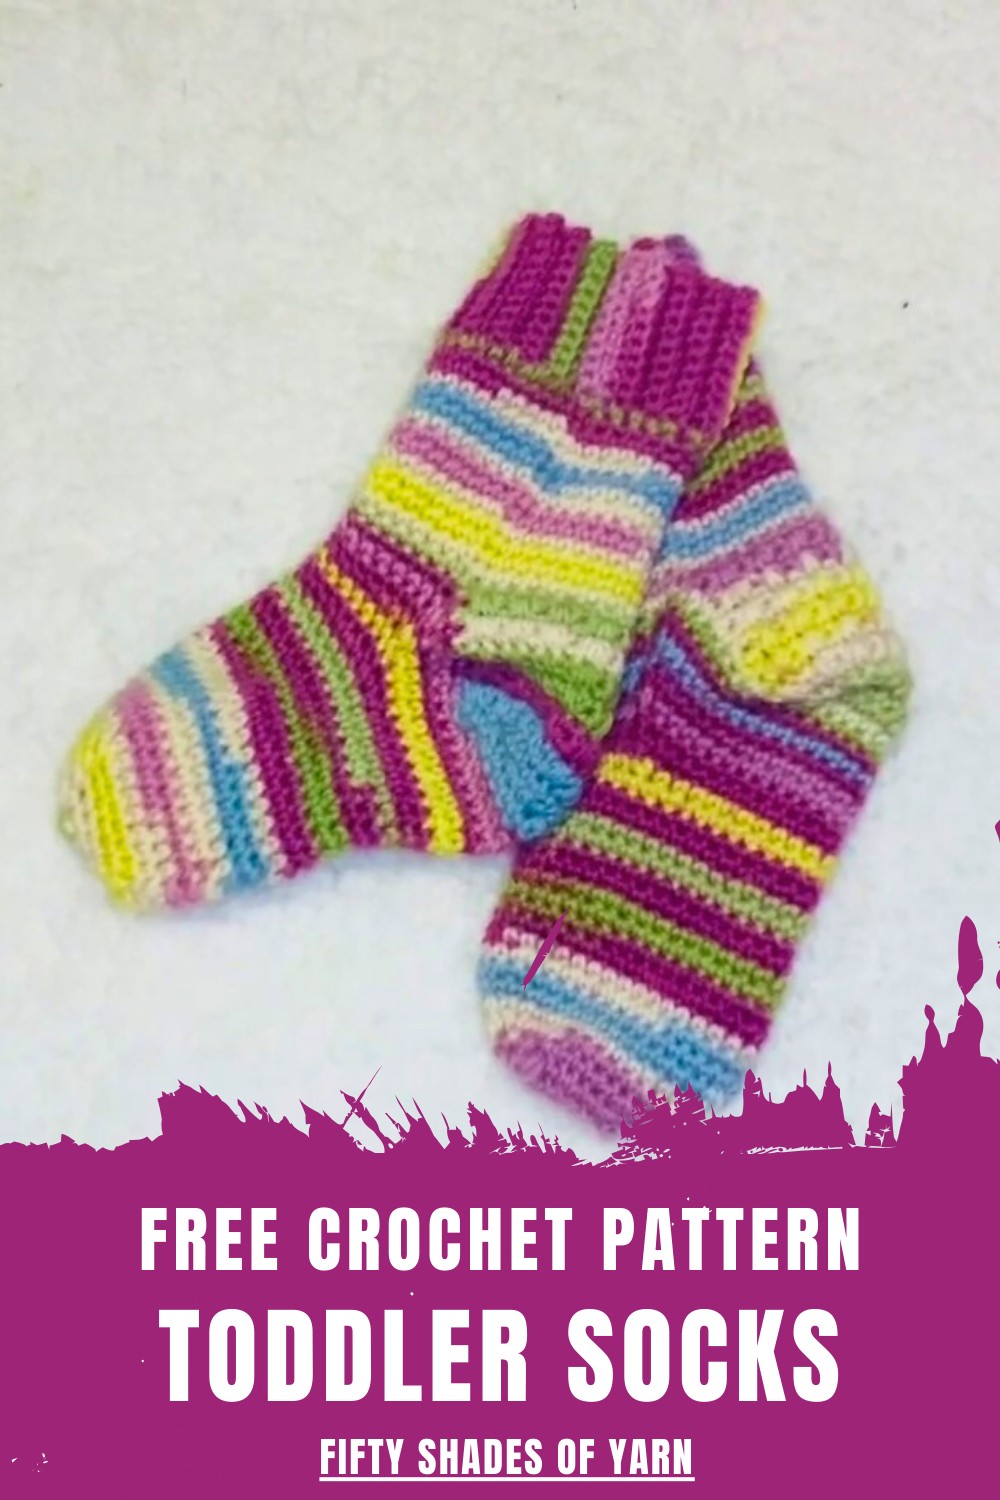
Wrap little feet in comfort with this Crochet Toddler Socks Pattern for soft, cozy socks that add warmth, charm, and playful everyday style.
Keep little feet cozy and stylish with soft, handmade socks designed for comfort and charm. This Crochet Toddler Socks Pattern creates snug, breathable footwear that is perfect for toddlers, providing warmth without restricting movement during playtime or naps. With a variety of colors and textures, each pair becomes a delightful accessory that complements any outfit, from casual playwear to special occasion ensembles.
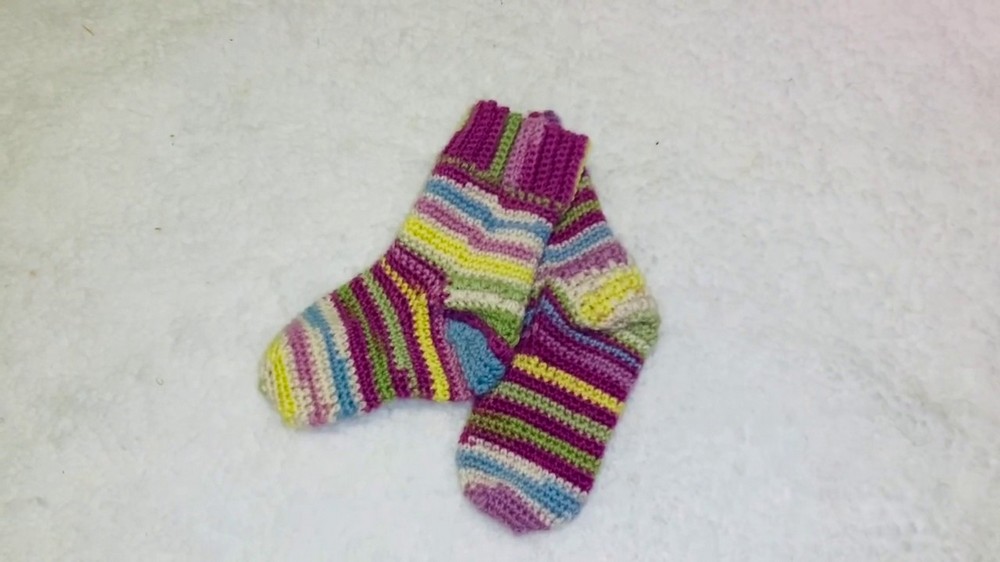
Cozy Crochet Toddler Socks Pattern Perfect for Little Feet
The design emphasizes durability and flexibility, ensuring that the socks maintain their shape even with active little feet. Easy to follow, the pattern allows both beginners and experienced crocheters to crochet personalized, handmade pieces that bring both practicality and cuteness together.
Beyond functionality, these socks make thoughtful gifts and cherished keepsakes, showcasing the care and creativity poured into each stitch. Lightweight yet resilient, they blend comfort, style, and handmade artistry into a must-have item for every toddler’s wardrobe, making every step a cozy delight.
How to Crochet Toddler Socks with Simple Steps
Materials Required
- Yarn: Peyton’s Croix Socks Yarn (Sweet Stripes color, size 1 weight, 75% washable wool, 25% nylon).
- Crochet Hook: Size D/3 or 3.25mm crochet hook.
- Accessories:
- Measuring tape
- Scissors
- Blunt eye needle (for weaving in ends)
- Contrasting yarn pieces (to use as stitch markers if needed)
Step-by-Step Instructions
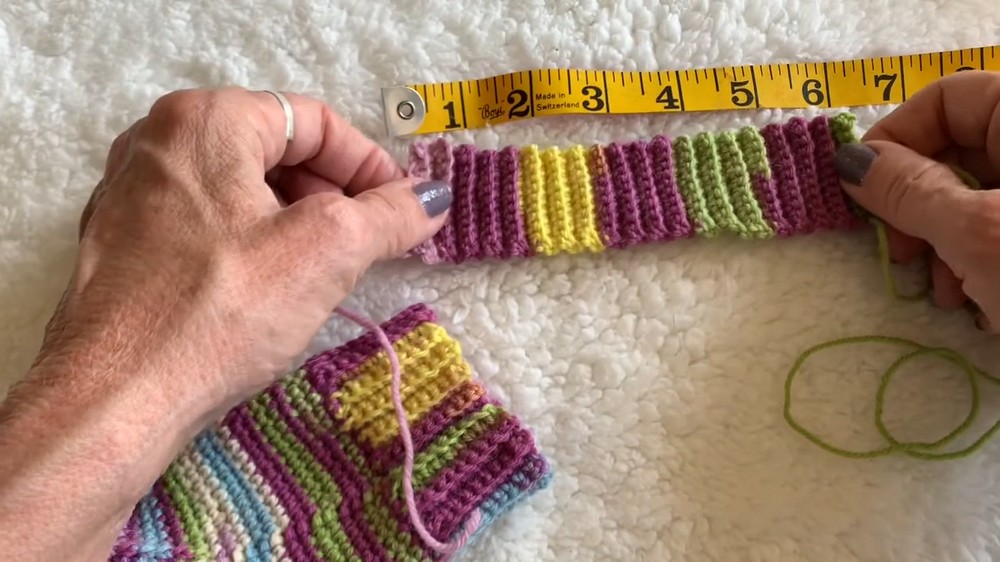
1. Crochet the Cuff (Ribbed Section)
- Begin with a Slip Knot: Create a slip knot on your hook and start the foundation chain.
- Chain 11: Chain 11 stitches for the cuff width.
- Single Crochet (SC): Work your first SC into the second chain from the hook, using the hump at the back of the chain for a polished look. Continue SC across the chain (10 stitches in total).
- Turn Work: After completing the first row, chain 1 and turn your work.
- SC in Back Loops (BLO): Work into the back loops only for every stitch across (10 SC). This creates the ribbed texture.
- Repeat Until Six Inches: Continue SC BLO rows until the cuff measures 6 inches unstretched, ensuring that it stretches to 6.5 inches when pulled.
2. Join the Ends
- Form a Loop: Fold the cuff so that both ends meet.
- Slip Stitch to Join: Use slip stitches to connect the two ends, creating a seamless cuff. Ensure you place stitches evenly to secure the join properly.
- Turn Right Side Out: Switch to the right side of the cuff for a neater finish.
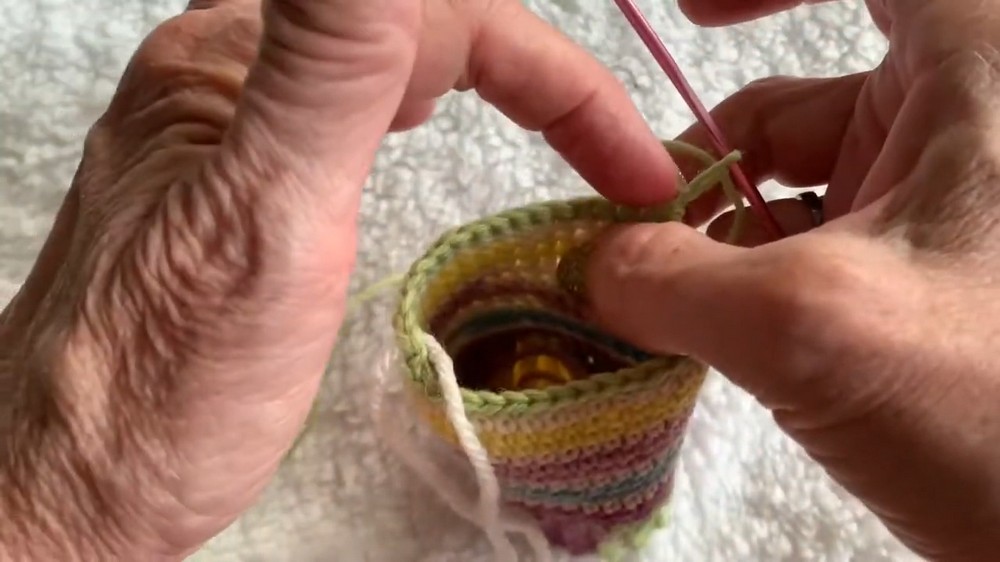
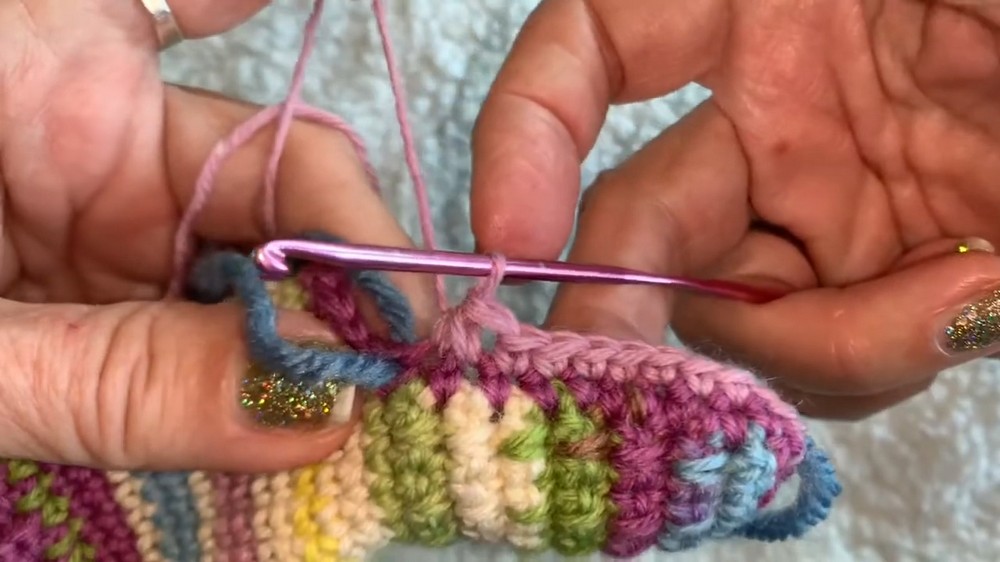
3. Create the Bottom Edge of the Sock
- Single Crochet Around: Work 35 single crochets (SC) evenly around the bottom edge of the cuff. Use the ridges for guidance, ensuring you grab two strands of each stitch to keep the cuff strong. Adjust spacing if necessary.
- Slip Stitch to Join: When finished, slip stitch to the first SC of the round and mark the starting point using a stitch marker.
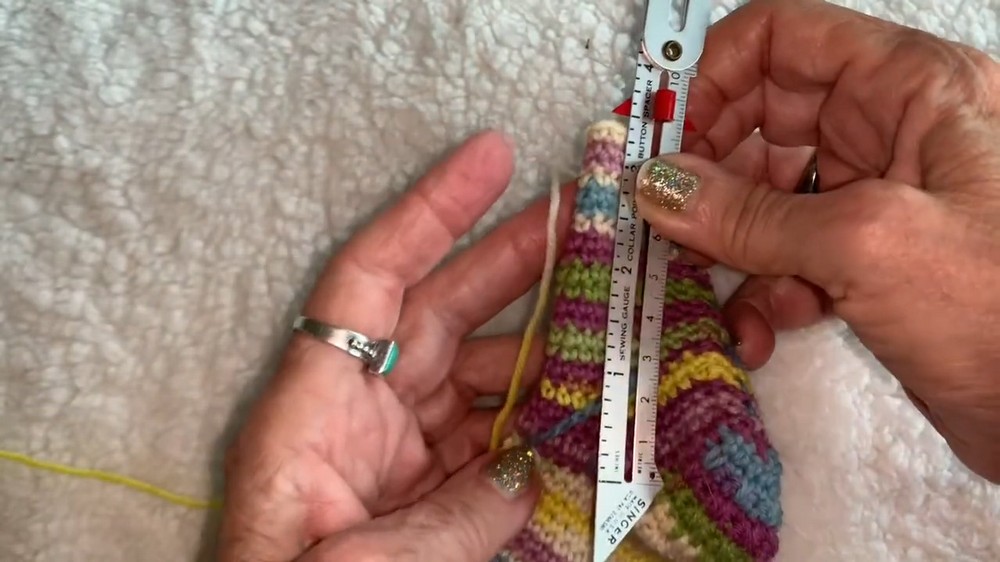
- Build on Rows: Create additional rows of SC until the shaft of the sock measures 2 inches.
4. Form the Heel
- Work the Heel Rows: Once the 2-inch shaft is complete, work 17 SC stitches back and forth (instead of around) to form the heel.
- Alternate Stitches: As you continue, alternate between short SC and long SC (single crochet worked into the row below). This pattern adds texture and durability to the sock heel. Repeat until the heel section measures 1.75 inches.
- Decrease for Shape: Use the SC2TOG (single crochet two together) technique to narrow down the heel rows into a neat curved shape. After completing each row, decrease further until it fits snugly and begins to "cup" to form the heel.
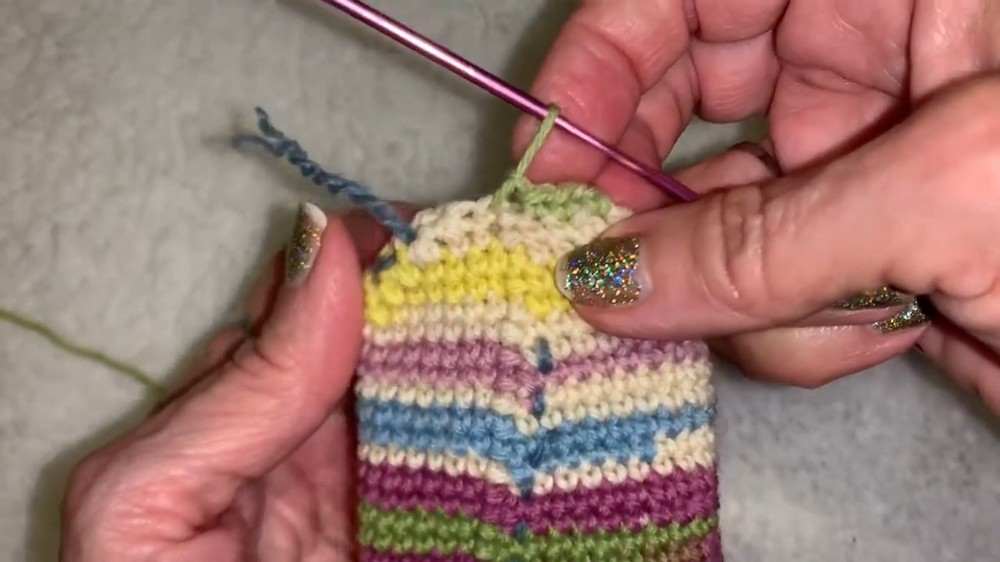
5. Create the Sock Body and Sole
- Join Heel and Body: Once the heel is finished, work SC evenly along the sides of the heel, across the footbed, and up to where the heel began. Ensure that the total stitch count is 49 stitches around.
- Shape the Sock Sole: Continue reducing stitches with the SC2TOG method at the stitch markers while maintaining symmetry on both sides. Work until the sock sole measures 3.5 inches from the bottom of the heel.
- Keep Decreasing: Continue decreasing stitches every few rows until you have 35 stitches remaining.
6. Form the Toe Section
- Single Crochet Around: Once the body is complete, keep working around the toe in SC, ensuring you single crochet two together (SC2TOG) near the front-center of the sock.
- Finalize the Toe: Continue decreasing with SC2TOG until you end up with 14 stitches. This narrows the toe for a snug fit.
- Finish: Cut the yarn, pull it through the final stitch, and sew the toe closed. Use a blunt eye needle to weave in the remaining ends for a neat finish.
Special Features
- Stretchy Ribbed Cuff: The back-loop-only technique creates a flexible cuff that slips on comfortably.
- Heel Shaping: Alternating short SC and long SC enhances durability and creates a well-fitted heel.
- Customizable Toes: Decreasing stitches and working the sole in the round allows for easy customization based on individual foot size.
- All-Season Design: Using Sweet Stripes yarn introduces vibrant Easter-like colors, and the lightweight fabric is suitable for all seasons.
Level of Difficulty
The project is moderately easy. Although the sock construction includes shaping techniques like SC2TOG decreases, heel shaping, and working in the round, the instructions are clear enough for beginners willing to take on a slightly challenging project.
Tutor's Suggestions
- Work Both Socks Simultaneously: The tutor suggests finishing each section of both socks at the same time. This ensures consistency and reduces the chance of forgetting any details between sections.
- Use Contrasting Yarn as Stitch Markers: Since the stitches are small, contrasting yarn is easier to manage and won’t accidentally slip out.
- Count Constantly: Periodically count your stitches as you work to prevent mistakes, especially in critical sections like the heel and toe.
- Start with Fresh Yarn for the Second Sock: This ensures both socks match in color striping when using patterned yarn, like the Peyton’s Sweet Stripes.
Uses for Toddler Socks
- Gifting: Thoughtful handmade socks are great gifts for toddlers.
- Seasonal Wear: Lightweight but cozy for spring and fall seasons.
- Unique Style: Each pair is personalized with your chosen yarn and design!
- Skill Practice: Perfect project for practicing shaping, decreasing, and heel construction techniques in crochet.
Tip
When weaving in ends, make extra passes across the toe area to prevent holes from forming over time due to wear and tear. This adds durability and helps the sock maintain its shape.
Conclusion
This tutorial for toddler socks is a perfect blend of cute design, functionality, and creativity. By following the step-by-step instructions, you’ll create snug socks that are both practical and adorable. The focus on manageable segments like the cuff, heel, and toe makes the process fun and rewarding. Grab your hook, yarn, and stitch markers, and get ready to create a fantastic handmade gift! The result? A pair of stretchy, soft socks your toddler will love to wear.


