
Perfect for cold days this Free Crochet Earflap Hat Pattern offers warmth comfort and a snug fit suitable for kids teens and adults alike.
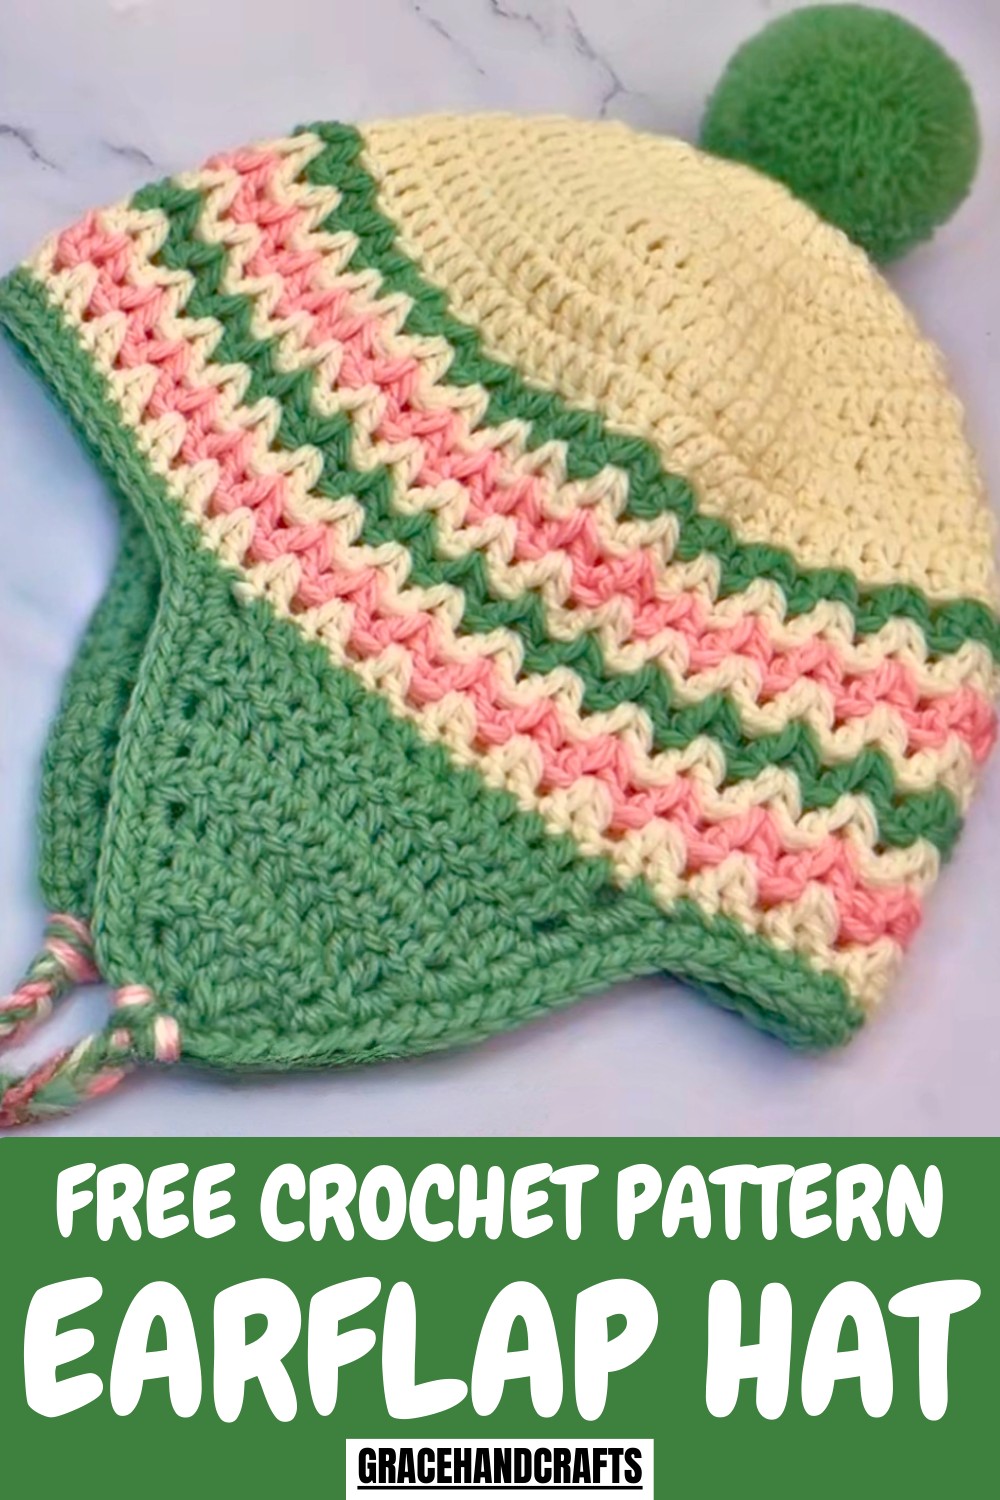
Textured stitches and clean lines give the finished hat a polished, timeless look that suits all ages. Working on this design supports focus, patience, and fine motor coordination, delivering a satisfying experience from start to finish. The pattern encourages personalization through color choices, yarn textures, and sizing adjustments, ensuring each hat feels unique and well-fitted.
Durable, functional, and visually appealing, the completed hat adds warmth without sacrificing elegance. Every detail contributes to a reliable accessory that blends comfort, protection, and style, making it a dependable addition to any winter wardrobe season after season.
Step-by-Step Instructions
Step 1: Crochet the Main Body of the Hat
- Start with a Magic Ring:
- Form a magic ring and chain 3 (counts as one double crochet).
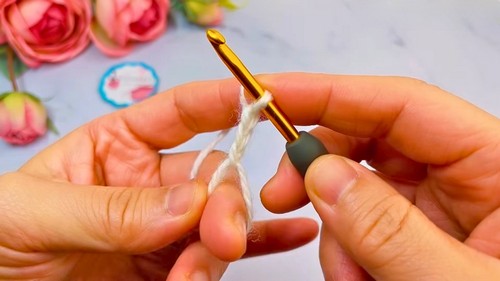
- Make 11 double crochets inside the ring.
- Pull the tail of the magic ring to close it tightly.
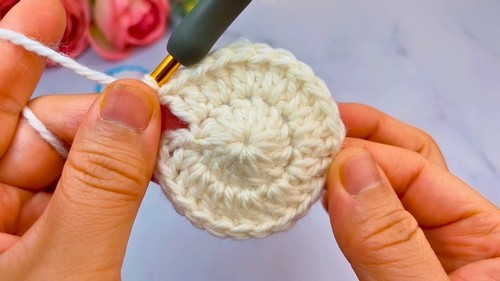
- Slip stitch into the third chain stitch of the beginning chain to finish round 1.
- Form a magic ring and chain 3 (counts as one double crochet).
- Round 2 (Increase):
- Chain 3 (counts as one double crochet).
- Make 1 double crochet in the first stitch and 2 double crochets in the next.
- Repeat this increase pattern around the circle.
- Round 3:
- Chain 3 (counts as 1 double crochet).
- Make 1 double crochet in the first two stitches, then 2 double crochets in the third stitch.
- Continue this increasing pattern, and slip stitch into the starting chain to finish the round.
- Rounds 4-8:
- Follow written instructions provided (increasing the number of single stitches between each double crochet increase).

- Follow written instructions provided (increasing the number of single stitches between each double crochet increase).
- Round 9: Color Change
- Change yarn color in the last stitch and chain 3.
- Skip 1 stitch, and make 2 double crochets in the third stitch.
- Repeat the pattern around using the new color.
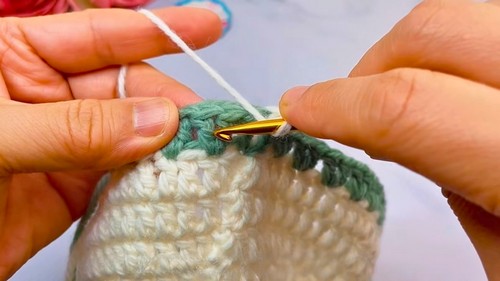
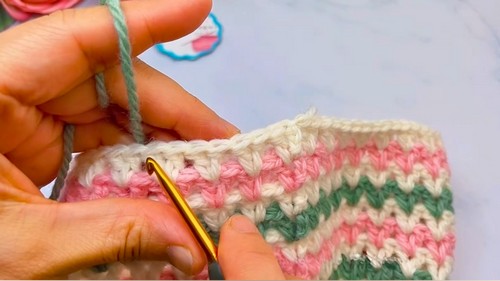
- Rounds 10-16:
- Alternate between colors and follow the instructions using double crochet posts and increases, as demonstrated. Complete the body of the hat.
- Finish by cutting the yarn and weaving in the ends using a darning needle.
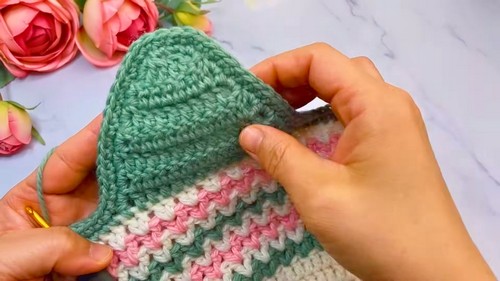
Step 2: Crochet the Ear Flaps
- Right Ear Flap:
- Count 8 stitches from one side of the hat and start crocheting the flap.
- Chain 3 (counts as a double crochet), then work 1 double crochet into the next 13 stitches.
- Follow the instructions for rows 2-7, decreasing stitches at the start and end of each row.
- By Row 7, decrease into a single cluster and fasten off.
- Left Ear Flap:
- Skip 19 stitches from the right ear flap and replicate the method used for the right ear flap.
3: Crochet the Hat Brim
- Work across the edges of the ear flaps and the hat body using single crochets:
- Begin with 7 single crochets along the main hat body.
- Work 2 single crochets into the posts of each double crochet along the ear flap’s edge.
- Complete the brim around the hat, ensuring smooth stitches to keep the shape balanced.
- Make 2 rounds, add single crochet increases in the second round, and finish with an invisible join.
4: Add Finishing Details
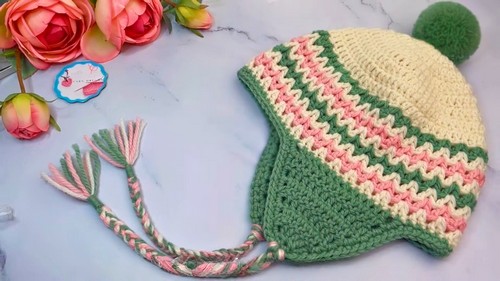
- Pom-Pom:
- Create a 5.5 cm pom-pom using yarn and attach it securely to the top center of the hat.
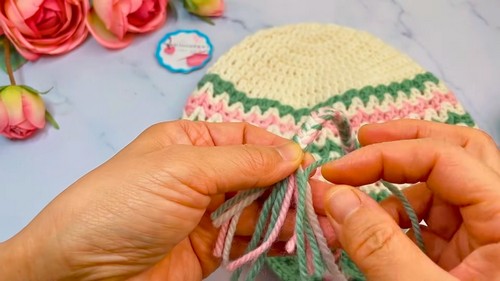
- Decorative Ties:
- Cut 60cm long strands of yarn (2 per ear flap).
- Attach and braid the strands to create ties for fastening the hat under the child’s chin.
Special Features
- Ear flaps for additional warmth and comfort: Ideal for harsh winters.
- Playful pom-pom: Adds a fun and cute aesthetic to the design.
- Customizable colorwork: Allows for creative freedom with color combinations.
- Perfect children’s fit: Designed with precise adjustments to suit smaller head sizes.
Level of Difficulty
This ear flap hat crochet project is ideal for intermediate crocheters or confident beginners. It involves techniques such as:
- Working with a magic ring.
- Executing increased rounds properly.
- Changing yarn colors cleanly.
- Crocheting ear flaps with decreasing rows.
Beginners may take slightly longer to master the techniques, while others might complete it more smoothly.
Tutor’s Suggestions
Grace offers useful suggestions to ensure success:
- Use Stitch Markers: Place markers in the first and last stitches to avoid confusion while decreasing.
- Pay Attention to Tension: Maintain tension while changing colors for clean transitions.
- Color Experimentation: Mix and match different color schemes to add personalized flair.
- Follow the Video Demonstration: Grace visually walks you through steps, so follow her guidance closely for best results.
Uses of the Ear Flap Hat
- Winter Warmth: Keeps children snug and cozy during cold weather.
- A Happy Gift: Makes an excellent handmade gift for kids.
- Customizable Fashion: You can adapt the pattern for different aesthetics or seasons using lighter yarn for warmer weather.
- Skill Development: Helps you practice intermediate crochet techniques.
Materials Needed
- Wool Yarn: Two or more colors (depending on your chosen design).
- Crochet Hook: Match the appropriate size to your yarn (usually 4mm-6mm).
- Scissors: For trimming yarn ends.
- Yarn Needle/Darning Needle: For weaving in ends.
- Pom-Pom Maker (Optional): For consistent pom-poms.
Tip
To ensure the ear flaps are symmetrical, carefully count stitches between the flaps before starting to crochet. This avoids misalignment once the hat is complete.
Step by Step Guide
In this tutorial, Grace demonstrates how to crochet a beautiful kids' ear flap hat that combines warmth, comfort, and style. This handmade wool ear flap hat is perfect for colder seasons, ensuring children stay cozy while looking adorable. The tutorial incorporates techniques like working a magic ring, double crochet increases, color changes, and finishing with a pom-pom and decorative ties.
Conclusion
Grace’s step-by-step tutorial is a fantastic guide for crocheting a practical and stylish ear flap hat for kids. By following these detailed instructions, you’ll create a cozy winter essential that is both functional and fashionable. With warm wool yarn, fun pom-poms, and decorative ties, this project is not only enjoyable but also allows for creative personalization.


