
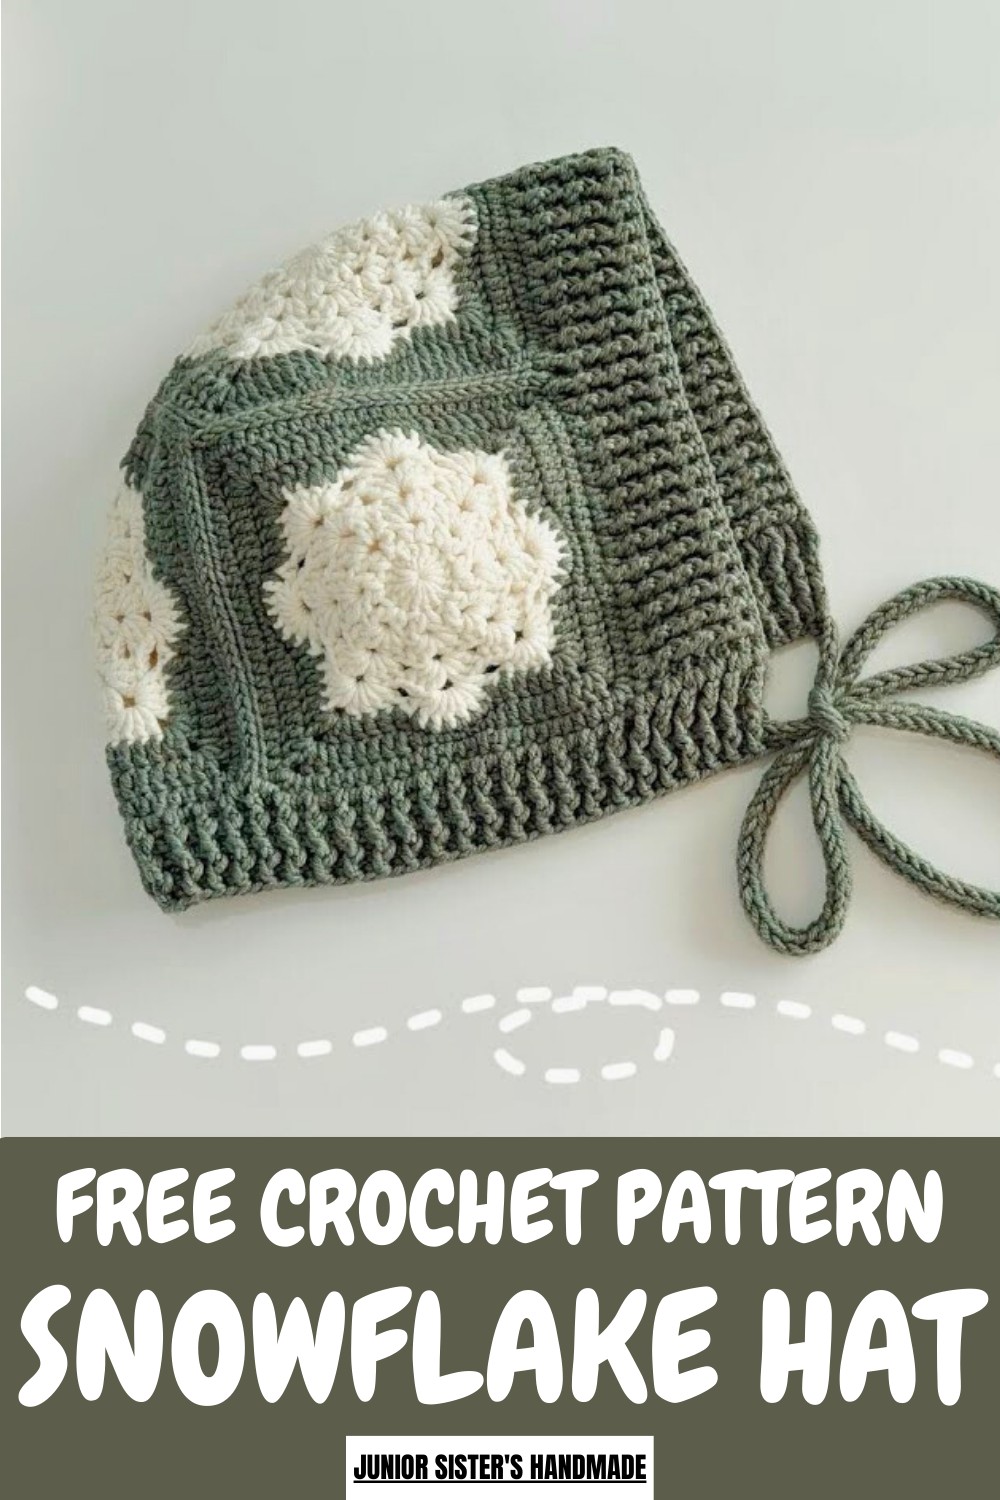
Enjoy cozy warmth with this Free Crochet Snowflake Hat Pattern, featuring a stylish design perfect for winter days and festive holiday wear.
Embrace the charm of winter with a hat that features an intricate, snowflake-inspired design, perfect for capturing the magic of the season. A Crochet Snowflake Hat Pattern not only stands out with its elegant details but also provides essential warmth during the colder months. Ideal for outdoor adventures, festive occasions, or simply adding a touch of seasonal flair to your everyday wear, this design offers both style and practicality.
Icicle Crochet Snowflake Hat Pattern Perfect for Festive Looks
Its versatility allows for personalization in colors and textures, making it a delightful and engaging project for crochet enthusiasts. The finished product is as functional as it is beautiful, ensuring a snug fit that shields you from frosty winds.
Whether you're creating a heartfelt gift for a loved one or treating yourself to a handmade piece, a Crochet Snowflake Hat Pattern harmonizes artistry and comfort. Enjoy crocheting a unique accessory that adds cozy elegance to your winter wardrobe.
How to Crochet Snowflake Hat: Step-by-Step Guide
Materials Needed
- Yarn:
- Merino Wool (50g/skein): 2 dark skeins and 1 white skein.
- Crochet Hook: 3.5mm hook.
- Optional: Garment steamer or iron for the finishing touch.
Step-by-Step Instructions
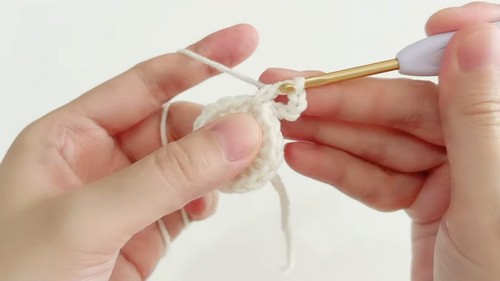
1. Snowflake Pattern (Centerpiece):
- Round 1:
- Cast on using a circular motion.
- Crochet 2 chain stitches as your starting stitch.

- Around the loop, crochet 16 double crochets (do not count the starting chains).
- Tighten the loop and finish this round with a slip stitch into the first double crochet.
- Round 2:
- Crochet 5 chain stitches (counts as 1 double crochet + 2 chains).
- In the same stitch, add another double crochet.
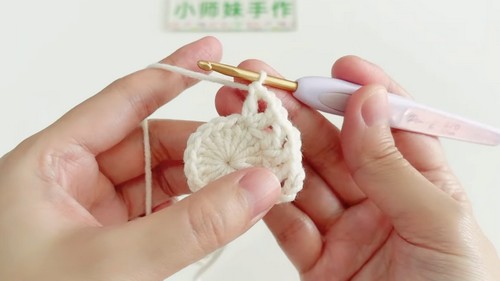
- Skip one stitch, then crochet a double crochet, chain 2, and another double crochet in the same stitch.
- Repeat this pattern for a total of 8 sets. Close the round with a slip stitch in the first openwork area.
- Crochet 5 chain stitches (counts as 1 double crochet + 2 chains).
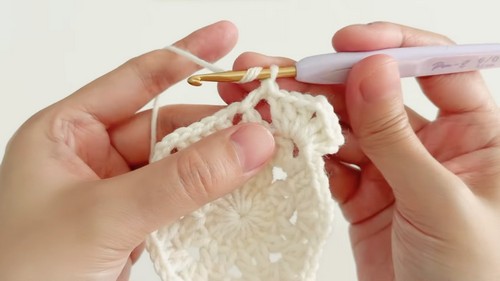
- Round 3:
- Chain 3 stitches, crochet a double crochet in the same location, then chain 2. Add 2 more double crochets in the same openwork area.
- For every openwork area, crochet 4 double crochets (2 on either side of the previous chain-2 gaps). Repeat for all 8 segments.
- Finish the round with a slip stitch.
- Round 4:
- Begin with 3 chain stitches, then crochet 3 double crochets in the same spot. Chain 2 stitches and crochet 3 more double crochets in the same spot.
- Repeat this process in all openwork areas, adding 6 double crochets per chain loop.
- Complete the round by slip stitching into the starting stitch.
- Round 5 and Assembly:
- Add decorative bumps for the edges by chaining 3 stitches and combining treble crochets with double crochets as directed in the pattern, adding texture to your snowflake.
- Create 4 snowflake pieces using the same process.

2. Assembling the Hat Body:
- Connecting the Snowflake Pieces:
- Arrange the 4 completed snowflake pieces into a square.
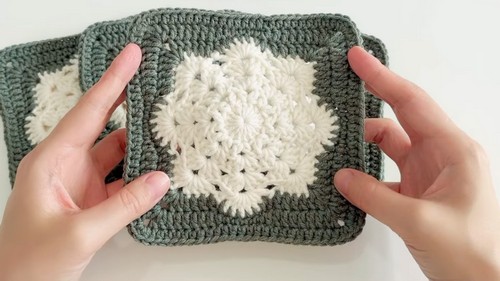
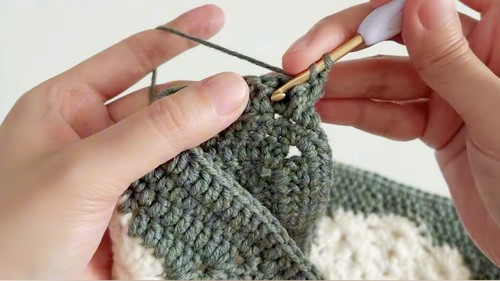
- Start at a corner and crochet slip stitches along the edges to join them together. Pick up stitches close to the inside edge for a smooth seam.
- Arrange the 4 completed snowflake pieces into a square.
- Creating the Hat Tail (Brim):
- At the bottom edges, begin with a chain 3 stitch as your first double crochet.
- Crochet 26 double crochets in sequence, working your way across the seam.
- At the corners and seam joining points, crochet treble crochets for stronger structured edges.
- Repeat this pattern for additional rows to create the brim. Alternate between front- and back-post double crochets for texture.
3. Adding the Brim Section:
- After completing the hat body, crochet along the sides of your rows using double treble crochets for additional design depth.
- Use treble crochets to round out the edges and smooth any inconsistencies.
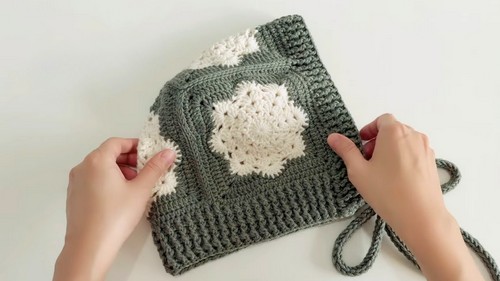
4. Rope Ties (Finishing Touches):
- Create rope ties by crocheting loops along the edge of the brim.
- Slip stitch through the loops repeatedly to form a sturdy, decorative rope of your desired length. Repeat for both sides.
- Finishing:
- Use an iron or steamer to flatten and smooth the hat’s shape.
- Use an iron or steamer to flatten and smooth the hat’s shape.
Special Features of the Hat
- Elegant Design: The intricate snowflake motif adds a decorative and festive touch that makes the hat stand out.
- Comfort and Warmth: The use of Merino wool ensures a soft, skin-friendly texture while providing warmth for outdoor use.
- Versatility: Designed for both practical purposes (like staying warm) and as a fashionable accessory.
Level of Difficulty
This is an intermediate-level crochet project, owing to the complexity of the snowflake pattern, assembly, and the need to combine multiple crochet techniques (e.g., front/back post double crochets, treble crochets, and decorative edging).
Tutor’s Suggestions
- Ensure you count your stitches carefully to maintain symmetry, especially when creating the snowflakes.
- Block or steam your finished snowflake pieces before assembling to achieve clean, flat shapes.
- Take your time when joining the pieces to ensure the seams are secure yet smooth.
Uses of the Forest-Style Hat
- Winter Wear: Keeps your head and ears warm during chilly weather.
- Holiday Gift: An ideal handmade present for loved ones during the holiday season.
- Outdoor Activities: Perfect for stylish protection while skiing, hiking, or other activities outdoors.
Crochet Tip
Ensure consistent tension while working on the snowflake’s openwork areas. Uneven tension may cause puckering or mismatched sizes when assembling the pieces.
Conclusion
This forest-style balaclava snowflake hat combines warmth, elegance, and functionality into one beautiful winter accessory. By following the step-by-step instructions, you can create a timeless piece suited for both practical use and as a stylish gift. The unique snowflake design and soft Merino wool make it an excellent project for intermediate crocheters looking to challenge their skills.


