
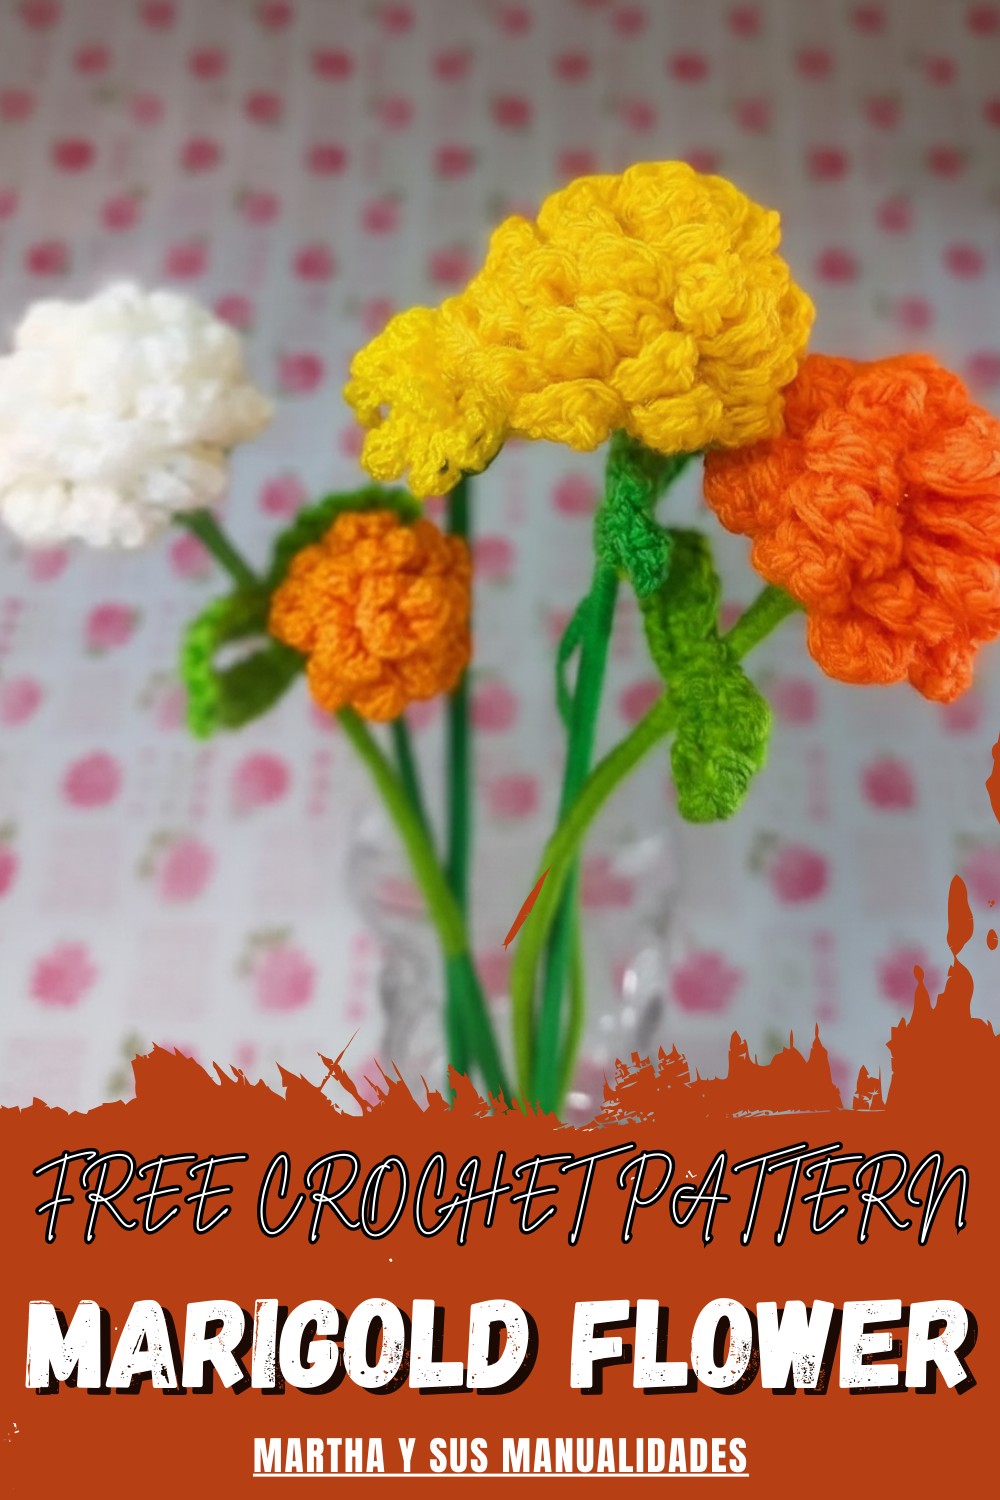
Brighten your space with Crochet Marigold Flower Pattern that turns yarn into a bold, cheerful bloom full of charm and festive flair.
A bright bloom like this brings energy and color to anything it’s added to, and the Crochet Marigold Flower pattern captures that feel with its layered look that reminds you of real garden marigolds. Its full, rounded shape with defined petals gives it presence and makes it great for decorating items like bags, hats, or even wall art.
Bright Crochet Marigold Flower Pattern for Happy Gifts
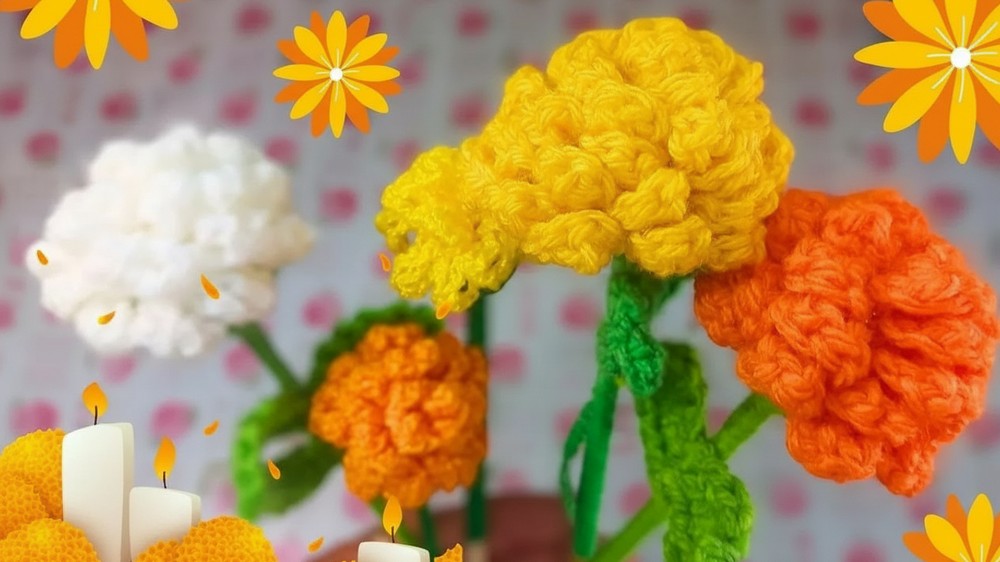
You can choose bold yarn shades like warm yellows and deep oranges to make the petals pop, and its tidy outline makes each petal clearly visible and striking. Many people enjoy turning these into garlands, brooches, or decorative accents because the form feels happy and warm wherever it’s placed.
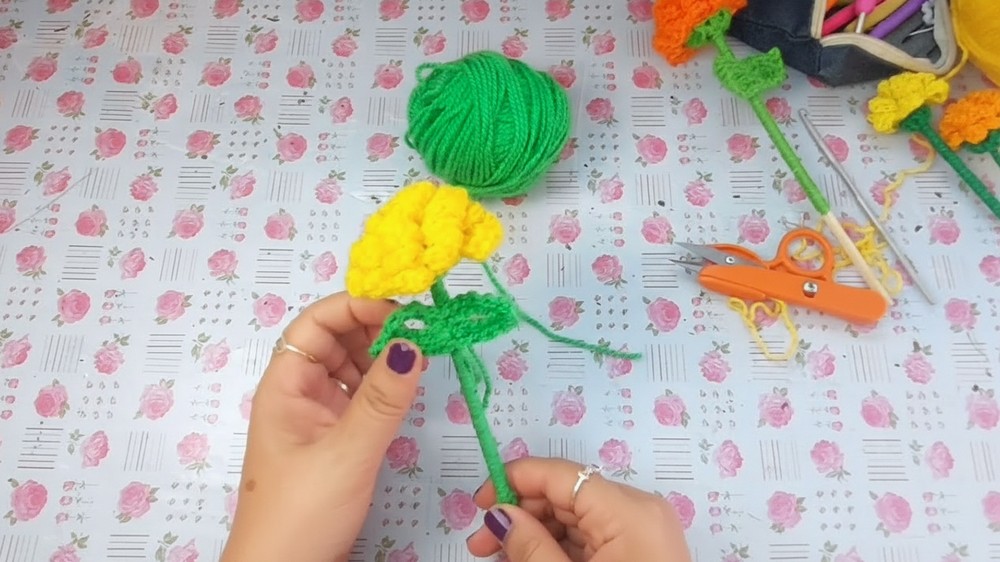
The way this pattern comes together starts from a central ring that expands outward into a textured center, and from there additional stitching brings out the petal layers one at a time, giving the flower depth and dimension.

The petals curve gently, creating a rich look that feels satisfying to form as the rounds build up.
Because the stitches are arranged in layers, you get a sense of growth and fullness that makes the finished piece stand out.
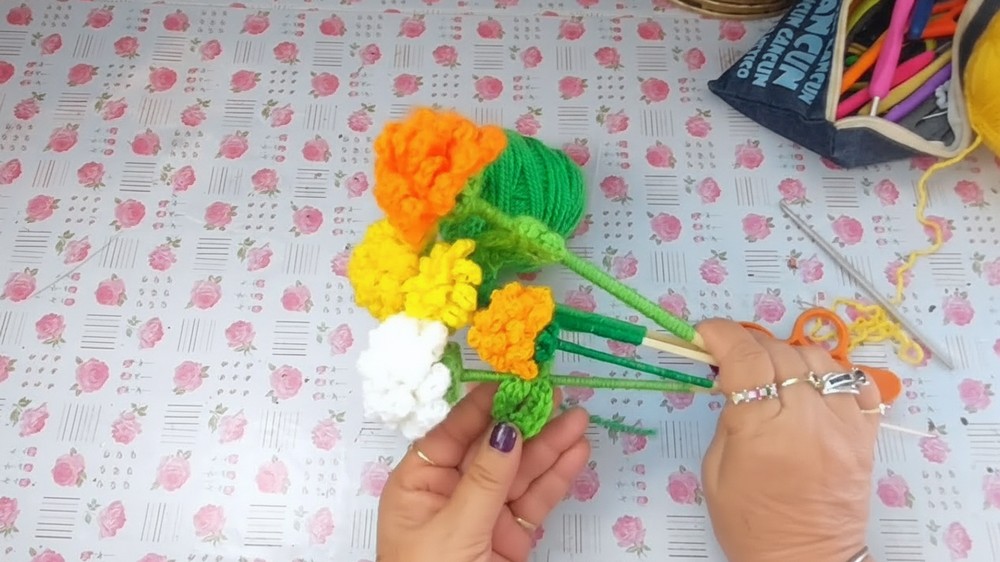
Many crafters make several and arrange them together, turning a group of individual blooms into something vibrant and eye-catching.
Whether you work it into clothing, accessories, or display pieces, the final flower feels meaningful and bright, reflecting the essence of marigolds that you might see in gardens and festive decorations.
Materials
-
Yarn: Orange, Yellow, or Golden yarn (for the flower) and Green (for the leaves and stem).
-
Hook: A size suitable for your yarn (e.g., 3.0 mm to 4.0 mm).
-
Support: A wooden dowel, skewer, or branch for the stem.
-
Tools: Scissors, a hot glue gun, and optional floral tape.
Special Features
-
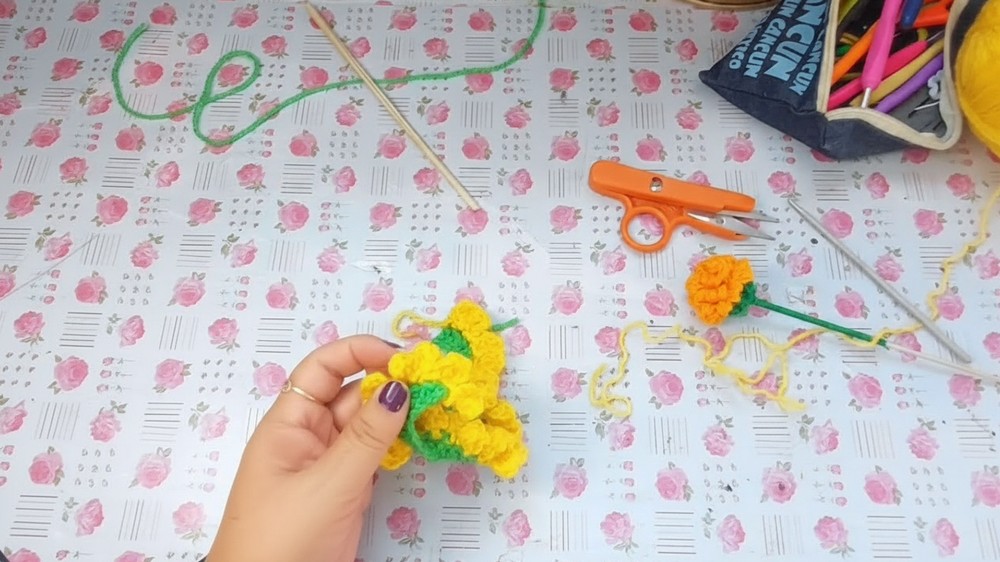
Coiled Construction: Instead of working in the round, the flower is made as a long, ruffled strip that is rolled up and glued to create density and volume.
-
Texture Motifs: Each "petal" is formed using a specific motif that involves working into the loops of a single crochet to create a 3D, "curly" effect similar to a real marigold.
-
Size Versatility: Then The creator explains that the size of the flower can be adjusted by simply changing the length of the starting chain or the thickness of the yarn.
Level of Difficulty
Easy. The project uses basic stitches (chains, single crochets, double crochets) and requires very little assembly. So, it is a perfect project for beginners who want to practice repetitive motifs.
Tutor’s Suggestions
-
Color Choice: Martha suggests using different shades of orange and yellow to make the altar look more dynamic.
-
Stiffening: For a more professional look, she mentions a technique (to be shown in a future video) using a mixture of water and glue to stiffen the petals so they hold their shape perfectly.
Uses
-
Cultural Altars: Specifically for Ofrendas during Día de Muertos.
-
Fall Decor: A beautiful handmade addition to any autumn-themed centerpiece.
Conclusion
The Crochet Cempasúchil is a brilliant example of how a simple geometric strip can be transformed into a complex-looking organic shape. Then, by rolling the ruffled edge, you achieve a lush, multi-petaled look that captures the essence of the traditional marigold with very little effort.
Tip
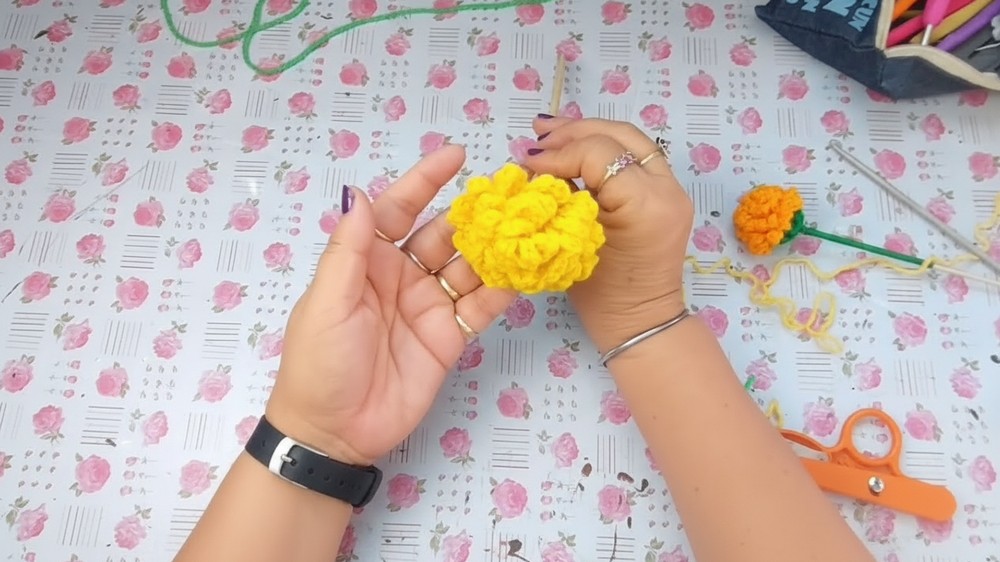
As you glue and set the flower, you create a sturdy base for the final touch. Then, once the flower is glued and set, use your fingers to "fluff" the petals by pulling them outward from the center. Finally, this gentle separation of the coiled layers gives the flower its signature rounded, bushy appearance.


