
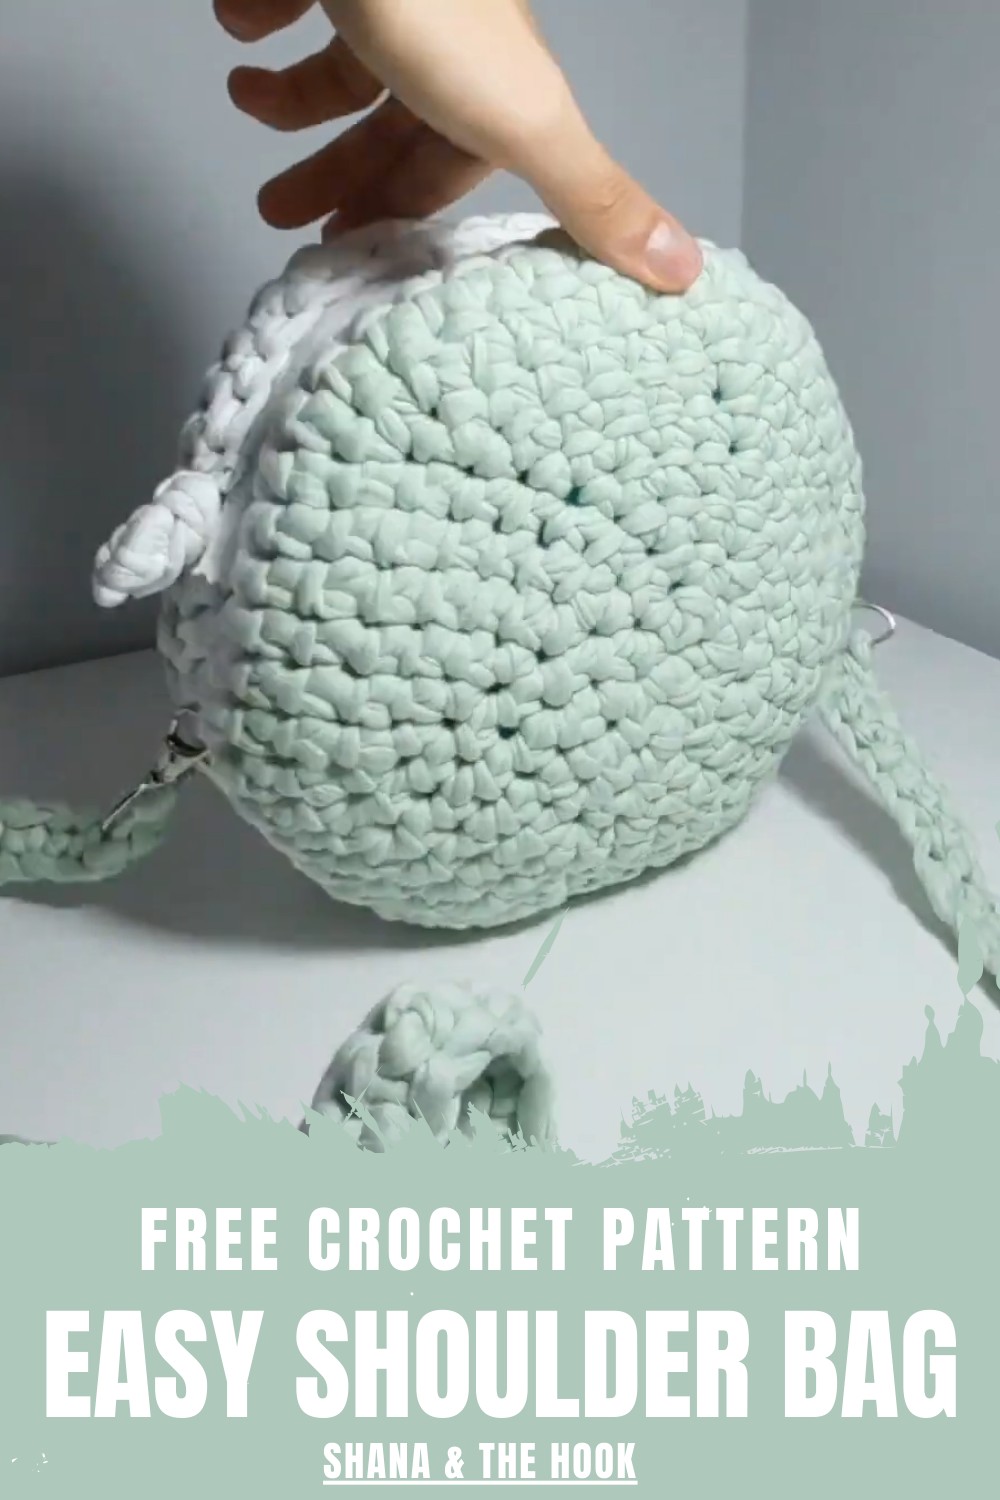
Carry style effortlessly with this Crochet Shoulder Bag Pattern, featuring a lightweight, versatile design perfect for everyday and outings.
Functional design meets timeless style in this versatile accessory, perfect for everyday use or special outings. The Crochet Shoulder Bag Pattern combines practical storage with handcrafted charm, offering a spacious interior for essentials while maintaining a stylish silhouette. Its durable construction ensures longevity, and the comfortable strap allows easy carrying on the shoulder, making it ideal for casual errands, travel, or work.
Boho Crochet Shoulder Bag Pattern That Brings Unique Charm
Intricate stitch patterns add texture and visual interest, elevating a simple bag into a polished, elegant piece. The design encourages personalization through yarn selection, color combinations, and optional decorative accents, allowing each bag to reflect individual style. Lightweight yet sturdy, it balances practicality with aesthetic appeal, effortlessly complementing a variety of outfits.
Combining creativity, utility, and beauty, the Crochet Shoulder Bag Pattern transforms yarn into a functional, stylish accessory that enhances daily routines while celebrating handmade craftsmanship and timeless design.
Step-by-Step Instructions
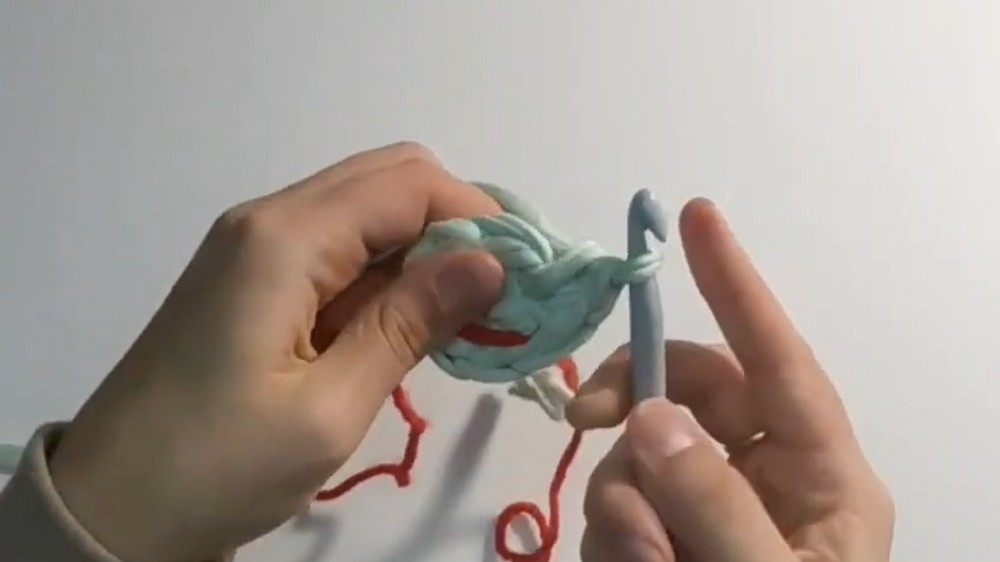
Step 1: Create the Circular Base
- Begin by making a magic ring to form the center of the circle.
- Tighten the ring after completing six single crochet stitches into the ring.
- Insert a stitch marker (use yarn or any marker) into the first stitch to easily identify the start of the round.
- Round 1:
- Make one single crochet into the same stitch where the marker was placed.
- Add two single crochet stitches into the first stitch and keep the stitch marker in the first single crochet of this round.
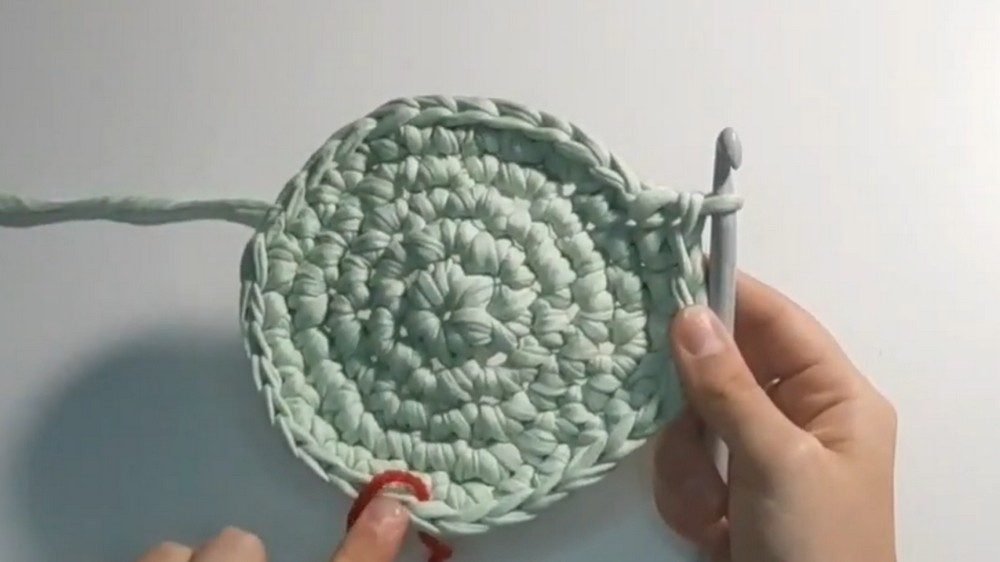
- Rounds 2-6: Gradually increase stitches:
- Round 2: Two single crochet stitches in the first stitch, then alternate single crochet stitches (2 in 1 stitch, 1 in next stitch).
- Round 3: Two single crochet stitches in 1 stitch, then 1 single crochet in the next 2 stitches.
- Round 4: Two single crochet stitches in 1 stitch, then 1 single crochet in the next 3 stitches.
- Round 5: Two single crochet stitches in 1 stitch, then 1 single crochet in the next 4 stitches.
- Continue until Round 6, adding increments of 1 single crochet per pattern.
- Round 7 and Color Changes:
- Begin Round 7 by changing yarn color if desired.
- Insert the hook into the first stitch, pull through the new yarn color, and proceed with single crochet stitches around.
- Continue single crochet rounds (with or without increases as you approach the desired circle size). When finished, cut the yarn and hide the loose ends.
- Make a second circular piece identical to the first.
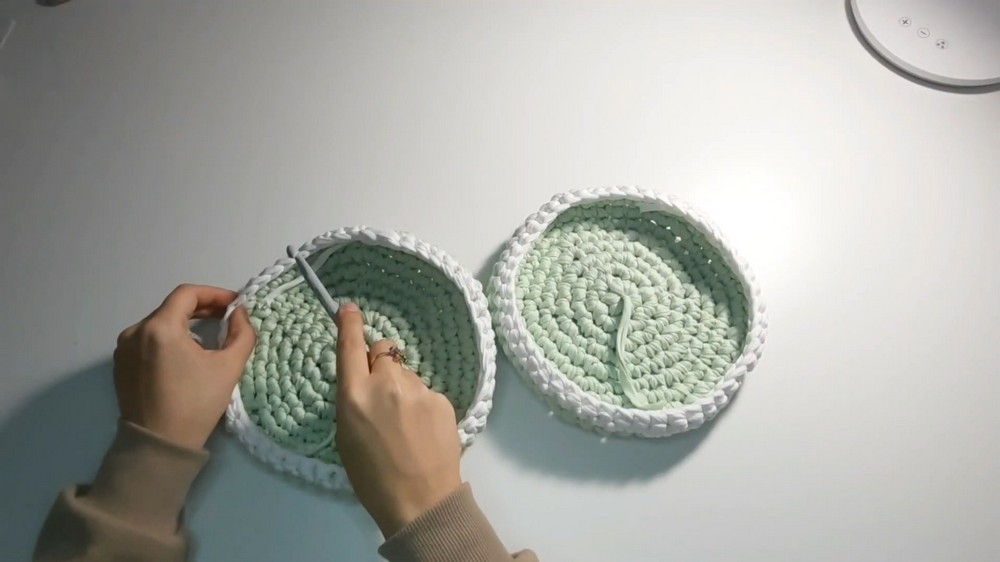
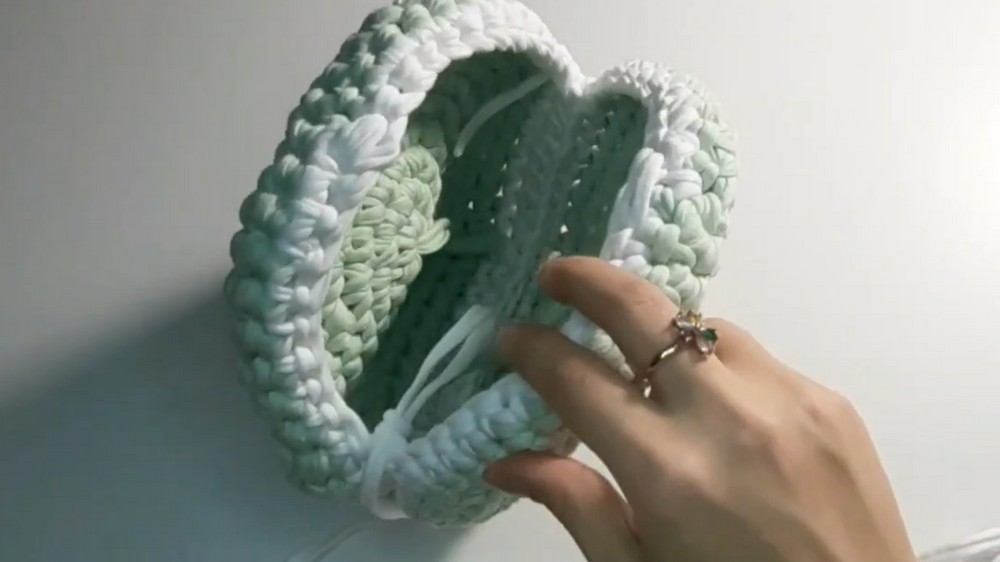
Step 2: Join the Two Circles
- Place stitch markers along the edges of each circular piece to mark where you need to connect.
- Begin joining:
- Insert the hook into one circle, make a chain stitch, and begin single crochet stitches along the edges to connect both pieces.
- Alternate between stitching into both pieces to ensure they align evenly.
- Leave an Opening: Stop crocheting before reaching the stitch markers and leave space for the zipper installation.
3: Add the Zipper
- Select a zipper that matches the size of your bag. If your zipper is too long, follow instructions in the video to shorten it.
- Use a needle and thread to sew the zipper onto the inner edges of the bag's opening.
- Sew securely, ensuring the zipper aligns correctly and zips smoothly.
- For a polished look, add decorative crocheted elements around the zipper edges.
4: Create the Strap
- Gather materials, including yarn and two carabiners for attaching the strap to the bag.
- Insert yarn into one carabiner and make a slip knot.
- Begin chaining:
- Create approximately 100 chains (or adjust based on your preferred strap length).
- Connect the second carabiner and work 1 single crochet stitch into each chain.
- Once complete, secure the ends and attach the strap to your bag.
5: Add Optional Zipper Clip Decoration
- Insert yarn into the hole of the zipper's clip and make a slip knot.
- Create a few chains (adjust the number to your preferred length), and tie a simple knot at the end for a decorative finish.
- Use hot glue to secure loose ends and ensure durability.

Special Features
- Compact and Handy Design: This bag has a chic circular shape, making it stylish while remaining functional.
- Customizable Strap Length: The adjustable strap allows you to personalize the bag to your needs.
- Zipper and Decoration: The addition of a zipper ensures security for your belongings, while decorative touches elevate the bag's aesthetic appeal.
- Beginner-Friendly: The tutorial uses basic stitches and techniques, making it approachable for crocheters of all skill levels.
Level of Difficulty
This project is beginner-friendly. While it incorporates techniques such as a magic ring, single crochet increases, and zipper installation, the steps are explained clearly in the video, making it easy to follow.
Tutor’s Suggestions
- Keep Tension Consistent: Ensure even tension throughout the piece for a uniform look, especially when crocheting the circles.
- Use Stitch Markers: They help keep track of rounds and make joining pieces easier.
- Practice Zipper Attachment: If you're unfamiliar with sewing zippers, follow the instructions carefully or use a sewing machine for a cleaner finish.
Uses and Materials
Uses:
- A zippered circular bag perfect for carrying small essentials.
- Functional yet stylish as a handmade accessory for daily use or gifting.
- Great for sale in handmade goods or craft markets.
Materials:
- Yarn (Category 4 or based on preference).
- Crochet hook (3 mm).
- Two carabiners for the strap.
- Zipper (adjustable length).
- Needle, thread, scissors, stitch markers, and hot glue.
Tip
Test Zipper Placement before sewing it onto the bag. Pin it in place and check alignment to ensure smooth functionality.
Conclusion
This step-by-step pattern teaches you how to crochet a zippered circular bag with a stylish strap and practical zipper design. By following the clear instructions, you can easily crochet a functional handmade accessory that is both elegant and personalized. Whether you're a beginner or an experienced crocheter, this project offers a satisfying challenge and a versatile finished product.


