
Autumn tables feel warmer with this Crochet Pumpkin Coaster Pattern, offering festive charm, surface protection, and cozy vibes for fall.
Perfect for autumn and Halloween festivities, the Crochet Pumpkin Coaster Pattern adds a blend of seasonal elegance and functionality to any setting. Featuring an intricate yet beginner-friendly design, the coasters not only protect your furniture from heat and water rings but also offer a cozy, warm aesthetic that complements fall decor beautifully.
Seasonal Crochet Pumpkin Coaster Pattern for Cozy Homes
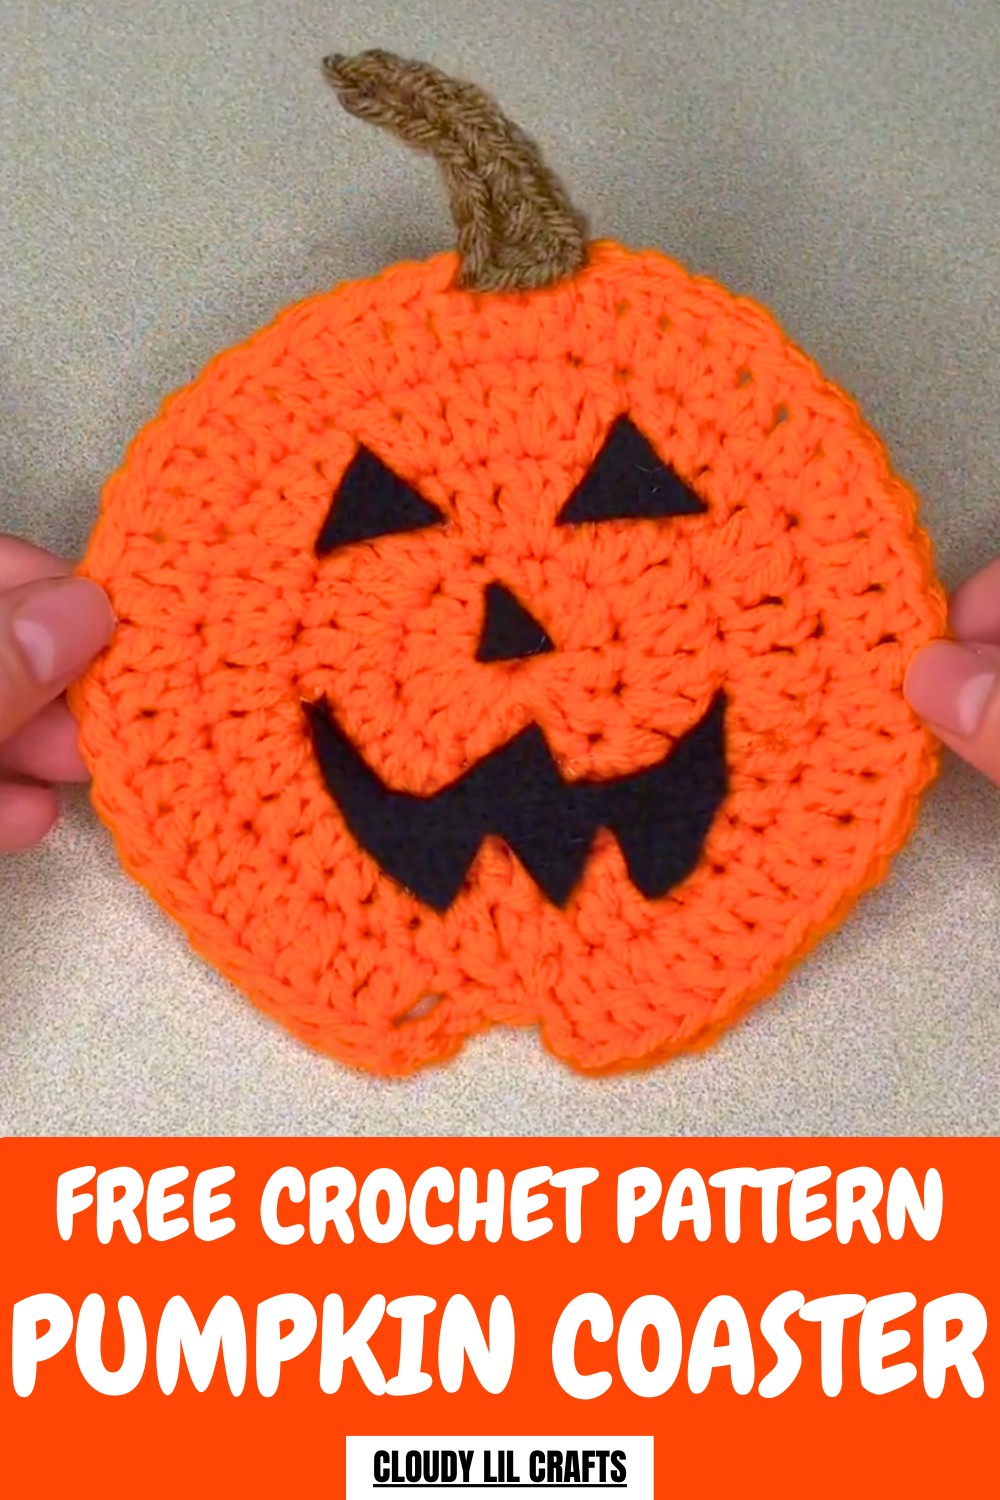
With a vivid pumpkin shape and the option to customize stems or even turn them into spooky Jack-o’-Lanterns, they serve both decorative and practical purposes. Soft to the touch and crocheted with durable yarn, these handmade coasters are ideal for coffee tables, kitchen counters, or even gifting to friends and family during the holiday season.
Whether used in a rustic farmhouse or a festive Halloween setup, the Crochet Pumpkin Coaster Pattern provides detailed results and endless creative possibilities. Designed to be engaging yet simple for crocheters of all levels, this project lets you celebrate fall in style.
How to Make Crochet Coasters Pumpkin
Special Features
- Dual Purpose Design: These coasters can be left as plain pumpkins or personalized with black felt and fabric glue for Jack-o'-Lantern faces.
- Seasonal Aesthetic: Perfect decoration for Halloween and fall, blending functional use with festive vibes.
- Customizable: You can choose between green or brown yarn for the stem, and design creative Jack-o'-Lantern faces with felt.
- Beginner-Friendly Techniques: Uses basic crochet techniques such as magic rings, double crochets, single crochets, and increases.
Level of Difficulty
This project is rated beginner-friendly, with clear instructions and simple techniques. If you are familiar with basic stitches like double crochet, single crochet, and slip stitches, you will find it very manageable. The most advanced component is creating a magic ring, but the tutor provides a helpful linked video tutorial to guide you.
Step-by-Step Instructions
Materials Needed
- Worsted-weight yarn in:
- Pumpkin orange
- Brown or dark green (for the stem)
- 5 mm crochet hook
- Yarn needle
- Scissors/snippers
- Black felt and fabric glue (optional, for Jack-o'-Lantern faces)
Steps to Make the Pumpkin Coaster
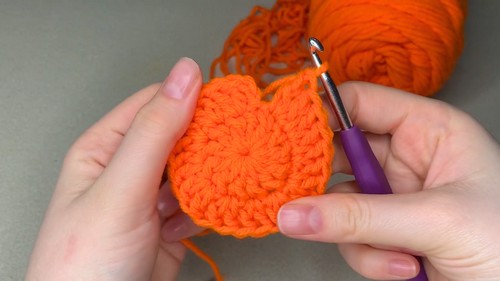
- Create the Magic Ring
- Start with a magic ring (or alternately chain 2).
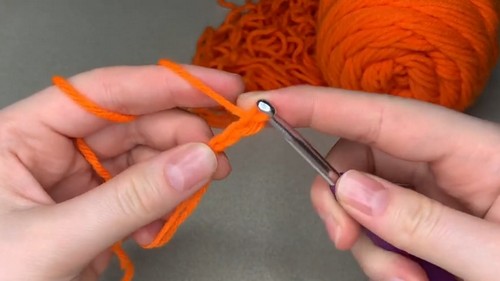
- Chain 2, then work 12 double crochets into the magic ring.
- Tighten the ring to close up the center and slip stitch to join at the first stitch.
- Start with a magic ring (or alternately chain 2).
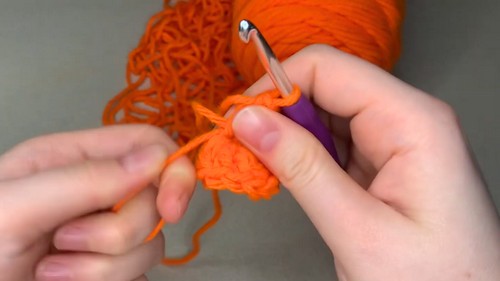
- Round 2 – Increase Stitches
- Chain 2. Work double crochet increases in each stitch around (2 double crochets in every stitch).
- Continue until the end of the round and slip stitch to join.
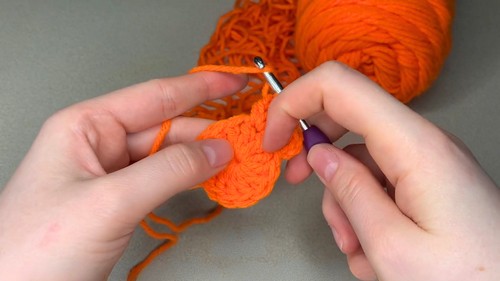
- Round 3 – One Increase Every Other Stitch
- Chain 2. Alternate one double crochet in one stitch followed by an increase in the next.
- Repeat the sequence across the row and then slip stitch to join.
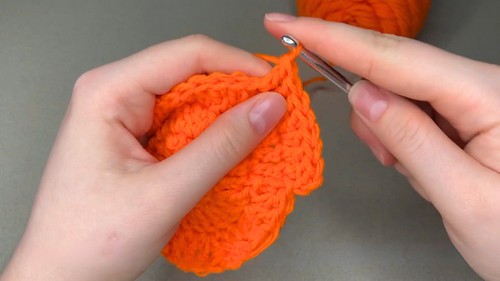
- Round 4 – Form Pumpkin Shape
- Chain 2. Alternate two double crochets in separate stitches followed by one double crochet increase (2 double crochets in a stitch).
- Repeat this process around the row.
- At the last stitch of the round, slip stitch into it and then slip stitch again into the previous round's joining stitch. Tie off your yarn to leave an indentation on the bottom, giving the coaster a slight pumpkin shape.
- Flip and Start the Stem
- Flip your coaster to the correct side.
- Attach your brown or green yarn for the stem. Loosely chain 7 stitches for the stem.
- Form the Stem (Back-Loop Only)
- Starting from the second chain from the hook, work in back-loop only. Do:
- Four single crochets in the first chains.
- One half double crochet.
- One double crochet in the last stitch.
- Tie off and leave a tail long enough to sew the stem to the top center of the pumpkin.
- Starting from the second chain from the hook, work in back-loop only. Do:
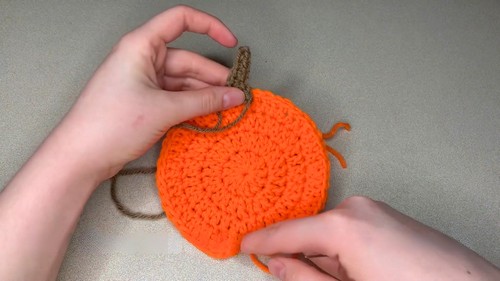
- Sew on the Stem
- Use the tail to attach the stem to the pumpkin. Align it neatly at the top and sew it securely. If necessary, work the yarn between the orange stitches to hide colors on the back.
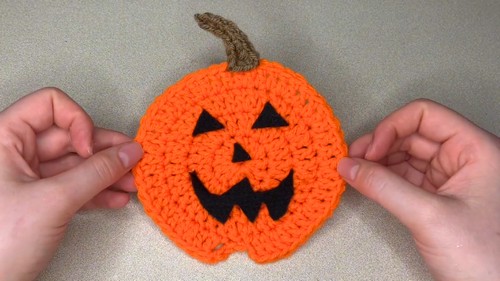
Optional Step – Make Jack-o’-Lantern Face
- Use black felt and scissors to cut out shapes for the Jack-o’-Lantern face (e.g., eyes, nose, and mouth).
- Arrange the pieces on the pumpkin before gluing to ensure proper placement.
- Use fabric glue to attach the felt securely. Avoid hot glue, as it can melt if you place a hot beverage on the coaster.
Tutor’s Suggestions
- The tutor emphasizes starting with a magic ring for a secure center. If you’re unsure, there’s a linked tutorial in the description to guide you with this method.
- Be careful when sewing the stem. For professional finishes, avoid letting messy yarn stitches show on the back of the coaster.
- The tutor strongly recommends using fabric glue instead of hot glue for Jack-o'-Lantern faces to prevent melting when placing hot mugs or drinks on the coaster.
Uses
- Decorate your coffee table for fall or Halloween.
- Use as functional coasters to protect against water or heat marks.
- Make as thoughtful handmade gifts for friends or family.
- Turn them into decorative elements for garlands, kitchen decor, or party favors.
Tip
When creating the stem, work with slightly loose chains and stitches to make it easier to crochet into the back loops. This results in a cleaner-looking stem with gentle curves and minimizes any frustrations.
Conclusion
The pumpkin or Jack-o'-Lantern crochet coasters are an easy and festive project ideal for elevating fall or Halloween decorations while being practical. With minimal materials and an engaging process, these charming coasters are perfect for beginners and experienced crocheters alike.


