
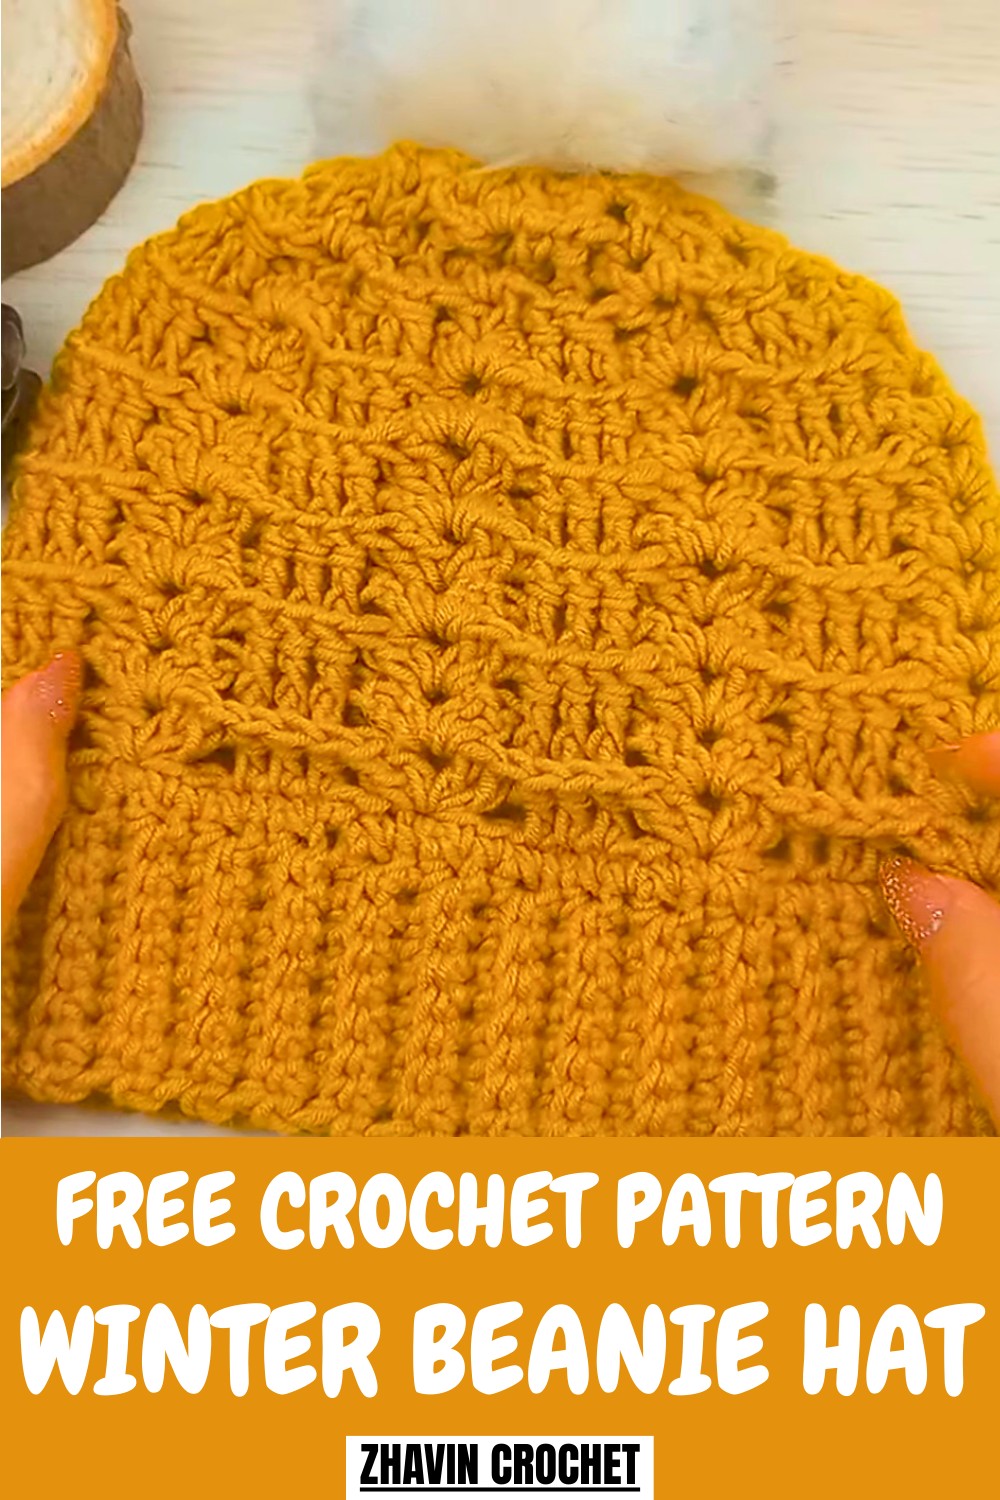
Keep warm with a Free crochet Winter Beanie Hat Pattern featuring soft, cozy stitches that provide comfort and a stylish touch for chilly days.
A crochet winter beanie hat is a stylish accessory that combines beauty and practicality. With its intricate pattern and cozy textures, it stands out as a unique piece in any wardrobe. Whether you're looking to make a fashion statement or keep warm in chilly weather, this hat offers a versatile look. Pair it with a scarf or wear it alone for a trendy, put-together outfit.
Playful Crochet Winter Beanie Hat Pattern Kids Will Adore
Beyond its visual appeal, the beanie provides excellent insulation against cold temperatures, making it a must-have for winter. Its handmade quality ensures a snug fit that machine-made hats often lack.
Additionally, crocheting your own beanie hat pattern can be a rewarding and mindful experience, allowing you to customize colors and designs to suit personal tastes and preferences.
Step-by-Step Guide: Making a Simple Crochet Beanie Hat
Materials Needed
- Yarn: Worsted weight yarn.
- Crochet hooks:
- 4.5mm hook for the brim.
- 5.5mm hook for the body of the hat.
- Tapestry needle: For closing the crown and weaving in loose ends.
- Scissors: To cut the yarn.
- Pom-pom (optional): For decoration.
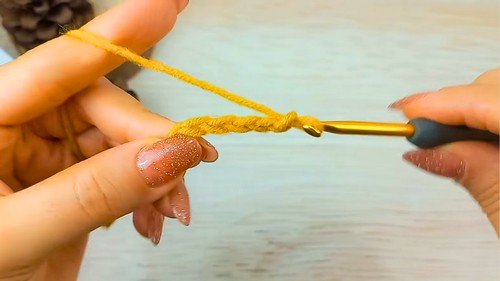
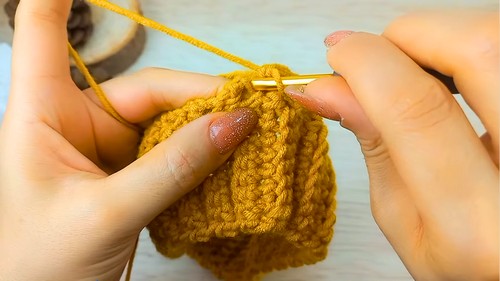
Step 1: Making the Brim
- Start with the smaller hook (4.5mm) and make a slip knot. Chain 9 stitches.
- Row 1: Skip the first chain and make 1 single crochet (sc) into the second chain. Continue making single crochets across (8 stitches total), then chain 1 and turn.
- Row 2:
- Make 1 single crochet under the two loops of the first stitch.
- For the middle stitches, insert your hook into the back loop only and make single crochets across.
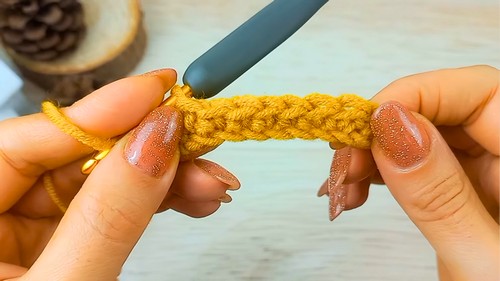
- For the last stitch, work under both loops again.
- Chain 1 and turn.
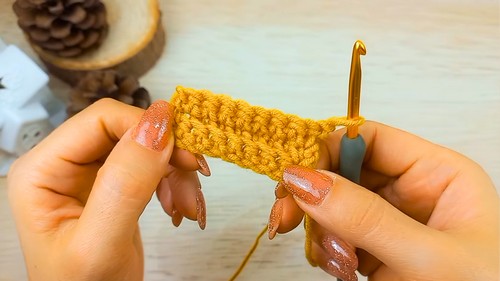
- Repeat Row 2 until you complete rows in multiples of 8 to fit the desired head circumference (e.g., 64 rows).
- Join the two short edges of the brim using slip stitches to form a tube.
Step 2: Starting the Body of the Hat
- Switch to the larger hook (5.5mm).
- Work 1 round of single crochet at the top of each row of the brim (64 stitches total).
- Slip stitch to join the round.
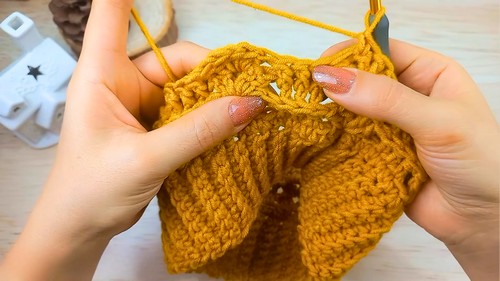
Step 3: Creating the Body of the Hat
- Round 1: Start with a chainless double crochet (dc), followed by another double crochet in the same stitch. Skip 2 stitches, then:
- Work 1 double crochet into each of the next 3 stitches.
- Skip 2 stitches again and work a V-stitch (2 double crochets, 1 chain, 2 double crochets) into the next stitch.
- Repeat this sequence until the end of the round.
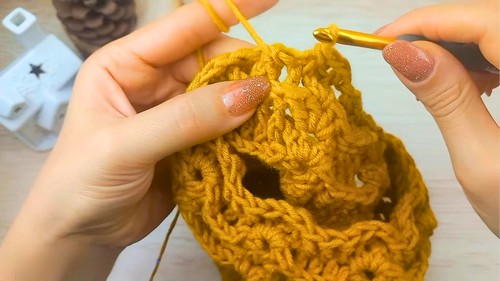
- Round 2:
- Turn the work and crochet on the wrong side.
- Work front post double crochets around the next 3 double crochets from the previous round.
- Continue the V-stitch into the chain of the V-stitch from the previous round.
- Repeat the pattern until the round is finished.
- Round 3 & 4: Alternate as in the previous rounds but turn your work at the end of each round to switch between the right and wrong side. Continue these two rounds until the body reaches your desired height.
Step 4: Shaping the Crown
- Round 1:
- At the next round, stop making chains or gaps for the V-stitch. Instead, work 4 double crochets directly into the chain space to reduce the width of the hat.
- Use front post double crochets for the remaining stitches.
- Round 2 Onward:
- Gradually begin decreasing. Turn the work and substitute every two stitches with decrease stitches until the crown starts to close.
- Use front post decreases where applicable to reduce the number of stitches row by row.
- Final Round: Once the crown is small enough, use your tapestry needle to thread the tail through the remaining stitches. Pull it tight to close the top.
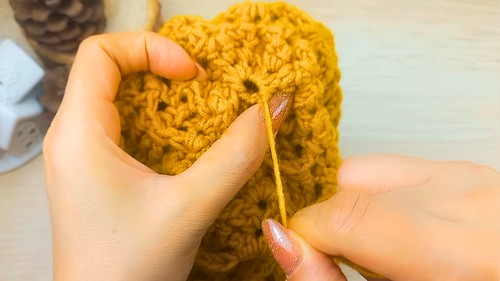
Step 5: Finishing Touches
- Secure the crown with a few stitches using your tapestry needle to avoid gaps.
- Add a pom-pom (optional) for a fun, decorative element at the top of the hat.
- Weave in the loose ends and cut any excess yarn.
Special Features of the Beanie Hat
- Customizable: You can adjust the size by changing the hook size, the yarn thickness, or the number of rows in the brim and body.
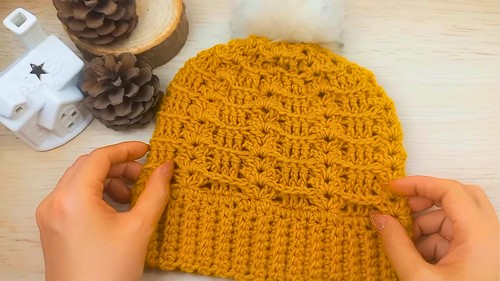
- Ribbed Brim: Adds a snug and stretchy fit.
- V-Stitch Body Pattern: Creates an attractive, textured design that’s lightweight but warm.
- Reversible Texture: Working in alternating directions (right and wrong sides) gives the hat a unique and polished look.
Difficulty Level
Beginner to Intermediate – While the stitches (single crochet, double crochet, front post stitches) are simple, maintaining the crown's decreases and the turning pattern might require some practice for beginners. However, the tutor explains each step in detail for easy learning.
Tutor’s Suggestions
- The tutor recommends using a long tail of yarn for closing the crown and sewing the final stitches securely.
- Count your stitches regularly to ensure the pattern’s alignment remains consistent.
- Always turn the work when the tutorial instructs to switch views for the textured reversible look.
Conclusion
This crochet beanie hat is a wonderful project for anyone seeking to craft something practical, beautiful, and unique. Its customization options and stylish V-stitch design make it an excellent choice for gifting or personal use. With clear step-by-step instructions, even beginners can feel confident in creating this cozy winter accessory.
Pro Tip
When joining the brim edges with slip stitches, ensure your tension isn’t too tight—this will keep the brim stretchy and comfortable to wear!


