
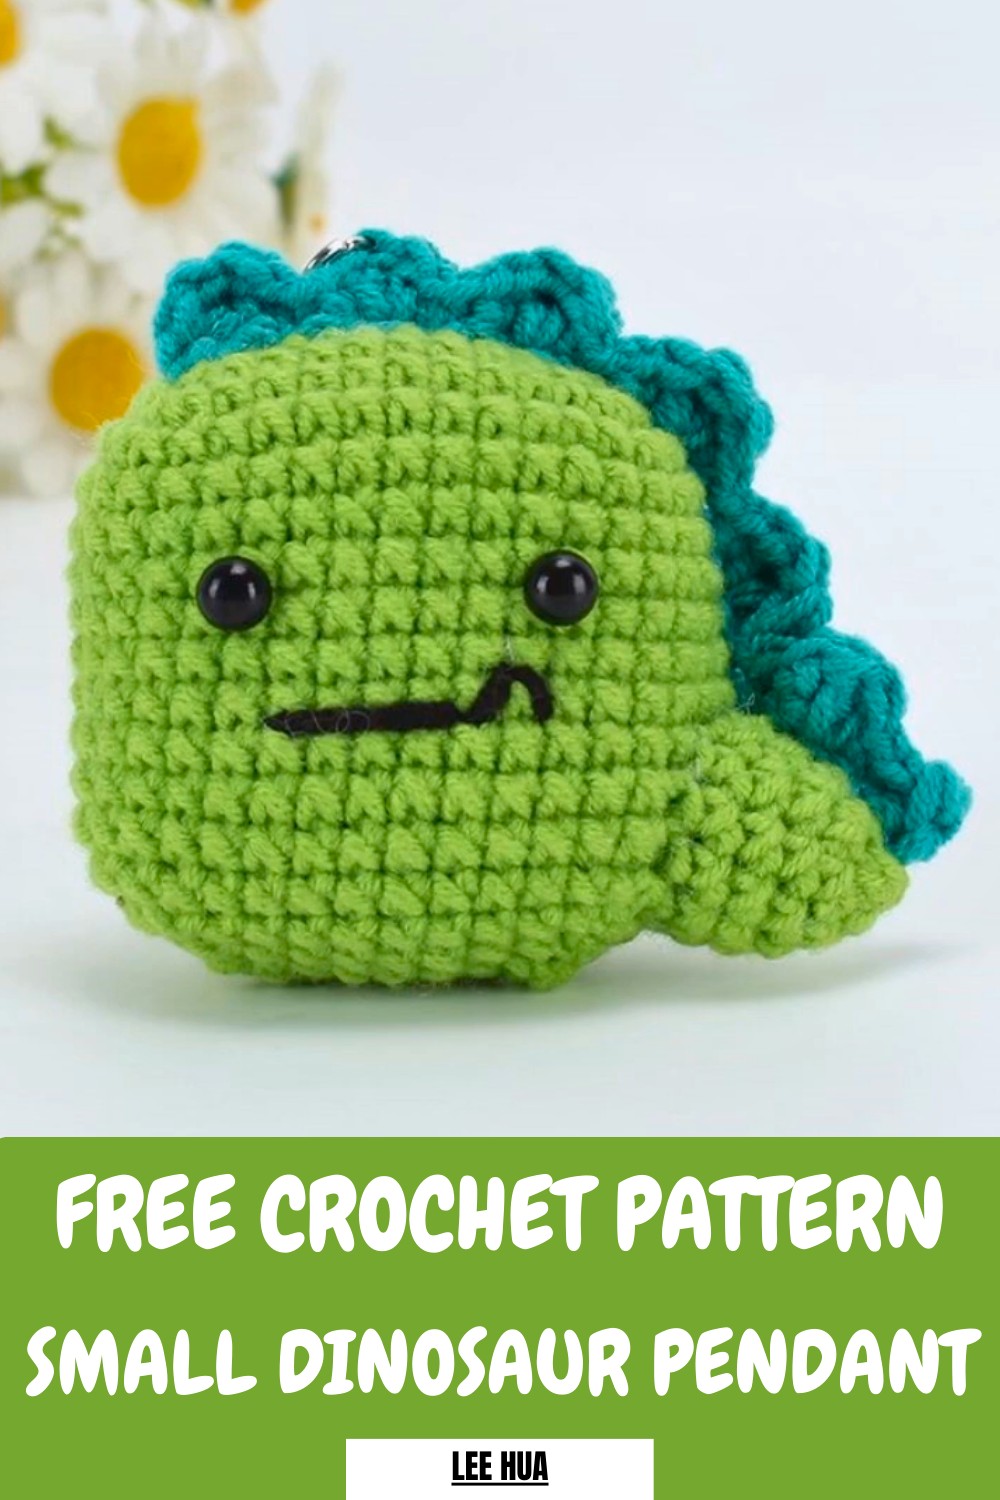
Bring charm to your accessories with this Free Crochet Dinosaur Pendant Pattern, offering a fun and customizable way to showcase your creativity.
Immerse yourself in a creative journey with this delightful crochet dinosaur pendant pattern. This charming accessory brings a playful and stylish flair to keychains, bags, or necklaces, thanks to its detailed craftsmanship. With components like a textured spine, tiny tail, and expressive facial features, it stands out as a miniature masterpiece that captures attention and sparks joy.
Irresistibly Crochet Dinosaur Pendant Everyone Will Love
The creation process not only offers an enjoyable challenge but also refines your crochet skills, weaving basic stitches with advanced techniques like decreases and shaping. This versatile pattern is ideal for crocheting thoughtful handmade gifts, especially for those who appreciate unique and whimsical items. Its customizable design invites experimentation with colors, textures, and yarns, allowing personal expression in every piece.
Beyond its aesthetic appeal, the pendant serves as a testament to your crochet prowess and artistic vision, resulting in a satisfying and memorable keepsake. Start crocheting your own charming dinosaur pendant today!
Step-by-Step Details
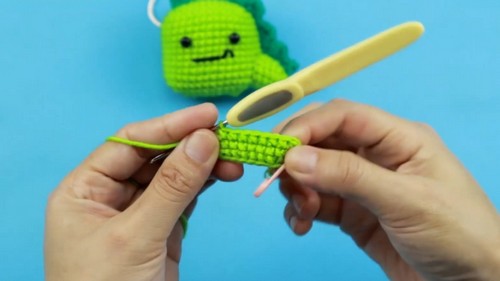
1. Crocheting the Body
- Make 10 chain stitches to start.
- Hook backward to complete 8 single crochets, working one stitch at a time using chain stitches on the penultimate stitch.
- Begin round 1 by adding specific combinations of single crochets:
- Hook 3 single crochets in a row (symbolized as "W").
- Hook stitches backward to create a symmetrical base.
- Continue with 20 single crochets to finish the bulk of round 1.
- Progress to round 2 using similar techniques:
- Repeat combinations like "W," single crochets, and slight increases as directed.
- Follow the diagram instructions presented for rounds 3–14, completing 36 single crochets by Round 14.
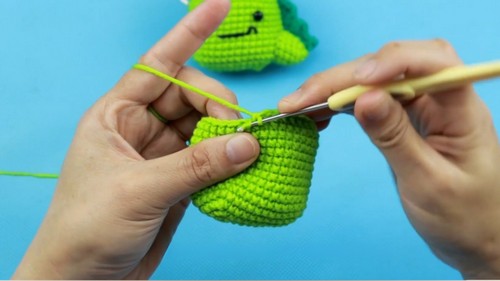
2. Decreasing Stitches
- Use the "M" stitch method in round 15 to reduce three stitches into one by picking the front loop of consecutive stitches. Combine the loops and crochet them together.
- Hook nine single crochets and repeat the "M" reduction pattern as directed.
- Finish Round 15 and follow the same principles to crochet rounds 16 and 17, gradually reducing stitches for a tapered effect.
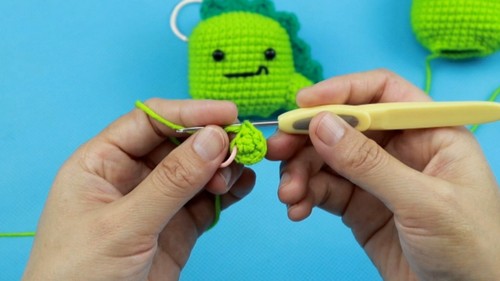
3. Creating and Attaching the Tail
- Hook six single crochets using the magic ring method to create a small disc.
- Progress through rounds 2–5, increasing stitches in combinations for proper shaping.
- Attach the tail to the main body by sewing them together:
- Use corresponding stitches to combine the sections.
- Securely sew around the outline of the tail.
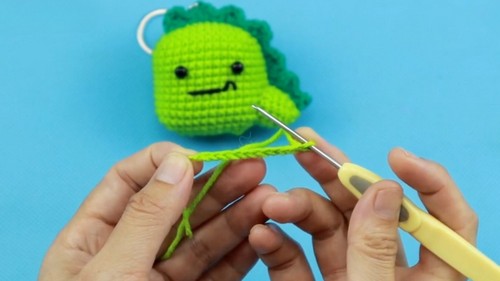
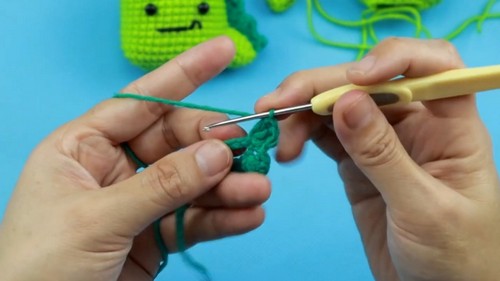
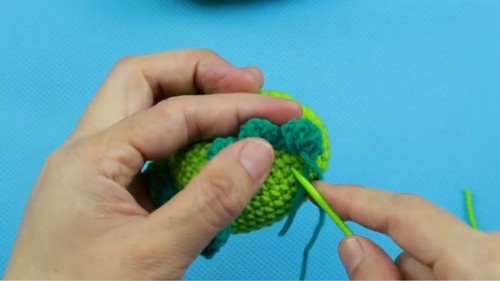
4. Making the Spine
- Crochet 26 chain stitches with darker yarn for the spine.
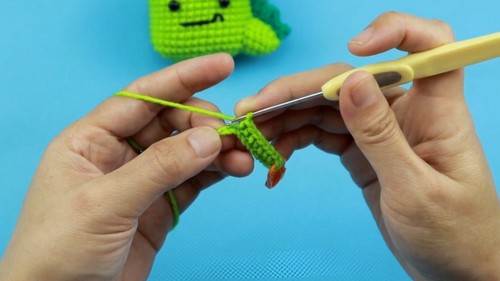
- Work in combinations of single and double crochets:
- Single crochet, then three double crochets in the same stitch.
- Follow with a slip stitch to complete a section.
- Repeat this pattern for the entire spine.
- Attach the spine to the body by sewing it along the back until it is fully secure.
5. Final Assembly
- Insert fiberfill into the body for structure.
- Attach details like the eyes and mouth:
- Position the eyes between rows 7–8.
- Embroider the mouth slightly lower with outlining stitches.
- Complete the pendant by adding a small ring; pinch it tightly to securely attach the dinosaur.
Special Features
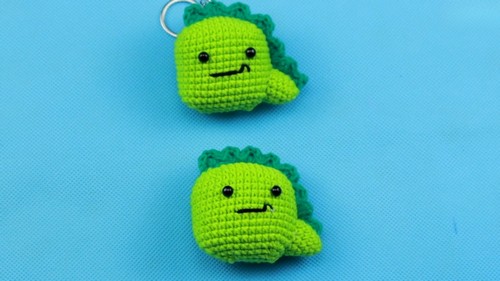
- Adorable Design: The tutorial creates a miniature dinosaur with intricate stitches and features.
- Highly Customizable: Tail, spine, and body can be made in various colors and patterns.
- Versatility: The finished dinosaur doubles as a decorative pendant or keychain.
Level of Difficulty
The project is suited for intermediate-level crocheters, though beginners who are familiar with basic stitches like single crochet and double crochet can follow along. Advanced techniques such as decreases (symbol "M") and magic ring method may require extra practice.
Tutor’s Suggestions
- Pay close attention to symbol instructions (e.g., W for three single crochets, V for increases, M for decreases).
- Follow the diagram carefully to ensure accurate stitch counts and shaping.
- Use fiberfill for stuffing to maintain the dinosaur’s structure without overstuffing, which may distort the shape.
Materials
- Crochet Hook: Size 2.0 mm as suggested.
- Yarn: Select soft, crochet-friendly yarn in green shades for the body and a darker shade for the spine.
- Fiberfill: Used to stuff the body and tail.
- Eyes: Plastic or embroidered, placed near the top of the body.
- Pendant Ring: Optional for turning the dinosaur into a pendant.
Uses
- Decorative Item: Perfect as a cute pendant for bags, keys, or necklaces.
- Gift: Great handmade gift for children or crochet enthusiasts.
- Creative Practice: Crocheting detailed items like this improves skill with shaping and reductions.
Tip
Make sure you mark your stitches consistently as you go (e.g., first single crochet of each round). This helps to avoid losing track of progress or miscounting stitches, especially during reductions.
Conclusion
The dinosaur crochet pattern is a fun project for mastering basic and intermediate crochet techniques. The finished product is both functional and charming, ideal for personalization or gifting. By following the detailed steps and advice from the tutor, you can create a unique crochet accessory while improving your crochet skills.


