
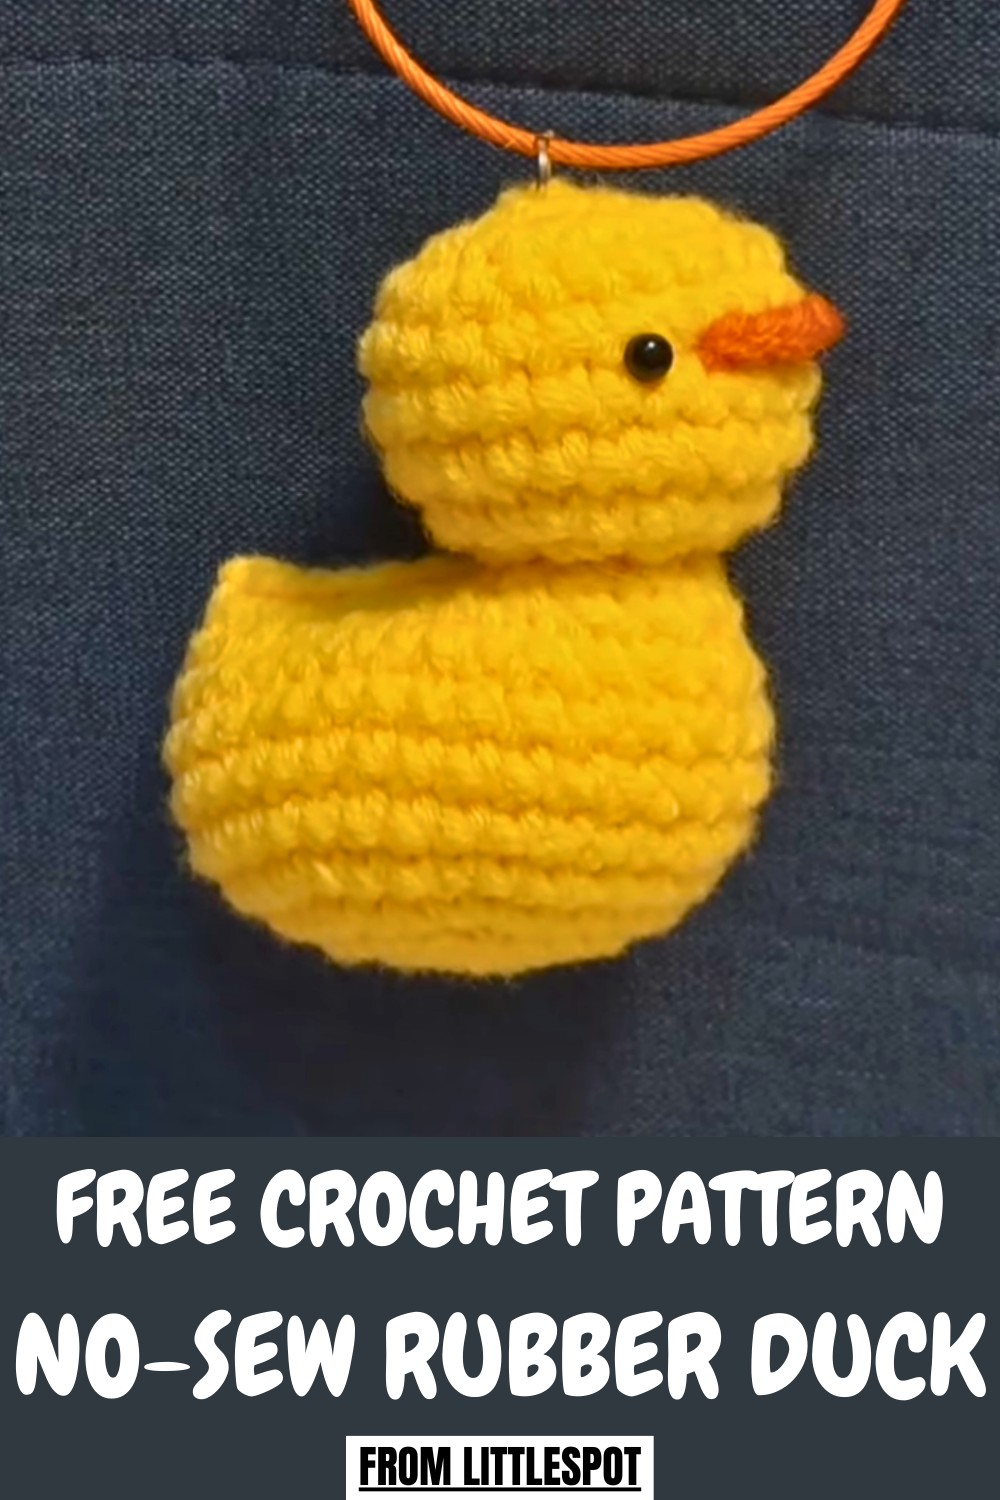
Fun and easy Crochet Rubber Duck Pattern offers cheerful character through simple steps suited for all levels and quick project satisfaction.
A small burst of sunny charm seems to appear the moment this little duck begins forming, its bright shWebsiteape bringing an instant lift to any setting. As the Crochet Rubber Duck Pattern guides each step, the playful figure gradually comes to life with soft curves and a cheerful presence. Designed to feel lively yet polished, it becomes an ideal choice for gifting, nursery accents, themed décor, or simply adding a joyful touch to personal spaces.
Uses, and Materials
-
Uses: Display the finished duck as desk decor or use it as a keychain.
-
Materials:
-
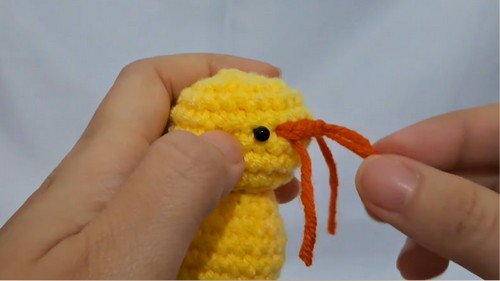
Yarn: Main color (Yellow) and Beak color (Orange).
-
Hook: A 3 mm hook.
-
Notions: 4 mm plastic safety eyes, stuffing/filling, a tapestry needle, and a stitch marker.
-
-
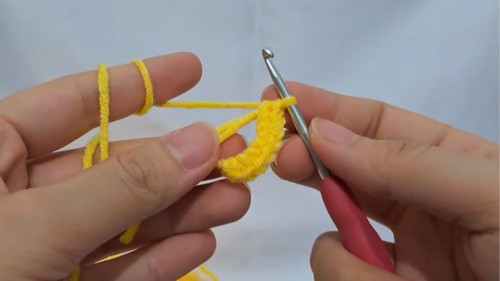
Difficulty Level: This is an Easy tutorial, suitable for beginners, focusing on core Amigurumi techniques like the Magic Ring, single crochet, increases, and the Invisible Decrease (worked in the front loop only).
Floating Crochet Rubber Duck Pattern for Cute Decor
The calming rhythm of the work encourages focus and mindfulness, transforming the project into a peaceful creative moment. Lightweight and easy to display, the finished piece blends beautifully into shelves, gift baskets, or playful collections, brightening its surroundings with simple joy.
Gentle shaping methods and approachable stitches make the process smooth and relaxing, allowing each detail to settle naturally into place.

The duck’s rounded body, tiny wings, and classic beak evoke a nostalgic, heartwarming appeal, capturing the familiar bath-time icon in a cozy, squeezable form.
Customization feels effortless, whether experimenting with bright colors, adjusting size, or adding embroidered expressions to create individuality.
Tutor's Suggestions
-
Standing Stability: Know that the duck might find it hard to stand on its own. Add some weight (such as small pebbles or rice in a secure pouch) to the bottom of the body if you plan to display it on a desk.
-
Keychains: If you plan to use the duck as a keychain, you do not need to add extra weight.
-
Hat Variation: The tutor suggests creating a version with a beanie by changing the yarn color to white before starting the head increases (Round 12) and then switching to a green color for the subsequent rows (starting at Round 13).

Special Features:
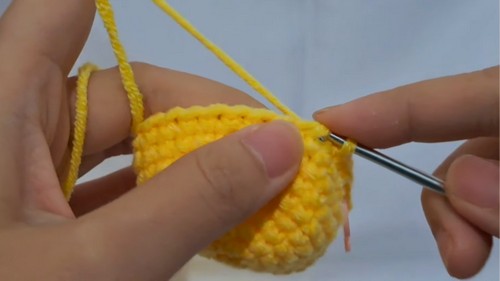
- The primary feature is the "no-sew" body construction, meaning you crochet the body, neck, and head as a single, continuous piece, minimizing assembly time. The pattern also includes a clever technique using slip stitches to create the distinct neck definition.

With its mix of sweetness, versatility, and charm, this pattern delivers a delightful result that warms any environment.
Conclusion
You have successfully created your charming no-sew rubber duck! By mastering the seamless body construction and the tiny beak detail, you now hold a complete, cuddly Amigurumi toy.
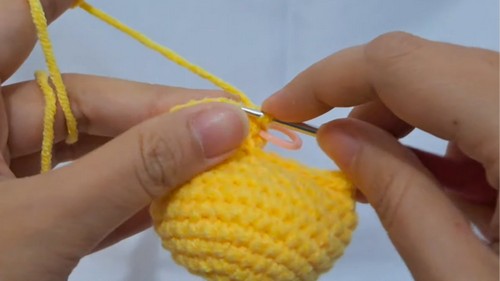
Final Tip
When closing the final opening of the head, use the Invisible Decrease method for all decrease rounds, and when you finally draw the closing tail through the remaining loops, only insert the needle into the front loop of each stitch. This technique ensures the smallest, neatest possible closure for your plushie's head.


