
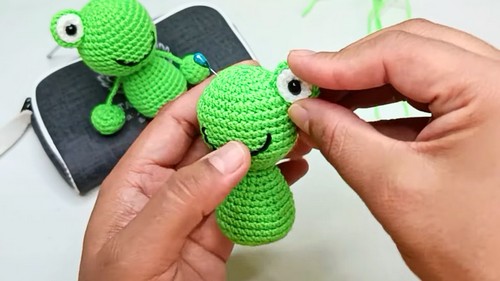
Playful hops begin with the Free crochet Frog Keychain Pattern, featuring easy steps, quick stitching, and a cute mini charm for bags and keys.
Small enough to clip anywhere yet full of charm, this tiny frog accessory turns simple yarn into a cheerful companion for daily life. The Crochet Frog Keychain Pattern focuses on clear stitches, smooth shaping, and quick assembly, making it friendly for beginners while still satisfying for experienced hands. Soft textures and rounded features give the frog a cute, playful look that suits backpacks, keys, pencil cases, or gift tags.
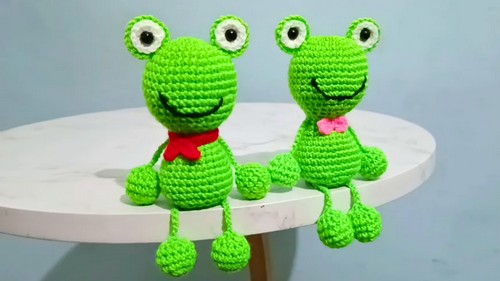
Soft & Smiley Crochet Frog Keychain Pattern for Daily Use
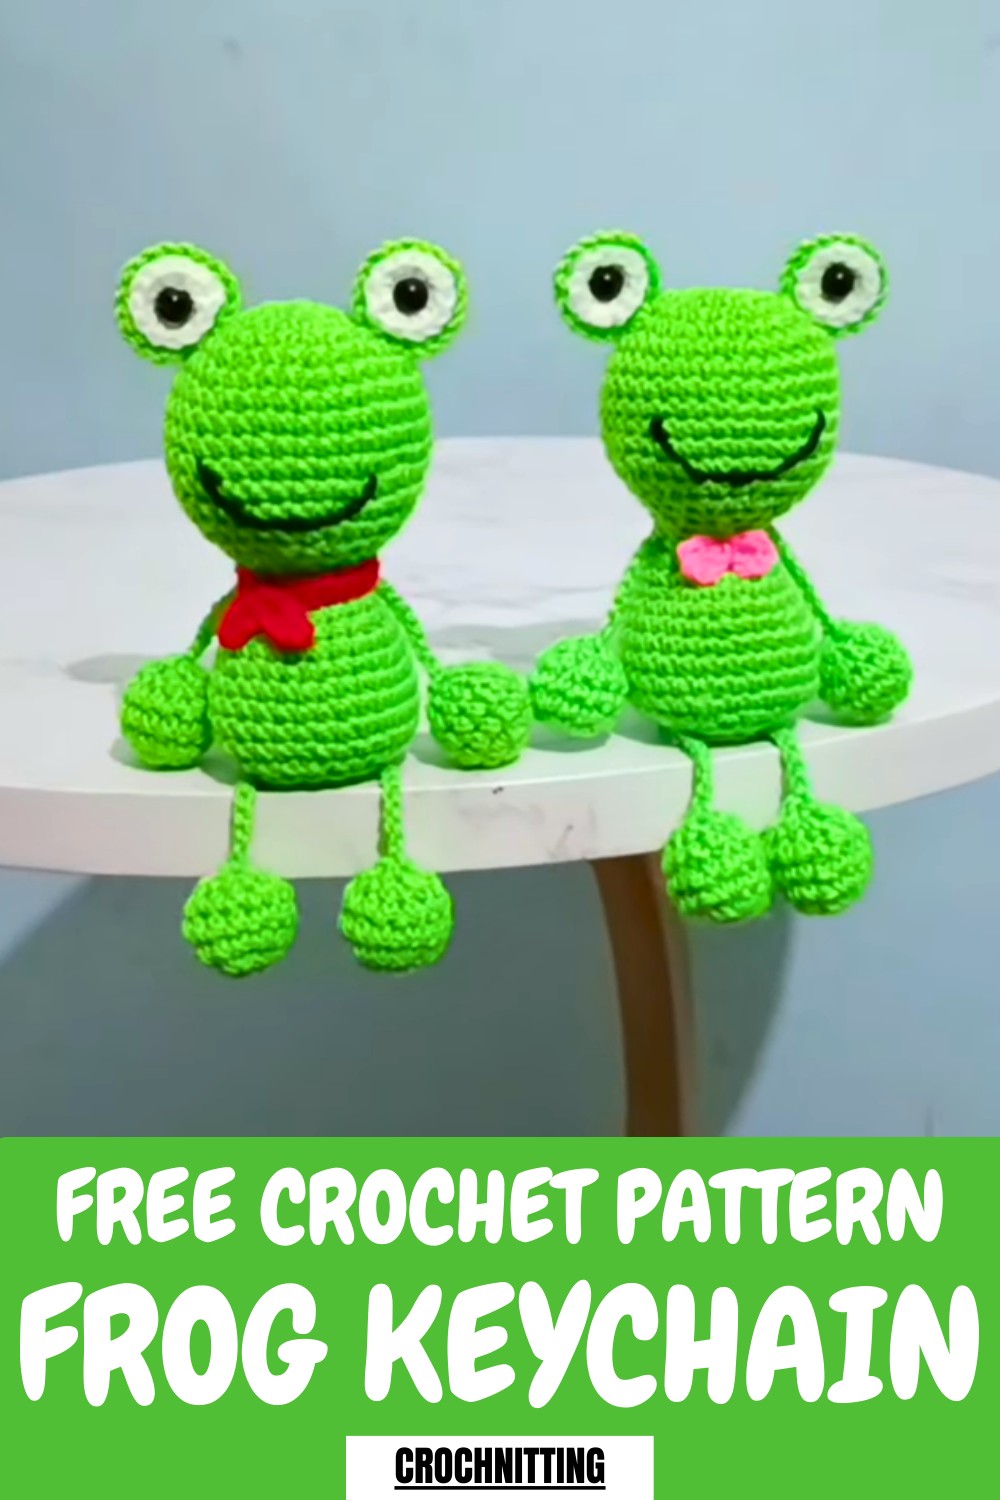
Practical use meets decoration, as the sturdy loop keeps keys easy to spot and lowers chances of misplacing them. The finished piece stays lightweight, durable, and portable, perfect for personal use or thoughtful handmade gifts. Working on such a small project also supports focus, calmness, and skill practice without feeling overwhelming. Simple color choices or gentle contrasts allow personality without complexity.
Uses and Materials
-
Yarn: 3-ply Cotton or Acrylic yarn in Green, White, and a small amount of Black (for the mouth) and Red/Blue (for the muffler/bow).
-
Hook Size: 3.0mm crochet hook.
-
Other: Polyester fiberfill stuffing, 2 small black beads or safety eyes, tapestry needle, stitch markers, and fabric glue.
-
Uses: Bag charms, keychains, desk mascots, or children's toys.
Special Features
-
Modular Construction: The head and body are worked in one piece, ensuring durability.
-
Customizable Accessories: Includes instructions for a tiny muffler and bow.
-
Layered Eyes: A three-part eye design (green base, white center, black pupil) for an expressive look.
Level of Difficulty
-
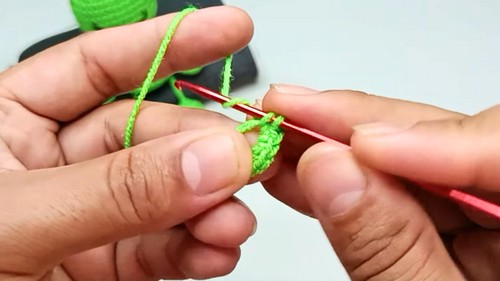
Easy: Requires knowledge of the Magic Ring, Single Crochet, Increasing, and Decreasing.
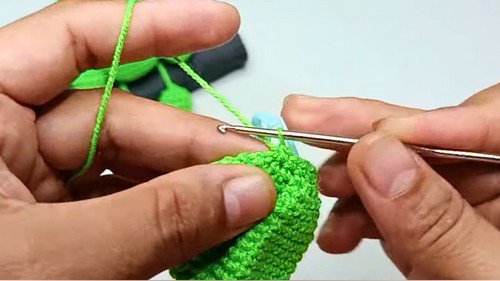
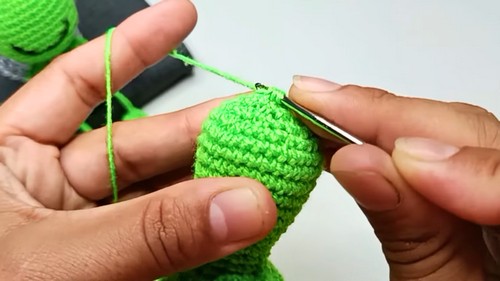
Pattern Instructions
Head and Body (Worked in one piece)
-
Rnd 1: 6 sc in Magic Ring (6)
-
Rnd 2: 2 sc in each st around (12)
-
Rnd 3: [1 sc, inc] x6 (18)
-
Rnd 4: [1 sc, inc, 1 sc] x6 (24)
-
Rnd 5: [3 sc, inc] x6 (30)
-
Rnd 6: [2 sc, inc, 2 sc] x6 (36)
-
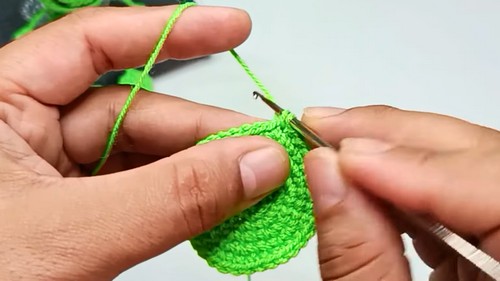
Rnd 7-12: sc in each st around (36)
-
Rnd 13: [2 sc, dec, 2 sc] x6 (30)
-
Rnd 14: [3 sc, dec] x6 (24)
-
Rnd 15: [1 sc, dec, 1 sc] x6 (18)
-
Rnd 16: [1 sc, dec] x6 (12)
-
Rnd 17-18: sc in each st around (12) — This forms the neck. Stuff the head firmly.
-
Rnd 19 (Start Body): [1 sc, inc] x6 (18)
-
Rnd 20: sc in each st around (18)
-
Rnd 21: [1 sc, inc, 1 sc] xx6 (24)
-
Rnd 22: sc in each st around (24)

-
Rnd 23: [3 sc, inc] x6 (30)
-
Rnd 24-27: sc in each st around (30)
-
Rnd 28: [3 sc, dec] x6 (24)
-
Rnd 29: [1 sc, dec, 1 sc] x6 (18)
-
Rnd 30: [1 sc, dec] x6 (12) — Stuff the body.
-
Rnd 31: 6 dec (6)
-
Fasten off, weave tail through remaining stitches and pull tight to close.
Limbs (Make 4: 2 Arms, 2 Legs)
-
Rnd 1: 6 sc in Magic Ring (6)
-
Rnd 2: 2 sc in each st (12)
-
Rnd 3: [3 sc, inc] x3 (15)
-
Rnd 4: sc in each st (15)
-
Rnd 5: [3 sc, dec] x3 (12)
-
Rnd 6: 6 dec (6)
-
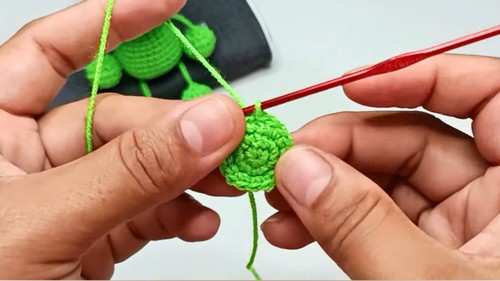
Chain: Chain 9 from the top of the bulb. Fasten off, leaving a long tail for sewing.
Eyes (Make 2 of each)
-
Green Base: 6 sc in MR, inc in each (12), [1 sc, inc] x6 (18). Fasten off.
-
White Center: 6 sc in MR, inc in each (12). Fasten off.
-
Assembly: Glue or sew the white circle onto the green circle. Glue a black bead in the center.
Accessories
-
Muffler: Chain 20. Starting in 2nd ch from hook, sc in each ch. Fasten off.
-
Bow: In a Magic Ring: [ch 2, 1 hdc, 1 dc, 1 hdc, ch 2, sl st] x2. Pull ring tight and wrap yarn around center.
Assembly
-
Face: Embroider a smile between Rnds 9 and 10 of the head.
-
Eyes: Sew eyes to the upper sides of the head (approx. Rnd 5-6).
-
Arms: Sew the chains of two limbs to the sides of the neck.
-
Legs: Sew the remaining two limbs to the bottom-front of the body so the frog "sits."
Tutor's Suggestions
Keep your tension tight to ensure the stuffing remains hidden. If you are using safety eyes instead of beads, remember to insert them through the white and green layers before closing the head at Rnd 16. The tutor suggests that adding a small amount of blush with a pink colored pencil or real makeup under the eyes can add extra cuteness.
Conclusion
This frog pattern is a perfect foundation for learning amigurumi structure. It results in a sturdy, charming figure that holds its shape well. By following the modular steps for the head, body, and limbs, you can efficiently produce several frogs in different colors and outfits.
Tip
Use "Invisible Decreases" (insert hook into front loops only of the next two stitches) when shaping the head and body. This prevents gaps in the fabric and gives the frog a much smoother, professional surface.


