
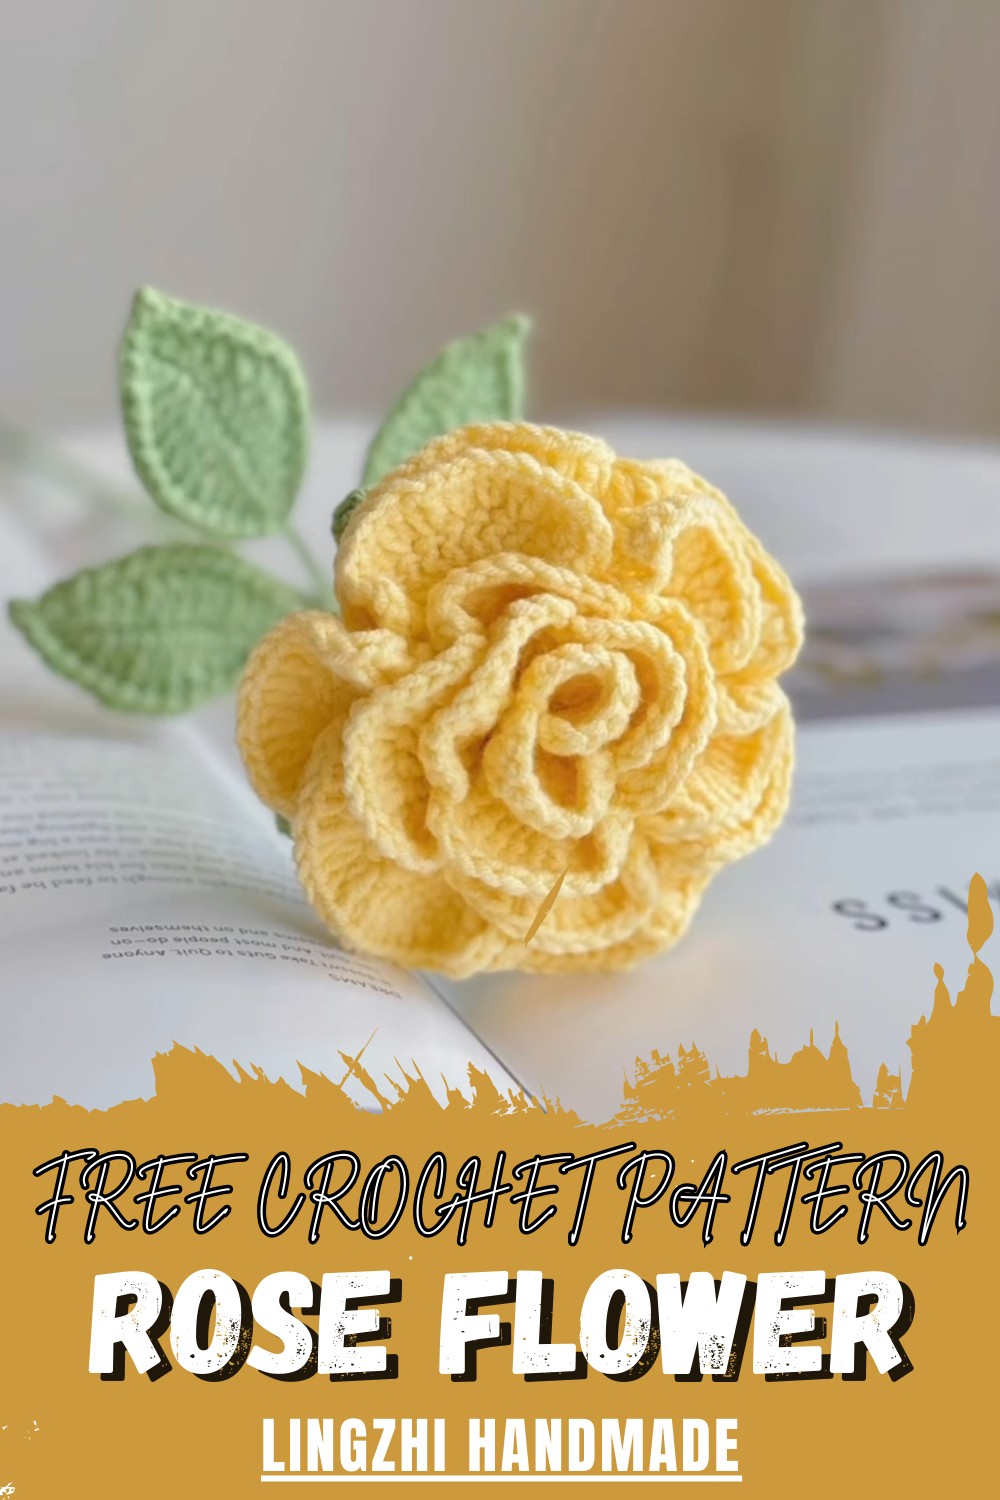
Turn ordinary days into floral fun with this Crochet Rose Pattern, easy to make and perfect for gifts, décor, or little surprises.
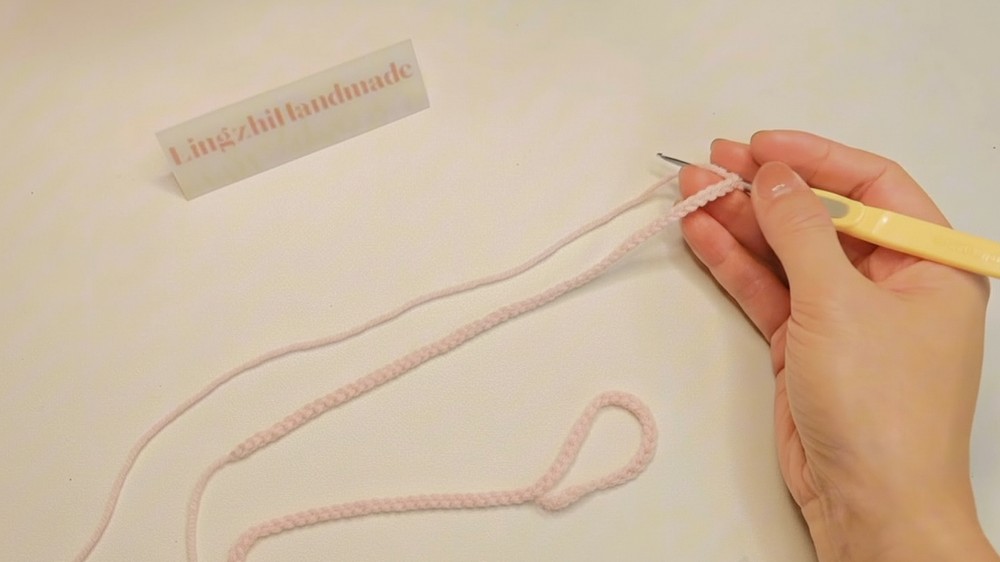
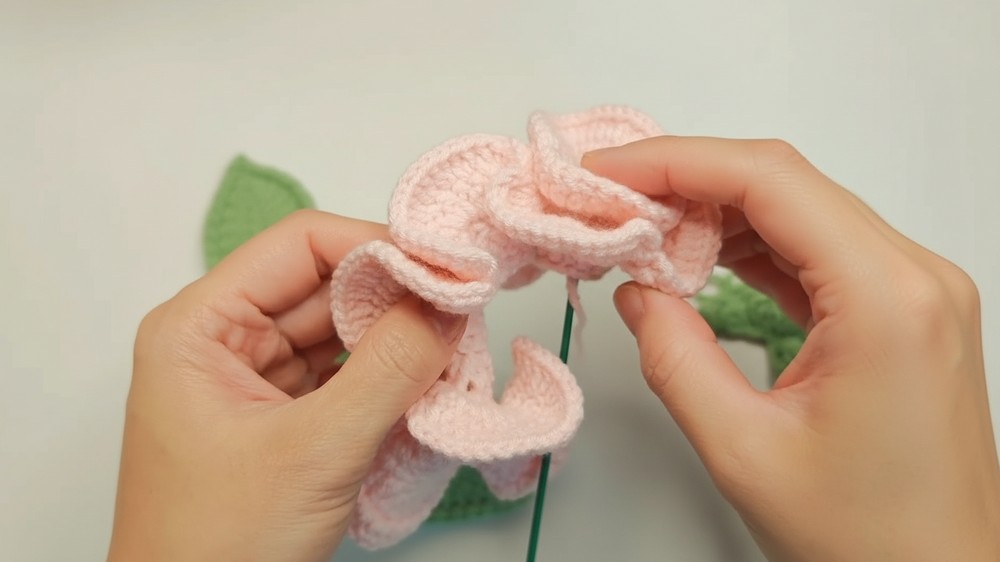
Add a touch of charm and color wherever you go with a flower that never wilts! The Crochet Rose pattern shows how to turn simple yarn into a pretty rose that’s full of shape and character. The tutorial guides you to crochet a long strip of stitches that magically curl into petals, creating a layered rose that looks just like the real thing.
Blooming Crochet Rose Pattern That Adds Charm
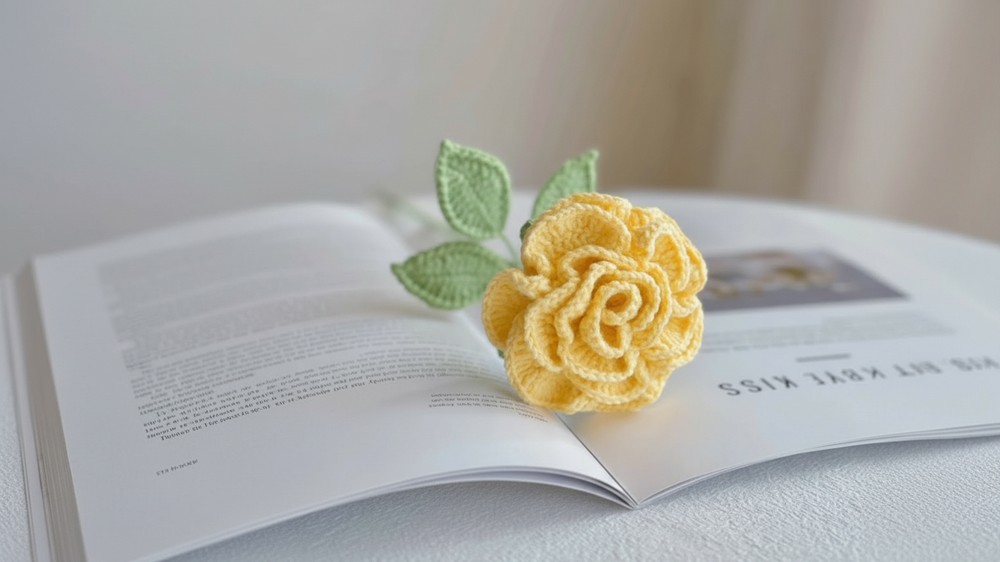
Starting from the center and working outward gives the petals depth, so the finished flower feels lively and textured instead of flat and plain.
This pattern extra fun is how easy it is to follow while still giving a beautiful result. Even beginners can create neat, well-formed petals, and using different colors lets you mix shades for a realistic or playful twist.

Each rose can be small and delicate or slightly larger, making it flexible for any project. These little yarn roses are perfect for a bunch of creative uses.
Pin one onto a bag, hat, or scarf to brighten your outfit, attach several together for a mini bouquet, or use them in home décor projects. 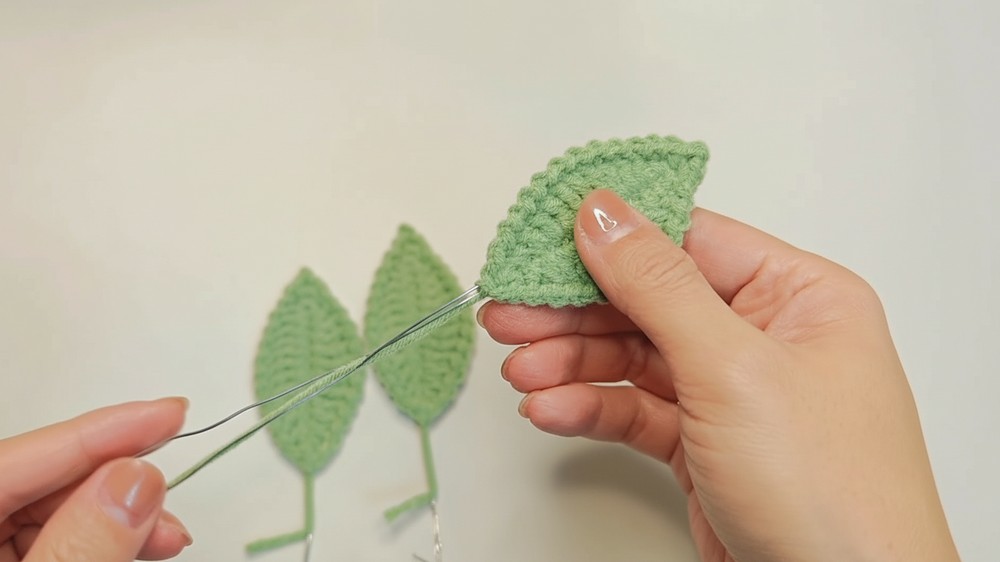
They also make charming handmade gifts, adding a sweet, crochety touch to anything you choose.
With this pattern, crocheting a flower that feels alive and fun is easy and rewarding.
Materials:
-
-
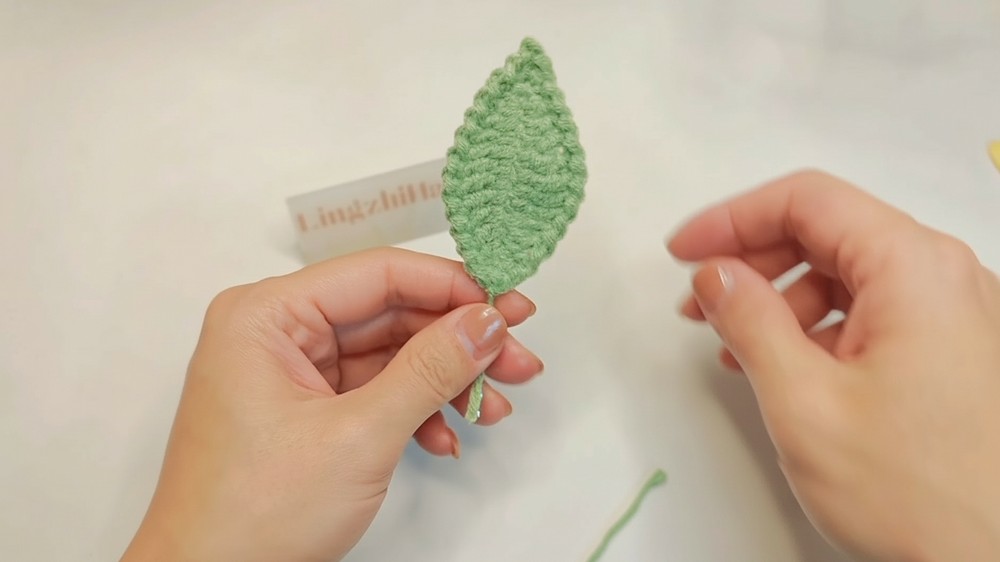
Yarn: Cotton yarn in red (for petals) and green (for leaves and sepal).
-
Hook: 2.5 mm or 3.0 mm crochet hook.
-
Supplies: Floral wire (for the stem and leaves), hot glue (for assembly), and scissors.
-
-
Difficulty Level: Easy to Intermediate. While the stitches are basic, keeping track of the different petal types in the long strip requires careful attention.
-
Uses: Ideal for bouquets, home decor, or as a handmade gift.
Special Features
-
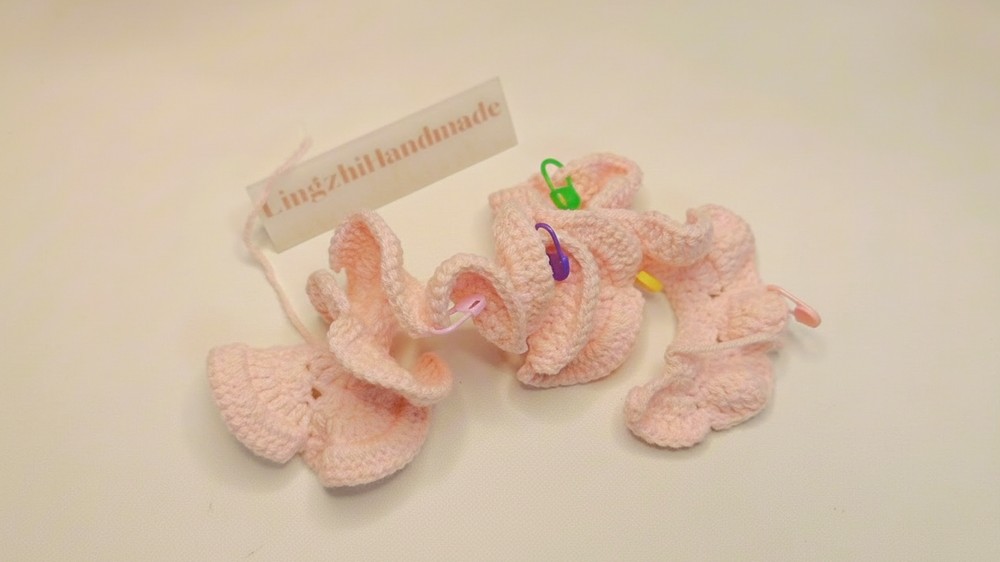
One-Piece Construction: Crocheting the petals as a single strip significantly reduces the time spent on assembly and weaving in ends.
-
Adjustable Petals: Because the outer petals are wired or flared, you can manually "open" the rose once it is glued to create a full-bloom or a tight-bud look.
Tutor’s Suggestions
-
Markers: Use stitch markers to identify where each "Petal Type" begins and ends on the long strip. This prevents confusion when switching stitch patterns.
-
Stem Length: For the middle leaf of a set, keep the wire stem about 5 cm longer than the others to make it easier to bundle them together.
Conclusion
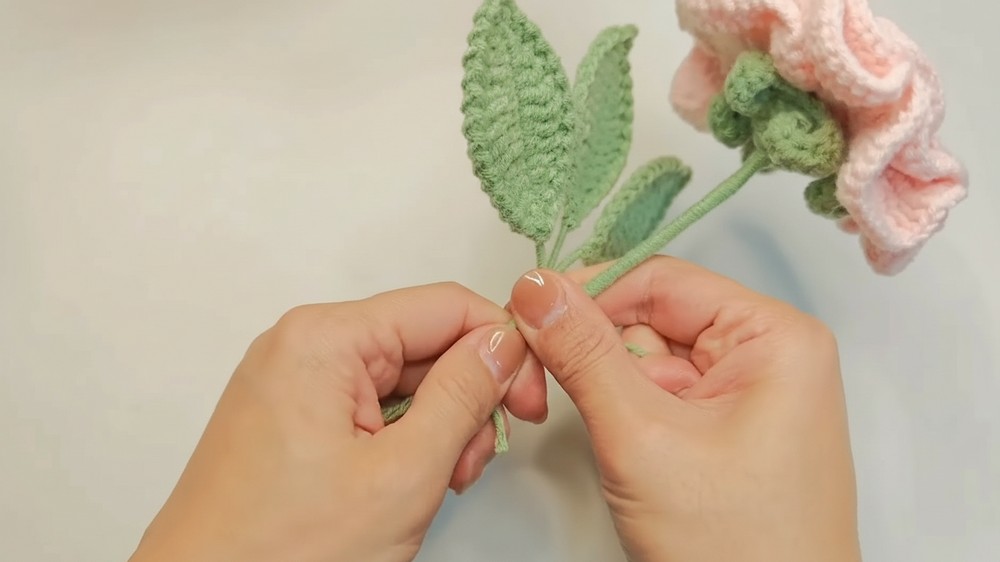
This rose project is perfect for those who want a professional result without the tedious task of sewing dozens of individual petals. The final result is a sturdy, elegant flower that maintains its shape perfectly thanks to the integrated wire.
Final Tip
When rolling the rose, don't roll it too tightly. A slightly looser roll toward the outer petals allows the flower to look "open" and natural, whereas a tight roll throughout will make it look more like a rosebud.


