
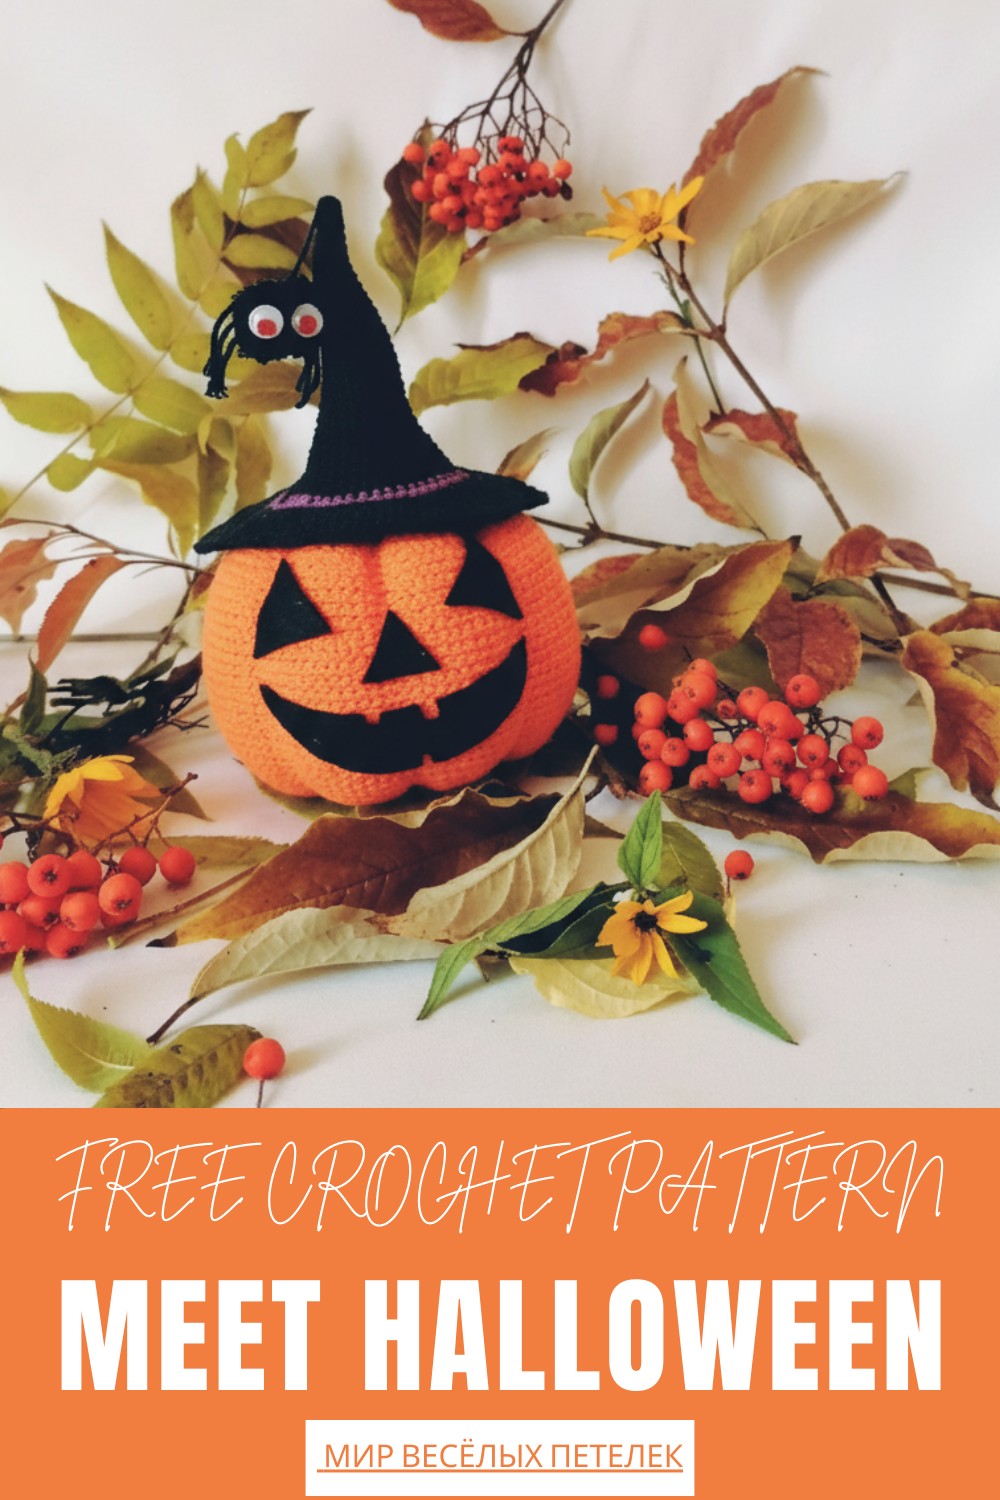
Heighten spooky season with the Free crochet Halloween Pumpkin Pattern, perfect for festive decor, gifting, or adding a fun in autumn.
A small corner of the living room once felt dull, until a tiny handmade pumpkin was placed there, turning the whole space warm and cheerful in an instant. That single moment showed how a simple crochet project can brighten a room with color, texture, and a touch of seasonal charm.
Simple Crochet Halloween Pumpkin Pattern with a Stylish Look
Uses
Create a stunning decorative piece perfect for celebrating the Halloween holiday. The finished pumpkin functions as a reusable, structural decoration for your home or as a unique handmade gift.
Materials
-
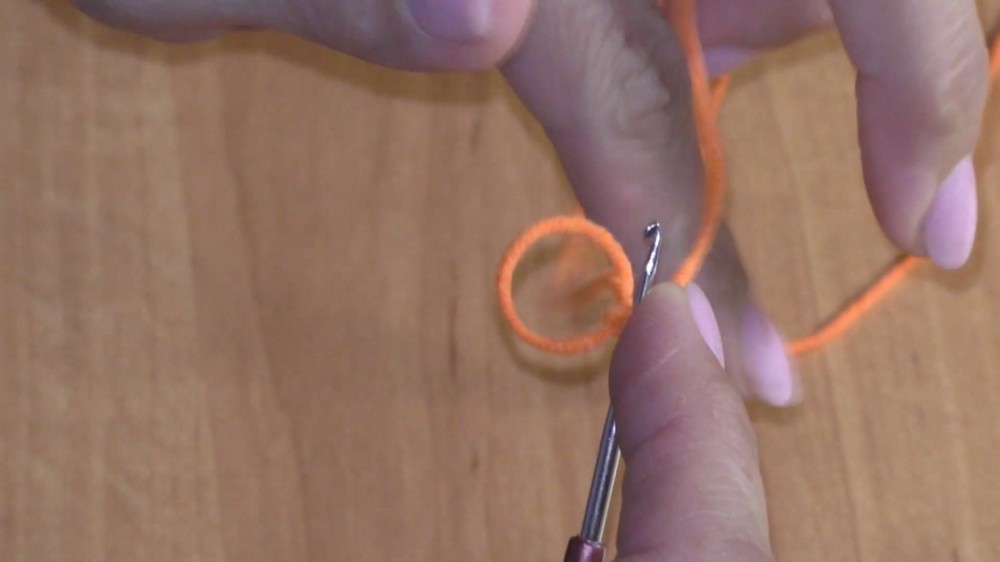
Yarn (Orange): Use YarnArt Jeans yarn in bright orange for the main pumpkin body.
-
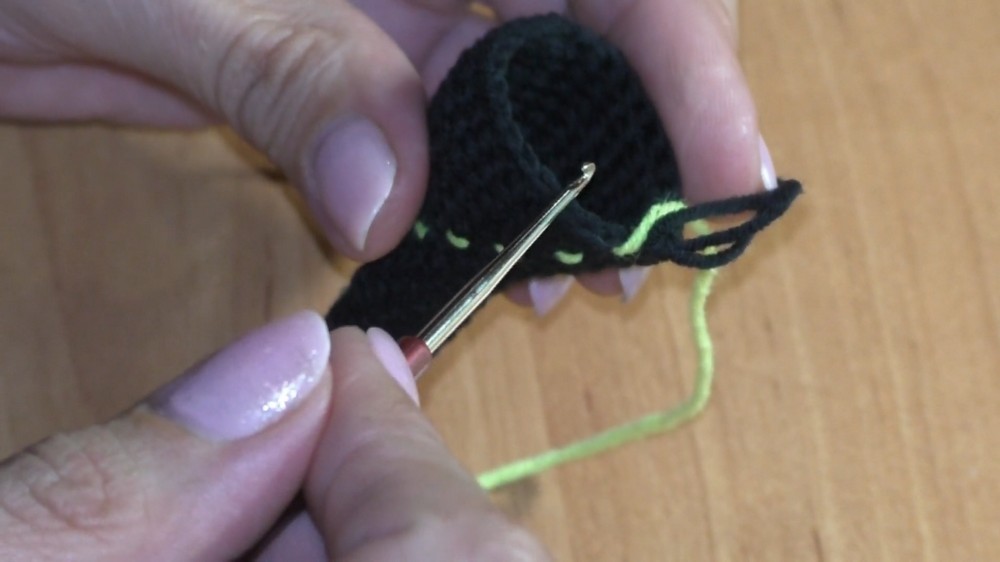
Yarn (Black): Use YarnArt Jeans black yarn for the main part of the witch's hat and the spider body.
-
Yarn (Accent): Acquire a small amount of purple or violet yarn for the decorative stripe on the hat brim.
-
Yarn (Green): Use a small amount of green yarn (like "Detskaya Novinka") for the stem.
-
Hook: You need a 1.7 mm crochet hook.
-
Notions: Gather black felt to cut out the eyes, nose, and mouth of the jack-o'-lantern face.
-
Eyes: Get small googly eyes (approximately 1 cm diameter) for the spider accessory.
-
Tools: Use strong glue (like Master glue) for attaching the felt and eyes, a large tapestry needle (for the segment tightening and assembly), and sharp scissors.
-
Stuffing: Use fiberfill or a similar stuffing material for the pumpkin and stem.
Special Features
-
Removable Witch Hat: The hat is crocheted separately and sits neatly on top of the pumpkin, making the decoration versatile.
-
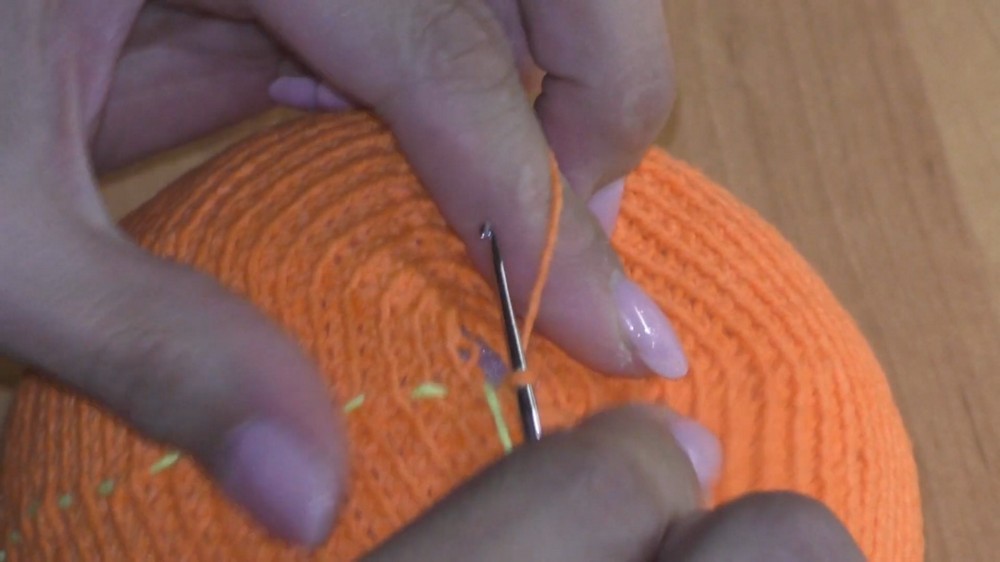
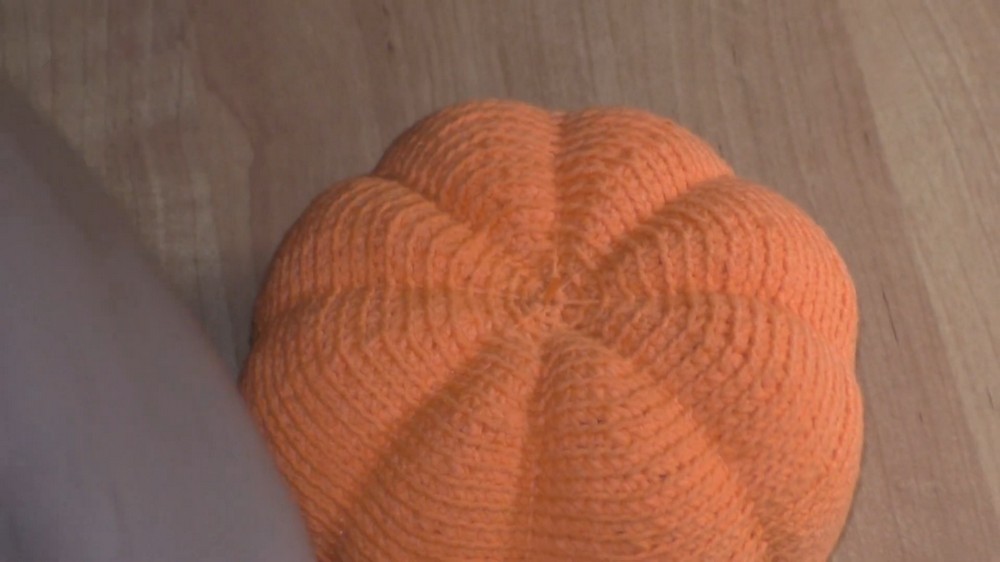
Segment Shaping: Achieve the iconic pumpkin look using a specialized cord tightening (utyazhka) method with a needle and thread after stuffing. This creates eight symmetrical vertical segments.
-
Textural Detail: The main pumpkin body uses a technique where you crochet into the back loops only, creating a subtle horizontal ridge pattern essential for anchoring the tightening cord.
-
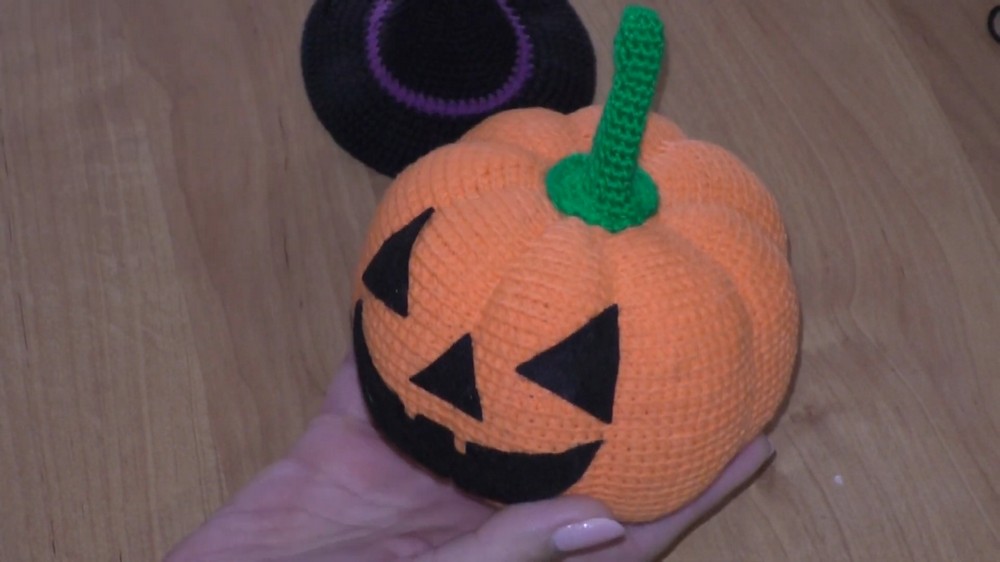
Amigurumi Spider: A thread-constructed spider, complete with googly eyes, hangs from the tip of the witch's hat, adding an extra spooky touch.
-
Felt Face: The eyes, nose, and mouth are carefully cut from black felt and glued into place, giving the pumpkin its classic jack-o'-lantern expression.
Level of Difficulty
This is an Intermediate project. While it uses basic single crochet stitches, success requires proficiency in:
-
Amigurumi shaping (consistent increases and invisible decreases over many rounds).
-
Working consistently into the back loops only to create texture.
-
Advanced finishing techniques, particularly the precise and technical cord tightening for segmenting the pumpkin body.
Tutor's Suggestions
-
Master the Back Loop: You must crochet the entire orange pumpkin body into the back loops only. This vital technique creates the exposed front loop, which acts as the guide for the needle when you perform the segment tightening later.
-
Stuff Strategically: Stuff the pumpkin moderately; do not over-stuff it. You need the stuffing to have enough give so you can pull the thread tight and create deep, well-defined vertical segments. Continue adding small amounts of stuffing as the top decreases.
-
Leave a Long Tail for Finishing: When you finish the last decrease round of the pumpkin, cut the thread and leave a very long tail. You use this specific tail to thread your needle and perform the cord tightening (utyazhka) process.
-
Ensure Face Symmetry: To give your jack-o'-lantern face a symmetrical and sharp look, align the triangular nose and the outer corners of the felt eyes directly over the vertical indentations you create during the segment tightening process.
Crochet Halloween Pumpkin
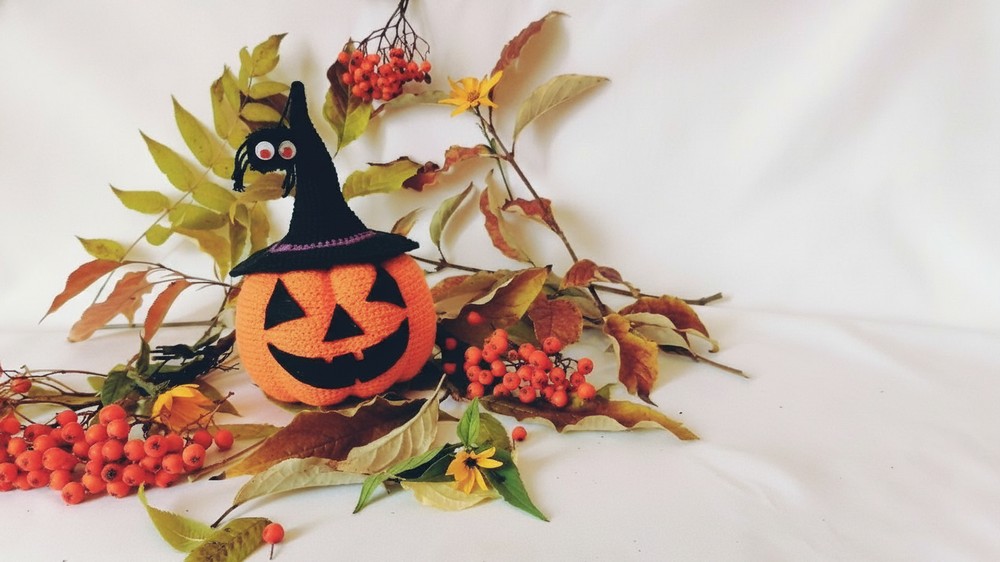
This crochet Halloween pumpkin pattern brings that same inviting feel, capturing the cozy mood of autumn through soft stitches and a rounded, gentle shape that looks friendly and festive at the same time.

Its pleasant form works beautifully in many spots—on a bookshelf, beside a candle, or gathered with other fall pieces for a fuller display. The pattern allows you to shape pumpkins in various sizes, helping you pick the perfect match for any space, from small trays to larger shelves.
Along the way, your hands learn smooth stitching, steady tension, and shaping techniques that boost confidence while remaining easy to follow.
The finished pumpkin carries a warm, handmade look that stands out during Halloween without leaning toward a spooky style. It suits gifting, decorating, or keeping as a yearly favorite. With its soft texture and charming presence, it brings a gentle spark of autumn to any corner, just like that first little pumpkin did.
Conclusion
You have now skillfully crocheted, shaped, and assembled every component of your Halloween pumpkin. With the unique segmented texture, the adorable stem, the classic felt face, and the fun witch's hat with its hanging spider, your piece is a wonderful, finished textile decoration ready for the holiday.
Tip
Before you start the segment tightening process, stuff your pumpkin to only a medium firmness. If the pumpkin is too hard or overstuffed, you will not be able to pull the thread tight enough to create the deep, well-defined vertical creases that give the pumpkin its realistic, iconic look.


