
Try this free crochet hot air balloon pattern, a unique decoration idea to brighten nurseries, special spaces, or give as thoughtful handmade gifts.
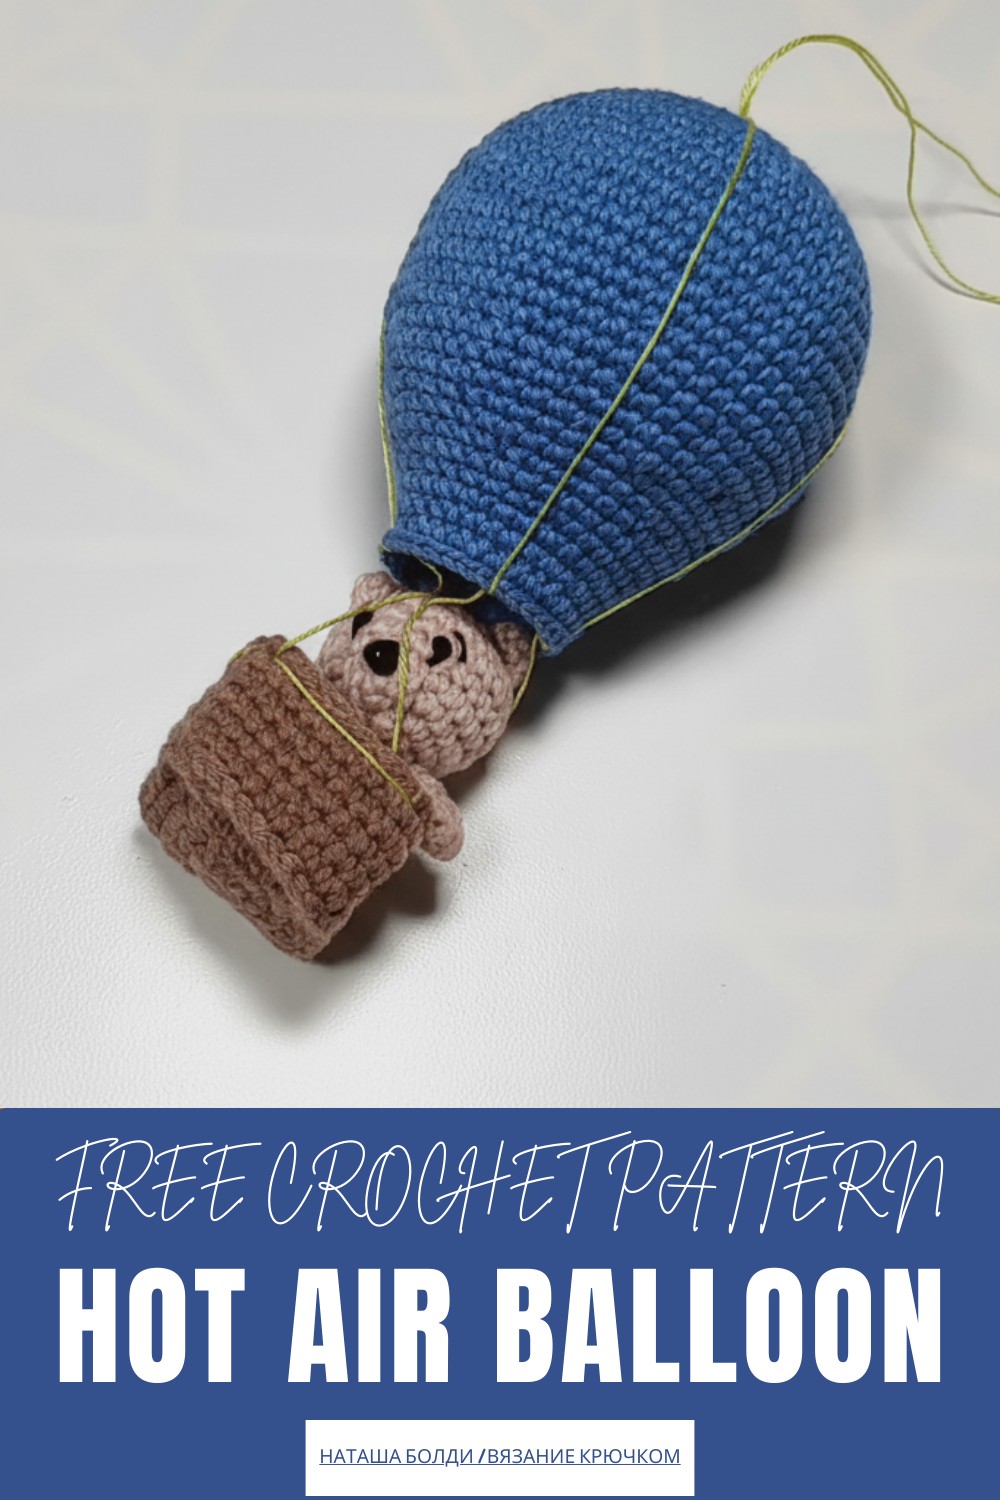
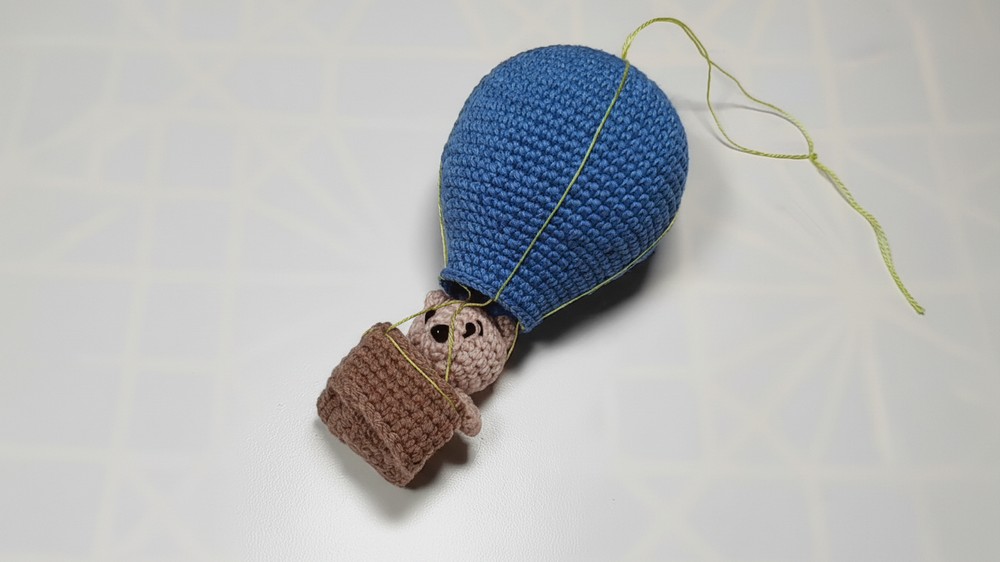
A beautifully detailed hot air balloon decoration adds a touch of whimsy and charm to any space. Featuring vibrant stitches, the carefully shaped dome and adorable basket bring a playful and eye-catching look to nurseries, children’s rooms, or themed celebrations.
Crochet Hot Air Balloon Pattern You’ll Fall in Love With
Materials
You will need the following to create the hot air balloon:
-
Yarn: Yarn in your choice of colors for the balloon dome and base, and a contrasting color for the basket. The tutor uses standard yarn suitable for toys.
-
Hook: A crochet hook appropriate for your chosen yarn (the size is not explicitly specified, but typically matches the yarn weight).
-
Filling: Stuffing material (like fiberfill) for the balloon dome.
-
Notions: A stitch marker (or contrasting yarn) to mark the beginning of rounds, a tapestry needle for assembly and weaving in ends, scissors, and a ruler or measuring tape.
-
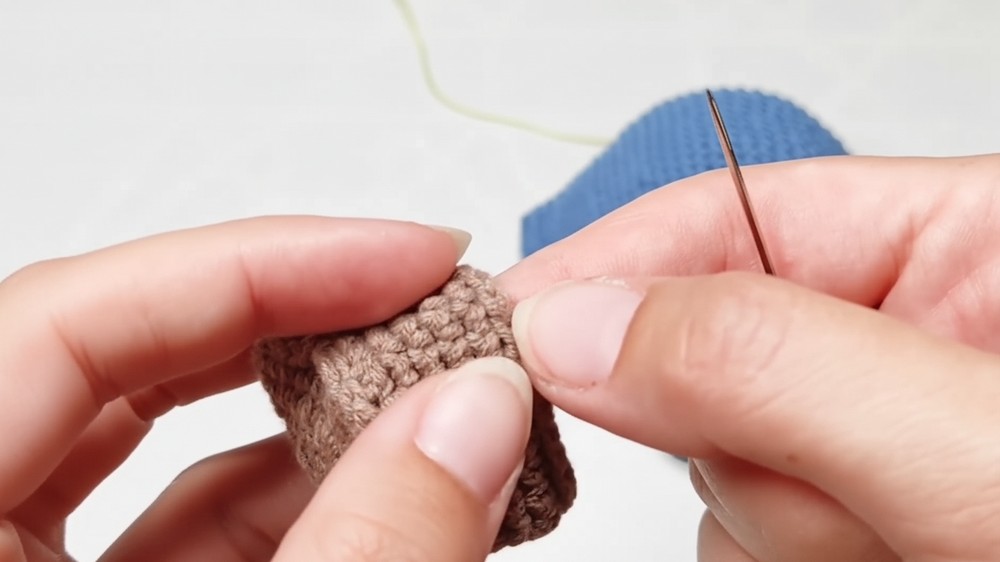
Connecting Thread: A thin, strong thread (like I ris thread or similar) in a matching or contrasting color to attach the basket to the dome.
Uses
The finished crocheted hot air balloon serves as a delightful decorative item:
-
Nursery/Kids' Room Decor: It is perfect for decorating a child's bedroom or nursery.
-
Mobile Component: Use it as a central element for a baby mobile.
-
Hanging Ornament: Add a loop to the top for easy hanging.
-
Themed Display: It works as an accessory for other crocheted toys, such as a small bear to ride in the basket.
Level of Difficulty
This project is rated as Intermediate because it requires familiarity with:
-
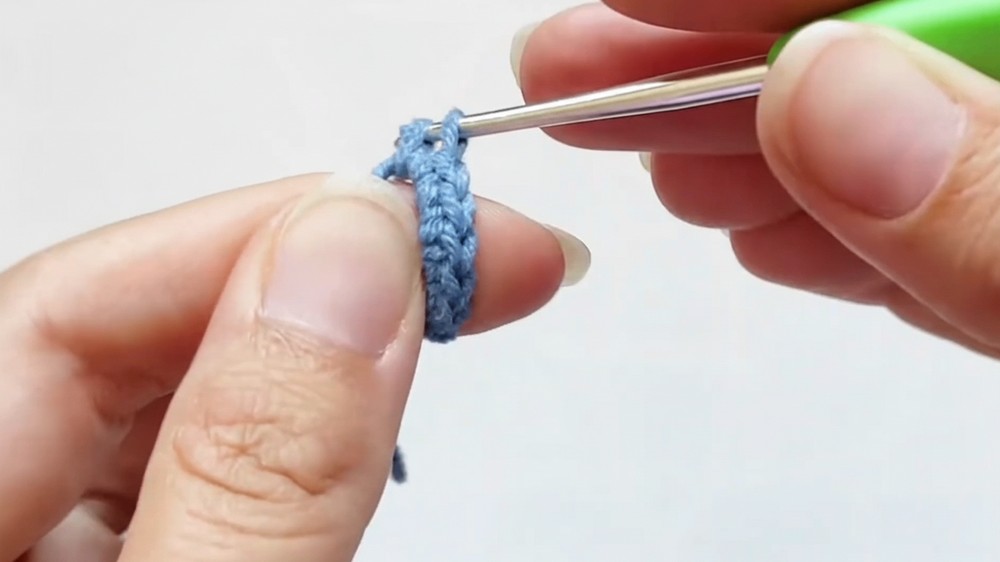
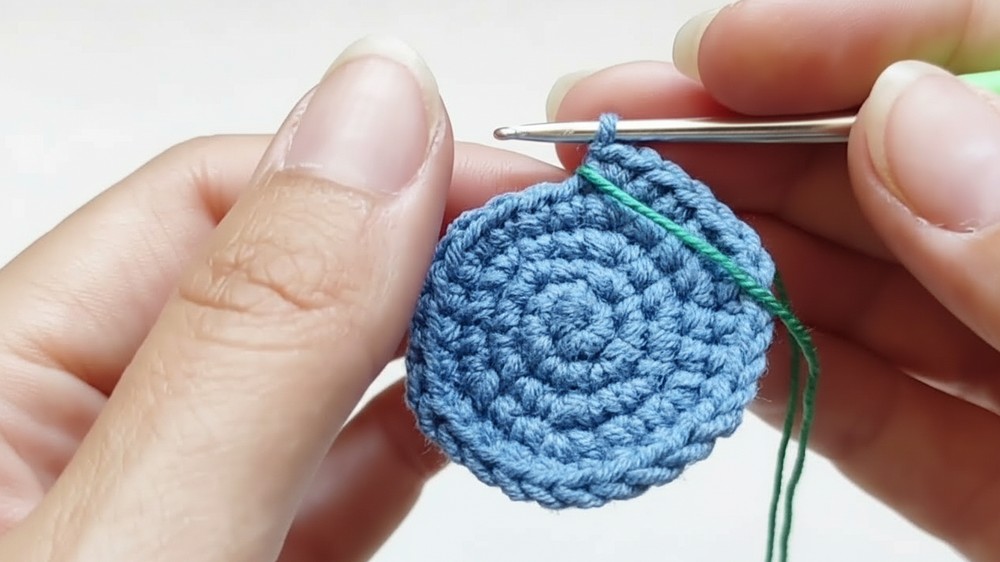
Working in the round using the Amigurumi technique.
-
Executing consistent increases and decreases to maintain a perfect circle and sphere.
-
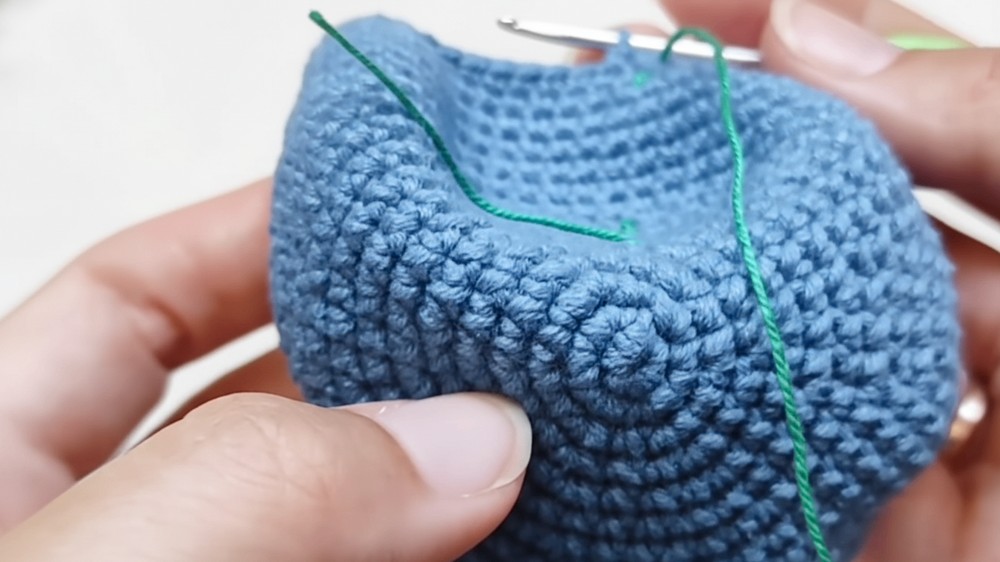
Switching from a flat round/square base to vertical walls (for the dome base and the basket).
-
Careful assembly to ensure the basket hangs evenly.
Tutor's Suggestions
Follow these recommendations from the instructor for the best results:
-
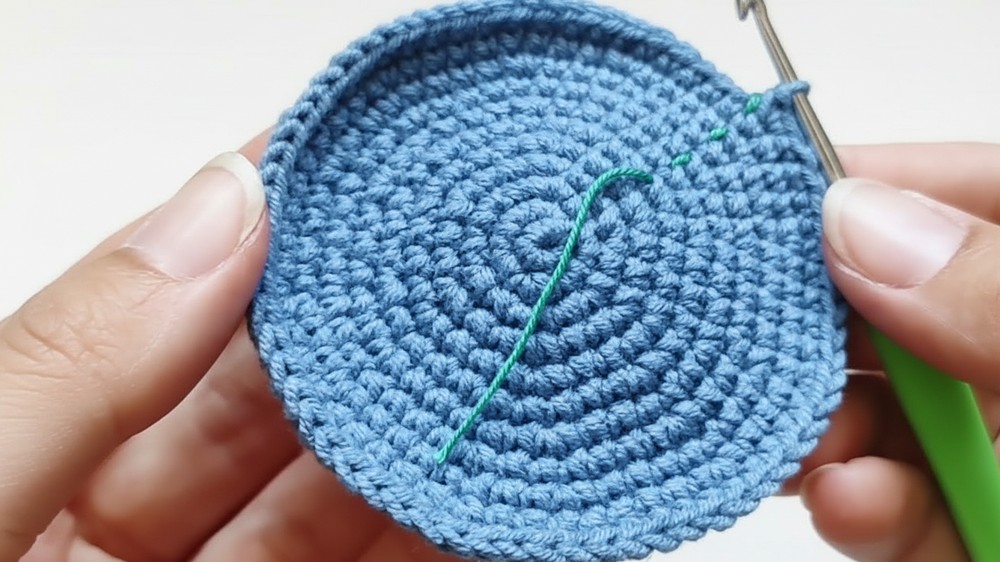
Track Increases/Decreases: Perform 6 increases or decreases in every shaping round and distribute them evenly across the diameter of the piece.
-
Maintain a Circular Shape: When shaping the dome, stagger your increases and decreases (i.e., do not place them directly on top of the increases/decreases from previous rounds) to ensure the piece remains round and does not become hexagonal.
-
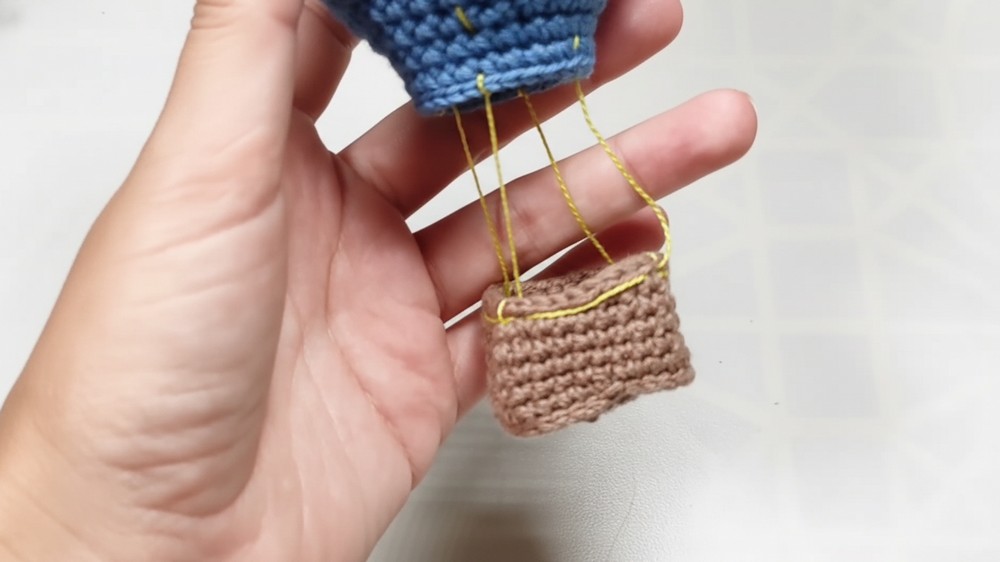
Check for Evenness: When attaching the basket to the dome, use a ruler to measure the connecting threads to ensure they are all the exact same length (the tutor uses 4 cm) so the basket hangs level and straight.
-
Add Rigidity: To make the basket stand up and maintain its square shape, cut a piece of cardboard to fit the bottom and insert it inside. If you want the final balloon to stand on its own, you may need to insert wire or wooden skewers along the sides.
The ability to customize the colors and small accents makes it a wonderful option for personalizing your décor. Whether used as a hanging ornament, a cheerful gift, or an accent piece, it is sure to brighten up its surroundings with its unique character.
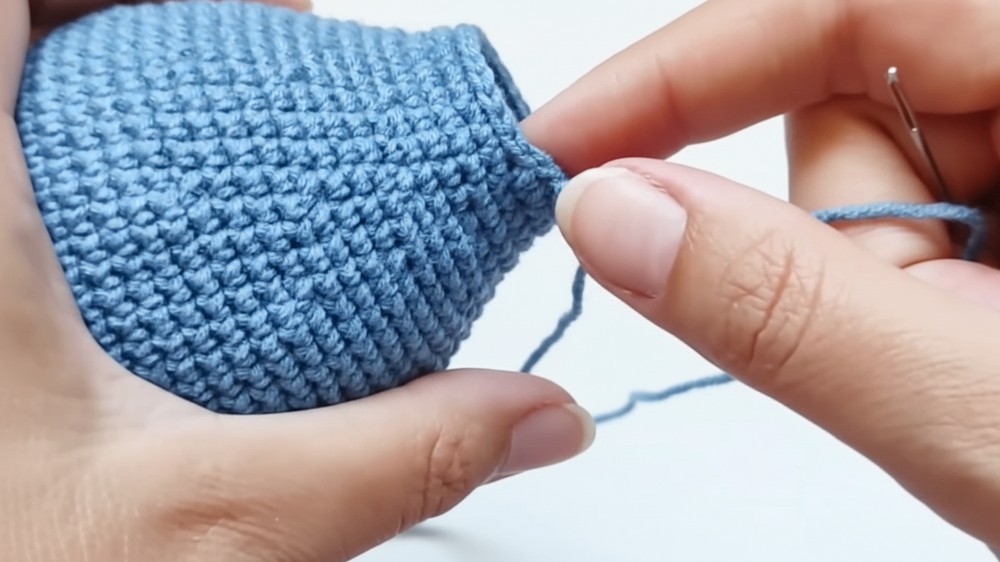
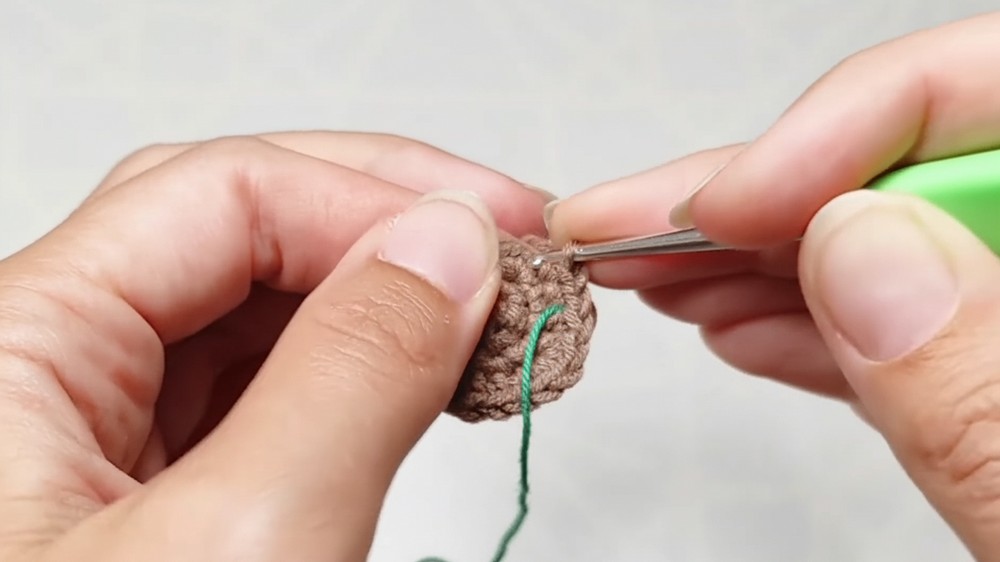
The process involves carefully assembling each piece, ensuring a seamless and polished result.
It’s suitable for both beginners and experienced makers, offering a relaxing way to work with materials and bring everything together beautifully.
Once completed, this item becomes a standout feature, radiating warmth and creativity.
With its thoughtful details and versatile appeal, it’s bound to leave a memorable impression in any setting.
Special Features
This pattern includes several distinct features:
- Seamlessly crochet the dome in continuous rounds, using staggered increases and decreases to maintain a round shape and prevent a hexagonal form.
- Form the basket by making triple single crochet stitches into a single corner stitch, creating the four square corners.
- Finish the base of the dome and the top of the basket with a round of slip stitches to create a clean, firm border.
- Close the final row of the dome and the basket with a tapestry needle to achieve a seamless, professional finish.
Short Conclusion
You have successfully completed a charming crocheted hot air balloon! By mastering the shaping of the dome, the creation of the unique square basket, and the precise assembly, you have created a beautiful piece ready to decorate a nursery or serve as a whimsical companion for a small toy.
Tip
Maintain a Perfect Sphere: When working the increasing and decreasing rounds for the dome, always start the round with a different number of single crochet stitches before the increase/decrease than you did in the previous shaping round. This technique, called staggering, prevents the increases/decreases from stacking up and turning your beautiful sphere into a noticeable hexagon.


