
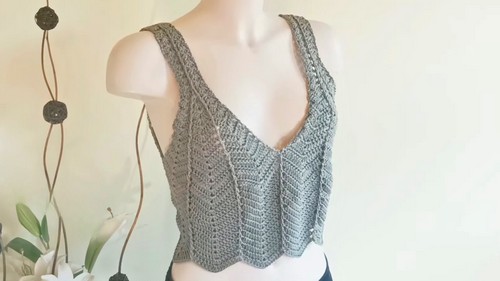
Enjoy a light and breezy fit with this Crochet Top Pattern, featuring a comfortable design perfect for casual days and warm weather wear.
Curating a versatile and breezy summer wardrobe becomes a seamless experience through the use of a Crochet Top Pattern. This sophisticated guide allows for the production of a lightweight, breathable garment that transitions effortlessly from a sun-drenched beach day to an elegant evening gathering. The design often features intricate openwork or delicate lacework, providing a visually stunning texture that feels airy against the skin during warmer months.
Soft Crochet Top Pattern Perfect for Comfortable Style
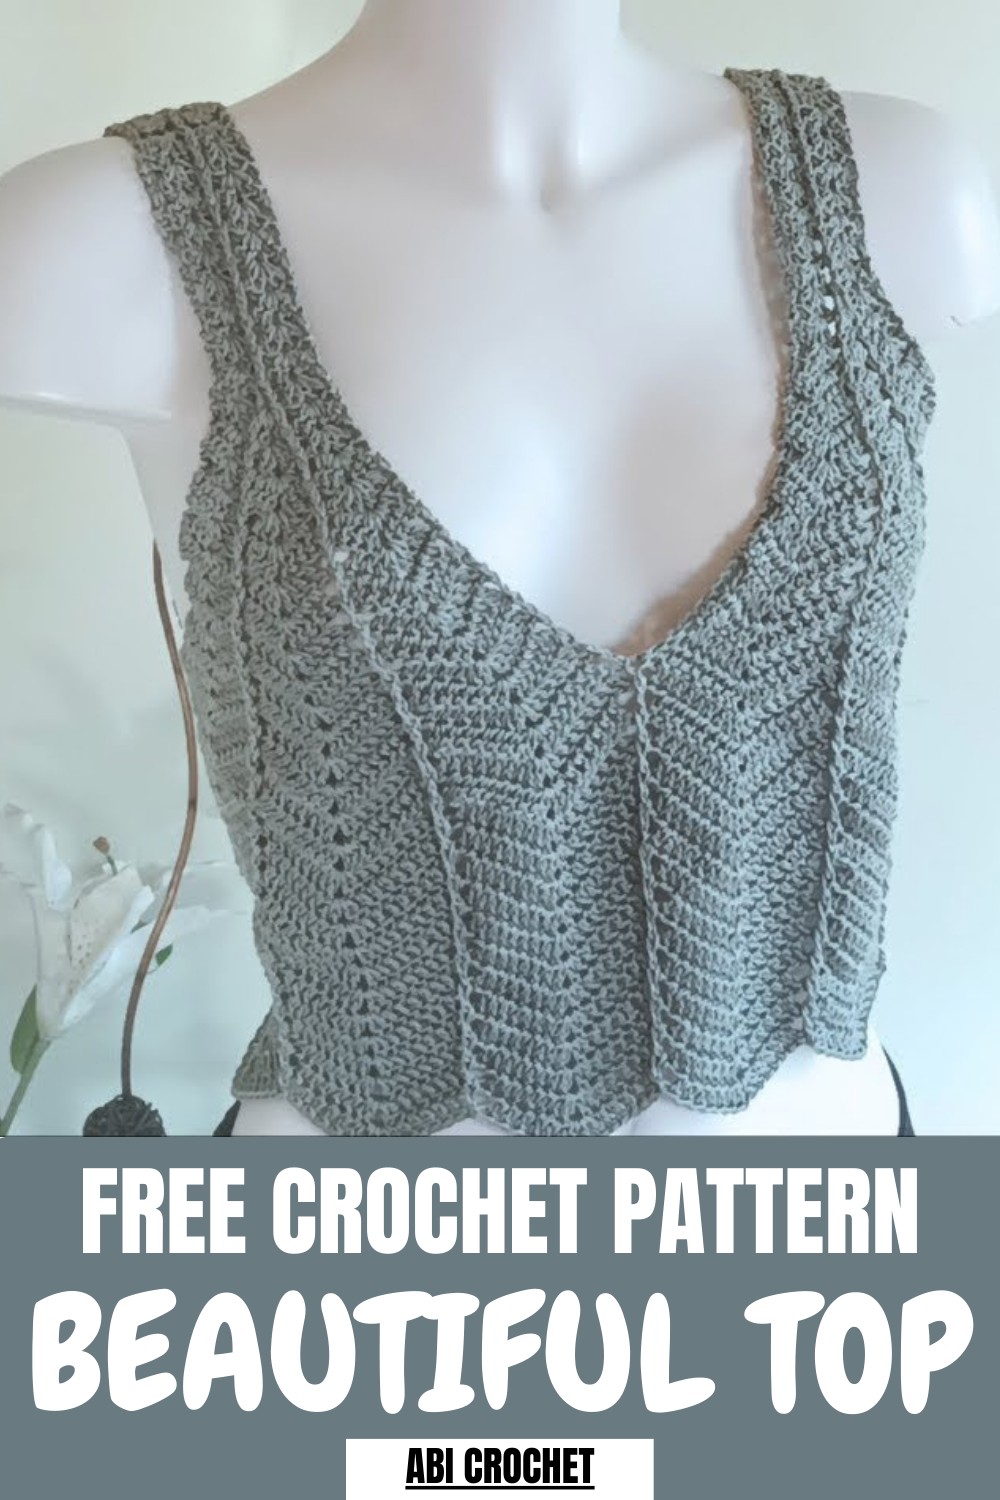
A primary benefit of this specific layout is the ability to achieve a tailored, custom fit that flatters the silhouette while using natural fibers like cotton or linen for maximum comfort. Visually, the finished piece radiates an artisanal charm, offering a high-end alternative to generic retail options.
This design empowers you to build a signature look defined by refined details and a soft, feminine drape. The result is a high-quality, professional-grade staple that brings a touch of timeless, handmade luxury to any seasonal ensemble.
Step-by-Step Instructions
Materials Needed
- Yarn:
- Light green thread (Category 2 yarn).
- Approximately 200g (for a size M; adjust for other sizes).
- Hooks and Tools:
- Crochet hook size 3 mm (for loose stitches).
- Yarn cutter, measuring tape, and stitch markers.
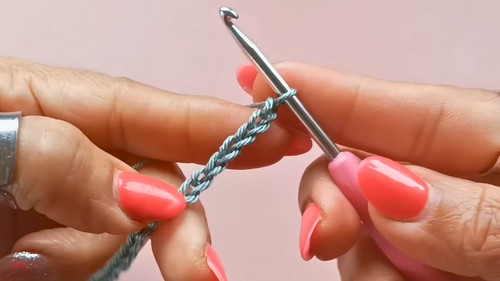
Step 1: Prepare the Shoulder Strips
- Begin with a slip knot:
- Make a circle, pull the thread through, and tighten around the hook.
- Chain 16 stitches (this is the width for the shoulder area).
- Work the first row:
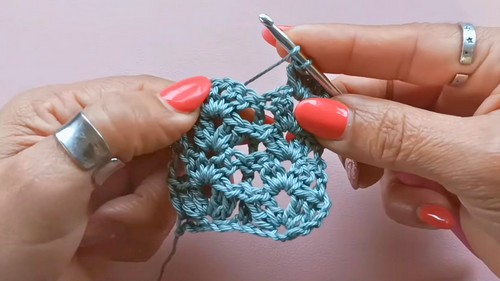
- Count seven chains backward and make your first fan stitch in the seventh chain.
- A fan stitch consists of:
- Two double crochets in the same space.
- A separation chain.
- Two more double crochets in the same space.
- A fan stitch consists of:
- Skip two chains, then create a double crochet in the third chain.
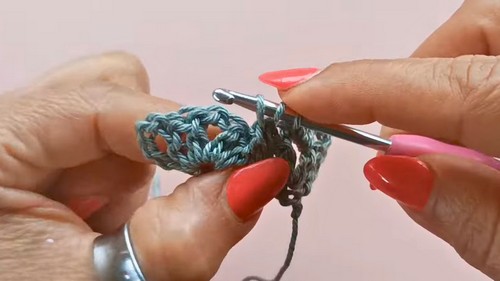
- Skip two chains again and make another fan stitch.
- Continue this process, ending the row with a final double crochet.
- Count seven chains backward and make your first fan stitch in the seventh chain.
- Repeat for additional rows:
- Chain 3 at the beginning of each row to turn.
- Place a fan stitch into each fan stitch space from the previous row.
- Create relief double crochets for every raised stitch (this involves entering from below the stitch and pulling through for a raised texture).
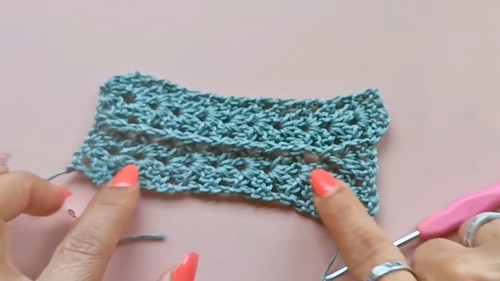
- Continue for a total of 9 rows. Ensure the final strip measures approximately 12 cm, and you are ready to increase for the armhole section.
Step 2: Increase for the Armhole
- Begin increasing in round 10:
- Place two relief double crochets in the raised stitch space, creating a V-shape.
- Continue alternating rows with increases: every other row, add additional double crochets in fan spaces and along the sides of the V-shape to widen the blouse.
- Size adjustments:
- To make the blouse larger, increase in every round until desired width is achieved.
- For smaller sizes, alternate increases every 3 rounds instead of every 2.
- Repeat increases:
- Add stitches over the fans and raised V-shapes until you reach 23 rows, which include multiple rounds with 7 to 8 stitches in the sides of each fan.

- Add stitches over the fans and raised V-shapes until you reach 23 rows, which include multiple rounds with 7 to 8 stitches in the sides of each fan.
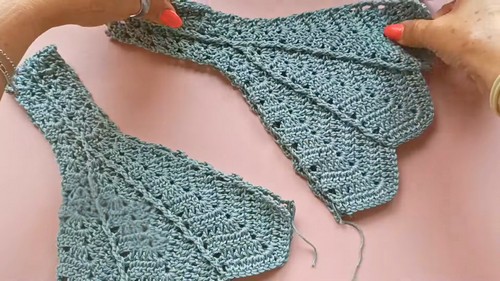
3: Create the Second Shoulder Strip
- Using the same method, repeat steps to crochet a second identical shoulder strip.
- Ensure both strips measure identically (23 rows, approximately 26.5 cm in length).
- Finish each row evenly and cut the thread when completed.
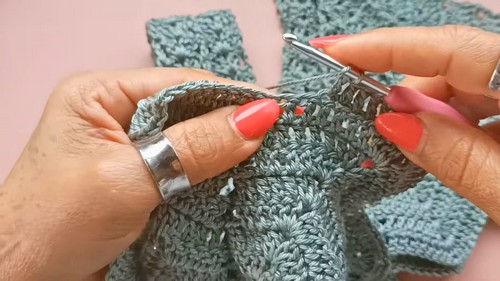
4: Join the Shoulder Pieces
- Align the two strips with their right sides facing out. Ensure the relief stitches are visible for a clean finish.
- Begin joining:
- Start at the corners and join the strips using slip stitches.
- Work from the third chain of each starting stitch, pulling the thread through both layers to securely attach the pieces.
- Add more rounds:
- Once joined, continue crocheting additional rows to outline the armhole sections. Joined pieces should have 9 double crochet stitches per fan space on each side.
- Once joined, continue crocheting additional rows to outline the armhole sections. Joined pieces should have 9 double crochet stitches per fan space on each side.
5: Add Blouse Body Length
- Start crocheting downward from the armhole area to lengthen the blouse:
- Begin reducing stitches (from 9 double crochets down to 8) after completing 8 rows.
- Continue alternate decreases for a fitted bottom section.
- Adjust measurements:
- Check garment fit as you crochet to ensure the dimensions meet your preferences.
- Reduce more rows if you want a tightly fitted blouse or maintain existing width for a looser fit.
Special Features
- Fan Stitch Pattern: The fan stitches give the blouse an open, textured look while allowing airflow and flexibility.
- Relief Double Crochets: These stitches provide an elegant raised texture on the garment.
- Adjustability: You can adapt the size and length by controlling the number of rounds and adjustments in the increase/decrease phases.
Level of Difficulty
This project is easy-to-intermediate. While the stitch pattern is simple (fan stitches and relief double crochets), maintaining balanced tension and tracking increases/decreases require attention to detail. Beginners with basic crochet skills can complete this slowly by following Avi’s clear demonstrations.
Tutor’s Suggestions
- Measure as You Go: Avi emphasizes the importance of checking measurements, especially after finishing the shoulder panel and armhole sections, as fixing errors later can be labor-intensive.
- Plan Stitch Count: Ensure consistency between rounds, particularly during fan and raised stitch phases.
- Size Adjustments: For larger or smaller garments, alternate the frequency of increases or decreases accordingly.
Uses and Materials
- Uses:
- Wear it casually or gift it to someone.
- Sell it as part of a handmade crochet collection; it’s an elegant and marketable design.
- Materials:
- Category 2 yarn, 3 mm crochet hook, scissors, measuring tape, and stitch markers.
Tip
Mark Each Section of Increases using stitch markers to prevent errors (especially during the shaping of the armhole). This ensures accuracy and saves time during assembly.
Conclusion
This step-by-step pattern teaches you how to crochet a stylish blouse with textured fan stitches and relief details, emphasizing customization to suit your size and style. provides clear guidance for every phase, making it accessible even for intermediate crocheters. By carefully measuring and planning your rounds, you can create a stunning blouse for personal use, gifts, or sale.


