
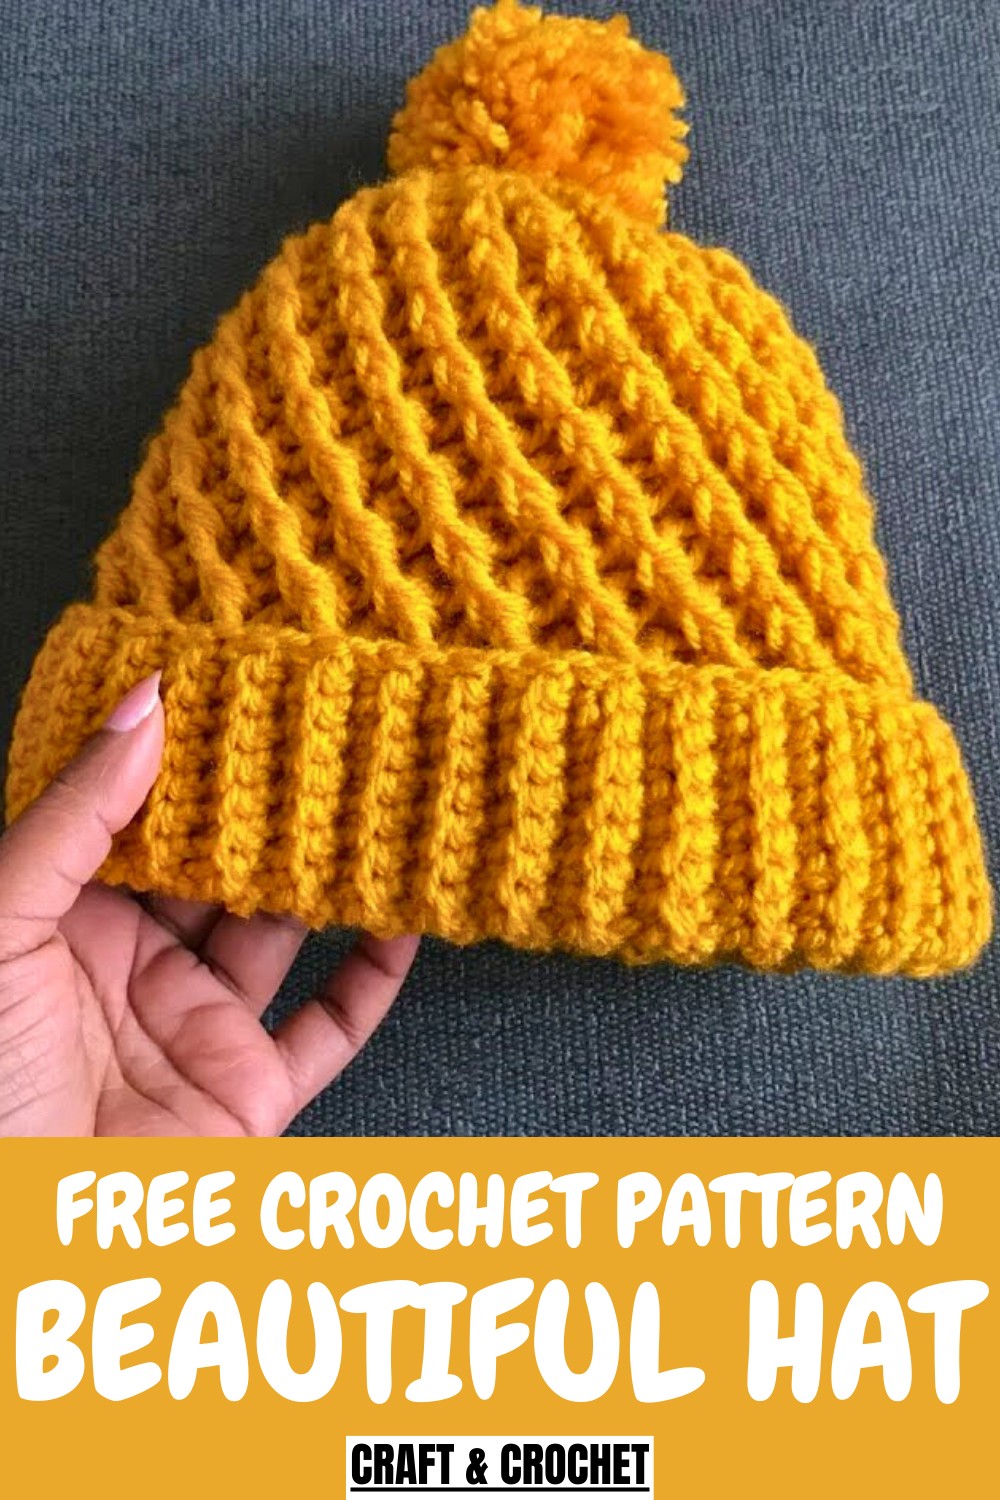
Top off your look with a Free crochet Hat Pattern featuring cozy, easy stitches that provide warmth and a stylish touch for chilly or breezy days.
A cozy accessory that instantly adds charm to any outfit often begins with thoughtful texture and a beautifully shaped finish. Bringing the Crochet Hat Pattern into your project gives you a stylish, warm, and practical piece that suits every season. Its soft stitches, snug fit, and polished look make it ideal for daily wear, gifting, or adding a handmade touch to your wardrobe.
Cozy Crochet Hat Pattern That Stays Stylish
Beyond its beauty, this hat offers comfort, durability, and endless color possibilities, allowing you to personalize it with ease. The result is a timeless accessory that combines simplicity, style, and the joy of creating something uniquely yours.
Step-by-Step Guide to Crochet a Reversible Beanie Hat
Materials Needed
To make this reversible beanie, you’ll need the following materials:
- Yarn:
- 100 grams (2 balls of 50g each) of golden yellow yarn are used in this project.
- Medium-weight yarn is recommended.
- Crochet Hook:
- A 5 mm crochet hook. (The tutor removes the rubber from the grip for better handling.)
- Pom-Pom:
- A pom-pom, 7 cm in diameter, for decoration.
- Optional: Four yarn strings to attach the pom-pom on both sides for reversibility.
- Basic Tools:
- Scissors.
- Yarn needle for weaving in the ends.
Uses
- This hat serves as a trendy accessory suitable for cold weather, daily wear, or special outings.
- Its reversible feature makes it versatile, as you can switch between two patterns according to your outfit or mood.
Special Features
- Reversible Design: The beanie allows you to flip it inside out, creating two unique looks from one hat.
- Pom-Pom Versatility: The pom-pom can be pushed through a small hole, enabling its use on either side of the hat.
- Quick Project: The entire hat, including the pom-pom, can be completed in about an hour.
- Clean Finish: The tutorial demonstrates how to neatly secure the top of the hat so there’s no visible hole unless needed for the pom-pom.
Level of Difficulty
This pattern is beginner-to-intermediate friendly. It uses simple stitches like single crochet, double crochet, and slip stitches. The trickiest parts are maintaining tension when using back loops and reducing stitches toward the end of the hat. However, the step-by-step instructions provided make it easy to follow.
Tutor’s Suggestions & Tips
The tutor highlights several tips to ensure a smooth crocheting process:
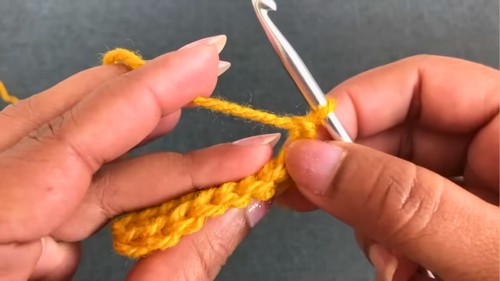
- Use Back Loops Only: While forming the hat’s foundation band, work into the back loops to create the perfect stretch and texture for the brim.
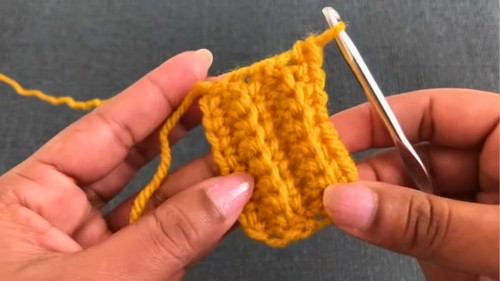
- Count Stitches Carefully: Always ensure each row of the brim has 9 single crochets. This consistency is key to achieving a neat and proportional hat.
- Maintain Tension: Proper tension ensures the stitches are not too tight or loose, giving a perfect shape to the hat.
- Customize the Size: For larger or smaller sizes, you can adjust the number of rows in the brim.
- Attach the Pom-Pom Snugly: Tie the pom-pom securely but leave enough space in the top hole to allow it to be reversible.
Step-by-Step Instructions
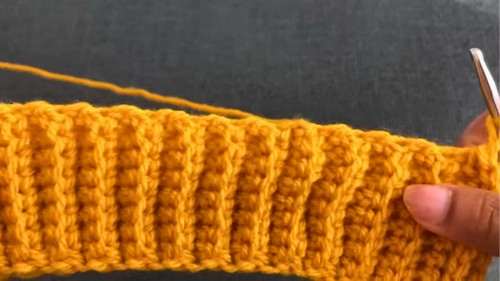
Step 1: Crochet the Band
- Start by creating a foundation chain of 9 stitches.
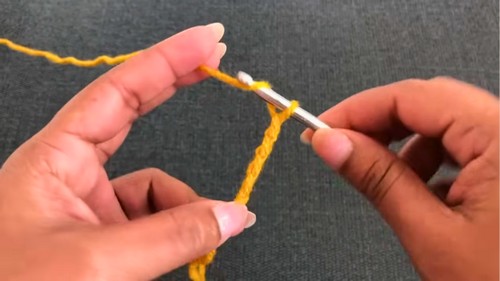
- Work a single crochet (SC) in each chain, beginning from the second chain from the hook, creating a total of 9 SC in the row.
- Chain 1, turn, and work into the back loops only to crochet 9 single crochets for each row.
- Continue this process and repeat until there are 69 rows of 9 single crochets. The band should measure approximately 45 cm in length.
- Join the two ends of the band together by slip stitching along the edges. This forms the base of the hat.
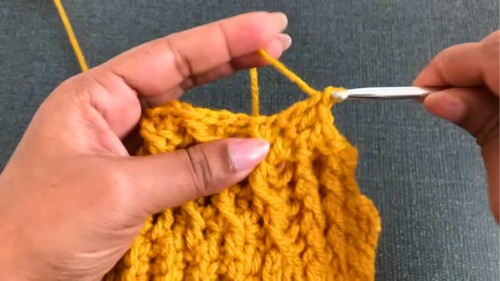
Step 2: Build the Body of the Hat
- Work along the edge of the brim (the row edges), adding 1 double crochet (DC) into each row, for a total of 69 DC around.
- Slip stitch to the top of the starting chain-3 to close the round.
- Begin the pattern:
- For each group of 3 DC, work 3 DC stitches on top, and then dip down into the previous row to create a "dropped" DC.
- Continue this pattern (3 DC, 1 dropped DC) across the round.
Step 3: Work in Pattern Rounds
- Repeat the pattern to build the beanie:
- Alternate between working 3 DC into the row’s DC stitches and dipping to make 1 dropped DC into the previous row.
- The textured pattern will slowly emerge.
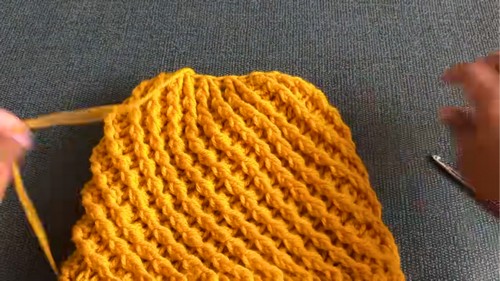
- Continue until there are 10 rounds total.
Step 4: Reduce the Stitches
- After completing 10 rounds of the main pattern, begin reducing the stitches:
- Start with chain-3, and reduce each group of 3 DC into 2 DC by skipping a stitch.
- Diminish the height of the beanie by repeating this reduction in subsequent rounds.
- By Round 13, reduce to 1 DC per group, paired with dropped stitches, to create a rounded top.
Step 5: Close the Hat
- At the top, work all remaining spaces into a single loop by inserting the hook, yarning over, and keeping the loops on the hook.
- Pull through all loops to close the top of the hat neatly.
- Use a yarn needle and thread to secure the closure tightly.
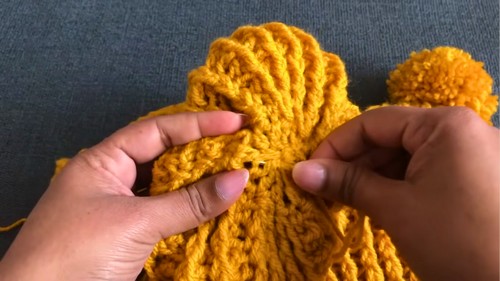
Step 6: Attach the Pom-Pom
- If making the hat reversible, ensure a small-sized opening at the top (to allow pom-pom reversibility).
- Use the pom-pom’s yarn strings to tie it securely through the opening.
- Rotate the pom-pom to switch between the two sides of the hat.
Conclusion
This crochet tutorial guides you through creating a reversible beanie hat with ease. Its thoughtful design, which allows flipping between two patterns and reusing the same pom-pom for both sides, makes it both practical and stylish. Whether you’re a beginner or someone looking for a quick project, this reversible hat is a rewarding design to try. With the right materials and attention to detail, you’ll have a versatile accessory ready in no time!
Crochet Tip
When working back loop-only stitches, use a consistent rhythm and keep tension steady. This helps create a flexible brim that’s both stretchy and sturdy. And for added personalization, try making the hat in different color combinations or using multicolor yarn for a unique look.


