
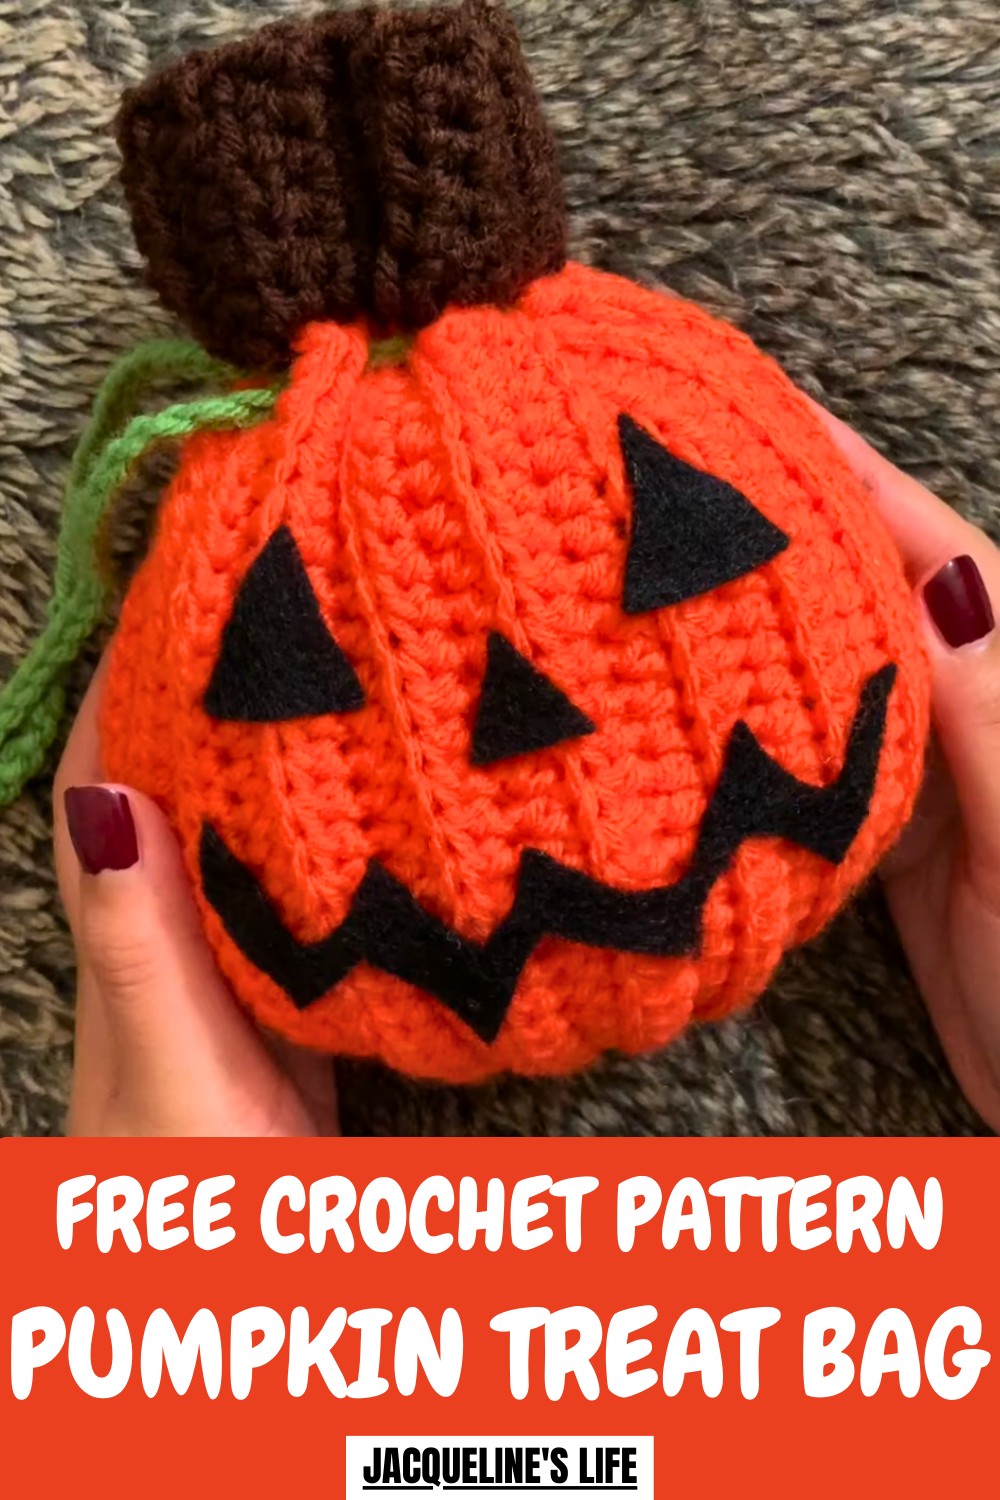
Spooky fun meets handmade charm with the Free crochet Pumpkin Treat Bag Pattern, a playful accessory perfect for holding sweets, small gifts, and party treats.
A cheerful pumpkin-shaped bag adds instant seasonal charm while offering a fun way to carry small treats and surprises. With its rounded body, defined grooves, and neat top opening, it presents a festive look that fits perfectly with autumn and Halloween décor. Ideal for holding candies, party favors, or small gifts, it works well for events, school activities, or thoughtful handmade presents. The compact size keeps it easy to carry, while the sturdy structure helps items stay secure inside.
Happy Crochet Pumpkin Treat Bag Pattern Cute Storage for Treats
This project also offers a relaxing and rewarding experience, supporting focus and steady hand skills without feeling complicated. Color choices can stay classic with warm orange tones or shift toward playful shades for a modern twist. Neat finishing details enhance its visual appeal and usability. This pumpkin treat bag blends charm and function beautifully, turning a simple accessory into a joyful seasonal piece that adds warmth, personality, and festive spirit to celebrations and everyday moments.
Materials Needed
Here’s the complete list of materials used in the video:
- 5mm Crochet Hook
- Yarn (in orange, brown, and green; all weight 4)
- Black felt
- Scissors
- Threading needle
- Hot glue gun
- Stuffing (used temporarily to shape and attach decorations)
Uses
- Halloween treat bags for kids or party favors.
- Seasonal decor with a personal handmade touch.
- Can be customized for size, decorations, or colors.
Special Features
- Adjustable Size: You can make it larger or smaller by altering the chain count.
- Beginner-Friendly Stitches: Uses simple half-double crochet stitches repeated throughout.
- Creative Design Options: You create pumpkin facial features with felt to make each bag unique.
- Easy Closures: A slip-stitch technique is used to close parts of the bag seamlessly.
Level of Difficulty
Beginner-Friendly
The tutorial is designed with beginners in mind, using repetitive stitches and clear instructions. The chain lengths, half-double crochet stitches, and simple assembly make it approachable. Even the felt face decorations are cut and glued with ease.
Tutor’s Suggestions
- Customizing Size: Adjust the chain length depending on how large or small you want your pumpkin.
- Working the Last Stitch: For the last half-double crochet stitch, you can work into the full stitch instead of the back loops for better ease on corners.
- Placement of Decorations: Lay out the felt pieces and stuffing first before finalizing with the glue gun to ensure perfect placement.
Step-by-Step Process
1. Pumpkin Base (Orange Yarn)
- Create a slip knot and chain 31 stitches.
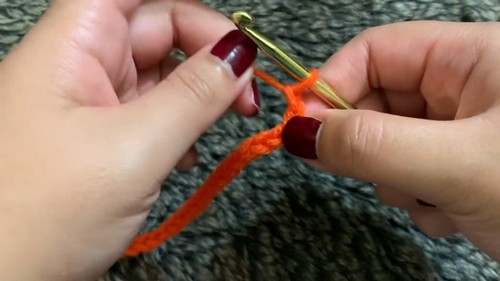
- Work half-double crochet into the 2nd chain from the hook, and repeat to the end of the row (30 stitches).

- At the end of each row, chain two, turn the work, and only crochet into the back loops of the stitches.
- Repeat this process until you complete 40 rows, or until you achieve the desired size for the pumpkin.

2. Pumpkin Stem (Brown Yarn)
- Start with a chain of 7 stitches. Use half-double crochet for all rows into the entire stitch—not back loops.
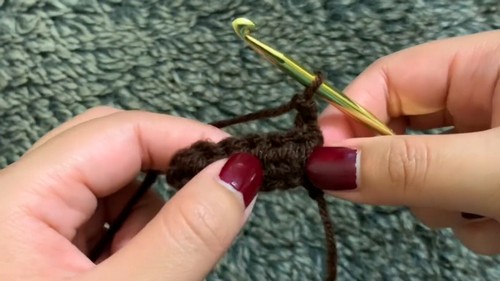
- Continue until the length of the stem fits the top of the orange piece when folded.
- Use a slip stitch technique to close the brown stem piece into a tube.
3. Assembling the Bag
- Fold the orange piece in half and use a slip stitch to seam the sides together.
- Turn the pumpkin inside out to hide the seams.
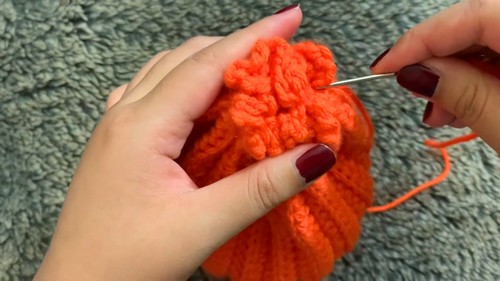
- Sew the bottom opening of the pumpkin by threading yarn through alternating stitches and pulling it tight to close. Secure the bottom with additional sewing.
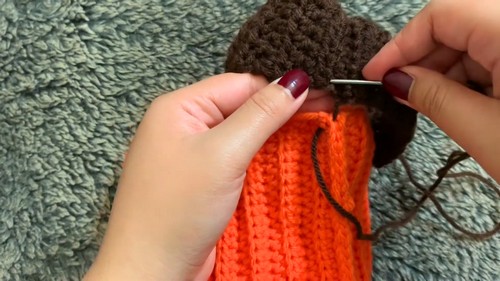
4. Attach the Stem
- Use the brown tail yarn to securely stitch the stem onto the top center of the pumpkin bag.
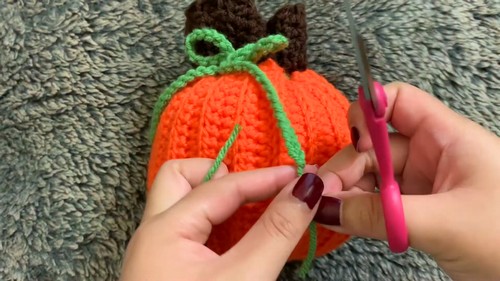
5. Drawstring Closure (Green Yarn)
- Create a chain (suggested 80 or 90 stitches) long enough to wrap around the pumpkin’s top with room to tie a bow.
- Weave the green chain through the top of the pumpkin, just below the stem.
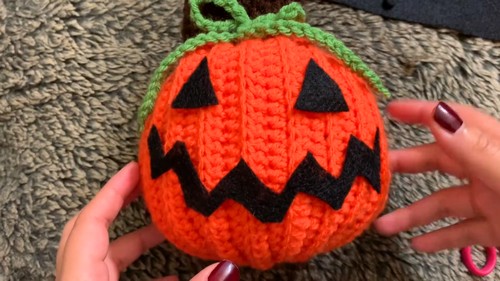
6. Decorate the Face
- Cut triangles for eyes and nose out of black felt.
- Freehand the mouth, creating a zigzag or smile pattern. Trim to fit your pumpkin.
- Use a hot glue gun to attach these pieces.
- Stuff the pumpkin lightly to adjust and decide placement, then finish gluing.
7. Finishing
- Remove the stuffing and fill the bag with candy or treats.
- Tighten the green drawstring with a bow to secure.
Conclusion
Congratulations! You’ve completed a fun, festive Crochet Pumpkin Treat Bag that’s perfect for Halloween. Whether you use it as party décor or for trick-or-treating goodies, this bag is a delightful touch to the spooky season. The detailed process ensures beginners can follow along with ease while allowing room for creative customization.
Pro Tip
Use contrasting yarn colors (like white or yellow details) in your green chain or felt decorations to add a pop of color. This will make your pumpkin design stand out even more!


