
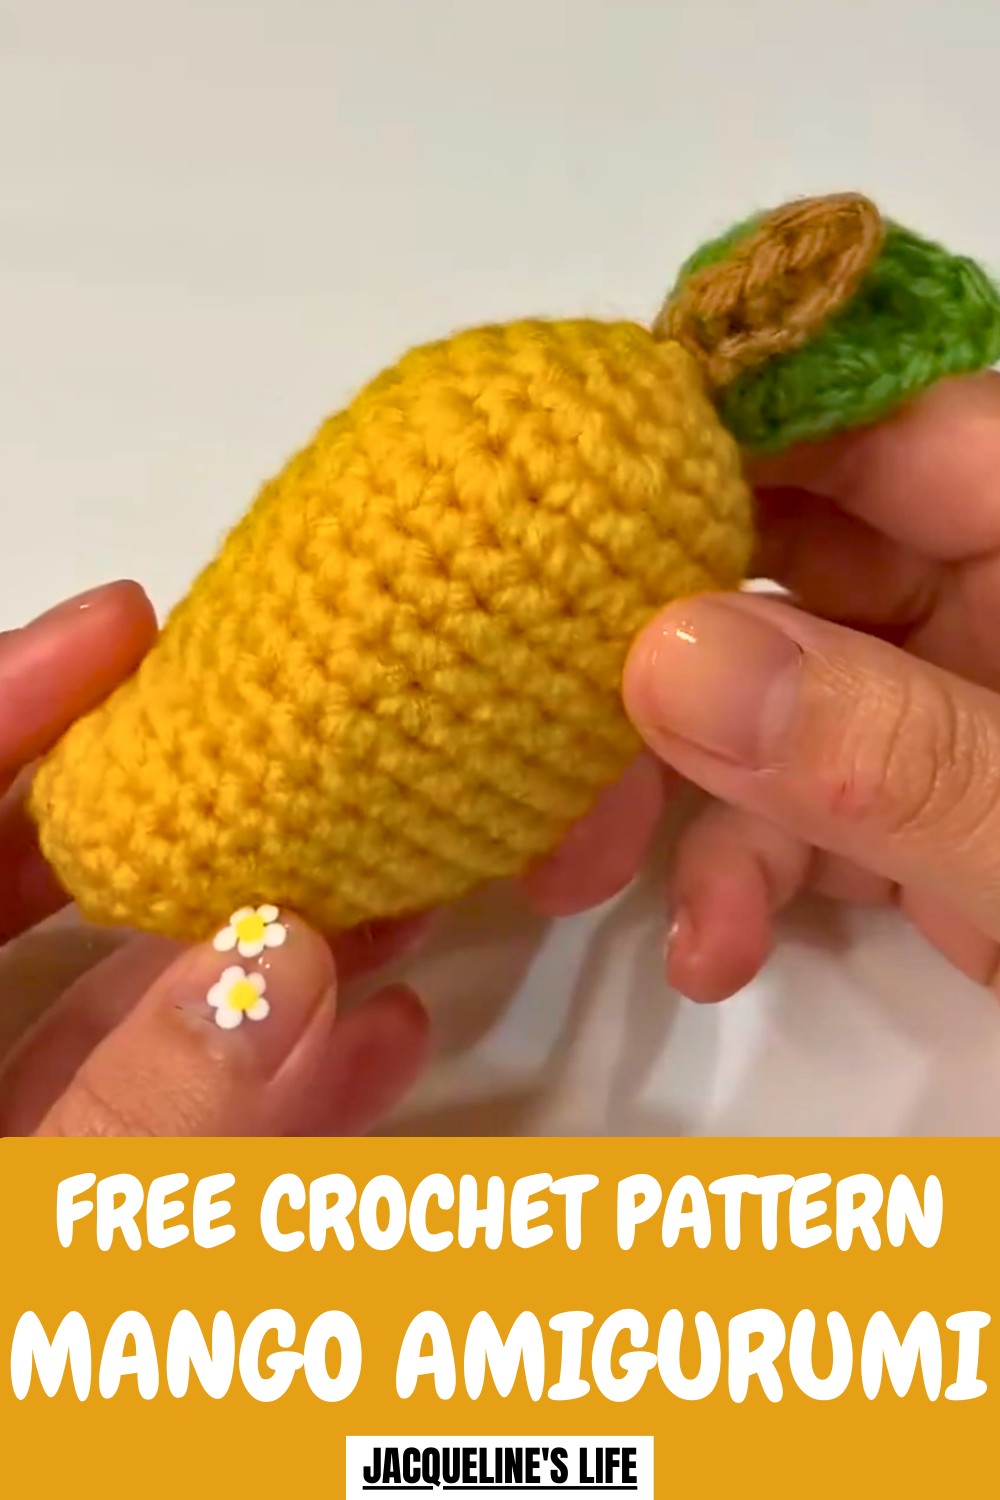
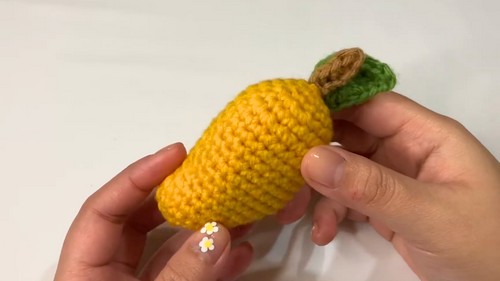
Make a cute mango with this Free Crochet Mango Amigurumi Pattern, perfect for beginners and fun to gift or decorate your space.
This adorable little creation captures the sunny charm of a ripe mango in a fun and playful form. Perfectly sized for decorating your home, gifting to a friend, or brightening up a crochet collection, it combines vibrant colors with a soft, cuddly texture that instantly brings a smile. Its compact design makes it a versatile piece, whether perched on a shelf, tucked into a basket, or carried as a cheerful keychain.
Step-by-Step Crochet Mango Amigurumi You’ll Love to Make
The pattern offers a satisfying balance of simplicity and detail, allowing beginners to enjoy a smooth crocheting experience while giving experienced crocheters room to add personal touches. Beyond its visual appeal, this tiny mango amigurumi also encourages creativity, patience, and relaxation, making it a rewarding project from start to finish. Its charming shape, bright hue, and handmade essence make it a standout addition to any amigurumi assortment, spreading joy wherever it goes.
How to Crochet a Mango - Step-by-Step Guide
Materials Used
You’ll need the following materials:
- Yarn:
- Yellow yarn (e.g., Big Twist Value Yarn in Varsity Gold) for the mango base.
- Green yarn for the mango’s leaf.
- Brown yarn for the stem.
- Optional: Any other colors if you want to customize the mango or create color variations.
- Tools:
- 3.5mm crochet hook (optional: use a 4.0mm hook for a slightly bigger mango).
- Stitch marker.
- Scissors.
- Threading needle for weaving in loose ends and sewing parts together.
- Stuffing (fiberfill or scrap yarn).
Uses for the Crocheted Mango
- Car Decoration: Attach a string to hang it on your car's rearview mirror.
- Keychain Accessory: Add a keyring to turn it into a cute and unique keychain.
- Gift Idea: Make it for friends or family—it’s simple but meaningful.
- Décor: Use it to brighten up a shelf, workspace, or even play areas for kids.
Special Features
- Organic Shape: The curved body mimics the natural shape of a mango and adds to its charm.
- Flexible Size: You can adjust the size by using different hook sizes or yarn thicknesses.
- Customizable Colors: Create yellow or green mangos, or mix transitional colors to make a “ripening” effect.
- Multi-Component Construction: Includes three parts (the mango body, a stem, and a leaf), allowing you to adjust and mix elements based on personal preference.
- Simple Detailing: The straightforward stitches make this project suitable for beginners.
Level of Difficulty
Beginner-Friendly
- The project uses fundamental crochet techniques like chains, single crochet (SC), half-double crochet (HDC), double crochet (DC), slip stitches (SS), and the magic circle.
- Slight attention is required to work on shaping and attaching the leaf and stem, but the tutorial explains it in an easy-to-follow manner.
Tutor’s Suggestions
- Hook Size: Although the tutorial uses a 3.5mm crochet hook, you can go up to 4mm for a slightly larger mango.
- Yarn Selection: Use yellow, green, or transitional yarns to give the mango a ripe or unripe look. Feel free to experiment with yarn weights.
- Practice Magic Circle Technique: If you're new to the magic circle, go slow as it plays a crucial role in forming the mango’s base. Pull the initial circle tightly to maintain its shape.
- Don’t Over-Stuff: To maintain the flat, natural mango shape, avoid adding too much stuffing.
- Placement Matters: Take a moment to align the leaf and stem properly before sewing them on to create a polished finish.
- Car Hanging Tip: Depending on local regulations, note whether it’s allowed to hang items from your car's rearview mirror before attaching it.
Step-by-Step Instructions
Step 1: Crochet the Mango Leaf
- Start with green yarn. Create a slip knot and insert your crochet hook.
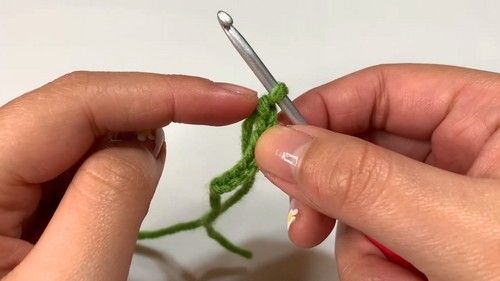
- Chain 7: Yarn over and pull through, repeating the process to create seven chains.
- Work across the chain:
- Begin with a slip stitch in the second chain from the hook.
- Single Crochet (SC) in the next chain.
- Half-Double Crochet (HDC) in the next two chains.
- Double Crochet (DC) in the last two chains.
- Chain one to turn and repeat the pattern backward along the other side of the chain:
- DC in the first two stitches, HDC in the following two, SC in the next chain, and SS in the last.
- Cut off the yarn, leaving excess for attaching to the mango later. Use a needle to weave in loose ends and sew along the leaf line to create a clean finish.
Step 2: Crochet the Mango Stem
- Use brown yarn and start with a slip knot.
- Create a chain of 6 (or 5 depending on your desired length).
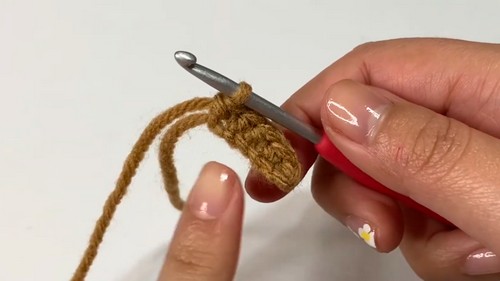
- Single crochet (SC) down the chain, starting from the second chain from the hook.
- Fasten off the yarn and leave enough tail for sewing later.
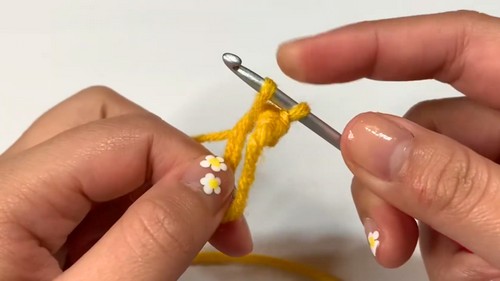
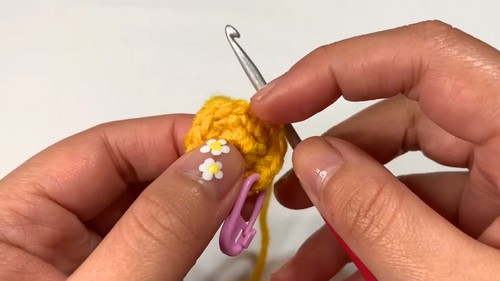
Step 3: Crochet the Mango Body
- Use yellow yarn to create the mango's main section.
- Start with a magic circle:
- Wrap yarn around your fingers to create an X and pull up a loop with your hook.
- Yarn over and pull through the loop to tighten, forming an adjustable circle.
- Round 1: Single crochet six stitches into the magic circle, then pull the tail to tighten the circle.
- Round 2: Increase (2 single crochets in each stitch) in all stitches to form a total of 12 stitches.
- Round 3-6: Follow the pattern of increases and single crochets to form the rounded shape. Example:
- Round 3: SC in the next 3 stitches, then increase in the next two. Repeat.
- Later rounds: Add more single crochets between increases to create curvature.
- Round 3: SC in the next 3 stitches, then increase in the next two. Repeat.
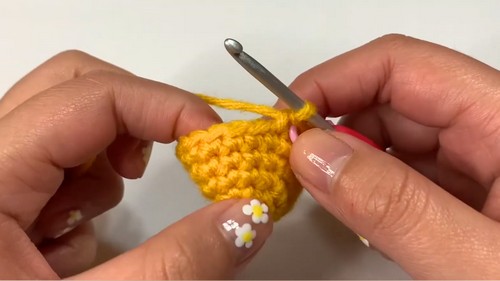
- Once the base rounds are complete, begin single crochet rows (with no increases) to form the body of the mango. Repeat until the desired length is reached.
Step 4: Shape and Close the Mango
- From round 13 onward, start decreasing gradually to create the lower tapered side of the mango.
- Use invisible decreases (working only in the front loops of two stitches) to avoid an awkward shape.
- Stuff the mango lightly as you go, ensuring the sides curve naturally.
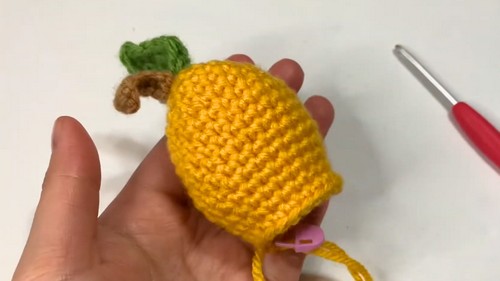
- Toward the last few rounds, finish the stitches with sharp decreases until about 9 stitches remain.
- Use a needle or hook to weave the tail through the remaining stitches, pull tight, and close the hole.
Step 5: Attach the Leaf and Stem
- Align the leaf at the top of the mango. Securely sew it in place using the excess yarn tail.
- Position the stem close to the leaf and sew it down carefully.
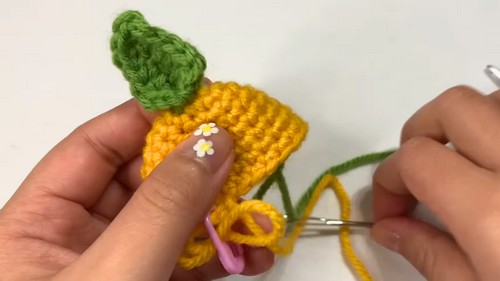
- Fasten any remaining loose ends and weave the yarn into the interior of the mango for a tidy finish.
Step 6 (Optional): Add Hanging Yarn or Keyring
- If making a car ornament, create a long chain with yellow yarn and attach it to the top of the mango. Secure with a knot or bow.
- If making a keychain, attach a keyring to the top by sewing it through the stem or leaf area.
Conclusion
Congratulations! Your crocheted mango is complete. This quirky and creative project is perfect for gifting or decoration. Its realistic design, ease of customization, and compact size make it a versatile craft suitable for beginners and experienced crocheters alike. Whether you use it as a car ornament, keychain, or playful décor, it is sure to spark joy and bring smiles wherever it’s displayed.
Pro Tip
For a truly unique mango, use variegated yarn or transition colors from green to yellow. This will create a ripening effect and make the mango look even more lifelike!


