
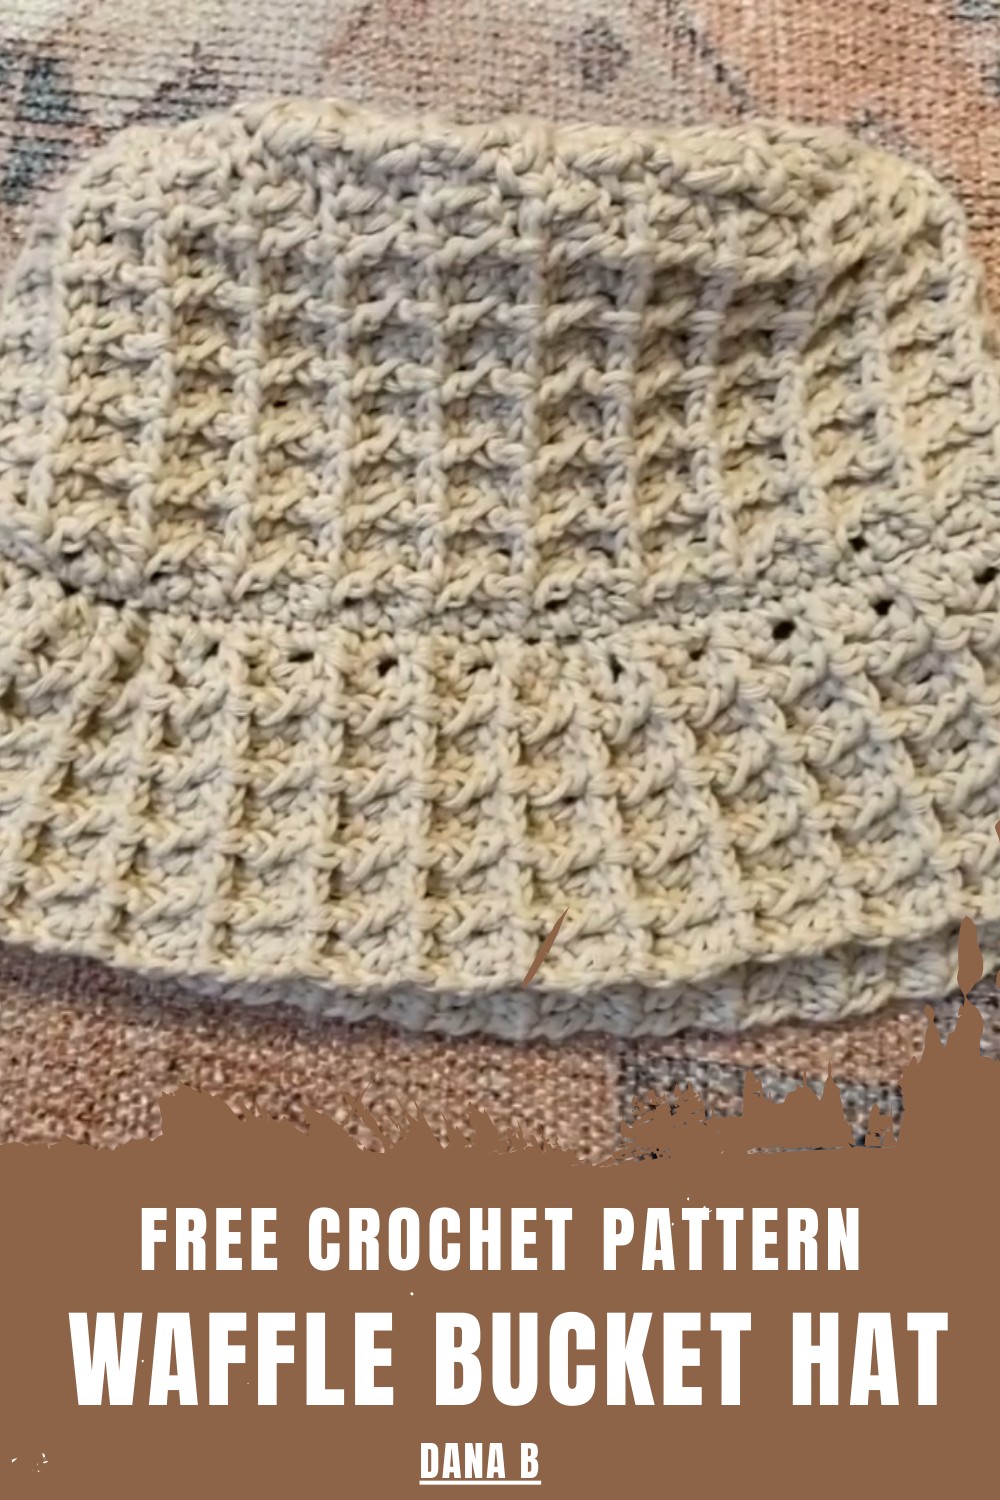
Spruce up your wardrobe with this Crochet Waffle Bucket Hat Pattern for trendy hats that combine texture, charm, and everyday versatility.
The waffle stitch creates a textured, eye-catching design that transforms a simple bucket hat into a standout accessory. The Crochet Waffle Bucket Hat Pattern offers lightweight yet structured coverage, making it perfect for sunny days, casual outings, and travel adventures while maintaining its shape over time. Its versatile style allows endless customization in colors, yarn types, and sizes, ideal for personal wardrobes or handmade gifts.
Bold Crochet Waffle Bucket Hat Pattern That Turns Heads
The pattern highlights the charm of crochet’s layered textures, adding depth and dimension that elevate any outfit. Easy to follow and satisfying to create, it provides both beginner and experienced crocheters a rewarding project combining practicality with aesthetic appeal.
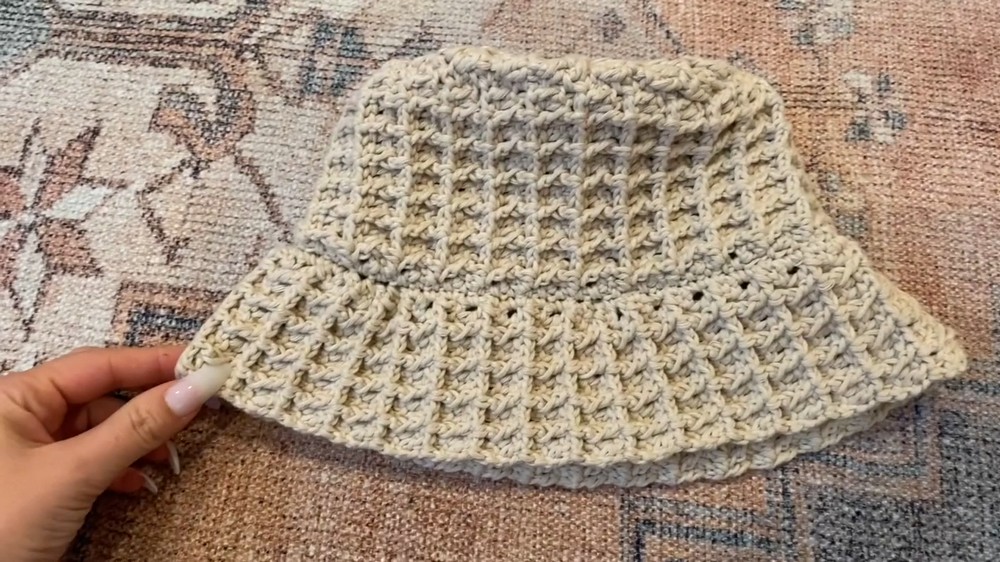
The finished hat balances fashion and function beautifully, offering a breathable, durable, and stylish addition to daily wear. Its timeless design ensures it remains a fashionable staple season after season, showcasing craftsmanship in every stitch.
Step-by-Step Instructions
Materials Needed
- 100% cotton yarn (weight 4; the tutorial uses Paintbox Yarns).
- 3.75mm crochet hook (adjust for tightness).
- Yarn needle.
- Scissors.
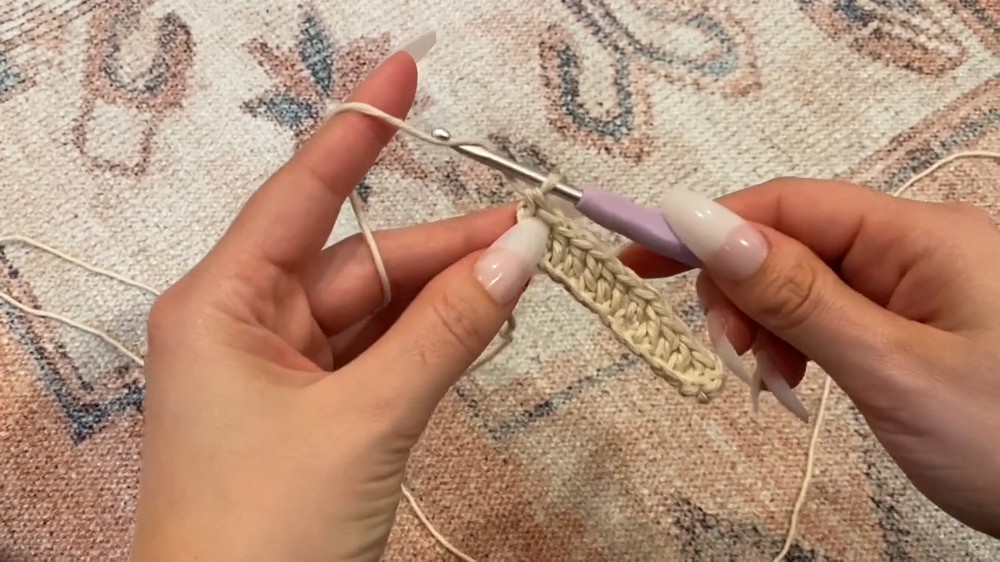
Step 1: Crocheting the Brim
- Begin with a chain of 14 stitches.
- Work 1 double crochet (dc) into each chain along the row. To create a double crochet:
- Yarn over.
- Insert the hook into the chain.
- Yarn over, pull through two loops, then yarn over again and pull through the last two loops.
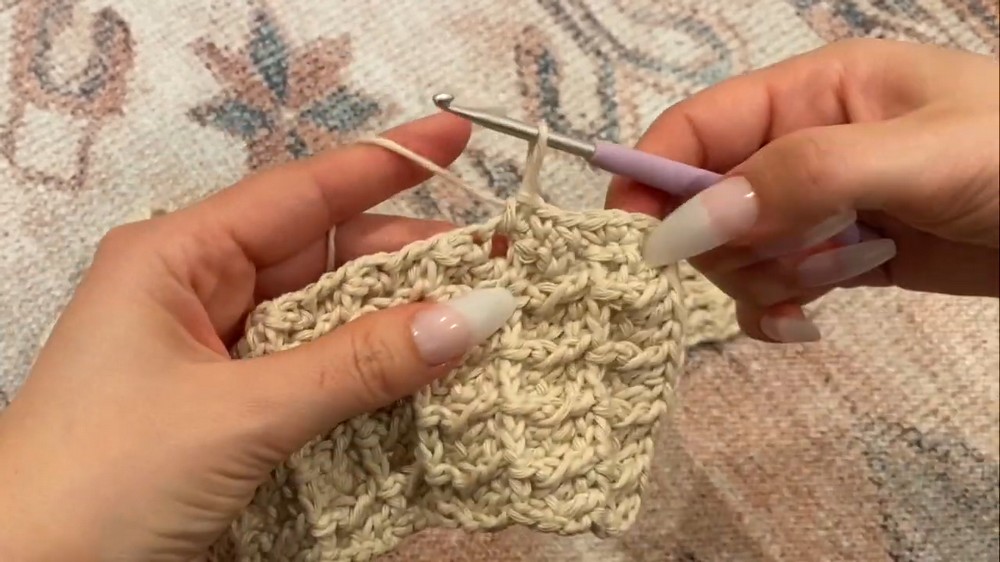
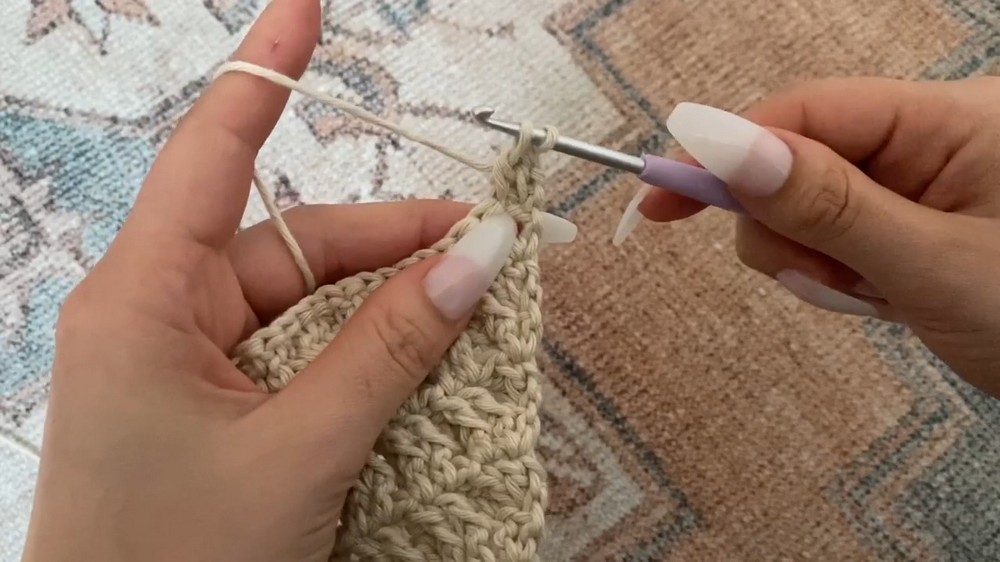
- Start the waffle stitch pattern:
- At the start of every row, chain 1, flip your work, and place 1 double crochet in the first chain.
- Work 1 double crochet in the second chain.
- For every 3rd chain, make a back-post double crochet (insert the hook from the back of the chain to the front, creating a raised effect).
- Repeat this pattern across the row.
- Continue alternating rows with variations:
- Rows on the wrong side require reversing the pattern.
- Follow the waffle stitch pattern, alternating between back-post double crochet and regular double crochet stitches based on which side you're working on.
- Make the brim 66 rows long, ensuring it is long enough to curve into a smile shape.
- To curve the brim, place single crochets along one edge, evenly spacing each one. Decrease at four points (two decreases on each side of the brim) to create the desired curvature.
- Fold the brim in half (with the waffle pattern facing inward), and attach the edges with single crochet stitches to form a circular shape.
Step 2: Crocheting the Middle Portion
- Start with a chain of 20 stitches for the middle portion of the hat.
- Work the waffle stitch pattern as described above, alternating between rows of double crochet and back-post double crochet.
- Complete 51 rows of the middle portion.
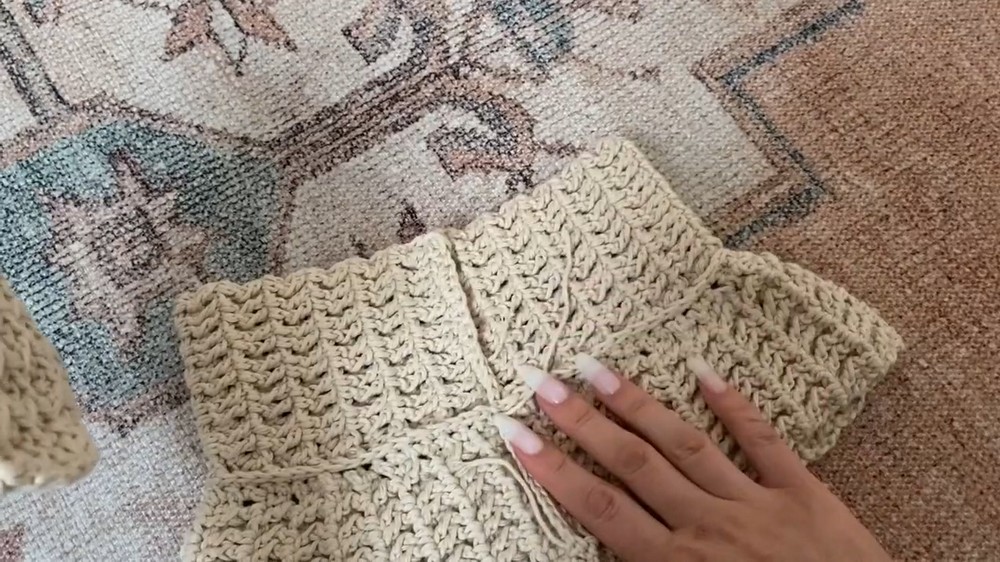
- Attach the ends to form a circular shape using single crochet stitches, ensuring the waffle pattern faces inward.
- Connect this middle section to the brim by aligning the seams and working single crochet stitches around the edges.
3: Crocheting the Top Circle
- Begin with a chain of 15 stitches and work a row of double crochets into each chain.
- To shape the circle, start placing increases (two double crochets in one chain) on the first and last chain of every row. Continue working the waffle stitch pattern into this circular shape.
- Repeat the process for eight rows to complete the top half-circle.
- For the next eight rows, work decreases by reducing stitches in the second and third chains and the second-to-last and third-to-last chains of each row. This forms the bottom of the circle.
4: Assembling the Hat
- Attach the top circle to the middle portion of the hat, ensuring the wrong sides face outward during assembly.
- Edge along the seams with single crochet stitches, evenly attaching the parts together.
- Turn the hat inside out, and you're done.
Special Features
- Unique Waffle Pattern: This textured stitch gives the hat a stylish look and sets it apart from plain bucket hat designs.
- Structured Assembly: The tutorial’s method ensures the hat has a professional appearance with clean seams and curves.
- Customizable: Easily adjust the chain count or row count to resize the hat for personal preference.
Level of Difficulty
This hat is beginner-friendly to intermediate, as the waffle stitch requires a basic understanding of double crochets and back-post stitches. The assembly process is straightforward but may require extra care to align the pieces correctly.
Tutor’s Suggestions
- Be mindful of tension to keep the pattern clean and structured.
- Use high-quality cotton yarn to ensure durability and a polished look.
- Practice the waffle stitch separately if you're unfamiliar with it to avoid errors during the hat’s assembly.
- Pay attention to alternating the pattern depending on the side you’re working on (right or wrong).
Uses and Applications
The Waffle Pattern Bucket Hat is versatile and can be worn outdoors, as a fashion accessory, or gifted to friends and family. Its practical yet stylish design makes it a standout handmade item for summer outings or casual wear.
Tip for Success
Always check alignment when attaching the parts of the hat. Ensure all seams meet evenly; this will give your bucket hat a polished, professional finish.
Conclusion
This pattern provides a comprehensive guide to creating a stunning Waffle Pattern Bucket Hat. By mastering the textured waffle stitch and following the assembly instructions, you’ll be able to create a functional and stylish piece to add to your crochet collection.


